We’ve all been there. You land on a new site, ready to read something good, and a huge banner slams down and blocks the page. So you hit back. Watching that traffic slip away over a compliance banner is frustrating, especially since it doesn’t have to happen. Here’s how to shape your cookie notices so they protect your conversion rate instead of quietly draining it.
Key Takeaways
- Native tools load faster – external scripts delay your banner and cause the layout shifts that drive visitors away.
- Design shapes behavior – a subtle bottom bar keeps more visitors around than a giant, blocking center modal.
- Clear language builds trust – skip the legal jargon and use warm, transparent wording for better consent rates.
- Consent Mode v2 matters – it keeps your Google Analytics accurate even when visitors opt out of cookies.
- Geo-targeting protects conversions – show strict banners only where privacy laws actually require them.
Understanding Why Cookie Banners Increase Your Bounce Rate
A cookie banner is often the very first thing a visitor sees on your site. If that first moment feels frustrating, confusing, or slow, they’ll leave right away, and that quick exit counts as a bounce, telling search engines your page might not deliver a good experience.
Three things usually drive that reaction:
- Intrusive layouts – giant modals covering the whole mobile screen before anyone can read your content.
- Technical slowdowns – banners on heavy external scripts that delay rendering and hurt your Core Web Vitals scores.
- Confusing choices – vague button labels and cluttered menus that leave visitors suspicious or overwhelmed.
A banner that blocks your layout often causes Cumulative Layout Shift (CLS): content loads, then a heavy consent notice pops in and pushes everything around a split second later. It’s annoying for visitors, and since search engines treat visual stability as a ranking factor, fixing this shift helps both your SEO and your retention.
Visitors in 2026 expect fast, respectful interactions. If your banner feels like it’s tricking them into accepting cookies, they’ll just close the tab. Speed and transparency are your best tools for keeping bounce rates down.
The Native Solution: Cookie Consent for WordPress
Plenty of WordPress site owners lean on external compliance platforms for their banners. These get the job done, but most rely on external cloud scripts, so your server has to reach an outside network before the banner shows up, and those extra milliseconds hurt your performance metrics.
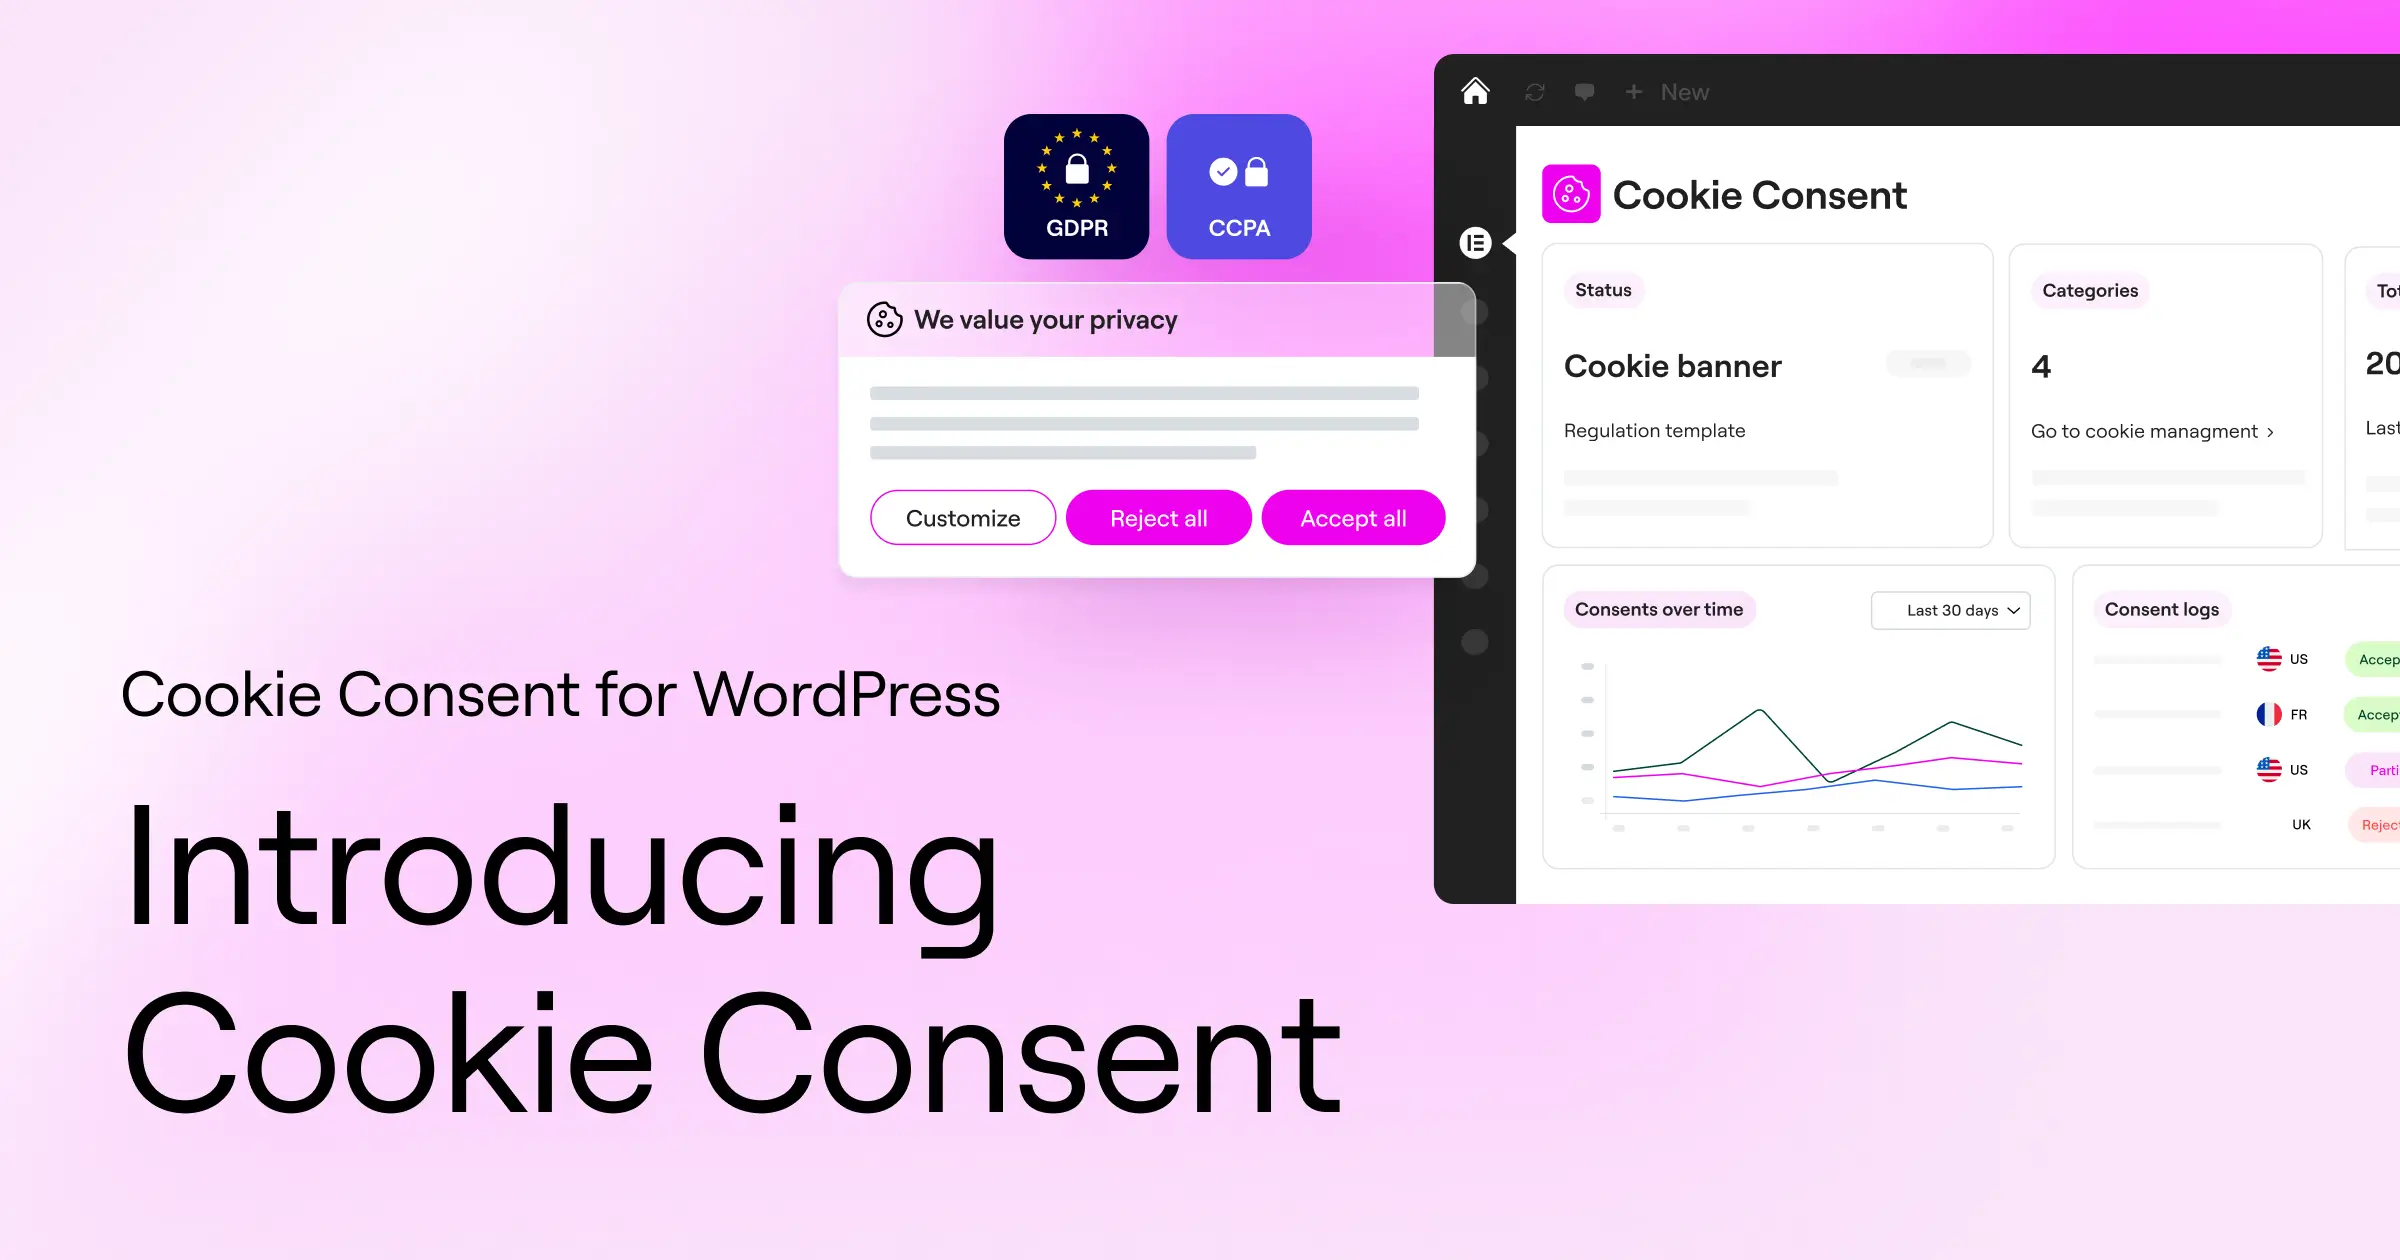
To sidestep that bottleneck, you can use a native solution built right into WordPress. The Cookie Consent capability by Elementor handles GDPR and CCPA compliance straight from your dashboard, so you don’t need a third-party platform at all.
A native tool keeps your site clean and fast. Here’s how this feature protects your visitor experience:
- Loads banners instantly from your own server, so there’s no layout shift or delay.
- Builds custom designs that match your site’s look, no complex CSS required.
- Connects smoothly with Google Consent Mode v2 to keep your analytics accurate.
- Pulls cookie categories in automatically with a built-in scanner, saving you setup time.
- Protects user data privacy with local consent logs for audit trails.
- Scans scripts and blocks them until the visitor grants permission.
Because this native Cookie Consent tool lives right inside your site builder, you’re not jumping between platforms to update a design or check a log. Everything under one roof means simpler admin work and banners that load at real speed.
“Achieving compliance doesn’t mean you have to sacrifice your user experience. By shifting to a native consent system that loads instantly and matches your brand design, you can protect both your legal standing and your engagement metrics without compromise.”
– Itamar Haim, Web Compliance Specialist
How to Design Low-Impact Cookie Banners
Your banner’s design plays a big role in whether a visitor stays or leaves. A banner that feels like a natural part of your site is far less intimidating than a sterile pop-up that looks like a security warning.
Focus on three things to keep bounce rates low: positioning, sizing, and styling.
Optimal Positioning
Placement matters a lot. A center-screen modal grabs attention immediately but blocks the user from previewing your content, which often triggers an instant bounce. Try a slim bottom bar instead. It lets people see your header and read a few lines before they even deal with the notice.
Smart Sizing
Keep the banner as small as you can while keeping the text readable. On desktop, a simple horizontal strip or small corner box does the job. On mobile, don’t let it take up more than about thirty percent of the screen, so visitors can still see your content behind it.
Cohesive Styling
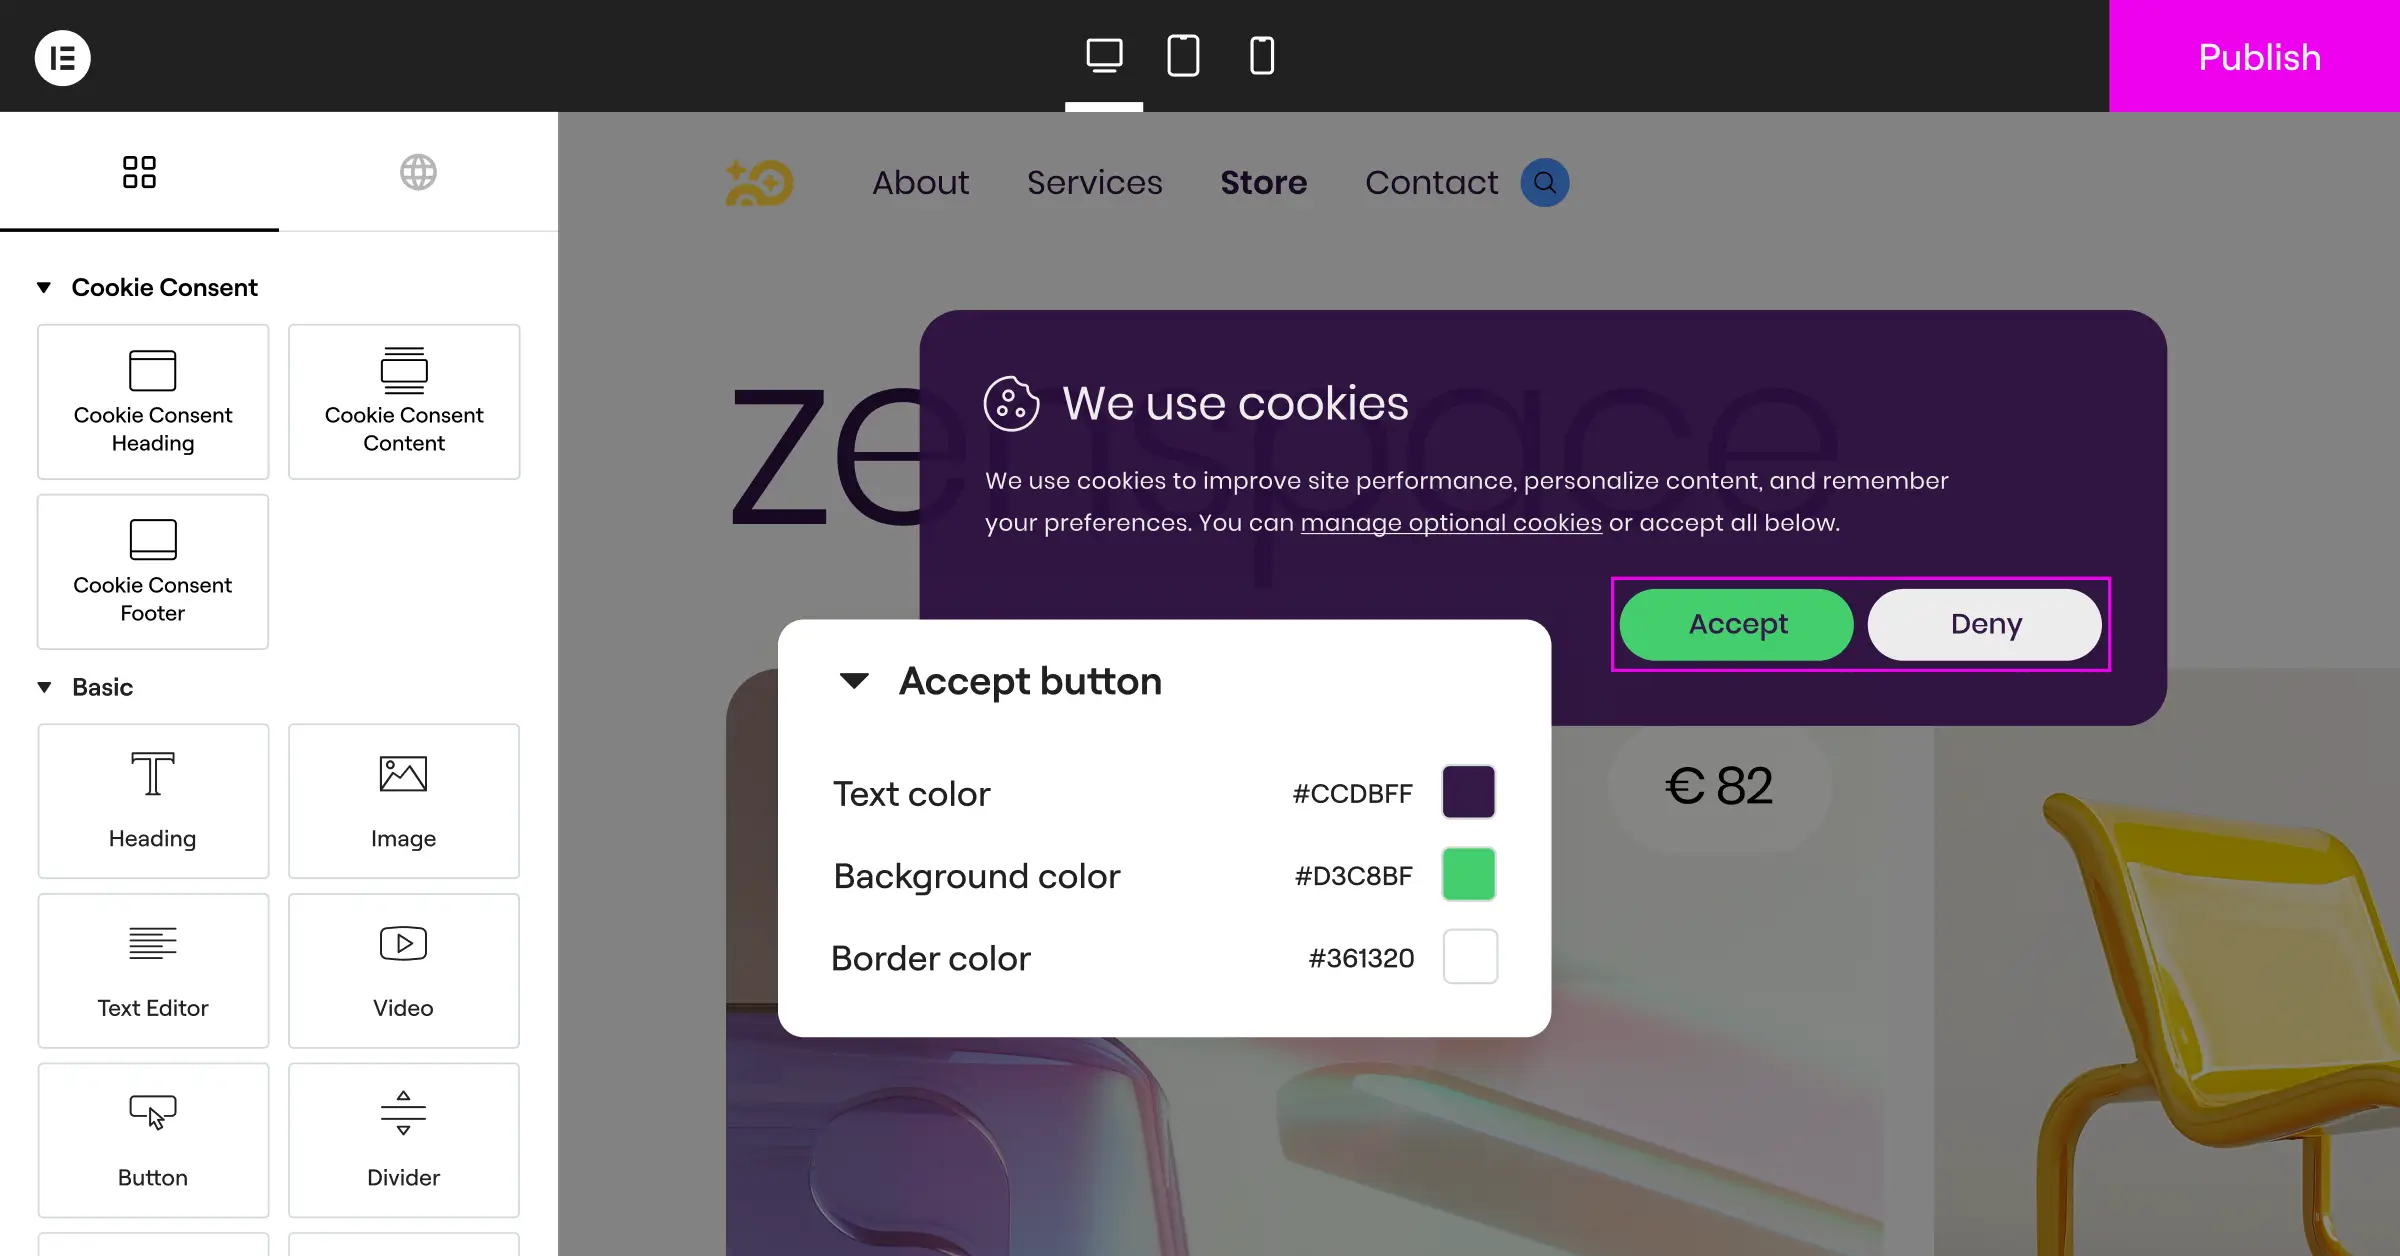
Use your existing theme colors, brand fonts, and button styles on your cookie notice. When the banner speaks the same design language as your site, it feels safe and professional. If your site has a clean look built with Elementor, your banner should mirror it. That continuity builds trust fast and cuts the friction that causes bounces.
Here’s a quick look at habits that help or hurt your visitor retention:
- Good – A slim, brand-colored bar at the bottom that lets visitors scroll and read content right away.
- Bad – A full-screen grey overlay that freezes the page until the user picks an option.
- Good – Clean buttons with high-contrast text that clearly state what they do.
- Bad – Tiny, hidden links or light grey buttons on white that try to conceal the opt-out option.
Optimizing the User Flow and Microcopy
The words on your banner can be the difference between an engaged visitor and a lost click. Plenty of sites use formal, scary legal language in their notices, but while you do need to be accurate, you don’t have to sound like a machine.
Use warm, transparent language and explain your cookies the way a person would. Swap “We use cookies to optimize system performance and analytical aggregation” for something like “We use cookies to remember your preferences and make your browsing experience smoother.” That small shift makes your brand feel approachable and honest.
To keep your flow clear and your bounce rate down, structure your buttons around these practices:
- Offer equal choices – Make “Accept” and “Decline” equally easy to find and click. Hiding the decline option only frustrates users and adds compliance risk.
- Use clear labels – Use straightforward text like “Accept All,” “Reject All,” or “Cookie Settings” rather than ambiguous phrases.
- Avoid dark patterns – Don’t use colors that make the reject button look disabled or broken. Honesty builds long-term loyalty.
When visitors see you respect their choice and make privacy genuinely easy to manage, they’re far more likely to stick around. Real control builds goodwill, and that goodwill keeps them engaged with your content longer.
Step-by-Step: Setting Up a High-Performing Consent Banner
Setting up your cookie banner shouldn’t take hours of complex configuration. With the native Cookie Consent capability, you can have a fast, high-performing banner live in under five minutes. Here’s the path to get it done.
Step 1: Activate the Native Feature
Log into your WordPress dashboard, open your site settings, then head to the compliance section where the Cookie Consent tool lives, and toggle it on. Because it’s built right into your site workspace, you won’t need extra software or external API connections.
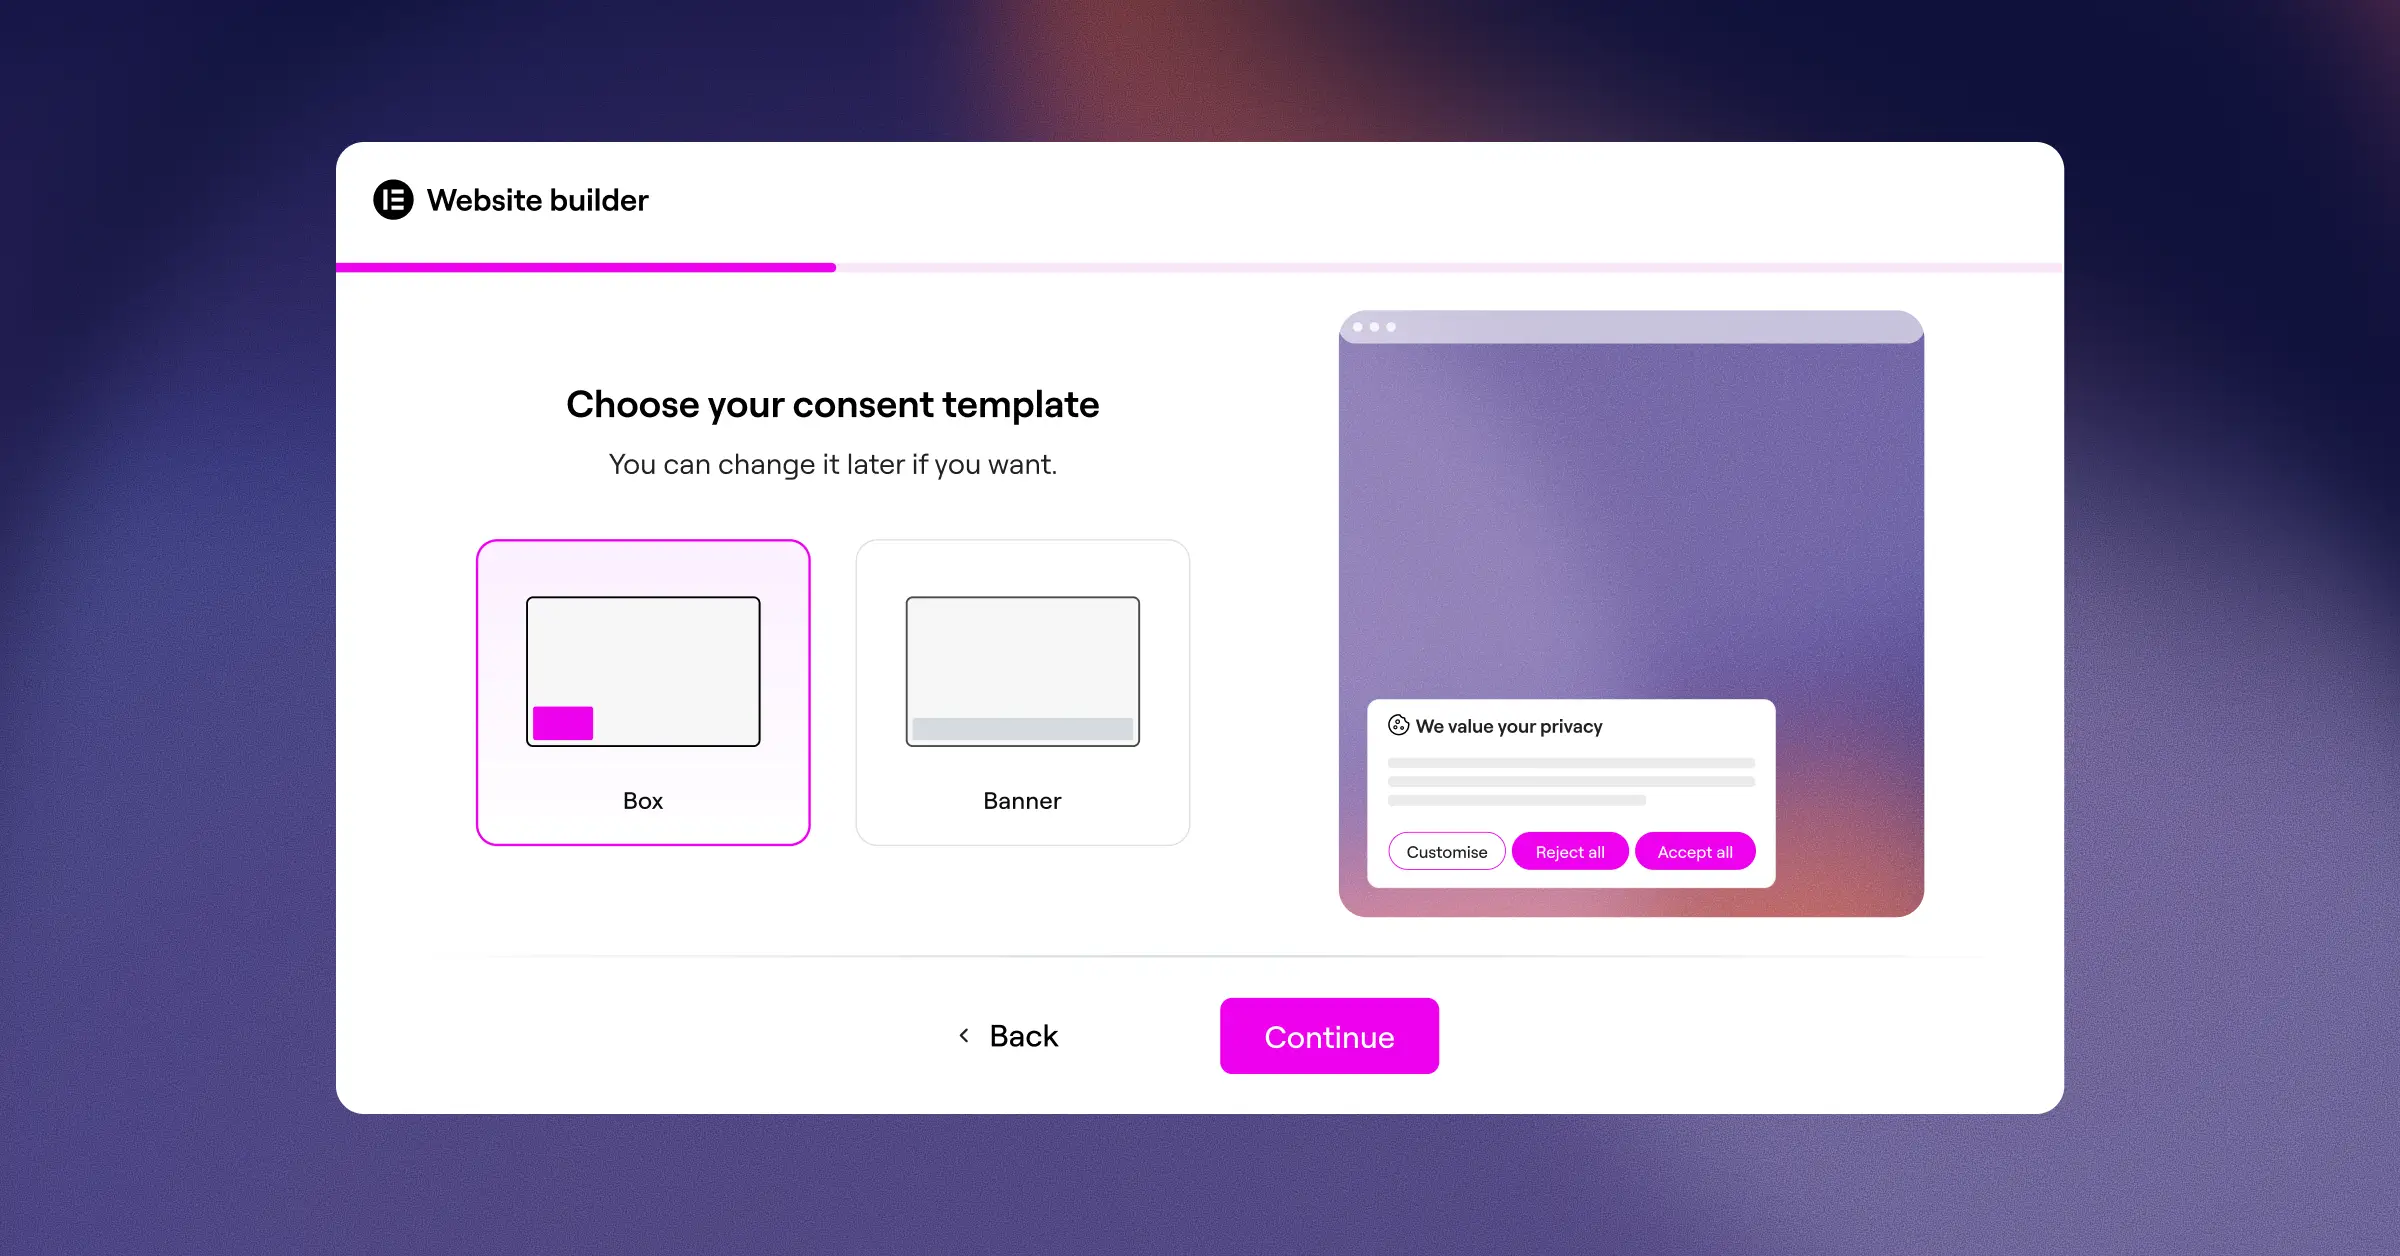
Step 2: Choose Your Layout and Position
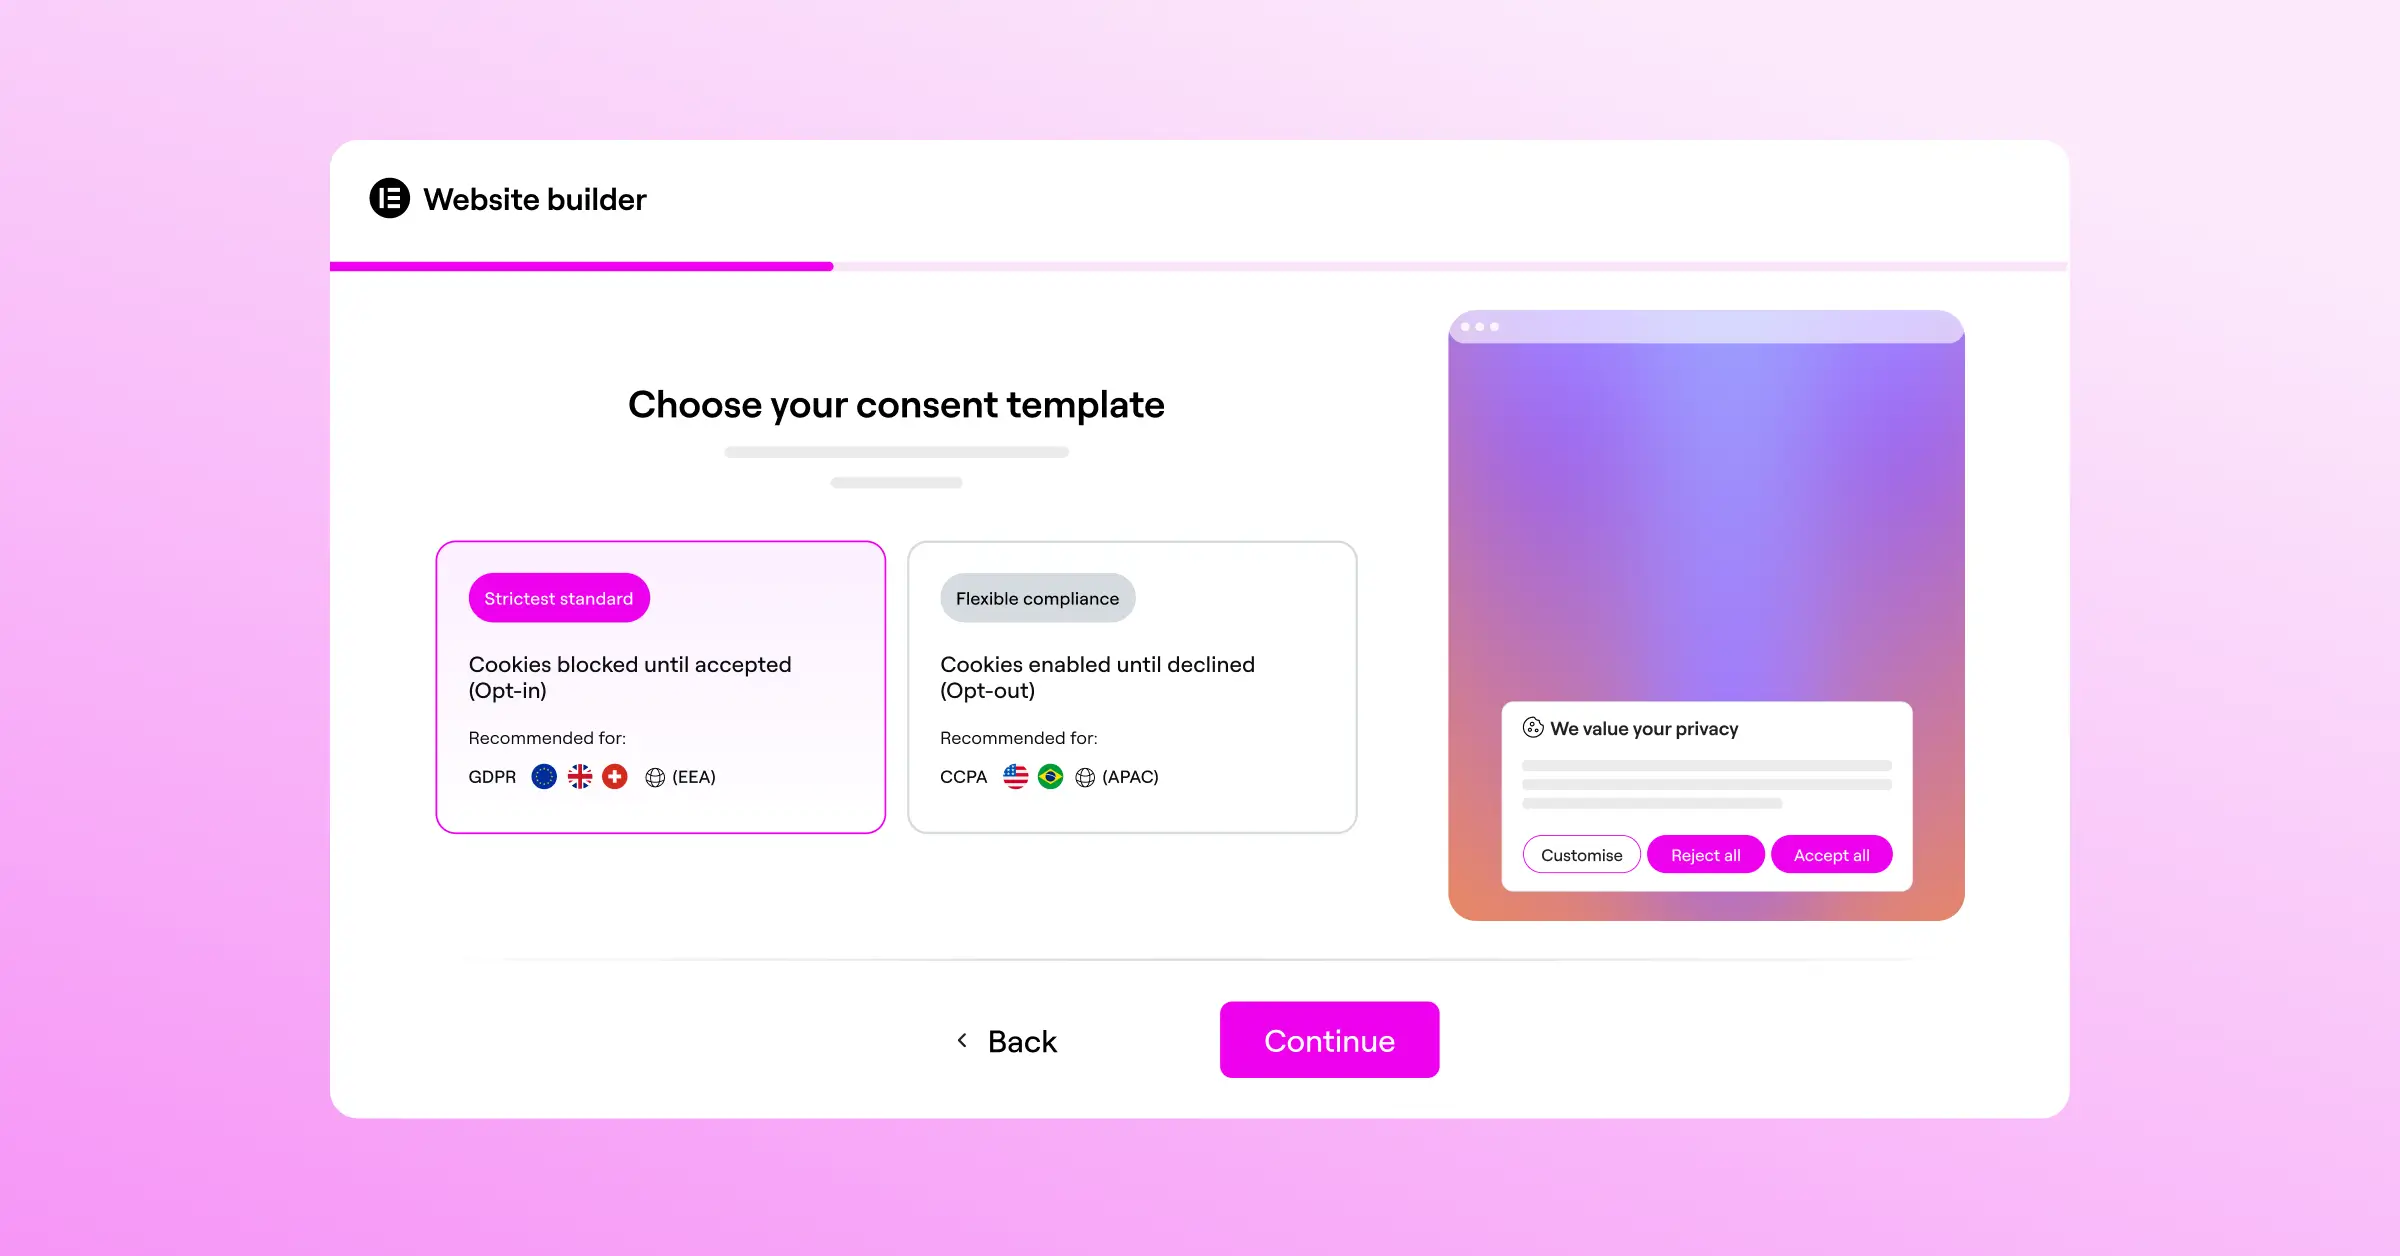
Pick the layout style that fits your design goals. For the lowest bounce rates, a bottom bar tends to work best. Keep the dimensions compact so your content stays visible on both desktop and mobile.
Step 3: Customize the Styling to Match Your Brand
Match the banner’s colors and typography to your active theme, using your global brand colors for the background and buttons. Make sure “Accept” and “Customize” have clean, high-contrast text that’s easy to read and click on any device.
Step 4: Run the Cookie Scan
Use the built-in scanner to review your site for cookies and active scripts. It automatically sorts them into groups like necessary, statistical, and marketing. That way, tracking scripts only fire once a visitor gives approval, which is exactly how it should work.
Step 5: Write Friendly Microcopy
Swap the placeholder text for clear, human microcopy that explains how you use data to improve their experience. Keep it brief so visitors can read it fast and get back to your site.
Step 6: Configure Geo-Targeting
Set up targeting so strict consent banners only show to visitors in regions with active privacy rules, like the EU or California. That keeps things frictionless for everyone else and keeps your global bounce rate as low as possible.
Comparing Consent Management Options
Here’s how the native WordPress Cookie Consent feature compares with popular external tools in the compliance space. Each handles consent its own way, though native integration brings its own performance edge.
| Compliance Feature | Native Cookie Consent | Cookiebot | CookieYes | Complianz | iubenda | OneTrust |
|---|---|---|---|---|---|---|
| Dashboard Location | WordPress Native | External Portal | External Portal | WordPress Native | External Portal | External Portal |
| Speed Impact | Very Low | Medium | Medium | Low | Medium | High |
| Design Setup | Visual Theme Editor | CSS Styling | Admin Panel | Wizard Settings | Script Config | Enterprise Config |
| Consent Mode v2 | Fully Supported | Supported | Supported | Supported | Supported | Supported |
| Setup Time | Under 5 Minutes | Moderate | Moderate | Moderate | Complex | Highly Complex |
External platforms like Cookiebot, CookieYes, iubenda, and OneTrust are popular choices for enterprise sites, though relying on external cloud storage and script execution can sometimes slow a site down. Complianz runs natively inside WordPress, but as a separate system from your visual site builder.
The native Cookie Consent capability stands out for combining WordPress-native speed with the visual flexibility of Elementor’s built-in compliance tools. Loading from your local server means it skips the lag that often drives visitors to click away.
Advanced Strategies: Geo-Targeting and Google Consent Mode v2
Getting the most conversions while staying compliant takes advanced targeting and tracking. Two of the best tools here are geo-targeting and Google Consent Mode v2.
The Power of Geo-Targeting
Privacy laws vary a lot by region. The EU has strict opt-in rules under GDPR, while other regions have different requirements, or none at all. Showing a blocking cookie banner to someone where those rules don’t apply is an unnecessary hurdle, and it can cost you the visit.
Geo-targeting inside your Cookie Consent tool lets you show different banners based on location:
- Show strict, opt-in cookie banners only to visitors from the European Union, United Kingdom, or California.
- Display simpler, informational notices or no banners at all to visitors from regions with less strict privacy rules.
- Reduce global bounce rates by removing unnecessary interactions for a large share of your traffic.
Implementing Google Consent Mode v2
When a visitor declines cookies, your analytics tools normally stop tracking them completely, leaving gaps in your data and making it hard to tell which pages are working and which need help.
Google Consent Mode v2 solves that. Once it’s integrated with your setup, it tells Google’s tags how to behave based on the user’s choice, and if someone declines, it sends anonymous, cookieless pings to Google Analytics instead. That lets you measure page views and conversions without storing personal data, so you still get the insights you need while respecting privacy.
Testing and Measuring Your Consent Banner’s Impact
Once your banner is live, don’t forget about it. Check that it’s not hurting your engagement metrics. Testing your layout helps you find the sweet spot between compliance and performance.
Keep an eye on three areas to measure success:
- Monitor Core Web Vitals – Use Google PageSpeed Insights to check your Cumulative Layout Shift (CLS) and Largest Contentful Paint (LCP) scores before and after activating your banner. If speed drops, switch to a native tool that loads straight from your server.
- Analyze Bounce Rates in GA4 – Look at your bounce rate trends over two weeks. A sudden spike after launch means your notice might be too large, slow, or confusing.
- A/B Test Layouts – Try a bottom-bar banner for a week, then switch to a subtle corner box, and compare the data to see which keeps more visitors around.
Keep your tools native and your designs light, and you’ll create a fast, welcoming experience. That effort pays off through better SEO rankings, more visitor trust, and a much lower bounce rate across your entire WordPress site.
Frequently Asked Questions
Does a cookie banner always increase bounce rates?
Not necessarily. A poorly designed, slow-loading cookie banner can drive users away, but a fast, lightweight, visually integrated banner has almost no negative impact on your bounce rate. Using native tools keeps your pages fast and engaging.
Can I show my cookie banner only to EU visitors?
Yes. The geo-targeting settings in the Cookie Consent capability let you show strict compliance banners only to visitors from countries governed by GDPR, while keeping the rest of your site banner-free.
How does Google Consent Mode v2 help with my data tracking?
Google Consent Mode v2 lets your Google Analytics and Google Ads tags adjust their tracking based on user consent. If a visitor declines cookies, it uses secure, cookieless signals to estimate traffic and conversions, so you don’t lose valuable performance data.
Why are native WordPress consent tools better than external scripts?
Native tools load straight from your own server instead of calling an outside network. That cuts script execution time, prevents layout shifts, and keeps your Core Web Vitals healthy, which helps protect your search rankings.
What is Cumulative Layout Shift (CLS) and how does it relate to cookie banners?
CLS measures how much your page layout moves while it loads. Heavy external banners often load a beat after your main content, pushing elements around and frustrating visitors. A native tool loads instantly with your stylesheets, so this doesn’t happen.
Should I use a full-screen cookie wall?
We wouldn’t recommend a full-screen cookie wall unless it’s legally required for your audience. Blocking all your content before a visitor can even see what your site offers is one of the main causes of high bounce rates.
Is the Cookie Consent feature easy to set up?
It’s pretty straightforward. A simple three-step setup takes under five minutes: design your banner, scan your cookies, and go live, all from your WordPress dashboard, without touching a line of code.
Do I need a separate tool for my cookie policy?
No. The native Cookie Consent tool includes a built-in privacy and cookie policy generator, so you can build and link your legal policy right inside your banner workspace, keeping your admin simple and clean.

