This version empowers you to take your website design to the next level with a number of features that you’ve been requesting. With the new Loop Carousel, you can elevate your website design by displaying your posts, custom posts or products in a sleek, eye-catching looping carousel format. Additionally, you can streamline your workflow of copying elements over from the Editor of one website to another with the new Copy & Paste Between Websites feature.
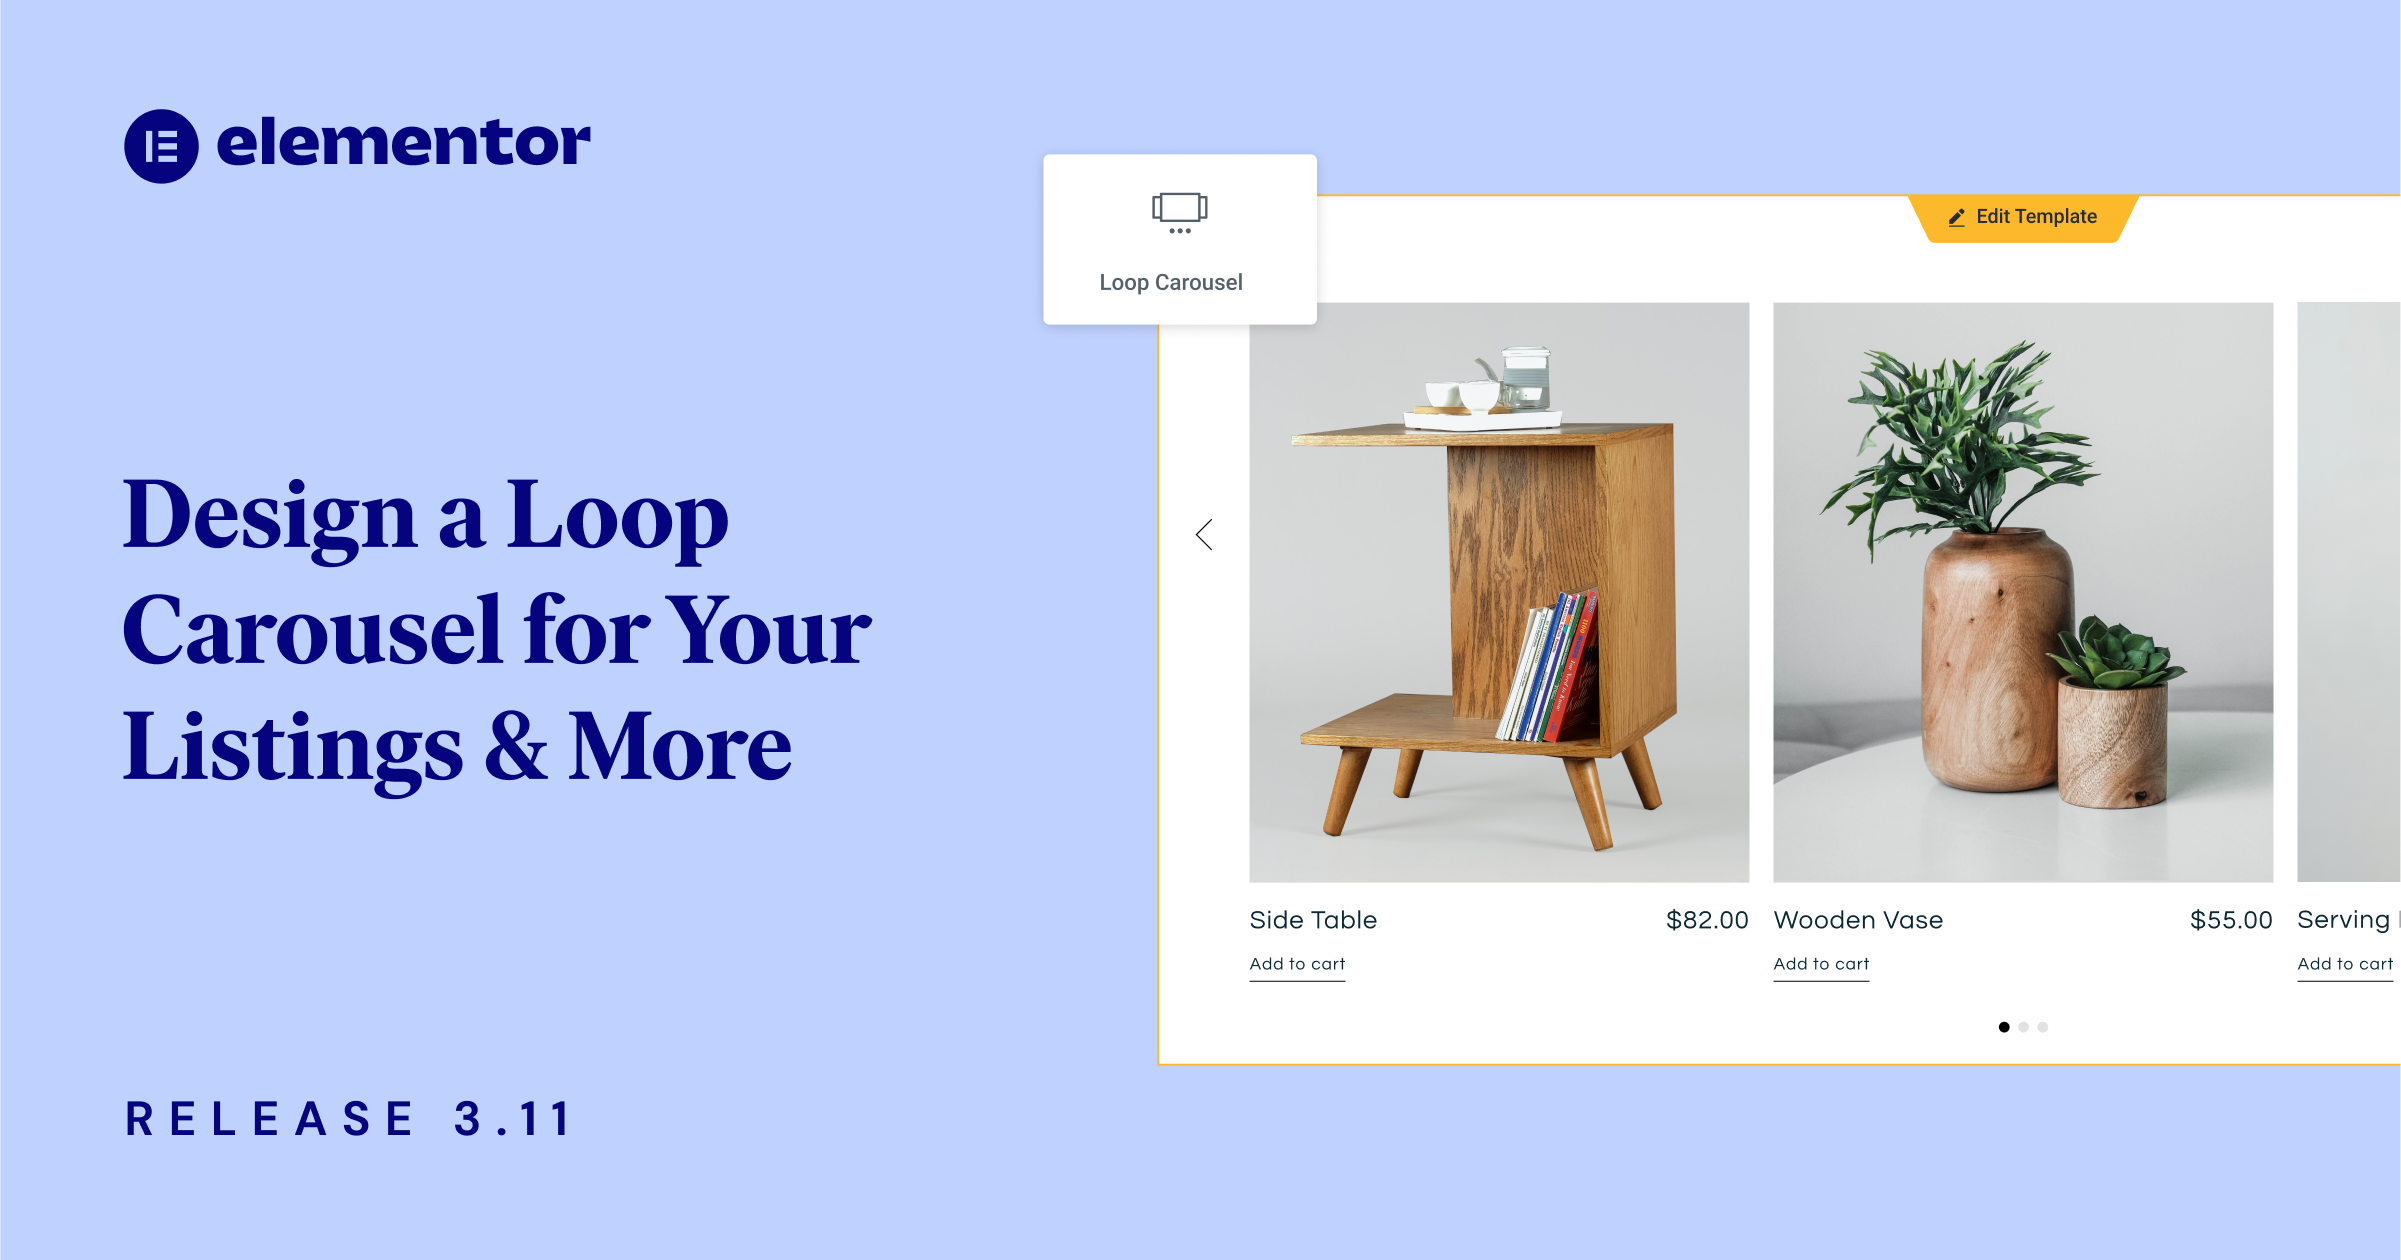
[Pro] Display Your Dynamic Listings in a Carousel of Your Design with the New Loop Carousel
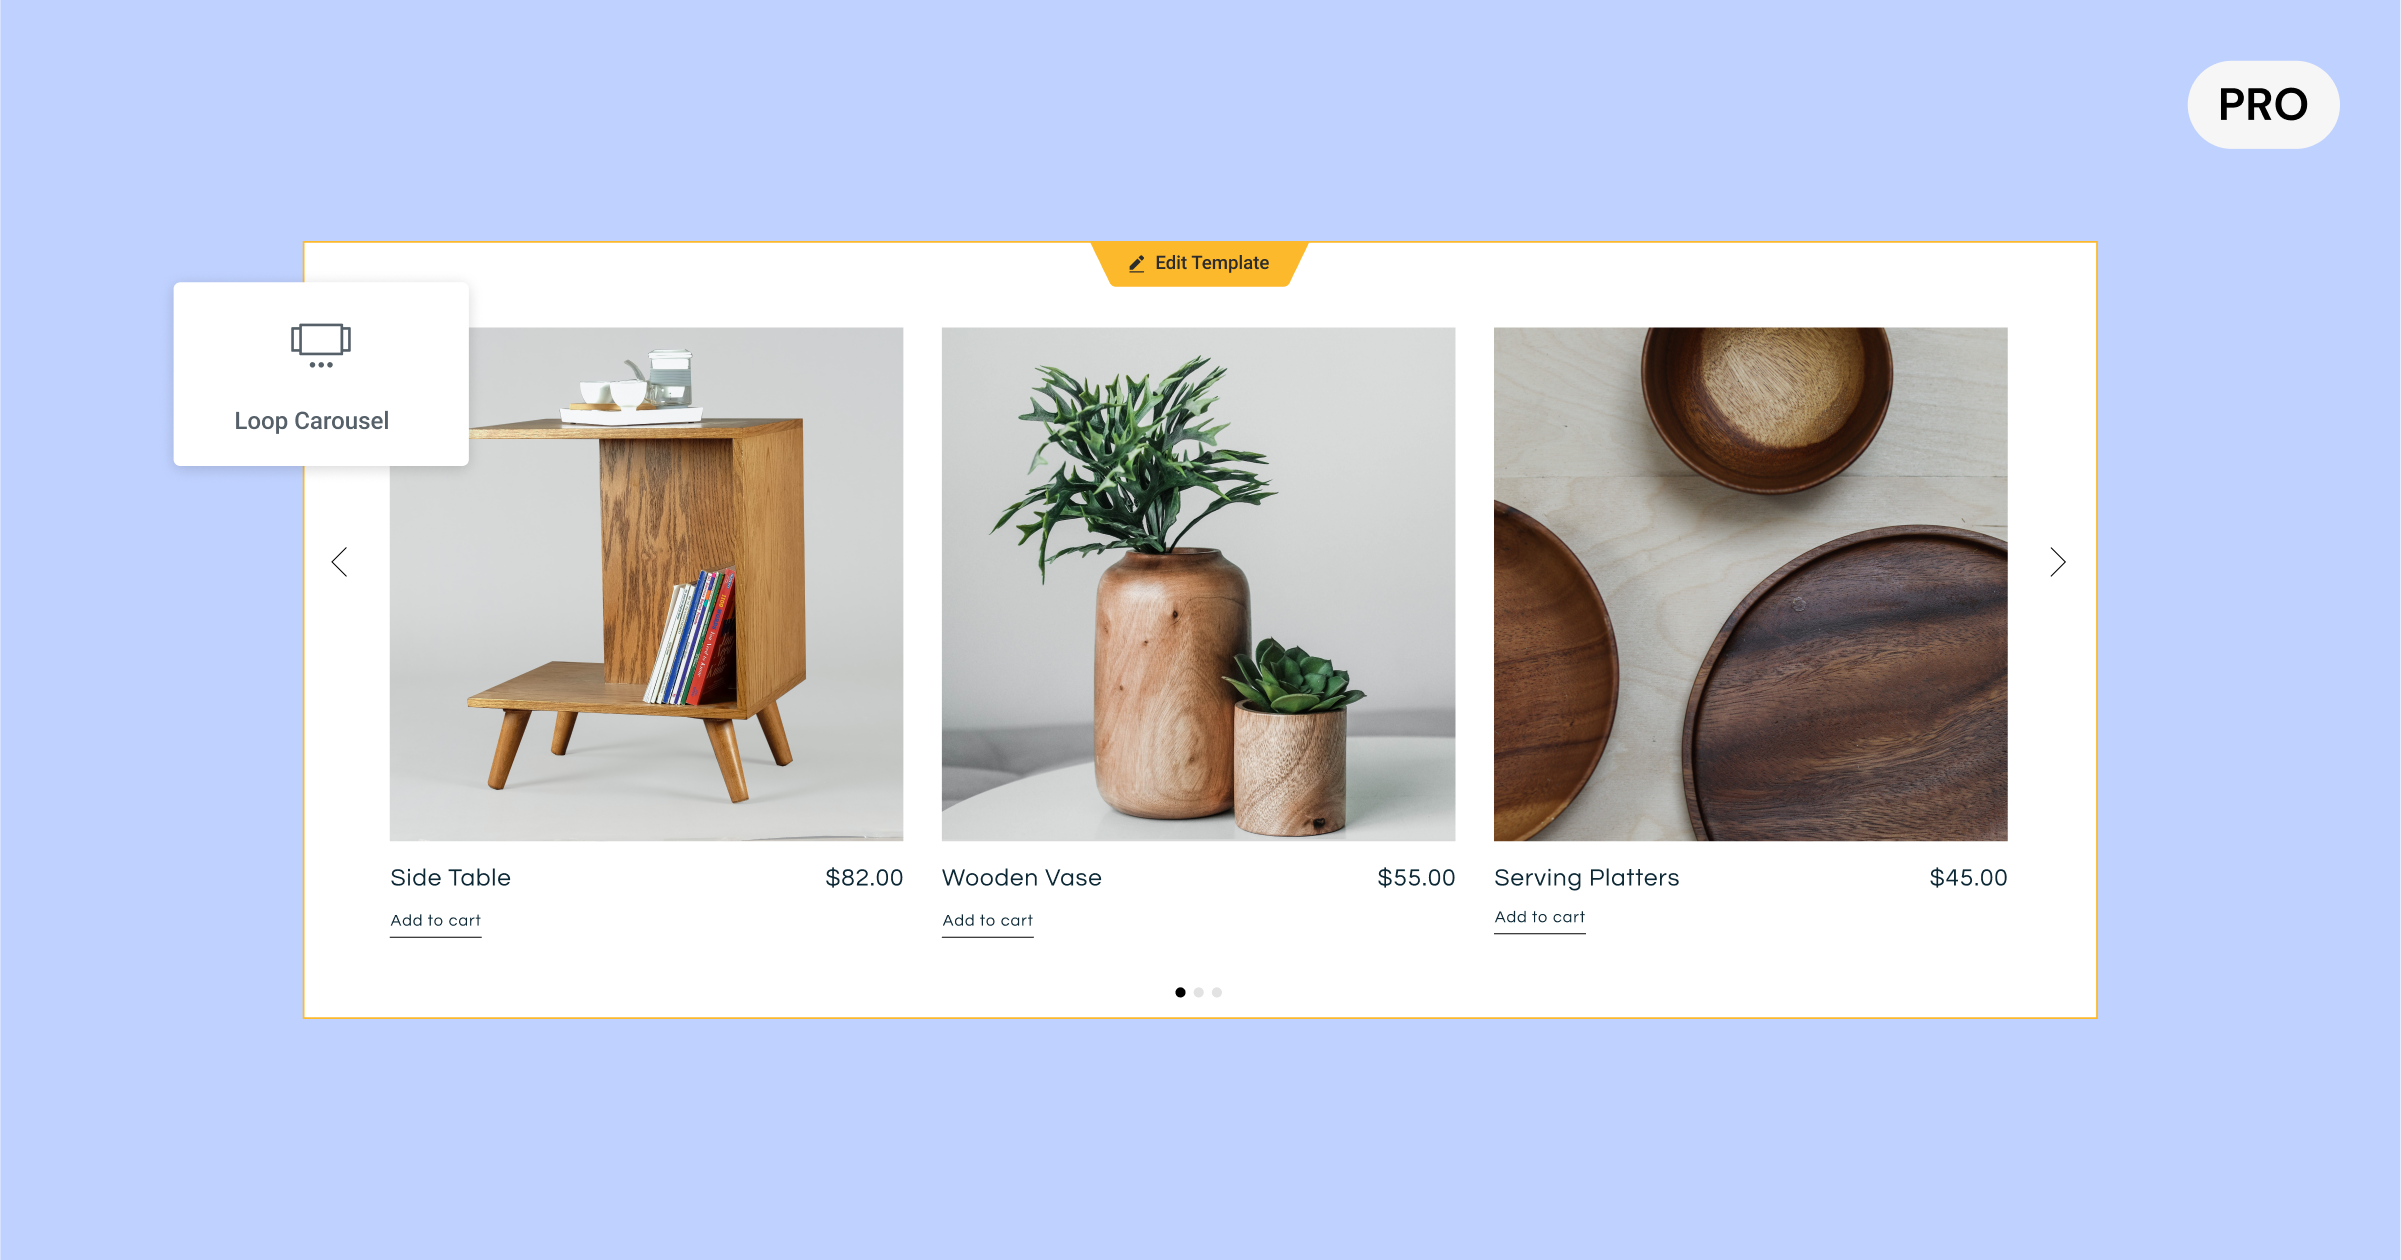
The new Loop Carousel widget expands the capabilities of the Loop Builder, first released in Elementor 3.8, and enables you to place a Loop Carousel anywhere on your website. With the Loop Carousel, you can display the listings of your posts, custom posts, or products in an infinite looping carousel format, instead of a grid.
Creating your own custom designed Loop Carousel requires creating (or using) a Main Item Template, choosing a query to determine which content to display, and designing the carousel, similar to how you would design any other carousel in Elemenor.
Designing The Main Item Template for your Carousel
When you drag the Loop Carousel widget into the Editor, you will be prompted to Create a Template. You can either choose to create one in-place by clicking the button in the Editor or the widget panel, or choose a template you’ve already created. Alternatively, you can also create a new template by going to the Theme Builder and adding a new Loop Item.
Design your Main Item Template any way you’d like, using any of the widgets available to you, adjusting their order, size, layout and more to match your design needs. The widgets you use can be used to enhance your template’s design, or they can be dynamic that populate based on the content you assign to it with dynamic tags.
Pro Tip: To ensure consistency across your website, and accelerate your workflow, you can use the same Main Item Template in your Loop Grid and Loop Carousel by choosing the same template.
Determining the Content to Display
With the Query tab, you can choose what content you want to display in the Loop Carousel. This will dynamically populate the content you chose in each of the carousel cards. At this stage, you will choose whether you want to display your posts, custom post types, products, landing pages, and more. Then, you can leverage the include/exclude toggle to curate the content you want to show based on your content’s various taxonomies.
Once you’ve chosen the source of content you want to include in your Loop Carousel, you can adjust additional parameters to display your listings as you’d like, by order, date, title, menu-order and last modified among others.
Customizing your Carousel
To customize the Loop Carousel, you can define how many cards you’d like to display at a time, as well as leverage all the styling options available in the other carousel widgets, including whether you want it to autoplay, what the scroll speed should be, pause on hover, and infinite scroll.
Additionally, you can take advantage of all the advanced settings of the carousel to include motion effects, add a border, mask, and more.
Please Note: Elementor 3.11 also includes an infrastructure update to the Swiper Library, from version 5.3.6 to 8.4.5. The Swiper Library is associated with the Carousel settings, and will enable more styling and settings for carousels in upcoming releases. This experiment will be active by default on new websites. If you have an existing website that you want to activate for this experiment, go to Elementor → Settings → Features and activate ‘Upgrade Swiper Library.’ Before activating this experiment, make sure to backup your website, and test it in a staging environment.
Copy & Paste Between One Website’s Editor to Another Instantly
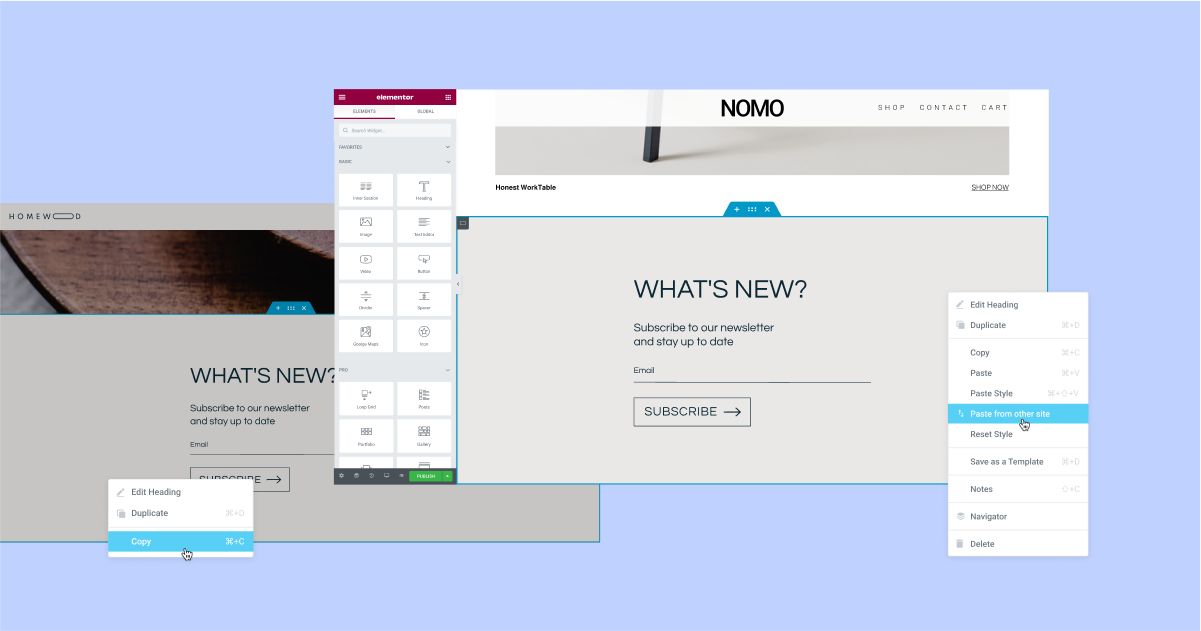
Have an element you’ve designed in one website and want to use it in another? You can now use the new Copy & Paste Between Websites feature. This will help you speed up your workflow by eliminating the need to create a JSON file for an element you want to copy, exporting it, and importing it to another website.
With this update, you can copy any element from the Editor of one website using the Copy command (CMD/CTRL + C, or right clicking the element and choosing copy) and paste it into the Editor of another website by right-clicking your mouse where you want to paste it in the Editor, and choosing ‘Paste from another site.’ Afterwards, you will be prompted to click CMD/CTRL + V to confirm that you want to paste the element.
For a better workflow, and to maintain the consistency of design across your website, the elements you paste from another website will adopt the global styles (colors and fonts) of the target website you paste into. In that way, you don’t have to adjust it yourself to match your website.
Please Note: To use the Copy & Paste Between Websites feature, both websites need to be on Elementor version 3.11 or above. Additionally, locally hosted videos and images will not copy over. You will need to upload the image or video yourself to the target website.

Adjust the Size of Your Background Images Per Device to Improve Website Loading Time
Image sizes can have a significant impact on your website’s appearance and performance. Choose a size that’s too small and it may not have the best resolution on larger screens, or an image that’s too big and it can negatively impact your performance, especially on smaller devices.
Every image uploaded to WordPress is cut to various image sizes (image resolution), including: thumbnail, medium, medium large, full, and more. This allows you to adjust the image size to different breakpoints.
With Elementor 3.11, you can adjust any one of your background image sizes responsively.hat way you can choose larger images for desktop and smaller images for mobile and improve your website’s performance, without compromising on its appearance.
As part of this update, the other size control in the settings of the Background Image, which controls the CSS settings of the image size (Auto, Cover, Contain, and Custom) has been renamed ‘Display Size’.
[Pro] Schedule Your Popups For a Specific Time Range with the New Advanced Rule
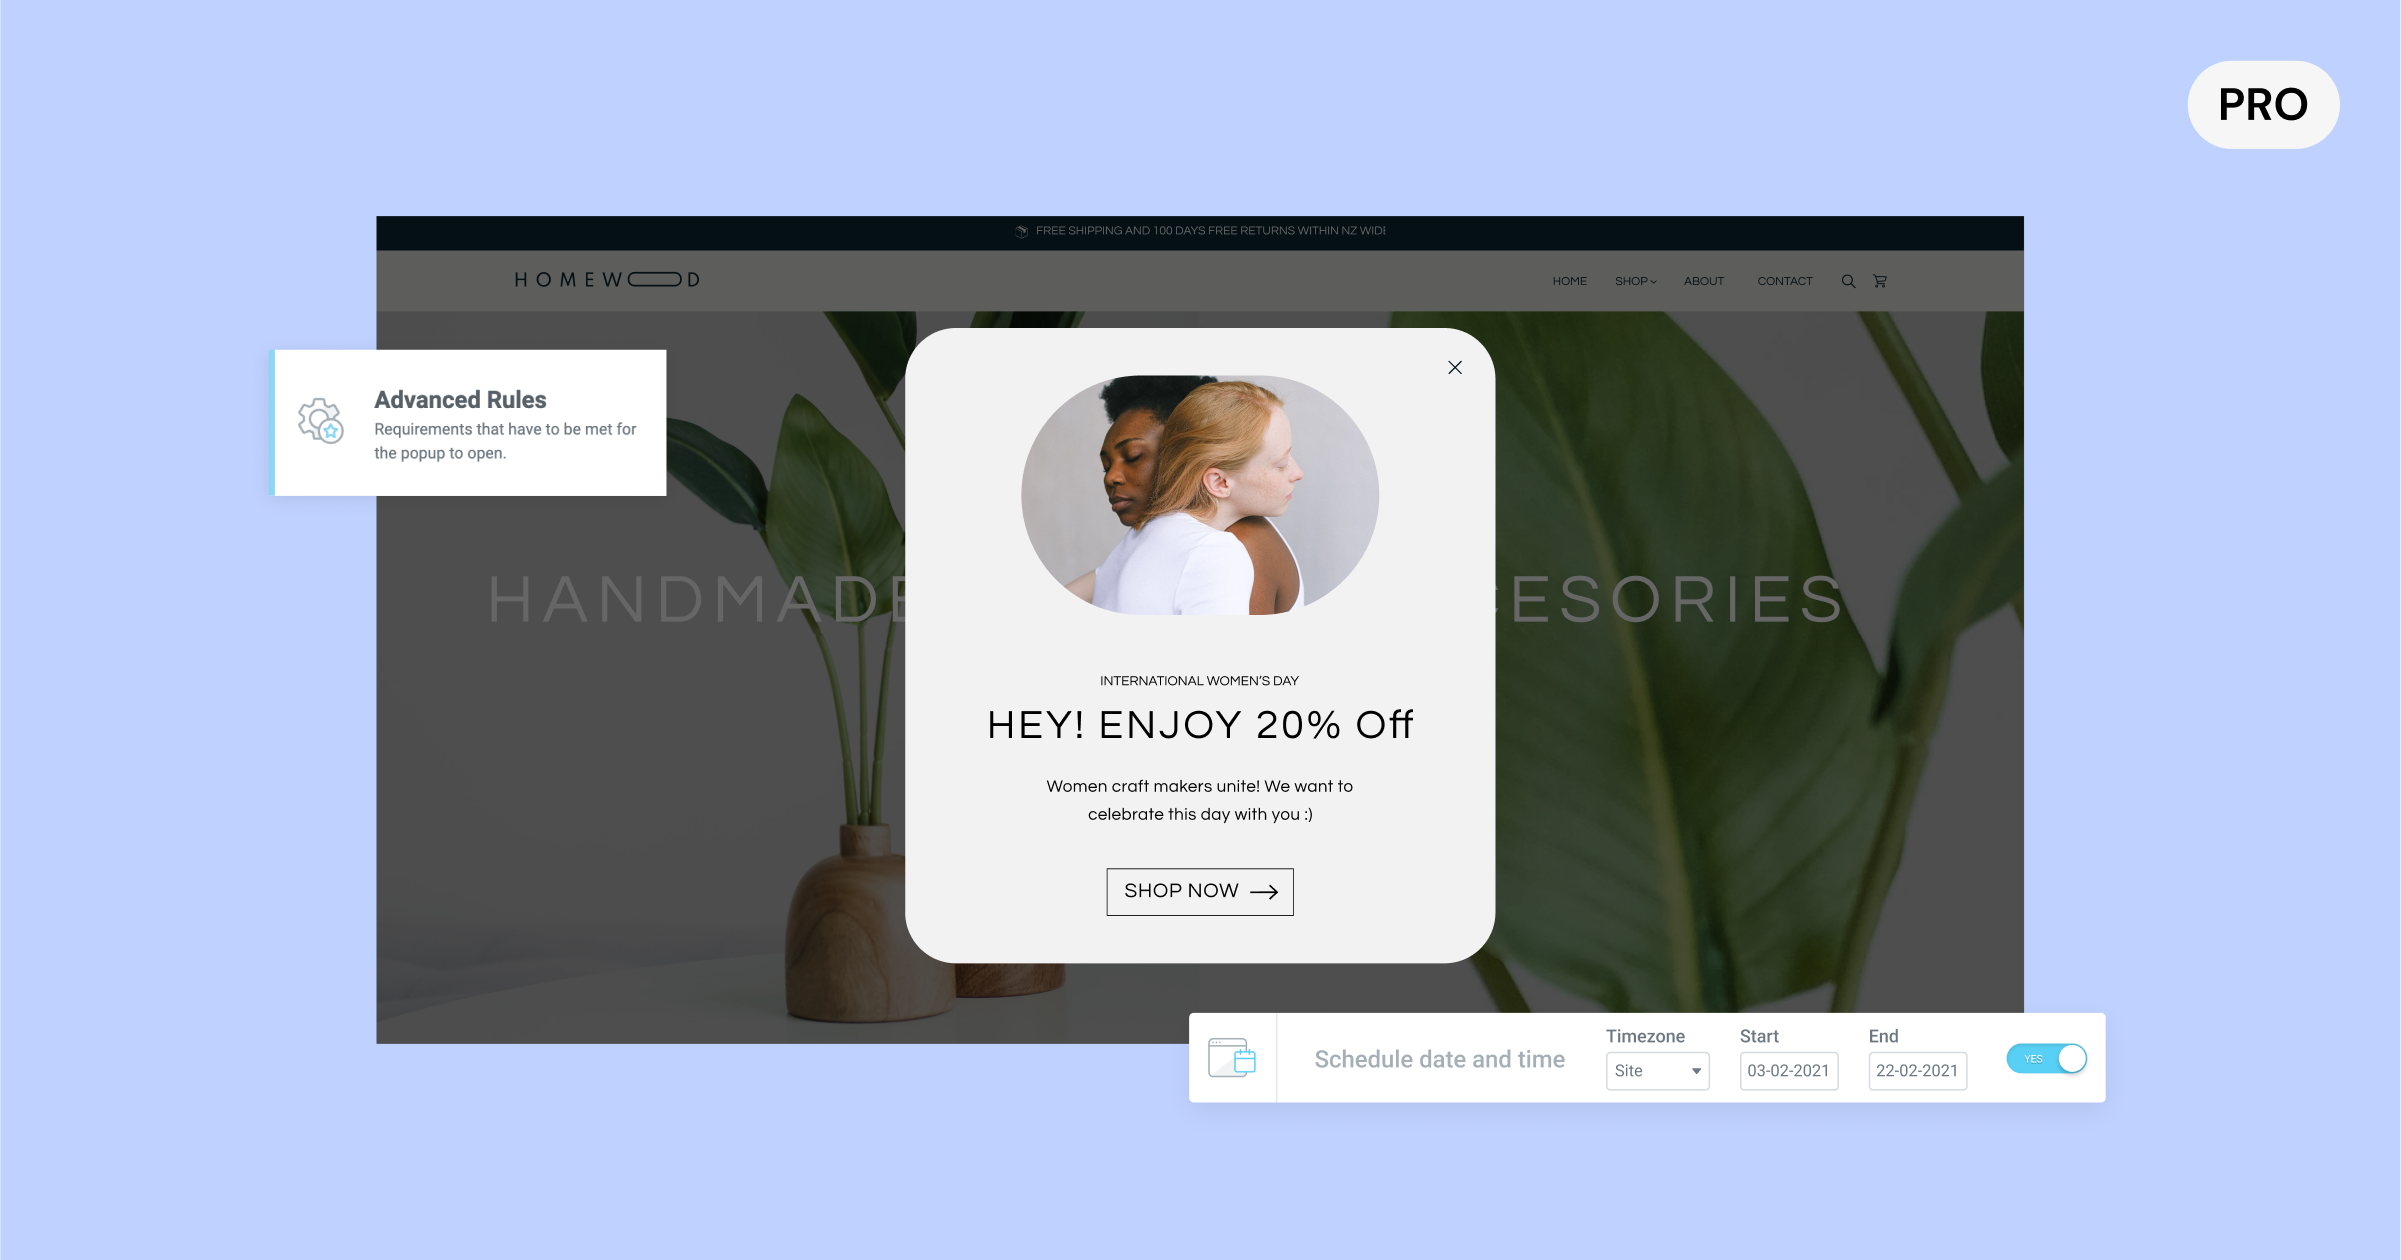
Have a promotion you want to display in a popup during a specific timeframe? Now you can precisely schedule when your popups should appear. Choose the date, and time based on your website’s time zone, or even your visitor’s time zone.
Previously, you would have to manually activate the popup for the time range you wanted it to display and then have to remember to deactivate it when you were ready to remove the popup. Now, you can schedule it ahead of time. For example, if you have a holiday campaign or message you want to promote in a popup, you can set it up in advance and have it automatically stop when the campaign has ended.
The new date and time range setting is located under the Advanced Rules in the popup’s display condition, and can be formulated along with any of the other triggers, display conditions, and advanced rules to ensure that you are delivering the most appropriate message to each visitor, at any given time or place.
Additional Updates
Elementor Experiment Page Renamed to Features
Elementor’s Features page, available from Elementor → Settings in the WP Dashboard has replaced the previous page – Experiments. This update is intended to clarify the status of various features that you can manually activate or deactivate based on your preferences.
Accessibility Improvements
Improving the accessibility of your website is paramount for delivering a positive user experience, and also has an impact on your website’s lighthouse scores. Elementor 3.11 includes a number of accessibility improvements in the following Pro features:
- Popups – Added the ability to dismiss the popup with the keyboard.
- Search widgets – Made the Search widget’s full-screen mode keyboard accessible.
- Post widget – Added a new `aria-label` to the ‘read more’ link.
- Flip Box widget – Added keyboard navigation support.
Elevate Your Website’s Design and Visitor Experience with These New Features
With Elementor 3.11 you can elevate your website design with the new Loop Carousel, improve your workflow with the new Copy & Paste Between Websites, and improve your visitor’s experience with the new Popup Advanced Rule and accessibility improvements.
Continuously improving your websites and introducing new design concepts can increase your visitor engagement and keep your business top of mind. Try out these new features and let us know what you think in the comments.


