
If you’ve ever stared at your Google Tag Manager preview wondering why your tags have gone quiet, you’re not alone. Setting up privacy compliance can feel like solving a puzzle in the dark, but it’s more approachable than it looks.
Most consent mode problems fall into a handful of predictable patterns, and once you know what to look for, fixing them is straightforward. Let’s dig into what’s going wrong and how to put it right.
Key Takeaways
- Google Consent Mode v2 needs explicit choices for ad_user_data and ad_personalization.
- Read the cryptic gcd and gcs parameters from your browser’s network tab.
- Test consent signals in real time with Google Tag Assistant and the console.
- Fix race conditions where marketing scripts fire before your banner sets default state.
- Simplify compliance with native WordPress tools that skip external dashboards.
What is Google Consent Mode v2 and Why Does It Fail?
To understand why things go wrong, it helps to look at what Google Consent Mode v2 does. Instead of blocking or allowing tags outright, it acts as a smart mediator, passing your visitors’ privacy choices to services like Google Analytics 4 and Google Ads. If a user rejects cookies, Google tags don’t shut down entirely; they send cookieless pings that help Google estimate conversions without identifying the individual.
Regulatory changes in the European Economic Area (EEA) and various US states mean Google requires explicit consent signals before using audience building or personalized advertising in 2026. Missing or misconfigured signals stop your remarketing lists from growing and cost you conversion tracking accuracy.
Most failures come down to a slip-up between your consent banner and Google Tag Manager. If your banner sets consent states too late, or your scripts ignore the global settings, Google defaults to a denied state, leaving you in the dark even when visitors click “Accept All.”
Common Signals and States in Google Consent Mode (2026)
Google Consent Mode v2 relies on a set of parameters to manage permissions, each controlling a different piece of tracking. Two types have been around a while; two newer ones arrived with v2. Here’s what each controls on your site.
| Consent Parameter | What It Controls | Required For | Default State Recommendation |
|---|---|---|---|
| ad_storage | Stores ad-related cookies and identifiers on the device. | Basic conversion tracking and ad platforms. | Denied (until user grants permission). |
| analytics_storage | Stores web analytics cookies to track visitor patterns. | Google Analytics 4 session tracking. | Denied (until user grants permission). |
| ad_user_data | Sends user-related data to Google for advertising purposes. | Google Ads conversion tracking and attribution. | Denied in EEA regions by default. |
| ad_personalization | Controls personalized advertising and remarketing capabilities. | Google Ads audience lists and retargeting. | Denied in EEA regions by default. |
Each parameter sits in one of two states: granted or denied. When denied, Google’s tags still send network requests, but strip out the persistent cookies that would otherwise track visitors across sessions.
Step-by-Step Guide to Diagnosing Consent Mode Issues
When something goes wrong with your tracking, you don’t need to guess where the break is. A clear process helps you find exactly where your consent signals are dropping.
Step 1: Inspecting the Data Layer in Your Browser Console
Your browser’s developer tools are your best friend here. You can see what your site is saying behind the scenes by querying the data layer: open your site in a private window, right-click, choose Inspect, go to the Console tab, and type:
console.table(window.dataLayer);Look for events named consent in the output. You should see a default setup event fire early in the page load. If you don’t see one near the top of the queue, your banner is loading too late, one of the most common sources of tracking errors.
Step 2: Testing with Google Tag Assistant
Google Tag Assistant is the most visual way to watch your tags in action: connect your site and it records every state change as you browse. (This trips up plenty of people, since it’s easy to forget to clear cookies before a fresh test.)
- Open Google Tag Assistant and enter your website URL to launch the preview mode.
- Look at the left-hand event history sidebar for the Consent event.
- Click on the Consent event and navigate to the “Consent” tab in the main window.
- Verify that the “On-page Default” column matches your regional requirements.
- Click “Accept All” on your consent banner and verify that the “On-page Update” column changes to “Granted.”
If those values don’t change after you interact with your banner, your consent tool isn’t sending the update command to Google Tag Manager, and tracking stays locked in the default denied state.
Step 3: Checking Network Requests and URL Parameters
Sometimes Tag Assistant looks fine, but Google’s servers still report missing signals. Inspecting the network requests themselves confirms what’s actually leaving your site.
- Open your browser’s Developer Tools and select the Network tab.
- In the filter box, type
collect?to isolate Google Analytics requests, org/collectfor Google Tag requests. - Refresh your page and look at the matching network requests that appear.
- Click on a request and scroll down to the payload parameters, looking for the gcs and gcd query strings.
These strings carry condensed, coded information about your visitor’s consent status. If they’re missing entirely, Google isn’t receiving any consent state from your page. We’ll decode what they mean next.
Fixing the Most Common Google Consent Mode Errors
Most consent issues fall into a few predictable categories worth knowing.
Resolving Race Conditions and Load Order Problems
A race condition happens when your marketing tags (like your GA4 tag) fire before your consent tool sets the default states, so Google assumes no consent settings exist and defaults to a non-compliant state or blocks data collection entirely.
To fix this, load your default consent settings as early as possible. If you use a custom script, keep the default consent code at the very top of your <head> element, before your Google Tag Manager container snippet:
<script>
window.dataLayer = window.dataLayer || [];
function gtag(){dataLayer.push(arguments);}
gtag('consent', 'default', {
  'ad_storage': 'denied',
  'analytics_storage': 'denied',
  'ad_user_data': 'denied',
  'ad_personalization': 'denied',
  'wait_for_update': 500
});
</script>
The wait_for_update parameter tells your Google tags to wait a set number of milliseconds for your banner to send the user’s actual choice before firing any tracking pings, keeping early page-load data clean and compliant.

Choosing the Right Consent Integration Tool
A poorly coded consent banner can turn debugging into a full-time job.
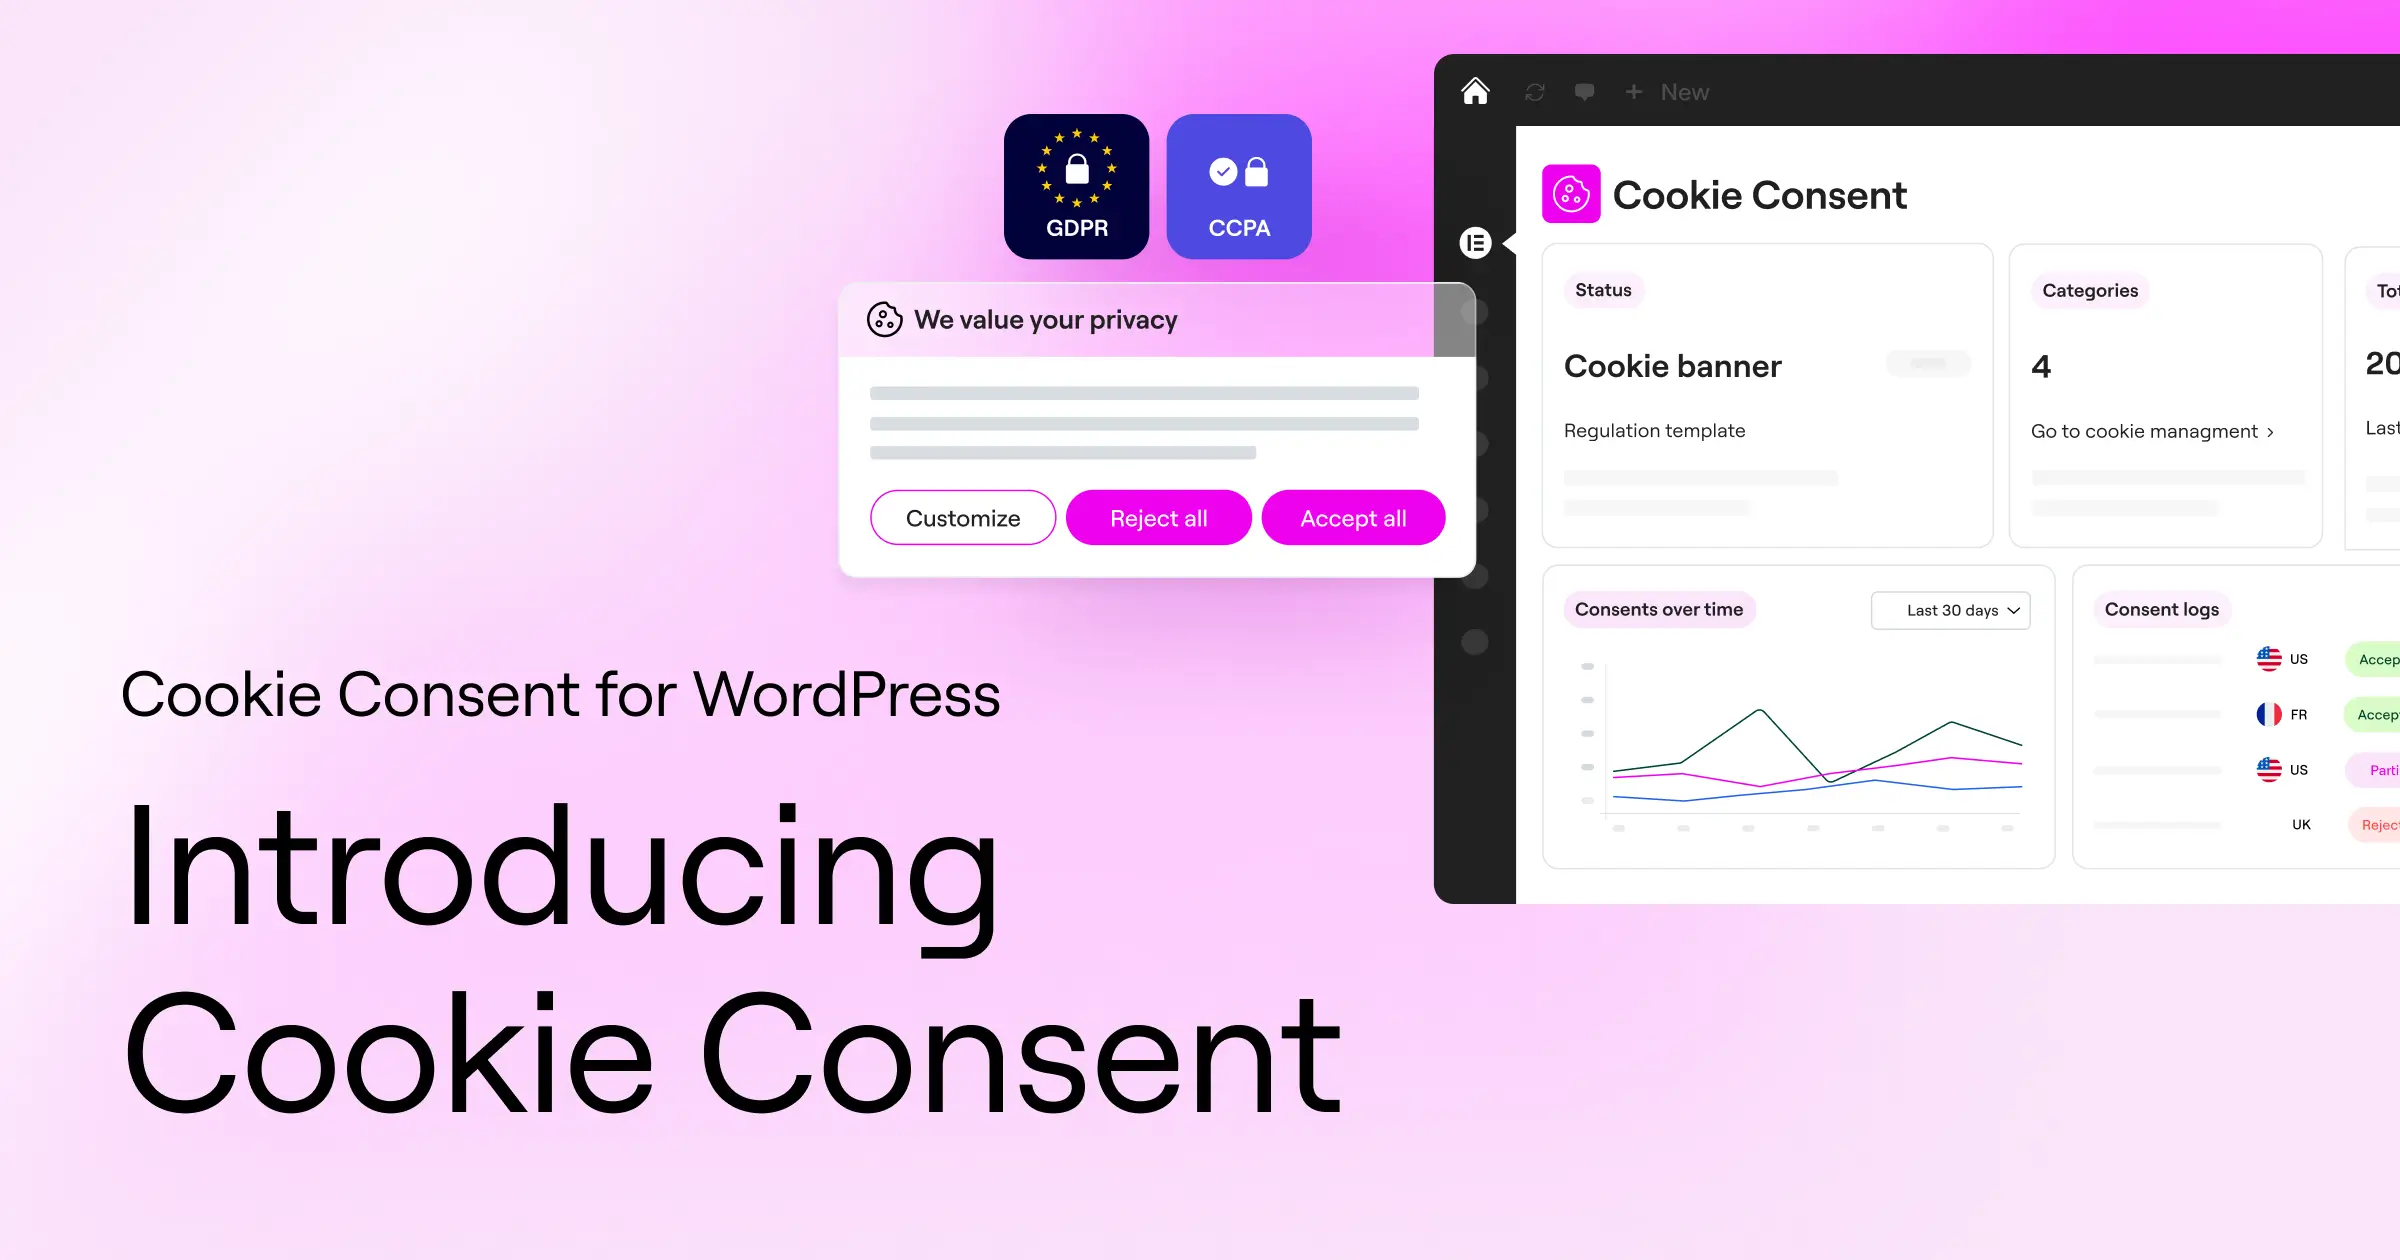
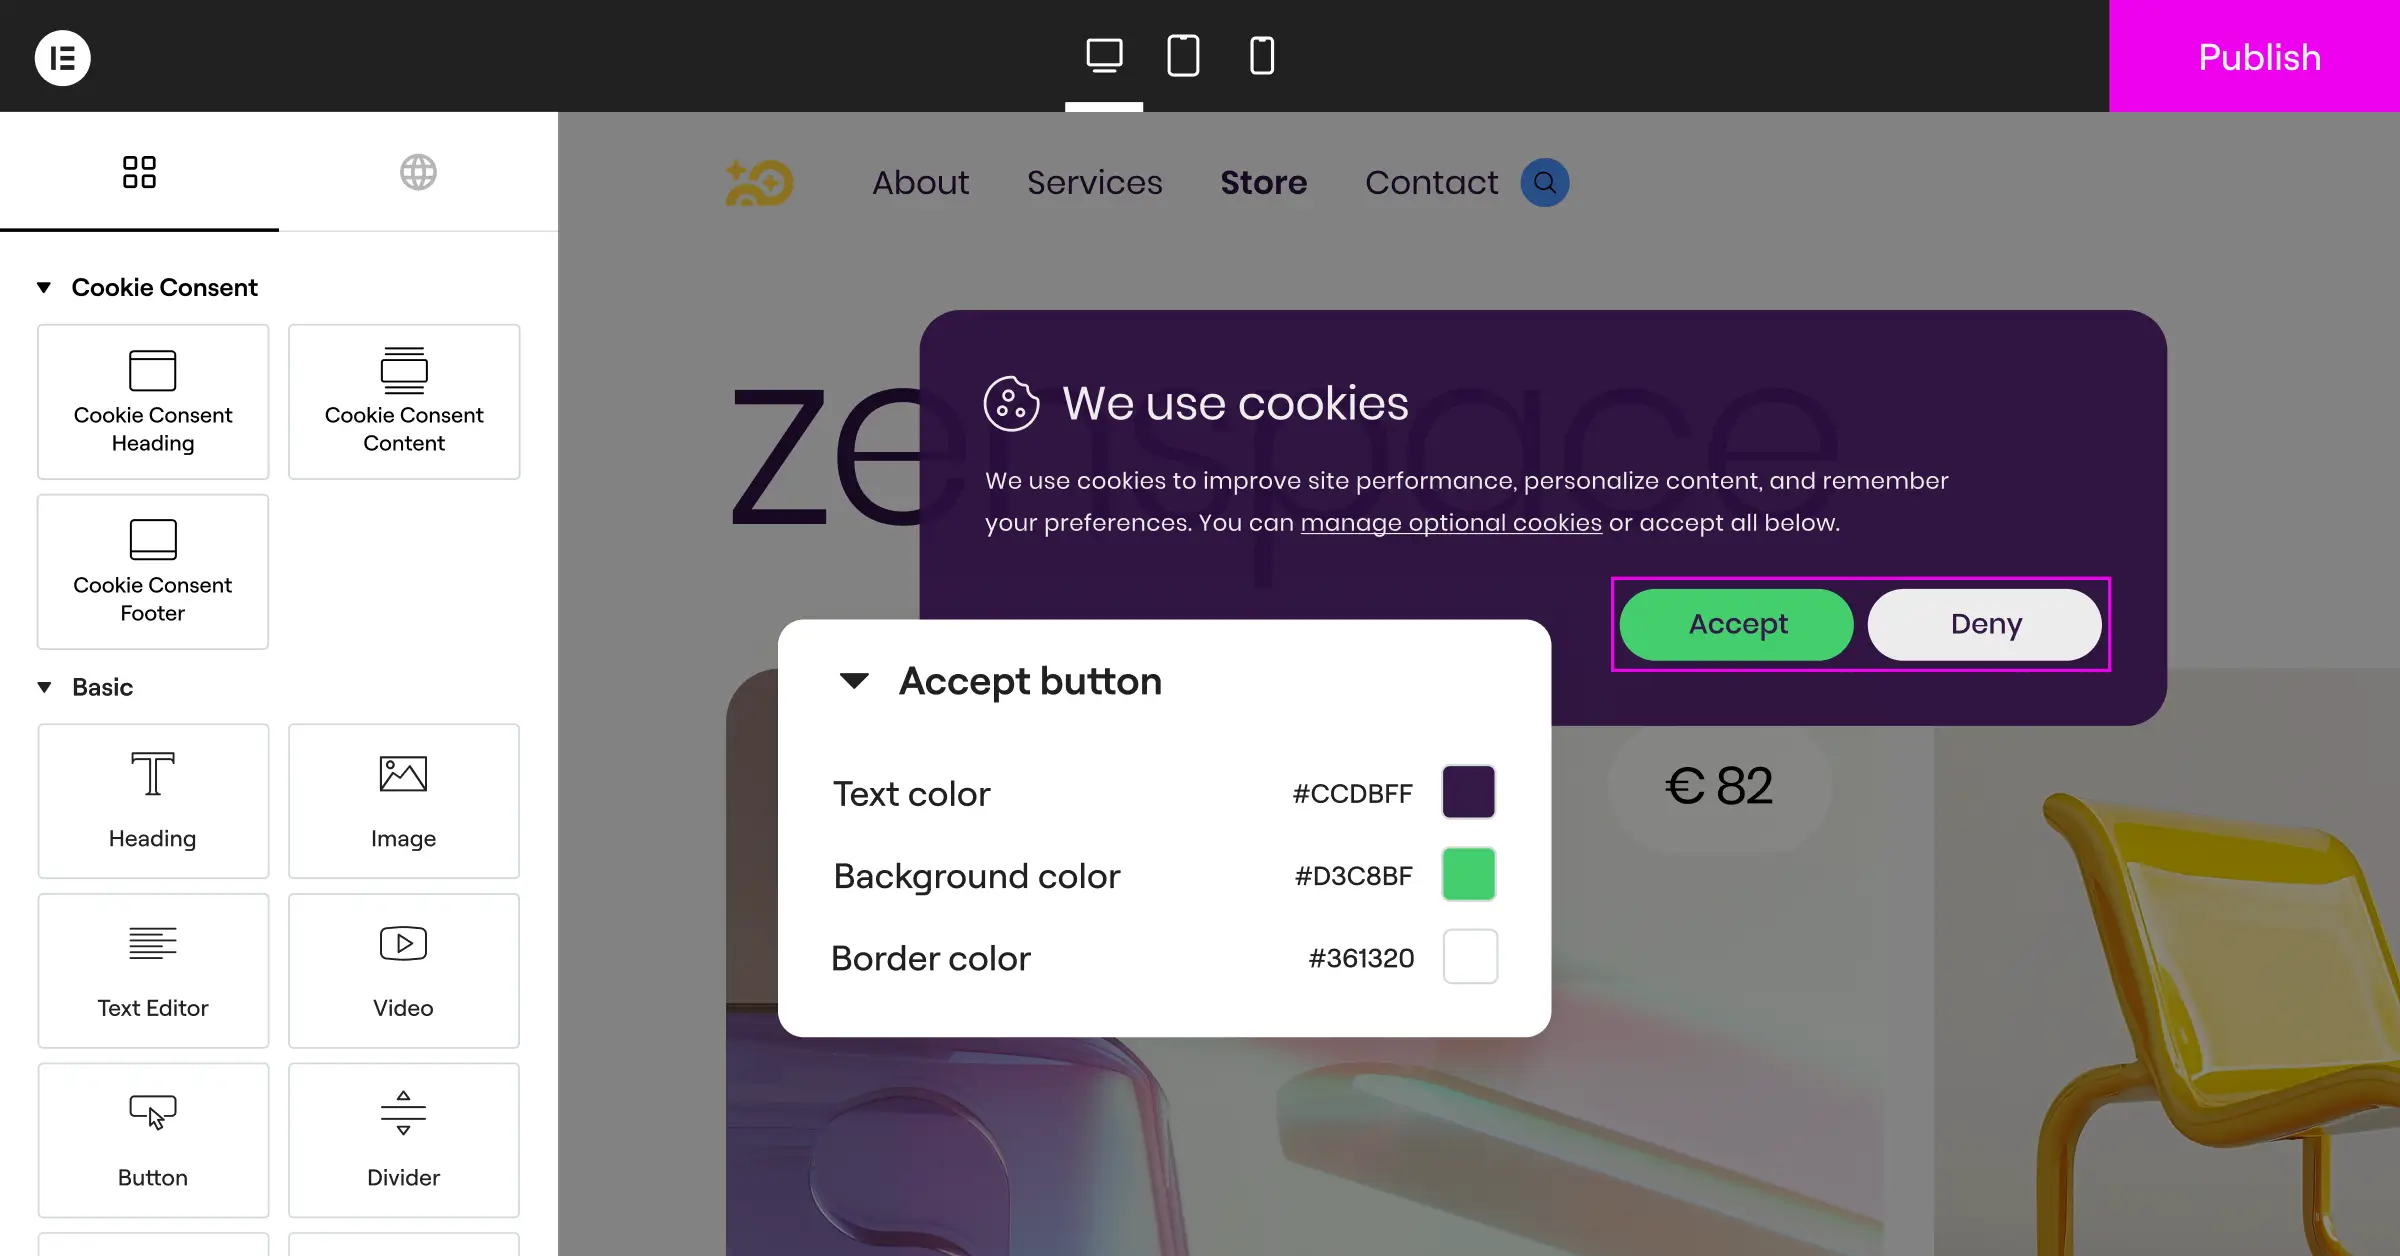
If you’re on WordPress, a native compliance feature makes life simpler. The Elementor platform includes a built-in Cookie Consent capability inside your WordPress dashboard, letting you build customized banners, manage tracking scripts, and keep accurate consent logs without leaving your site. Because it’s built into the platform, you avoid the script conflicts that often break Consent Mode v2 setups.
The Cookie Consent feature from Elementor supports Google Consent Mode v2 natively, so the handshake between your banner and your Google tags happens automatically, with no custom update scripts or timing conflicts to manage.
Handling Regional and Geo-Targeting Conflicts
You don’t want to block analytics for visitors in regions that don’t require strict opt-in consent, like most of the US, while enforcing opt-in rules in the EU. A global “denied” default for everyone drops your marketing metrics needlessly.
Configure your consent tool to apply defaults based on the visitor’s location: “granted” outside regulated areas, “denied” in the EEA and UK. If your tool doesn’t support native geo-targeting, check Google Tag Manager’s geographical variables, or a tool built with location filtering in mind.
How to Decipher the Cryptic gcd and gcs Parameters
When you inspect your network requests, Google doesn’t spell out “consent granted” in plain English. It uses two URL parameters instead: gcs (Google Consent Status) and gcd (Google Consent Diagnostic), and learning to read them is like having a direct line to what Google’s servers actually receive from your page.
The GCS Parameter Demystified
The gcs parameter is a short, three-character string that shows the status of advertising and analytics consent. It follows the format G1XX, where the last two digits represent binary values (1 for granted, 0 for denied).
- G100: Both advertising and analytics storage are explicitly denied.
- G110: Advertising storage is granted, but analytics storage is denied.
- G101: Advertising storage is denied, but analytics storage is granted.
- G111: Both advertising and analytics storage are granted.
If you see gcs=G100 after clicking “Accept All,” your site’s consent update isn’t firing properly, and you’ll want to verify your banner is pushing the updated values to the data layer.
The GCD Parameter Demystified
The gcd parameter is longer, tracking both the default values and how they were updated. A typical string looks like 13p3p3p2p1 or 11r1r1r1r1, communicating the exact state of all four core consent values to Google’s backend.
Specific letters separate the numbers, representing (in order) ad_storage, analytics_storage, ad_user_data, and ad_personalization. The markers you’ll see most:
- p: Denied by default, and remains denied after the page update.
- q: Denied by default, but successfully updated to granted by the user.
- r: Granted by default, but updated to denied by the user.
- s: Granted by default, and remains granted after the page update.
- u: Not set by default, but updated to granted by the user.
- v: Granted by default, but wasn’t updated during the session.
In an opt-in region like Germany, a user who accepts your banner should generate requests with letters like q or s in the gcd string. If you see p across the string even after consent is granted, your banner isn’t signaling Google’s tags to update.
Best Practices for Maintaining Privacy Compliance on WordPress
Once your Google Consent Mode is working, you’ll want to keep it that way, since new scripts, theme updates, or tag changes can quietly break your consent flow if you’re not paying attention.
“Correctly managing consent signals is no longer just about legal protection; it directly affects the quality of your marketing data. When Consent Mode is configured cleanly, you keep the critical measurement insights you need while respecting visitor choices.”
– Itamar Haim, Web Compliance Specialist
A few foundational habits keep things smooth and compliant without piling on technical bloat:
- Scans your site regularly for new tracking scripts or cookies from newly installed plugins.
- Categorizes every script clearly, so marketing pixels stay blocked until the user grants consent.
- Displays clear, readable consent banners matching your brand without slowing your pages down.
- Logs consent choices in an audit-ready format, so you can prove compliance if regulators ask.
- Adapts banner language and regional layout automatically based on visitor location.
- Updates Google Tag Manager triggers to use “Consent Initialization” for defaults, not standard page-view triggers.

Keeping your tools clean and native protects your tracking from future platform updates. Pairing Elementor’s Cookie Consent feature with their Web Accessibility tool covers compliance across the board, keeping your marketing data accurate.
Alternative Compliance Tools and How They Integrate
There are several established cookie consent options for web developers exploring the wider market, and it helps to know how they compare and handle Google Consent Mode integration.
- Cookiebot: Tracks cookies automatically through cloud-based scanning and integrates with Google Tag Manager through a pre-built community template.
- CookieYes: Generates customizable banners and handles consent recording through a separate web app dashboard.
- Complianz: Blocks scripts conditionally on WordPress sites and configures local settings natively within the WordPress dashboard.
- iubenda: Stores legal documents and auto-generates privacy policies alongside privacy consent banners.
- OneTrust: Customizes highly detailed consent paths for enterprise-level compliance needs across complex global networks.
These are established options, though they often mean managing external accounts or writing custom code to map banner interactions to Google’s parameters. If you’d rather manage everything from one workspace inside WordPress, a native tool like Elementor’s Cookie Consent keeps the complexity down.
Frequently Asked Questions
Why is my Google Tag Assistant showing consent as “not configured”?
This shows up when Google Tag Manager can’t find a default consent state on your page. Add a default consent block through your banner tool, or write a custom script in your page head before the Tag Manager script loads. A native tool like Elementor’s Cookie Consent sets these defaults automatically, so you skip the custom code.
What is the difference between Basic and Advanced Consent Mode?
Under Basic Consent Mode, Google tags stay blocked until a user clicks “Accept,” and no data reaches Google if they reject the banner. Under Advanced Consent Mode, tags load even when consent is denied, sending anonymous, cookieless pings to help estimate conversions. It gives more data but needs careful legal consideration for your region.
How do I test if my consent banner is blocking cookies before consent is given?
Clear your browser cookies and open your site in an incognito window without clicking the banner. Right-click, choose Inspect, go to the Application tab, and select Cookies. If you see tracking cookies like _ga or _fbp before clicking “Accept,” your scripts aren’t blocked correctly, so adjust your integration settings.
Why are my conversions suddenly dropping after setting up Consent Mode v2?
A sudden drop usually means your tags default to “denied” for all users and aren’t updating to “granted” after a visitor clicks accept, pointing to a broken update trigger. Check your network tab for the gcs and gcd parameters after accepting. If they still show denied values, your banner isn’t broadcasting the update signal to Google Tag Manager.
Do I need to implement Consent Mode if I do not target users in the EU?
If your business doesn’t serve visitors from the EEA or UK, Google doesn’t strictly require Consent Mode v2 right now. That said, several US states are introducing similar privacy laws. Setting up a native cookie consent tool now protects your tracking from future changes, and it’s easier to do proactively than retrofit later.
Can I use Google Consent Mode without using Google Tag Manager?
Yes, you can manage settings without Google Tag Manager by writing raw Google Tag scripts (gtag.js) directly on your site. Place your default consent commands above your main tracking snippet, then trigger updates manually with JavaScript when a user interacts with your banner. It takes some coding, but it’s reliable for sites that skip tag managers entirely.
How do I fix a console error saying “gtag is not defined”?
This happens when your code sends a consent update before the Google Tag library has loaded. Initialize the data layer and define the gtag() function at the very top of your page head, so updates queue safely even if the tracking scripts take a moment to finish downloading.


