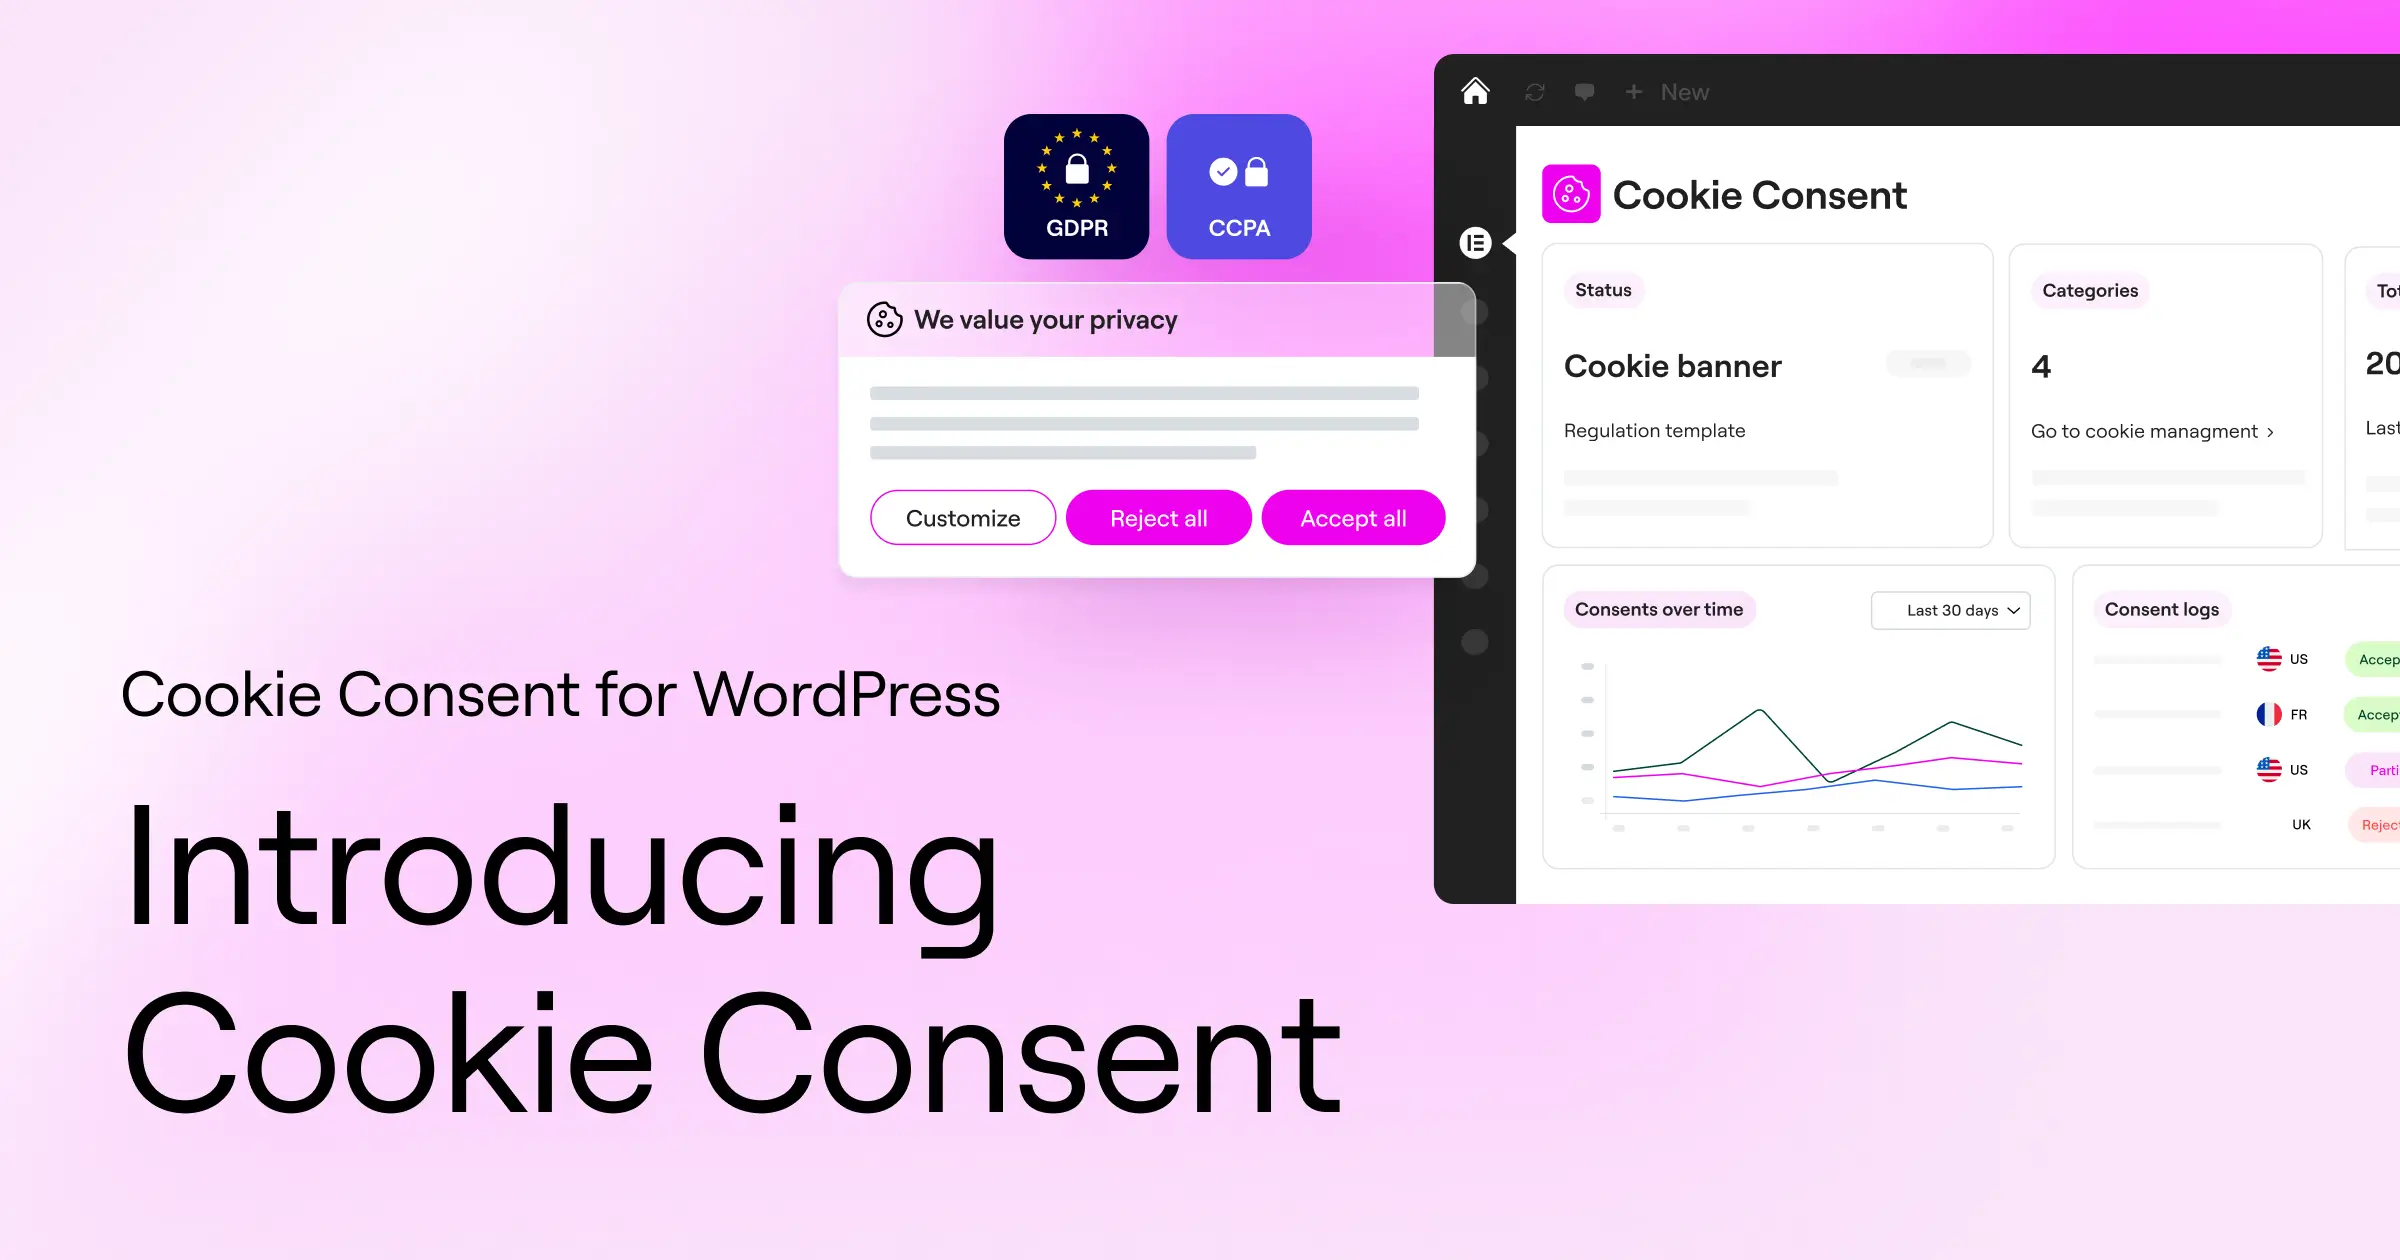
You want your WordPress site fast, friendly, and fully legal. But if you’re running analytics, marketing pixels, or other third-party tools, those tracking scripts probably start loading the moment a visitor lands, before they’ve agreed to anything. In a lot of regions, that’s a real privacy problem: laws like GDPR and CCPA require you to block these scripts until a visitor actually clicks “Accept” on your consent banner. Managing this by hand can feel like a lot at first, but it’s easier than it looks, so let’s walk through it together.
Key Takeaways
- Protect visitor privacy by blocking non-essential scripts until a visitor gives clear, active consent.
- Set up native tools right inside WordPress instead of juggling a separate external dashboard.
- Turn on Consent Mode v2 to keep Google Analytics and ads running while you stay fully compliant.
- Check your scripts now and then with your browser’s developer tools to make sure nothing sneaks through.
The Core Problem: Why Blocking Scripts Before Consent Matters in 2026
A lot of site owners assume a cookie banner alone keeps them compliant. But GDPR is specific about “prior consent”: if your site loads Google Analytics, Facebook Pixels, or Hotjar heatmaps before a visitor clicks your banner, you’re already out of compliance, even with that banner on screen. Regulators check what your site does behind the scenes, not just whether a banner exists.
Cookies aren’t just harmless text files. They’re active tracking tools that can follow a visitor across the web. To stay compliant, keep those scripts paused until a visitor gives clear, active consent. If someone ignores the banner or clicks “Decline,” those scripts need to stay blocked completely.
For WordPress site owners, this can get messy fast: scripts come in through different plugins, theme settings, and manual code snippets. Thankfully, modern privacy tools make this far simpler than it used to be.
How Tracking Scripts Load and Execute Under the Hood
To block tracking scripts well, it helps to know how they land on your site. When a browser requests a page from your WordPress site, it reads the HTML top to bottom, finds script tags pointing to outside servers like Google or Meta, and starts loading them right away.
There are three main ways these scripts end up on your site:
- Hardcoded Theme Scripts – placed directly in your theme’s header or footer files.
- Plugin-Injected Trackers – plenty of WordPress plugins add tracking code automatically to support ads, analytics, or chat widgets.
- Tag Management Platforms – tools like Google Tag Manager load one container script that then injects dozens of other trackers on the fly.
Left alone, the browser downloads and runs every one of these scripts right away. To stop that, a consent tool intercepts them, either by changing the script type so the browser skips it, or by wrapping it in a function that only runs once the visitor clicks “Accept.”
Introducing Cookie Consent: The Native WordPress Solution
If you want your compliance setup simple and fast, you don’t need a complex external platform. Elementor includes a built-in feature called Cookie Consent. This native capability runs right inside your WordPress dashboard, so you get full control over your banners and script-blocking rules without ever leaving your site backend.
Cookie Consent lets you manage visitor choices smoothly while keeping your site design intact. You can build trust and meet strict legal requirements without writing a line of code. Here’s what makes it a strong fit for WordPress sites:
- Builds banners using your existing site styles, so your brand stays consistent.
- Scans your site to find and sort cookies automatically.
- Blocks tracking scripts from loading until the visitor gives explicit permission.
- Keeps secure consent logs so you can show proof of compliance during an audit.
- Connects directly with Google Consent Mode v2 to protect your marketing data legally.
- Determines user locations to show different banners to European and Californian visitors.
Keeping everything inside WordPress means you skip slow external scripts and clunky integration steps, while keeping things clean and professional for visitors.
Step-by-Step Guide: How to Block Tracking Scripts Before Consent
Setting up your scripts to load only after consent is simpler than it sounds. Let’s walk through the setup together, using a native cookie consent capability to keep the job quick and painless.
Step 1: Audit Your Current Tracking Scripts
Before you block anything, you need to know exactly what’s running on your site right now. Open an incognito window and visit your site. Right-click anywhere, choose “Inspect,” and open the “Network” or “Application” tab. Under the “Cookies” dropdown, you’ll see which outside domains are setting trackers before you’ve touched any banner. (This step surprises a lot of people, so don’t worry if the list is longer than you expected.)
Step 2: Install and Set Up a Native Consent Tool
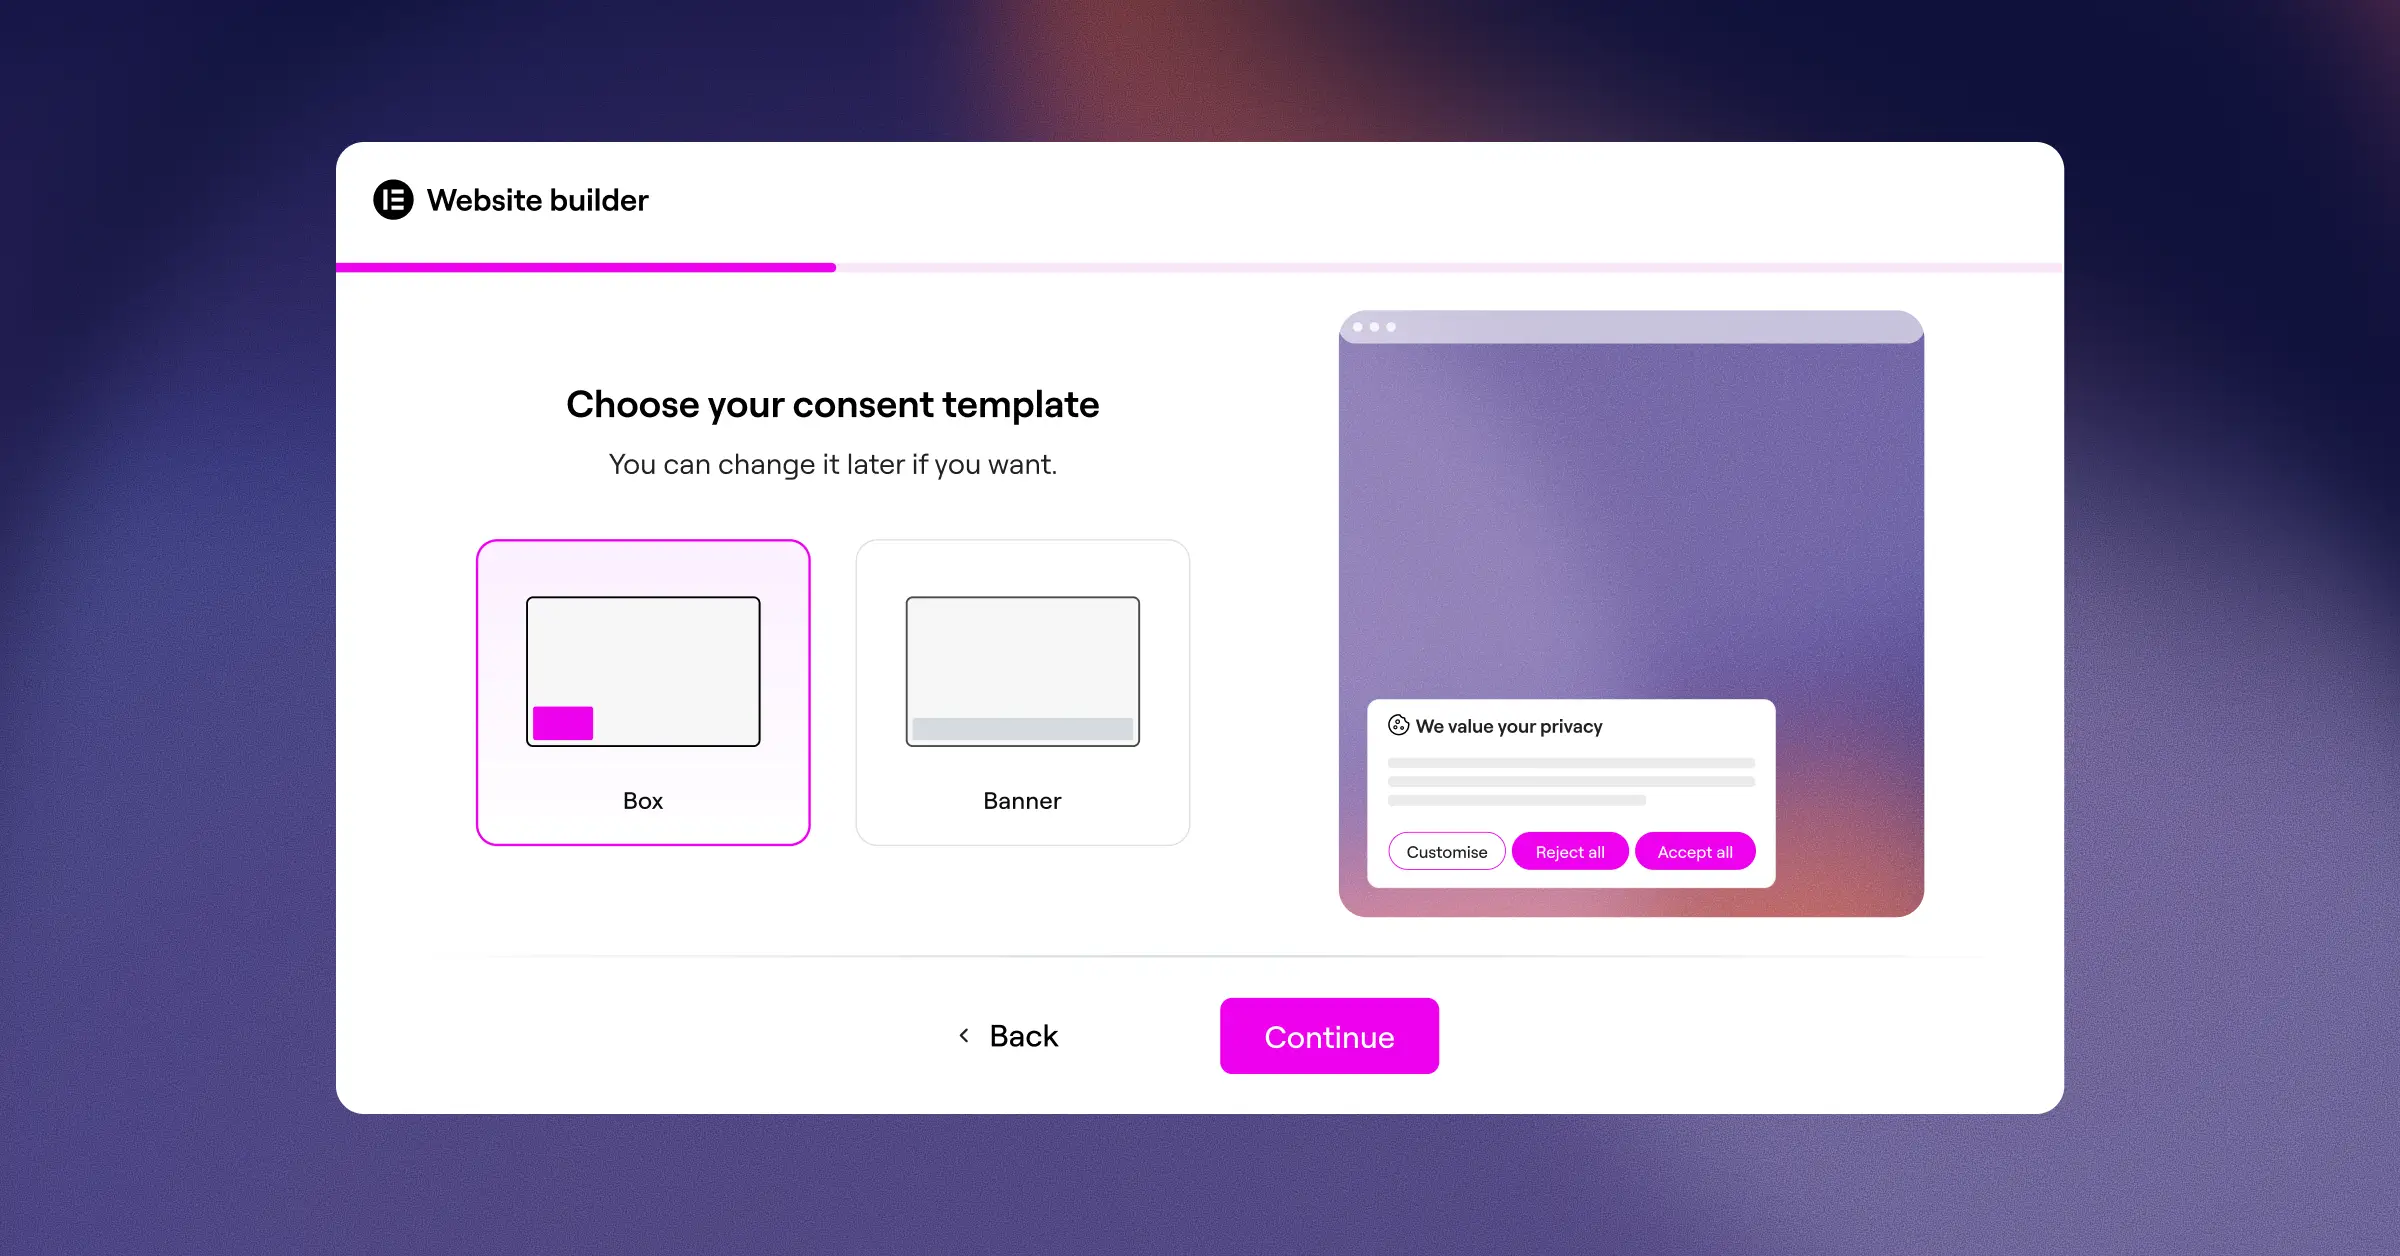
To skip external dashboards and extra accounts, use a native WordPress capability like Cookie Consent from Elementor. Once you turn on the feature in your settings, you can set up your banner in a few minutes. Pick a layout that fits your site, add your privacy policy link, and adjust the colors so it feels like a natural part of your design.
Step 3: Categorize Your Scripts and Cookies
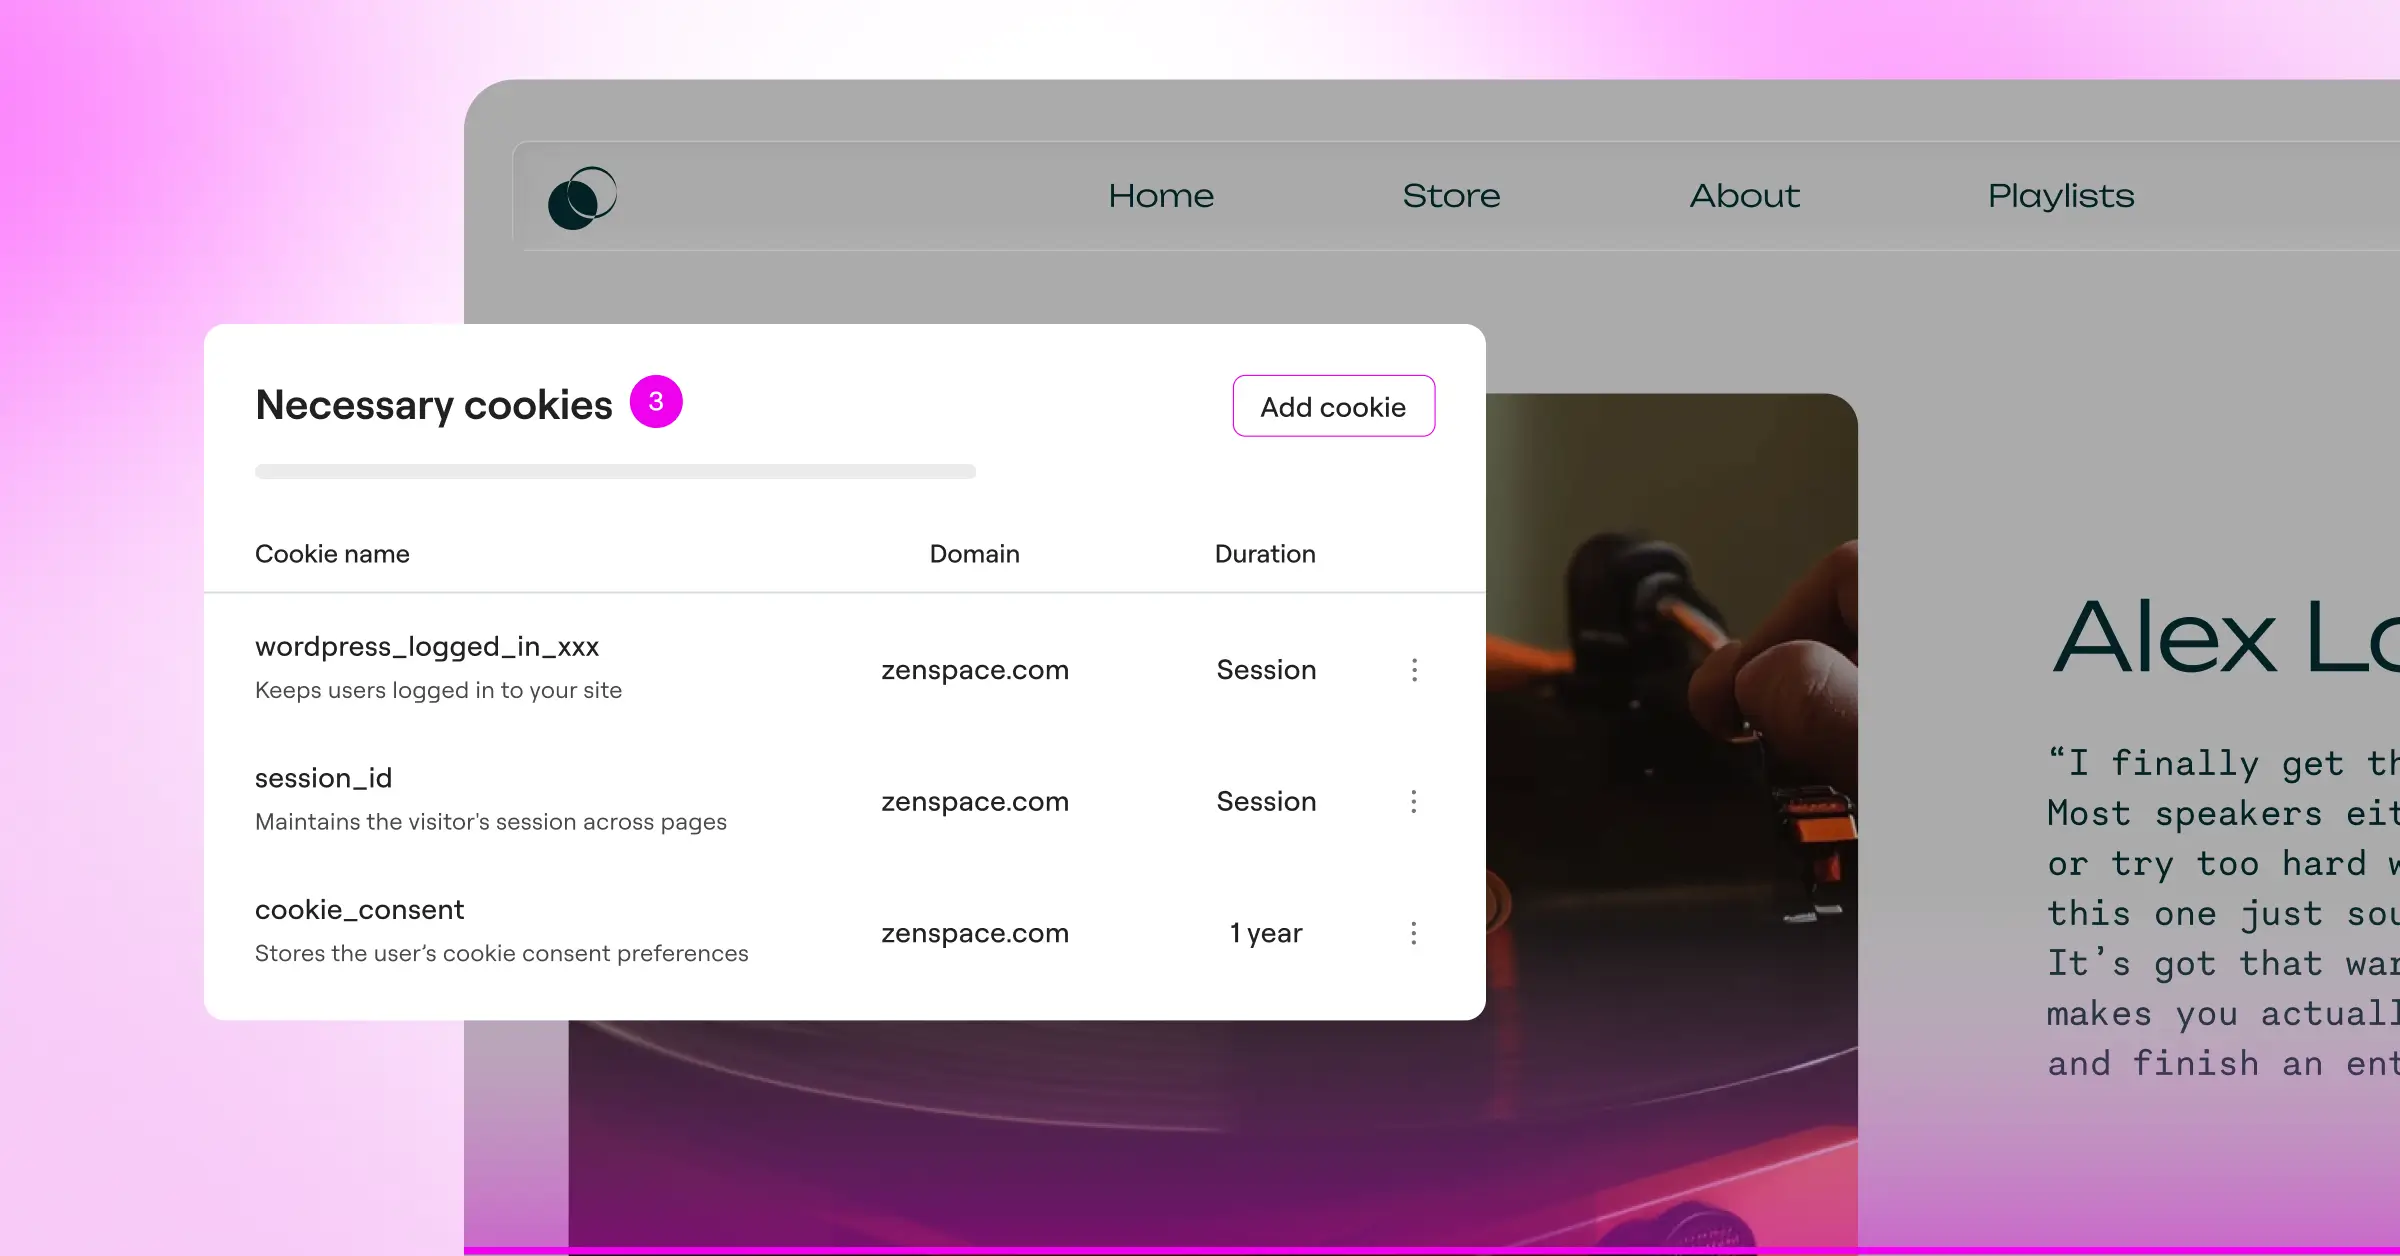
Not every script needs blocking. Essential scripts, like the ones that keep items in a shopping cart or secure your login form, don’t need user consent. You’ll want to sort your trackers into clear categories:
- Strictly Necessary – Security, user sessions, and core site features. These run automatically.
- Analytics – Google Analytics, Matomo, and other performance trackers. These are blocked by default.
- Marketing & Targeting – Meta Pixel, LinkedIn Insight Tag, and retargeting scripts. These are blocked by default.
- Preferences – Font size choices, region settings, or custom styling cookies. These are blocked by default.
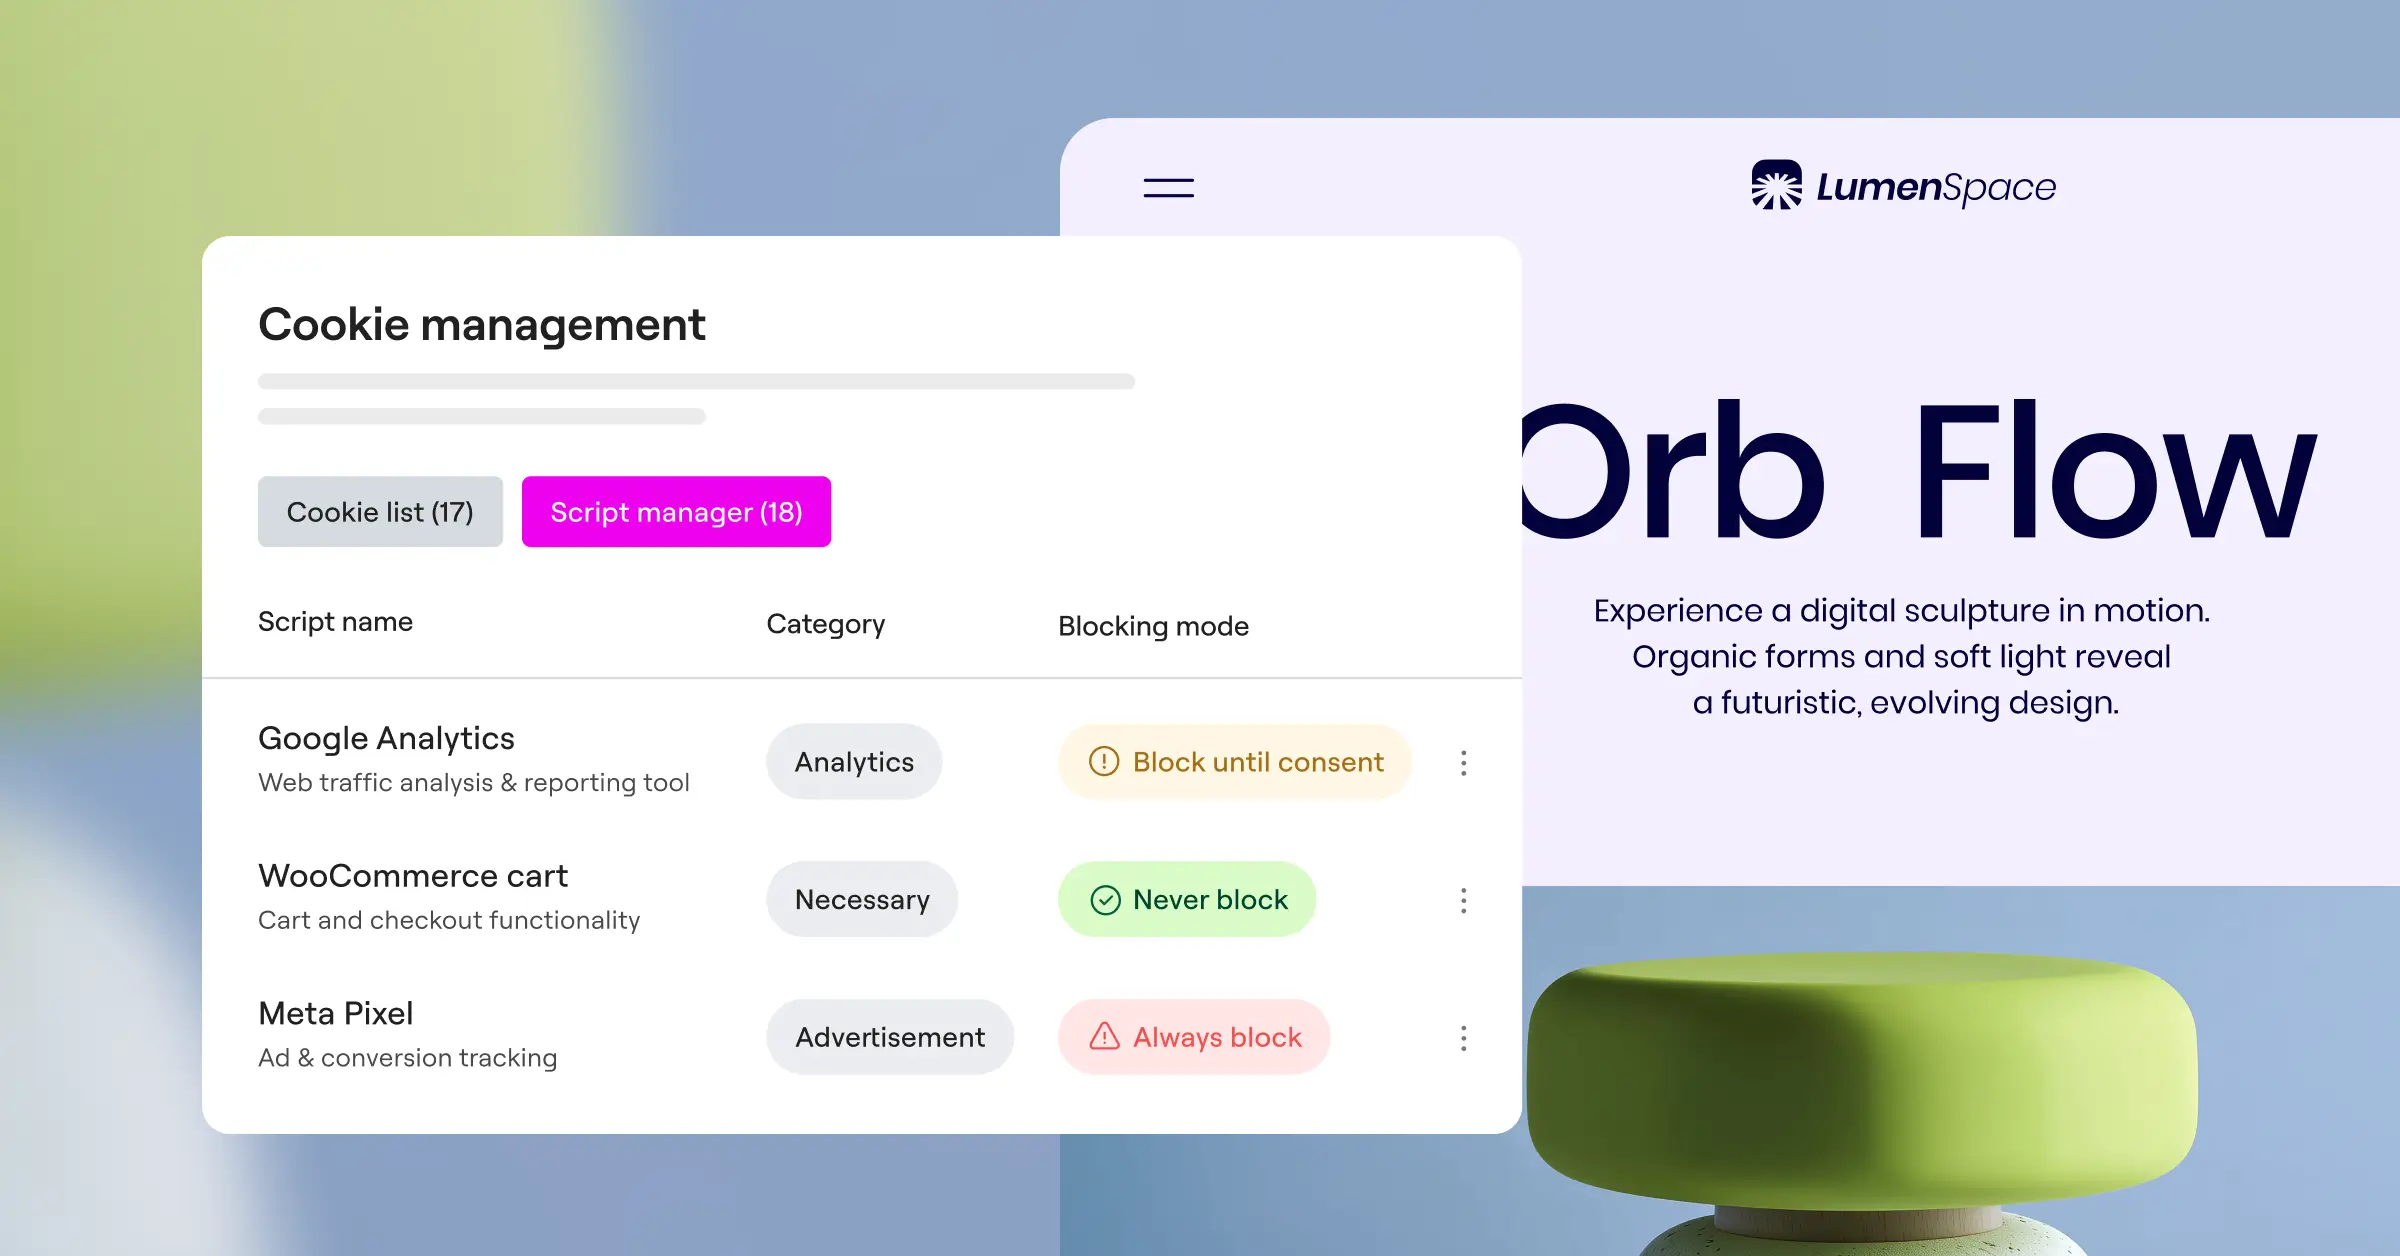
Step 4: Configure Script Blocking Rules
Once your scripts are sorted, your consent tool handles the blocking. For custom hardcoded scripts, you can wrap them in a special wrapper. Instead of loading a script like this:
<script src="https://example.com/tracker.js"></script>the system changes the script tag so the browser ignores it at first:
<script type="text/plain" data-category="marketing" data-src="https://example.com/tracker.js"></script>Since the type is set to “text/plain,” the browser skips it. Once a visitor accepts marketing cookies, the consent tool switches the type back to “text/javascript” and fires the script. It’s a reliable way to stay fully compliant.
Step 5: Test Your Implementation
Always check your settings after you configure script blocking. Open a private window, load your site, and check your browser tools again. Confirm that no third-party scripts from Google, Meta, or anywhere else load before you interact with the banner. Then click “Accept” and check whether those scripts fire. If they do, your blocking is working the way it should.
Comparing Methods for Blocking Scripts in WordPress
There’s more than one way to block scripts before consent on your site. The right choice depends on your technical comfort level and how complex your setup is. Here’s how the most common options stack up:
| Method | Ease of Use | Speed Impact | Setup Time | Best For |
|---|---|---|---|---|
| Native Cookie Consent Tool (e.g., Elementor) | Very Easy | Extremely Low | Under 5 Minutes | WordPress site owners wanting a fast, built-in dashboard workflow. |
| Manual Code Insertion (Custom scripts) | Difficult | Low | Hours of Coding | Developers with complete control over their theme source code. |
| Google Tag Manager with Consent Mode | Moderate | Low to Medium | 30-60 Minutes | Complex marketing setups with many different ad tags. |
| Legacy Compliance Tools | Moderate | Medium to High | 15-30 Minutes | Sites needing highly specific legacy software integrations. |
Manual coding gives full control, but it’s easy to break your site with one small mistake. External compliance systems often mean monthly subscriptions and extra scripts that slow your page down. A native capability balances speed, ease of use, and tight integration with your builder.
Advanced Strategy: Google Consent Mode v2 and Global Privacy Control
If you use Google Ads or Analytics to measure results, standard script blocking can leave a gap in your data: when visitors decline cookies, you lose visibility into how they use your site. Google built Consent Mode v2 to close that gap.
Consent Mode v2 works like a bridge between privacy and data collection. When someone declines consent, instead of blocking Google’s scripts outright, the system sends anonymous signals to Google, which carry no personal identifiers but let Google estimate conversions and behavior using machine learning. So your campaigns keep running and your data stays useful, without breaking privacy law.
“Implementing a native consent framework with support for Google Consent Mode v2 is no longer optional for European traffic. It lets site owners balance user privacy with essential marketing data, keeping your compliance audit-ready without losing all analytics visibility.”
– Itamar Haim, Web Compliance Specialist
Your site should also support Global Privacy Control (GPC), a browser setting that lets visitors share their privacy preferences automatically. If someone has GPC turned on, a compliant consent tool reads that signal and blocks marketing and tracking scripts on its own, without even showing a banner. It’s a fast, respectful experience for privacy-minded visitors, and the kind of detail that builds real trust.
Troubleshooting Common Script Blocking Issues
Blocking scripts can sometimes cause a hiccup or two on your WordPress site. If something looks off, don’t panic, these issues are common and usually easy to sort out.
Your Site Layout or Features Break
If your site looks off or interactive parts stop working after you set up blocking, you may have categorized an essential script as marketing or analytics by mistake. Some plugins bundle tracking code and core functionality into one script (this trips up a lot of people). Go back to your script scanner, find the culprit, and change its category to “Strictly Necessary.”
Google Analytics Shows Zero Visitors
If your traffic stats drop to zero after you set up your banner, double-check your integration. This usually happens when the analytics script is blocked but never configured to trigger once a visitor accepts cookies. Make sure your consent tool is linked to your analytics tag, or confirm Google Consent Mode v2 is active so you still capture basic anonymous traffic data.
Cache Conflicts Cause Banners to Fail
If your site uses a caching tool or a content delivery network, your consent banner might not show up for every visitor, or it could save choices from the wrong session. To fix this, set your caching tool to exclude the cookie consent scripts, or check whether your hosting provider has a setting for handling dynamic compliance cookies correctly.
Alternative Tools for Consent Management
A native WordPress option is great for simplicity and speed, but other tools exist in this space too, each taking a slightly different approach:
- Cookiebot – An external service that scans your site and displays a cloud-hosted banner. It’s widely used and manages settings through an external dashboard.
- CookieYes – A cross-platform consent tool with standard customization options. It connects your site to its cloud database for consent storage.
- Complianz – A WordPress-focused compliance tool with a detailed legal configuration workflow and a wide range of settings for teams that want fine-grained control.
- iubenda – Combines privacy policy generation with a consent banner. It’s thorough and detailed, with a configuration process that reflects that depth.
- OneTrust – An enterprise-level privacy platform built for large organizations with dedicated legal teams, suited to a different scale than most WordPress sites.
All of these tools can block tracking scripts effectively. Many come with extra script loading time or an ongoing subscription. A native tool keeps your site lean and your workflow simple.
Keep Compliance Simple and Clean
Protecting visitor privacy doesn’t have to be painful. Choose a WordPress-native capability like Cookie Consent from Elementor, and you can manage cookies, block scripts, and build visitor trust right from your dashboard. Take a few minutes to set up your banner and blocking rules, and you can relax knowing your site is legal, safe, and ready for whatever privacy rules come next. You’ve got this, and your visitors will thank you for it.
Frequently Asked Questions
Is it legally required to block tracking scripts before consent?
Yes. Under major privacy laws like the EU’s GDPR, websites must block all non-essential scripts and cookies before a user explicitly consents. Showing a banner while scripts run in the background isn’t compliant and can result in regulatory fines.
What happens if a visitor ignores my cookie banner?
If a visitor ignores your banner, your site must treat that as a “No.” All analytics, marketing, and preference tracking scripts must stay blocked. You can only load essential scripts needed to keep your website functioning properly.
Does script blocking slow down my WordPress website?
No, using a native cookie consent capability can actually make your website load faster for new visitors. Because third-party analytics and marketing scripts are paused until a user clicks accept, the browser has fewer resources to download during the initial page load.
What is the difference between essential and non-essential cookies?
Essential cookies are required for your website to work properly, like maintaining a user session or keeping products in a cart. Non-essential cookies include marketing pixels, analytics scripts, and social sharing widgets that collect personal data but aren’t required for core site function.
Does Google Consent Mode v2 work with native script blocking?
Yes. When you use a modern native consent tool with Google Consent Mode v2 support, it communicates the visitor’s choice directly to Google. If consent is denied, Google’s tags run in a limited, cookie-less state so your marketing measurement keeps working without violating privacy laws.
Can I customize the look of my consent banner?
Absolutely. With a native builder feature, you can fully customize the colors, typography, buttons, and layout of your banner. This lets you meet compliance requirements while keeping a beautiful, professional look that matches your brand.
Do I need a privacy policy page if I use a cookie banner?
Yes, you still need a dedicated privacy policy page. Your cookie banner should include a direct link to it so visitors can easily read about how your website collects, stores, and uses their personal information.
How do I test if my tracking scripts are successfully blocked?
Open an incognito browser window, visit your site, and open the developer tools (right-click and select “Inspect”). Look under the “Network” or “Application” tab to confirm that no third-party tracking scripts load before you click “Accept” on your banner.
What is Global Privacy Control and do I need to support it?
Global Privacy Control is a browser setting that lets users express their privacy preferences automatically. Compliant consent tools read these GPC signals and respect the user’s opt-out preferences instantly, giving them a smooth, privacy-first experience without any extra clicks on their end.

