Setting up a cookie consent banner on your WordPress site is a great step toward staying compliant and respecting your visitors’ privacy. But turning a banner on and assuming it works can leave you exposed. If your tracking scripts fire before someone clicks “Accept,” you’re not compliant, even if the banner looks fine on screen.
Checking your setup is simpler than it sounds. We’ll walk through the exact steps, using built-in browser tools and quick checks you can run right now, so you’ll know your scripts, database, and site all respect privacy laws. Most of this takes under thirty minutes, even if you’ve never opened a developer panel before.
Key Takeaways
- Visuals don’t equal compliance – A banner can display on screen while tracking scripts still load in the background without permission.
- Browser developer tools are your best friend – Check active cookies, local storage, and outgoing network requests using free, built-in tools.
- Google Consent Mode v2 needs specific signals – Verify your site sends the correct default and updated consent signals to Google.
- Geo-targeting needs remote testing – Use a VPN or browser proxy to confirm visitors from different regions see the right banner.
- Native tools reduce errors – A WordPress-native setup lets you manage scripts and logs without leaving your dashboard.
Why Testing Your Cookie Consent Banner Is Crucial
When you run a WordPress site, trust with your readers matters as much as traffic, and privacy sits at the center of it. Regulators worldwide have set strict rules for handling user data, and ignoring visitors’ choices can mean legal trouble and real reputation damage.
A lot of site owners set up a consent tool and never check what’s happening in the background. Tracking scripts from analytics platforms or ad networks often try to fire the moment your page loads, and if your banner doesn’t hold them back until a visitor gives explicit permission, you’re still running unauthorized tracking. In 2026, search engines and ad networks require proper consent signals before they’ll let you run ads or collect advanced analytics, so testing your banner keeps your data clean and your compliance solid.
The Pre-Test Checklist: What to Prepare Before You Begin
Before you dig into the technical details, set up a clean test environment. Testing while logged in as an admin often gives inaccurate results, since many consent tools disable tracking for admins to keep business metrics clean. Handy day-to-day, but it means testing needs a different approach. To get honest results, look at your site the way a first-time visitor would:
- Open a private browsing window – Use Incognito in Chrome, Private Browsing in Firefox, or a Private Window in Safari, so you start with zero pre-existing cookies.
- Disable browser-level ad blockers – Turn off extensions like uBlock Origin or AdBlock for your test site, since these can block scripts on their own and muddy your results.
- Clear your local browser cache – Even in private mode, clear your browser data or use a fresh profile so cached scripts don’t interfere.
- Prepare a secondary testing device – A phone or tablet helps you confirm your banner is fully responsive and easy to tap on smaller screens.
Step 1: Inspect Cookie Behavior with Browser Developer Tools
The most reliable way to see what your site is doing is to look under the hood with your browser’s developer tools. Don’t let the word “developer” put you off, these come built into your browser, need no code, and show you what’s happening in real time. Open them by right-clicking the page and selecting Inspect, or press F12 on Windows or Cmd + Option + I on macOS.
Opening the Storage Panel
Once the panel opens, look for the storage area. In Chrome it’s the Application tab (click the double-arrow icon if you don’t see it); in Firefox it’s simply called Storage. In the left sidebar, open the Cookies dropdown and select your website’s domain to see every cookie stored for this site.
Analyzing Cookies Before Consent
With your private window open and the cookie table visible, load your homepage. Don’t click anything on the cookie banner yet. If your setup is configured correctly, you should only see essential cookies, the ones that remember your banner preference or keep the site functioning. You should not see cookies from Google Analytics, Meta Pixel, Pinterest, or any other marketing service at this stage.
Common essential cookies might look like:
cookie_consent_status(or something similar, depending on your setup)wp-settings-timewordpress_logged_inPHPSESSID
If you see cookies named _ga, _gid, _fbp, or _gcl_au before you’ve clicked “Accept,” your blocking configuration isn’t working, and those scripts are firing without consent.
Analyzing Cookies After Consent
Now click Accept and watch the cookie table. You should immediately see new cookies appear, your consent system giving the green light to your tracking scripts.
Step 2: Test Script Blocking Before Consent
Checking the cookie table is useful, but some scripts store data other ways, or collect data without writing a cookie file at all. Verify the script files themselves are blocked from loading before consent is given, using the Network tab, which shows every file, image, and script your browser downloads.
- Open a fresh private window and navigate to your site without touching the consent banner.
- Open developer tools and select the Network tab.
- In the filter box, type a keyword for the script you want to check (such as “analytics,” “facebook,” “gtag,” or “pixel”).
- Refresh the page to capture the initial network requests.
If your banner is working properly, that filtered list should be empty, with no record of connecting to Google Analytics or third-party marketing servers before consent is granted. Next, click Accept. The Network tab should instantly fill with requests to domains like google-analytics.com or connect.facebook.net, exactly what you want: your system held those connections back until the visitor gave permission.
Step 3: Validate Google Consent Mode v2 Signals
If you use Google Analytics 4 or Google Ads, you’ll need to comply with Google Consent Mode v2. This framework doesn’t always block scripts completely, instead it lets Google tags load in a restricted “denied” state, sending anonymous signals without using cookies. When a user grants consent, the tags update to allow full tracking.
Checking the Default Signals
Load your site in a fresh private window without clicking the banner. Open the Network tab and type collect in the filter box to show requests sent to Google Analytics. Look for a request that begins with collect?v=2, click on it, and check the query string parameters. You’re looking for two parameters: gcs (Google Consent Status) and gcd (Google Consent Default).
Before consent is given, the gcs parameter should look like one of these:
gcs=G100: Both analytics storage and ad storage are set to denied.gcs=G110: Ad storage is granted, but analytics is denied.gcs=G101: Analytics is granted, but ad storage is denied.
For most strict privacy configurations, you want to see G100 before any interaction with your banner (this one trips up a lot of people, so it’s worth double-checking).
Checking the Updated Signals
Now click Accept. A new request to collect?v=2 should appear. Click it and check the parameters again: gcs should now read gcs=G111, meaning both ad and analytics storage have been upgraded to granted, and Google Analytics knows it’s safe to set cookies and track behavior normally.
Step 4: Verify Multi-Language and Geo-Targeting Rules
If your site serves visitors from around the world, your banner needs to adapt to where each visitor is coming from. Visitors from the EU need a strict opt-in banner for GDPR, while visitors from certain US states might only need an opt-out option or a simple disclosure notice. To test this, simulate visits from different locations with a VPN, or use developer tools to override your location.
- Connect to a European server – Select a country like Germany or France on your VPN and verify a strict opt-in banner appears with no non-essential cookies loading before you click Accept.
- Connect to a US server – Switch your VPN to a US location like California. You should see a banner designed for US privacy laws, which might include a “Do Not Sell My Info” link.
- Connect to a region with no strict consent laws – Verify the banner either doesn’t appear, or shows a simplified informational message without blocking necessary analytics.
Running through these variations keeps your site compliant without hurting the experience for visitors where strict consent isn’t legally required.
Comparing Top Tools for Cookie Consent Testing
Manual testing with developer tools is the most accurate approach, but there are several external tools and native features worth knowing about. Here’s how the most common methods compare:
| Testing Method | Target Audience | Key Advantage | What It Checks | Setup Effort |
|---|---|---|---|---|
| Browser Developer Tools | Site owners and developers | 100% accurate, live checking | Active cookies, blocked scripts, network signals | Low (built-in) |
| Consent Mode Helper Extension | Marketers and analysts | Visualizes Google signals clearly | Google Consent Mode v2 status changes | Very Low (one-click install) |
| Online Compliance Scanners | Business owners | Automated reports via email | Known tracking scripts and public-facing cookies | None (runs in the cloud) |
| Native Dashboard Logs | Agencies and administrators | Confirms actual user interactions | Stored consent choices, user timestamps | Medium (requires tool support) |
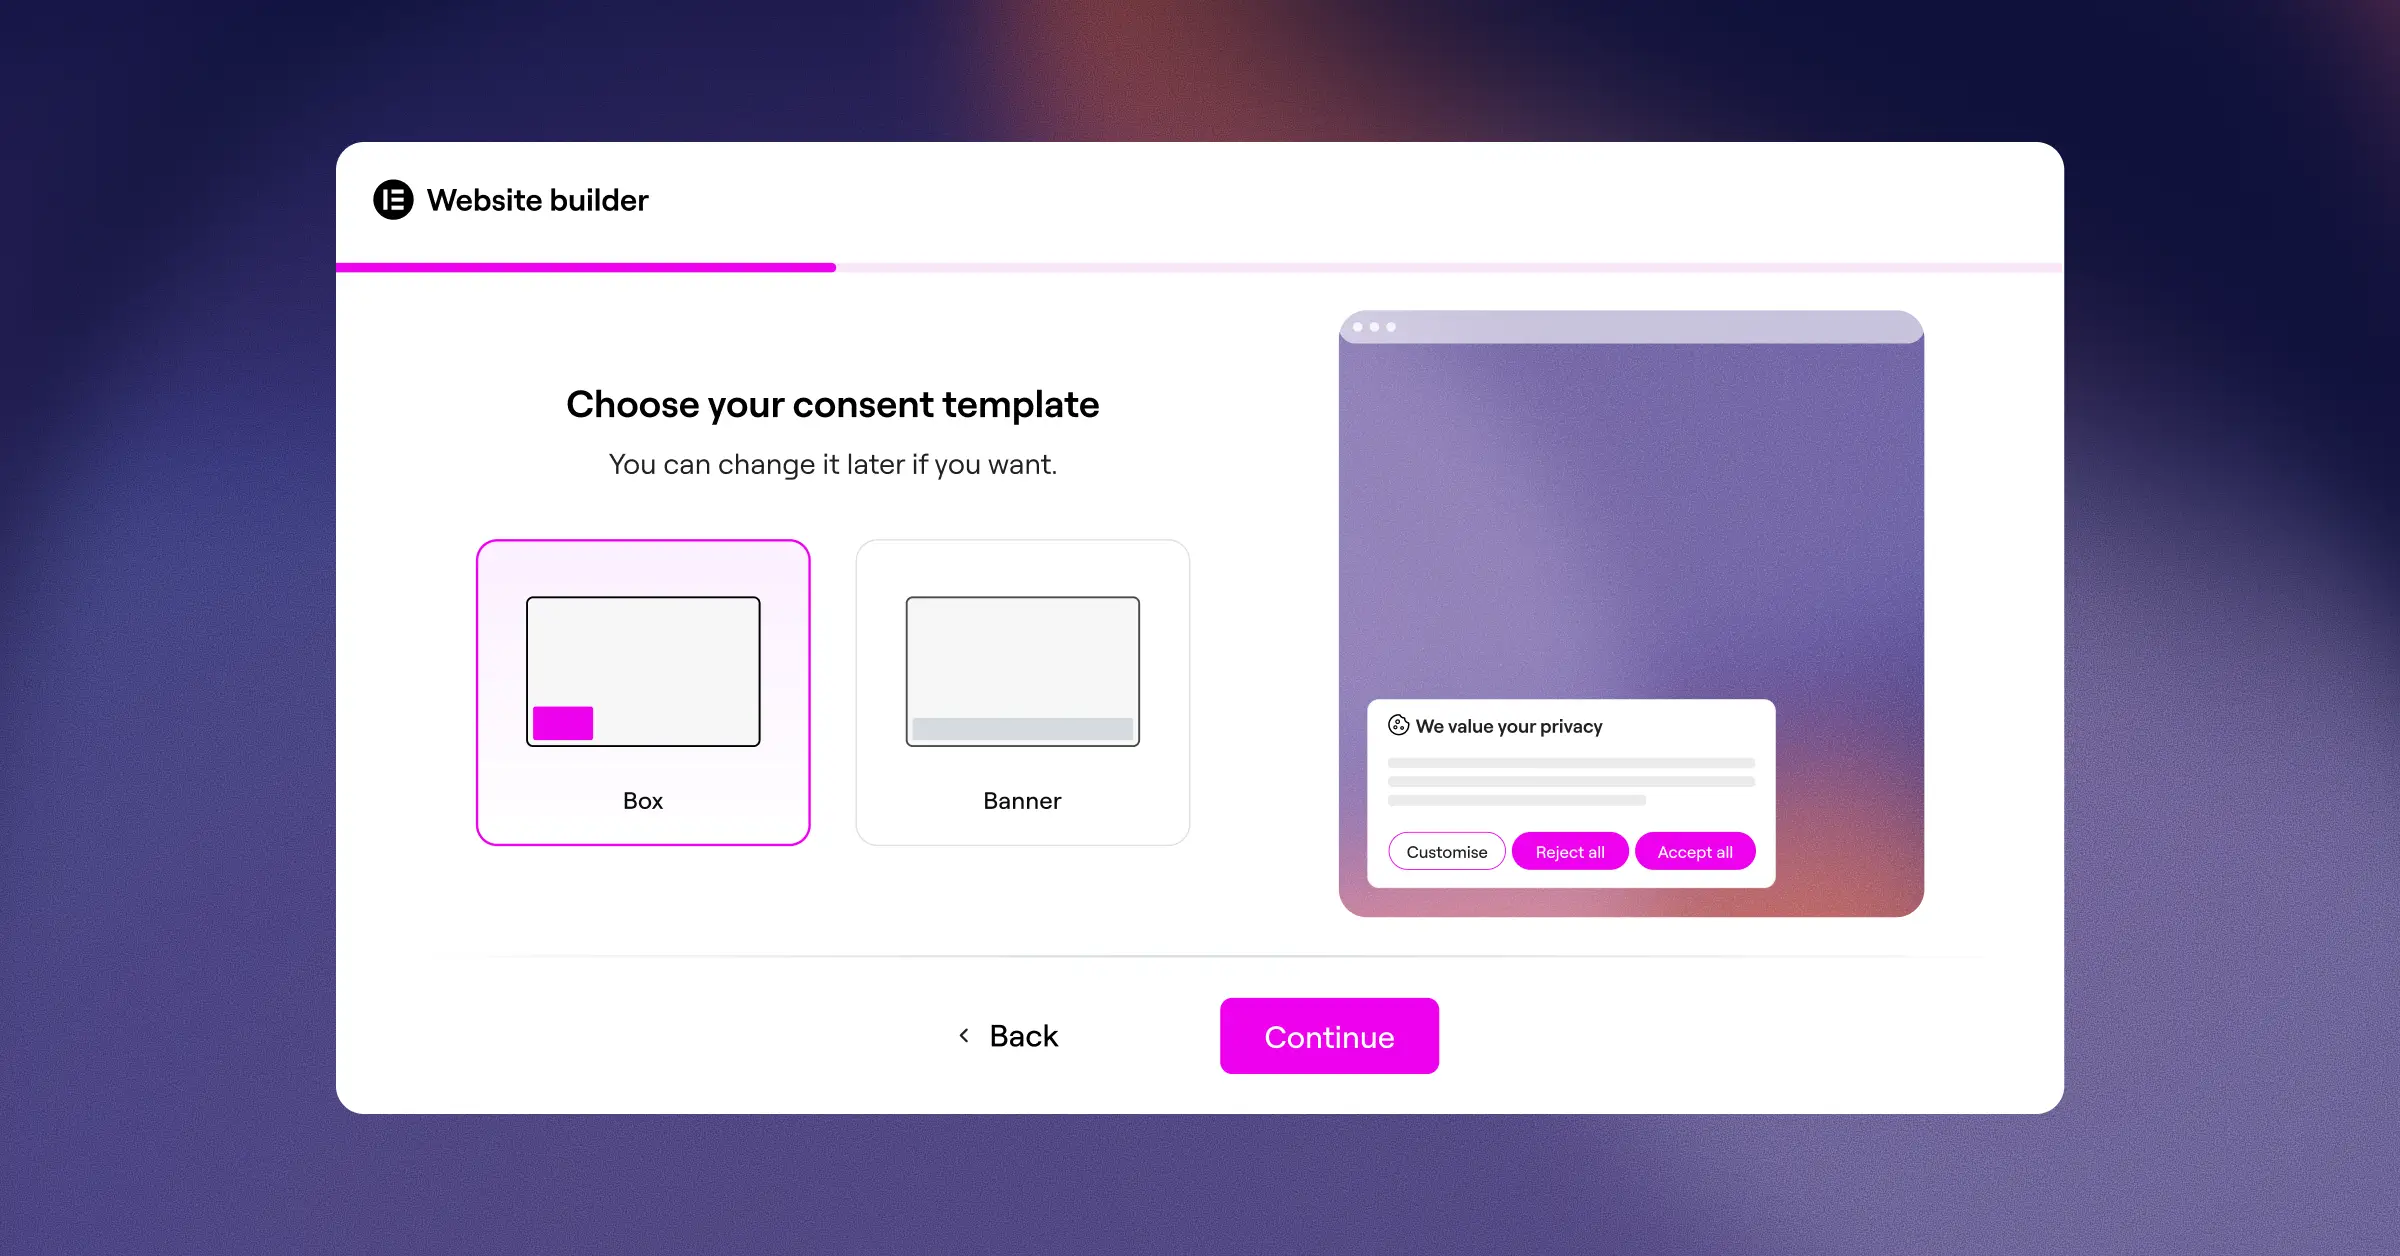
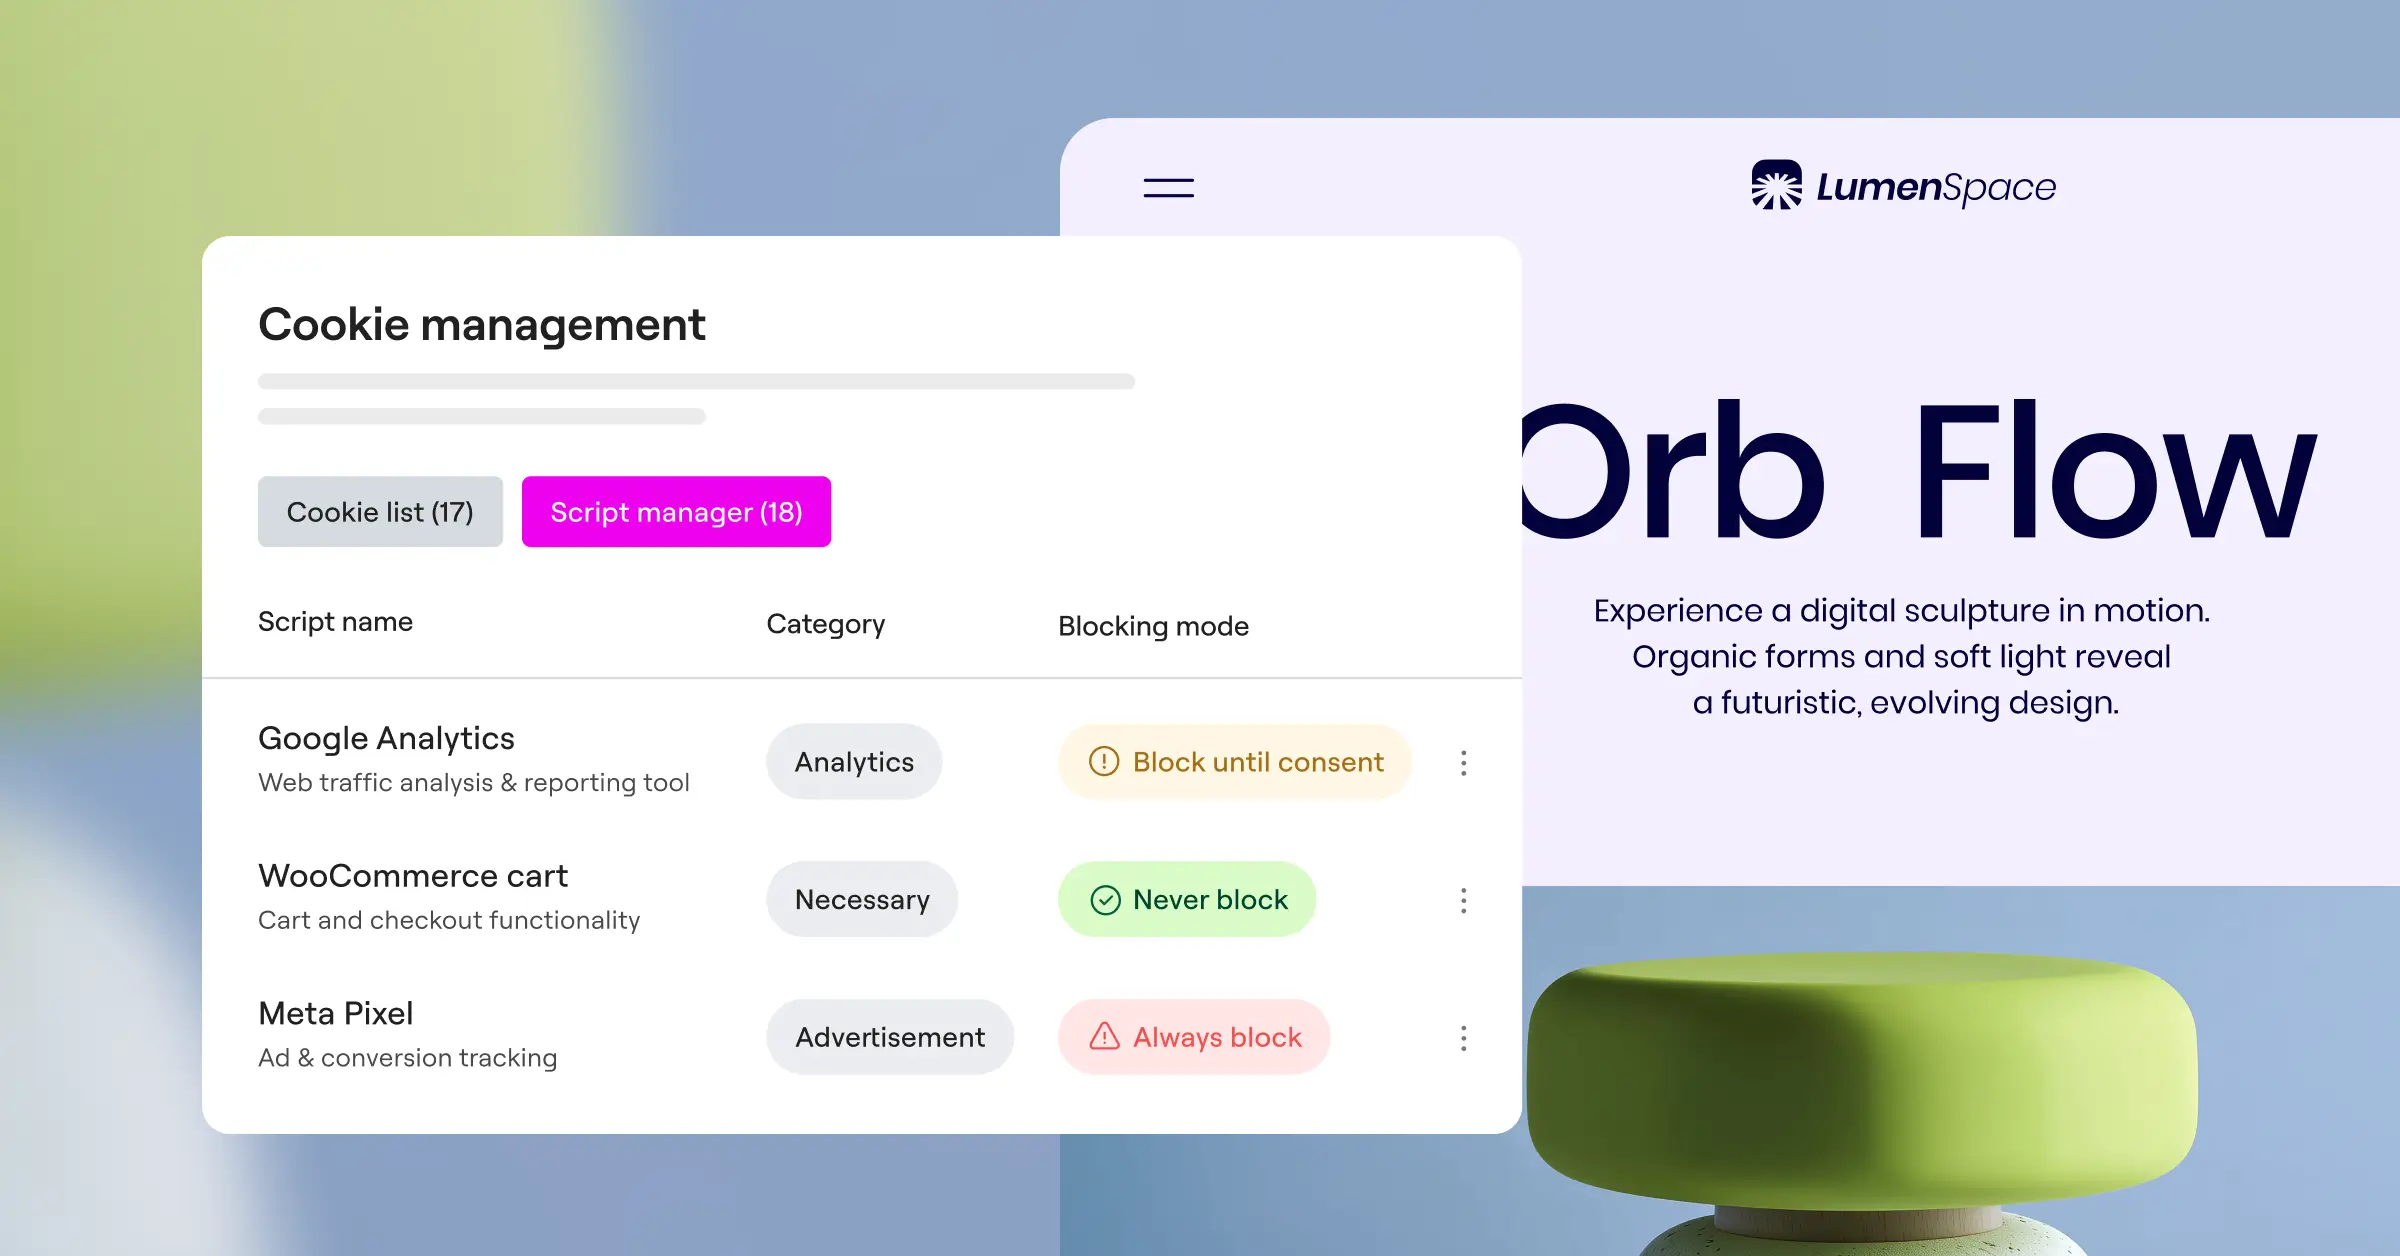
Many site owners prefer a built-in tool since it cuts down on setup mistakes. With Elementor, the built-in Cookie Consent capability handles everything inside your WordPress dashboard, no juggling external accounts or copying scripts by hand.
If you’d prefer a dedicated standalone solution, there are several established options. Tools like Cookiebot, CookieYes, Complianz, iubenda, and OneTrust each take their own approach to script-blocking and cookie categorization, so it’s worth choosing whichever fits your workflow.
Common Mistakes in Consent Implementation and How to Fix Them
Over years of building and testing websites, the same consent implementation mistakes come up again and again. Keep an eye out for these when running your checks:
- Blocks critical theme styles – Overly aggressive blocking can accidentally hide stylesheets or fonts your site needs. Verify your site looks and functions correctly before clicking the banner.
- Builds consent loops – If banner cookies don’t save properly, visitors get prompted on every page. Set cookie expiration to a reasonable period, like 180 or 365 days.
- Detects scripts but fails to block them – Some scanners list cookies without actually stopping the scripts behind them. Run the Network tab test to confirm scripts stay stopped before consent.
- Tracks users who press the Escape key – If a visitor presses Escape or clicks away without clicking “Accept,” treat that as a rejection, staying blocked until an explicit click occurs.
- Pulls incorrect regional templates – Misconfigured geo-targeting can show local visitors banners meant for other countries. Check your geo-IP database updates regularly.
- Saves logs with unmasked personal data – If you keep a consent log for audits, mask identifiable IP addresses to keep logs secure and reduce legal exposure.
“Testing your consent banner isn’t just about avoiding regulatory fines, it’s about respecting your visitors’ choices. When you ensure your scripts wait for consent, you build deep brand trust.”
– Itamar Haim, Web Compliance Specialist
How to Choose the Right Tool for Long-Term Compliance
If your manual checks show your setup isn’t blocking scripts properly, it’s probably time to move to a more integrated solution.
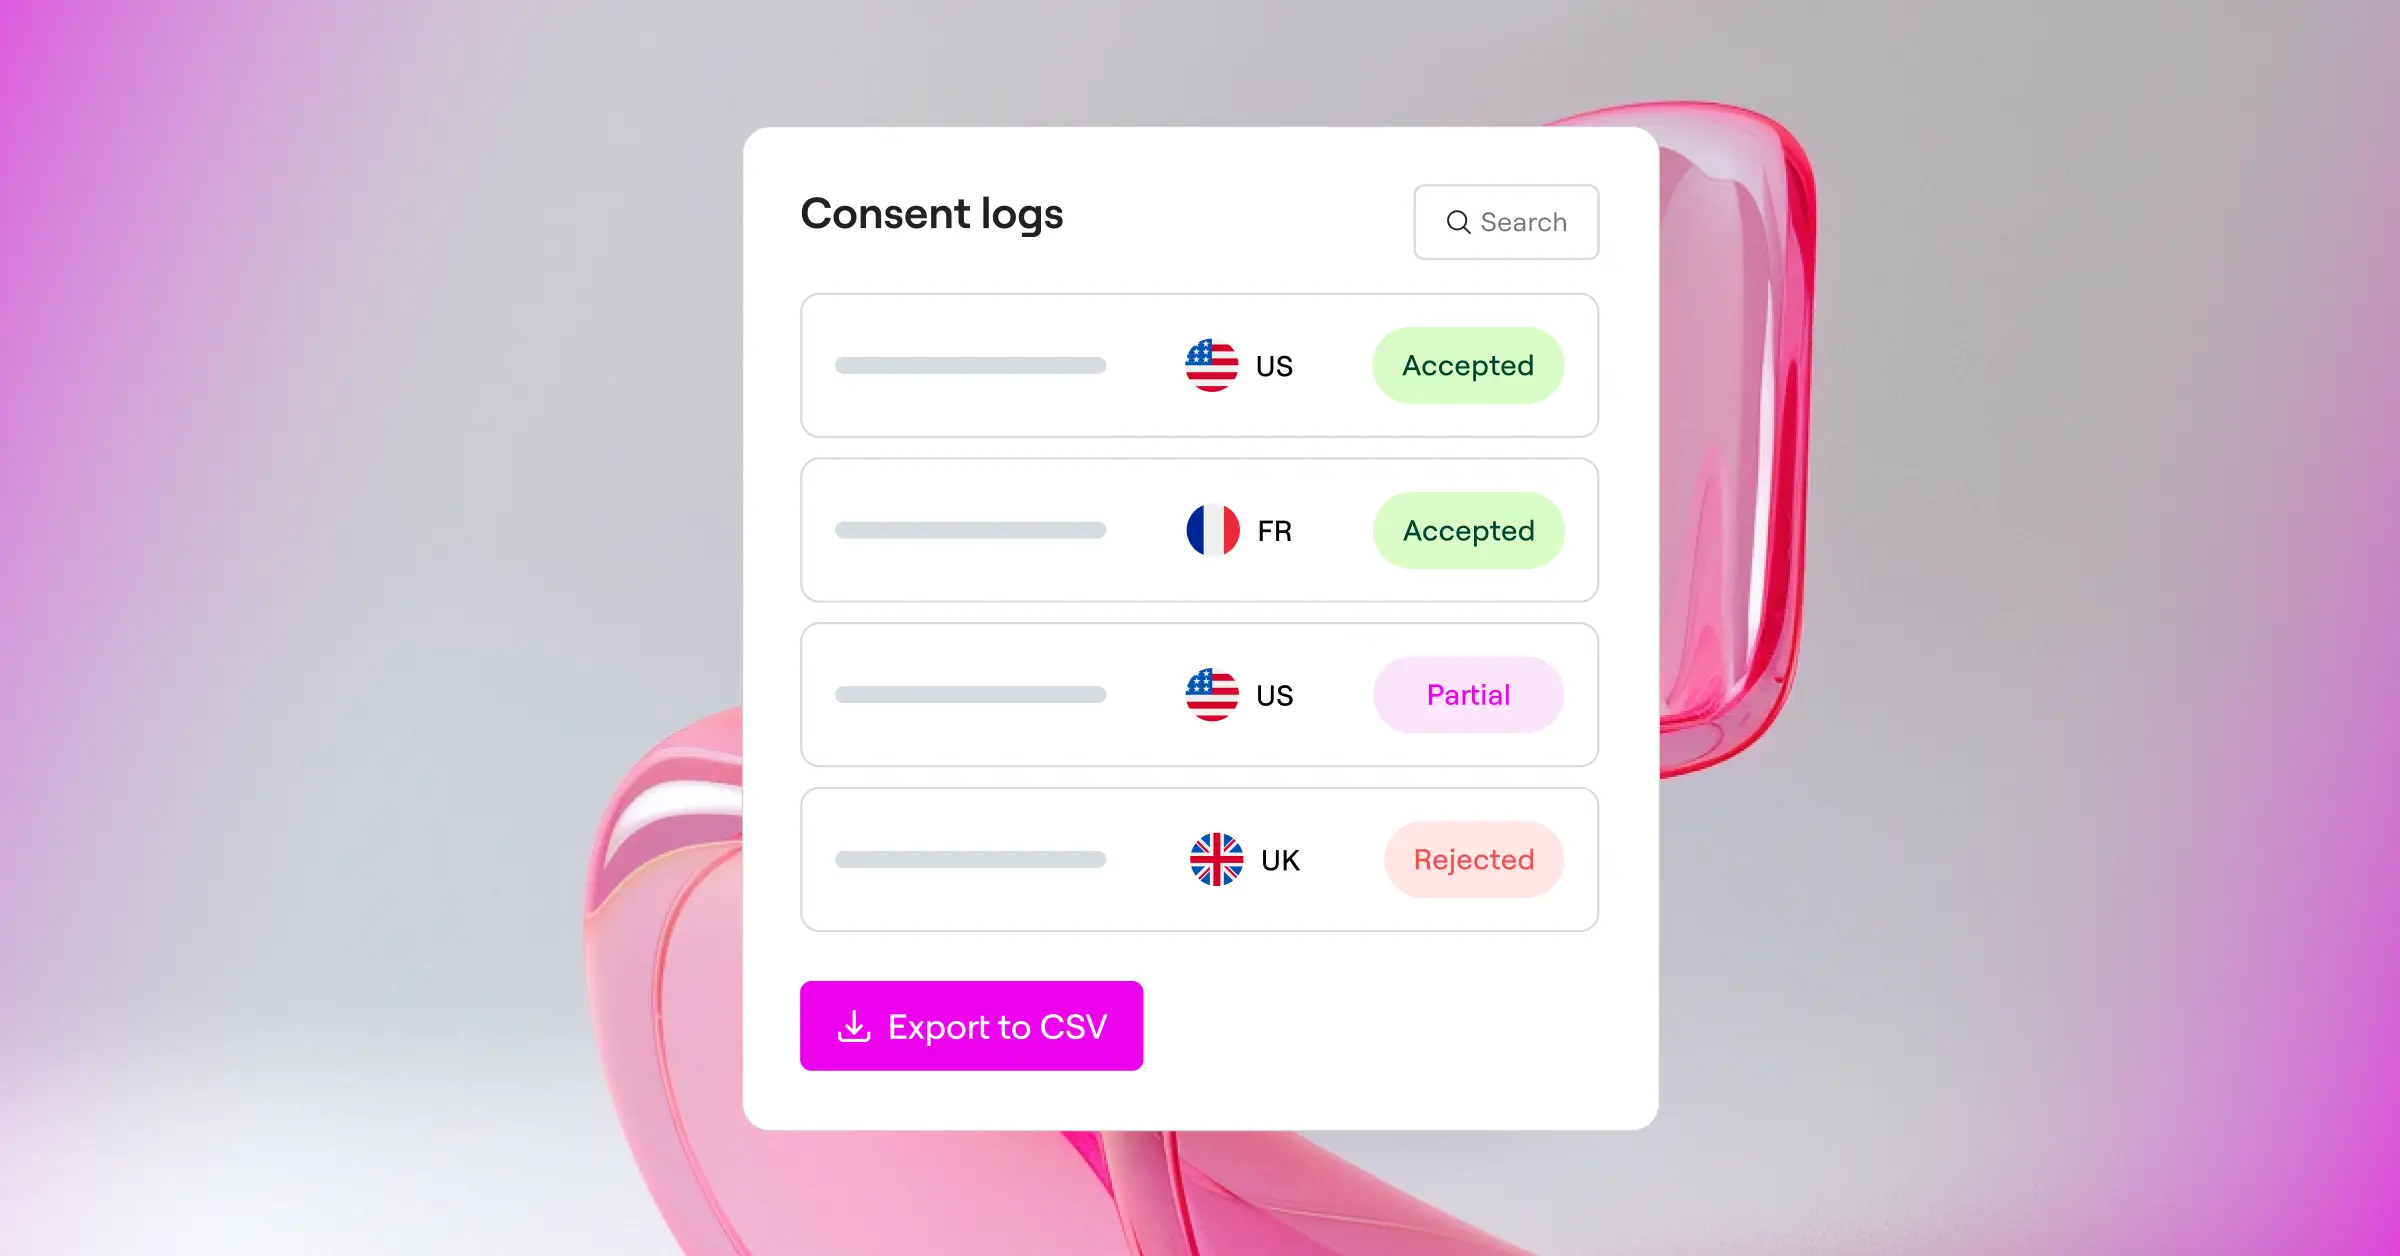
Using Cookie Consent within your WordPress dashboard keeps things simple. Because it’s built into your editor, you don’t have to copy scripts or jump between accounts, you can run automated scans, generate privacy policies, and review consent logs all from one place.
If you’re using Elementor and want full-site compliance coverage, Elementor One includes Cookie Consent alongside tools like Web Accessibility, all managed from a single dashboard, especially valuable for agencies managing multiple client sites.
Testing Checklist: Your 5-Minute Compliance Run-Through
Run this quick audit every time you update your site’s core design or add a new tracking pixel:
- Open private mode – Open an Incognito window and confirm your ad blockers are turned off.
- Check initial state – Load your homepage and verify the banner is visible with no non-essential cookies in the Storage panel.
- Inspect network signals – Confirm no Google Analytics or marketing scripts load in the Network panel before consent.
- Confirm banner interaction – Click “Accept” and watch for new cookies to appear instantly in your developer tools.
- Verify Consent Mode v2 – Check the
gcsparameter to confirm it updated fromG100toG111.
Once you’ve run through these five steps, you can feel confident your visitor tracking is respectful, compliant, and ready for your business goals.
For a deeper look at setting up your consent tool from scratch, check out the Cookie Consent documentation for step-by-step guidance on every available option.
Frequently Asked Questions
Why is my cookie banner not showing up when I visit my site?
This usually happens because your browser already saved your consent status from a past visit. Open a new private window, or clear your cookies and local storage, to force the banner to show up again.
Do I have to block Google Analytics if I use Google Consent Mode v2?
No, not always. Consent Mode v2 lets Google tags run in a limited, cookieless state when consent is denied. You still need to verify your tags send the correct gcs=G100 signal before consent is granted to stay compliant.
What happens if a visitor ignores my banner and keeps browsing?
Under strict privacy regulations like GDPR, ignoring a banner or scrolling past it doesn’t count as consent. Your site must keep blocking all non-essential scripts and cookies unless the visitor explicitly clicks “Accept.”
Can I use my browser’s mobile view to test cookie consent?
Yes. Use your browser’s responsive design mode to see how your banner behaves on mobile screens. In Chrome, click the device toggle icon to simulate different screen sizes, and make sure your buttons are easy to tap and don’t cover navigation.
How do I test my cookie banner for visitors from other countries?
The most reliable approach is a VPN. Connect to a country within the European Union to test strict opt-in behavior, then switch to a US state like California to check local configurations. Online testing suites that simulate international connections work too.
What is the difference between first-party and third-party cookies?
First-party cookies are set by your own domain to help your site function, like keeping items in a shopping cart. Third-party cookies come from services like Google Analytics, Meta, or ad networks, tracking behavior across sites, and your banner needs to block these until the user gives explicit permission.
How long should my cookie banner remember a user’s choice?
Most privacy frameworks recommend saving consent choices for about 6 to 12 months. Setting your consent expiration to 180 or 365 days is standard practice, short enough to stay current, long enough that visitors aren’t annoyed.