
Running a website is rewarding, but keeping up with privacy regulations can feel daunting at first. Between GDPR in Europe, CCPA in California, and evolving search engine requirements, staying compliant matters more than ever. You might wonder how to handle this without slowing down your site or getting lost in technical setup. Don’t worry, it’s simpler than it looks, and you’ll be up and running faster than you think.
Setting up a proper consent banner helps you respect user privacy while keeping your site running beautifully. We’ll walk you through the easiest way to add a clear, compliant banner to your WordPress site using native dashboard tools that keep everything simple.
Key Takeaways
- Native Tools Simplify Compliance – Managing your settings directly inside WordPress avoids the clutter of external dashboards.
- Google Consent Mode v2 is Crucial – If you use Google Analytics or Google Ads, having support for consent signals is now a necessity for legal compliance.
- Auto-Scanning Saves Time – Automated cookie scanning categorizes your scripts so you don’t have to sort them manually.
- Geo-Targeting Improves User Experience – Showing banners only to visitors from specific regions keeps your site clean for everyone else.
Why Cookie Consent Matters for Your WordPress Site
When visitors arrive on your website, various scripts start loading in the background. Some track user behavior, some remember cart items, and others help run targeted ads. Privacy laws across the globe require that users have a say in which scripts can run, and building trust with your audience starts with being honest about their data.
If you serve visitors in the European Union, the United Kingdom, or various US states, you need an active way to collect consent. Skipping a clear banner can lead to heavy regulatory penalties, and it can alienate your audience too. Modern web users appreciate transparency, and a simple consent notice shows you value their digital boundaries.
A reliable consent tool keeps your marketing efforts running smoothly too. Search engines and ad networks now require specific consent signals to verify your data collection is legitimate. A clean consent banner protects your business, preserves your analytics, and creates a better experience for your community.
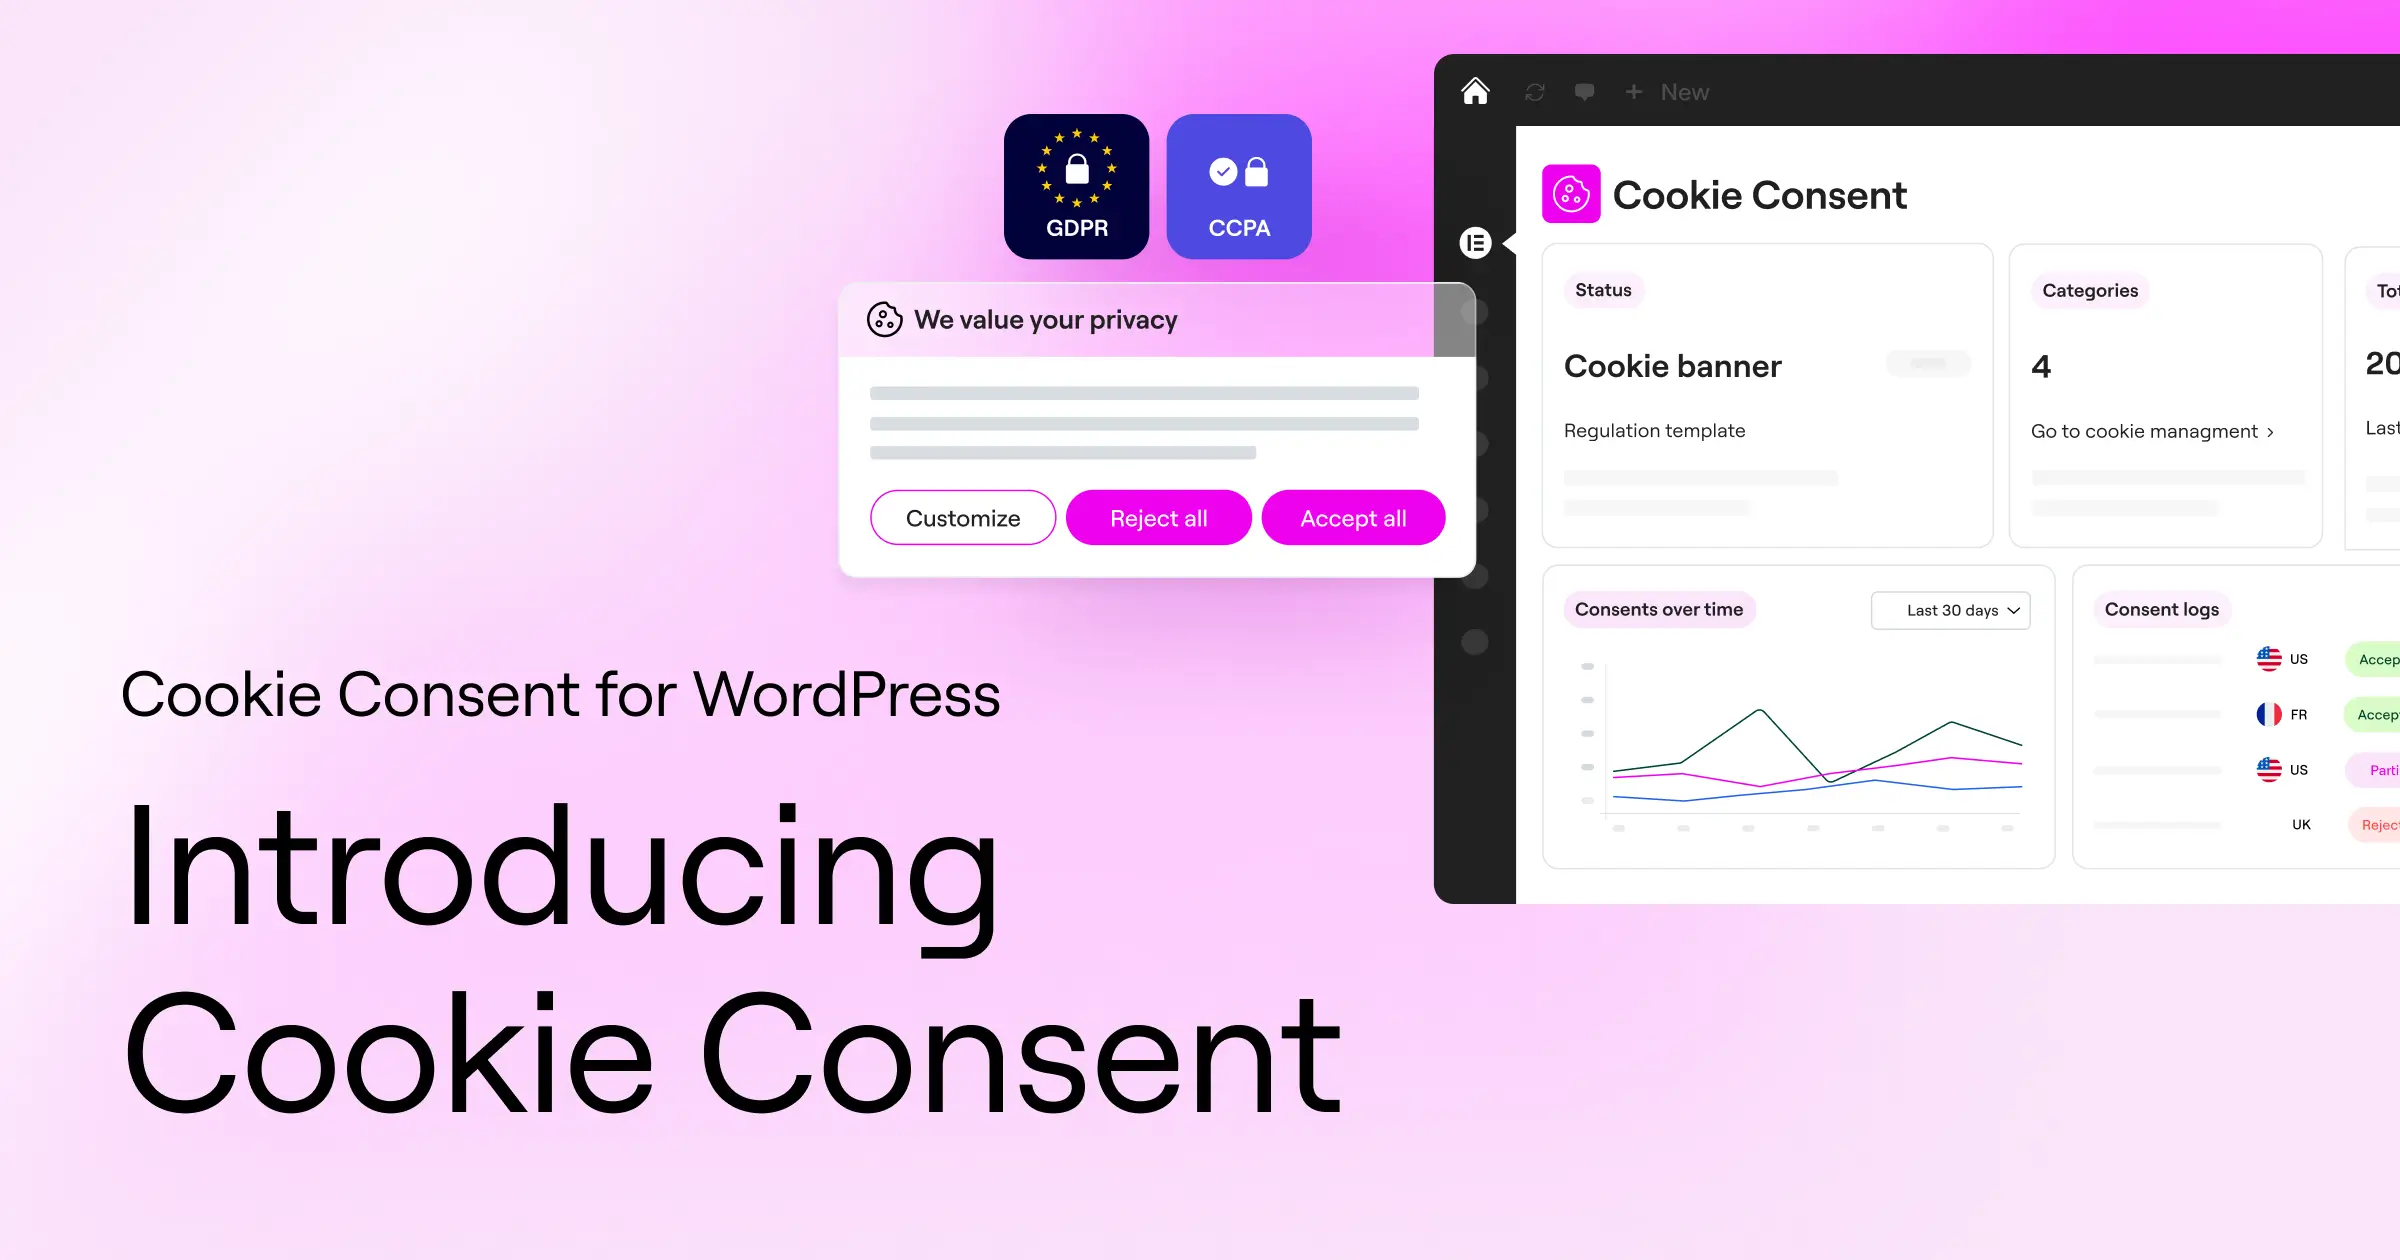
Introducing Cookie Consent: Elementor’s Native Solution
When it comes to managing compliance on WordPress, you want a tool that lives right where you do. Cookie Consent is a capable, helpful tool built natively for WordPress by Elementor. Instead of forcing you to log into an external dashboard or wrestle with complex APIs, it keeps everything inside your familiar WordPress interface.
This native integration means your cookie banners are fast, lightweight, and easy to design. You won’t have to worry about third-party scripts slowing your page load times or clashing with your theme, and it handles the whole compliance workflow, from cookie scanning to visual styling.
Key capabilities included in Cookie Consent:
- Runs a WordPress-native dashboard that lets you manage your entire compliance strategy without ever leaving your website.
- Walks you through a guided 3-step setup process that gets your banner live in under five minutes.
- Scans your site automatically, finds active cookies, and groups them by category.
- Translates visitor choices into consent signals that Google Analytics and Google Ads understand, with built-in Google Consent Mode v2 support.
- Respects automated browser privacy signals sent by privacy-focused users via Global Privacy Control support.
- Keeps secure, anonymous records of consent choices for compliance audits via built-in consent logs.
Because it’s built directly into the Elementor One ecosystem, it pairs well with other features like Image Optimization or Web Accessibility. It’s a complete compliance option that looks great and stays fast.
“Native consent management is a massive step forward for WordPress creators. By running the scanner and script control directly inside the dashboard, site owners avoid performance lag and keep their visitors’ data secure without complex setups.”
– Itamar Haim, Web Compliance Specialist
Step-by-Step: Setting Up Cookie Consent Natively
Ready to get your banner up and running? We’ll use the built-in Cookie Consent capability to show you how straightforward this is. Follow these steps to secure your site in under five minutes.
Step 1: Activate the Cookie Consent Feature
Before you build your banner, you need to turn on the feature. Log into your WordPress dashboard and look for the compliance settings, which you’ll find in your main dashboard menu if you use the complete suite. Click to activate the consent capability, and it preps your database for consent logs and opens up the customization tools.

Step 2: Run an Automatic Cookie Scan
You can’t ask for consent properly if you don’t know which cookies your site is setting. Manually hunting through code to find every script is tedious and prone to gaps. Thankfully, the built-in scanner does this heavy lifting for you. (This part is easier than it sounds, we promise.)
- Go to the cookie scanner settings in your WordPress dashboard.
- Click the “Start Scan” button to let the system analyze your site.
- Wait a minute or two while the scanner checks your pages for active cookies.
- Review the generated list. The tool automatically sorts cookies into groups like Necessary, Analytics, and Marketing.
If you use custom marketing pixels or local scripts, you can manually add and categorize them during this step to keep your list accurate.

Step 3: Choose and Customize Your Banner Template
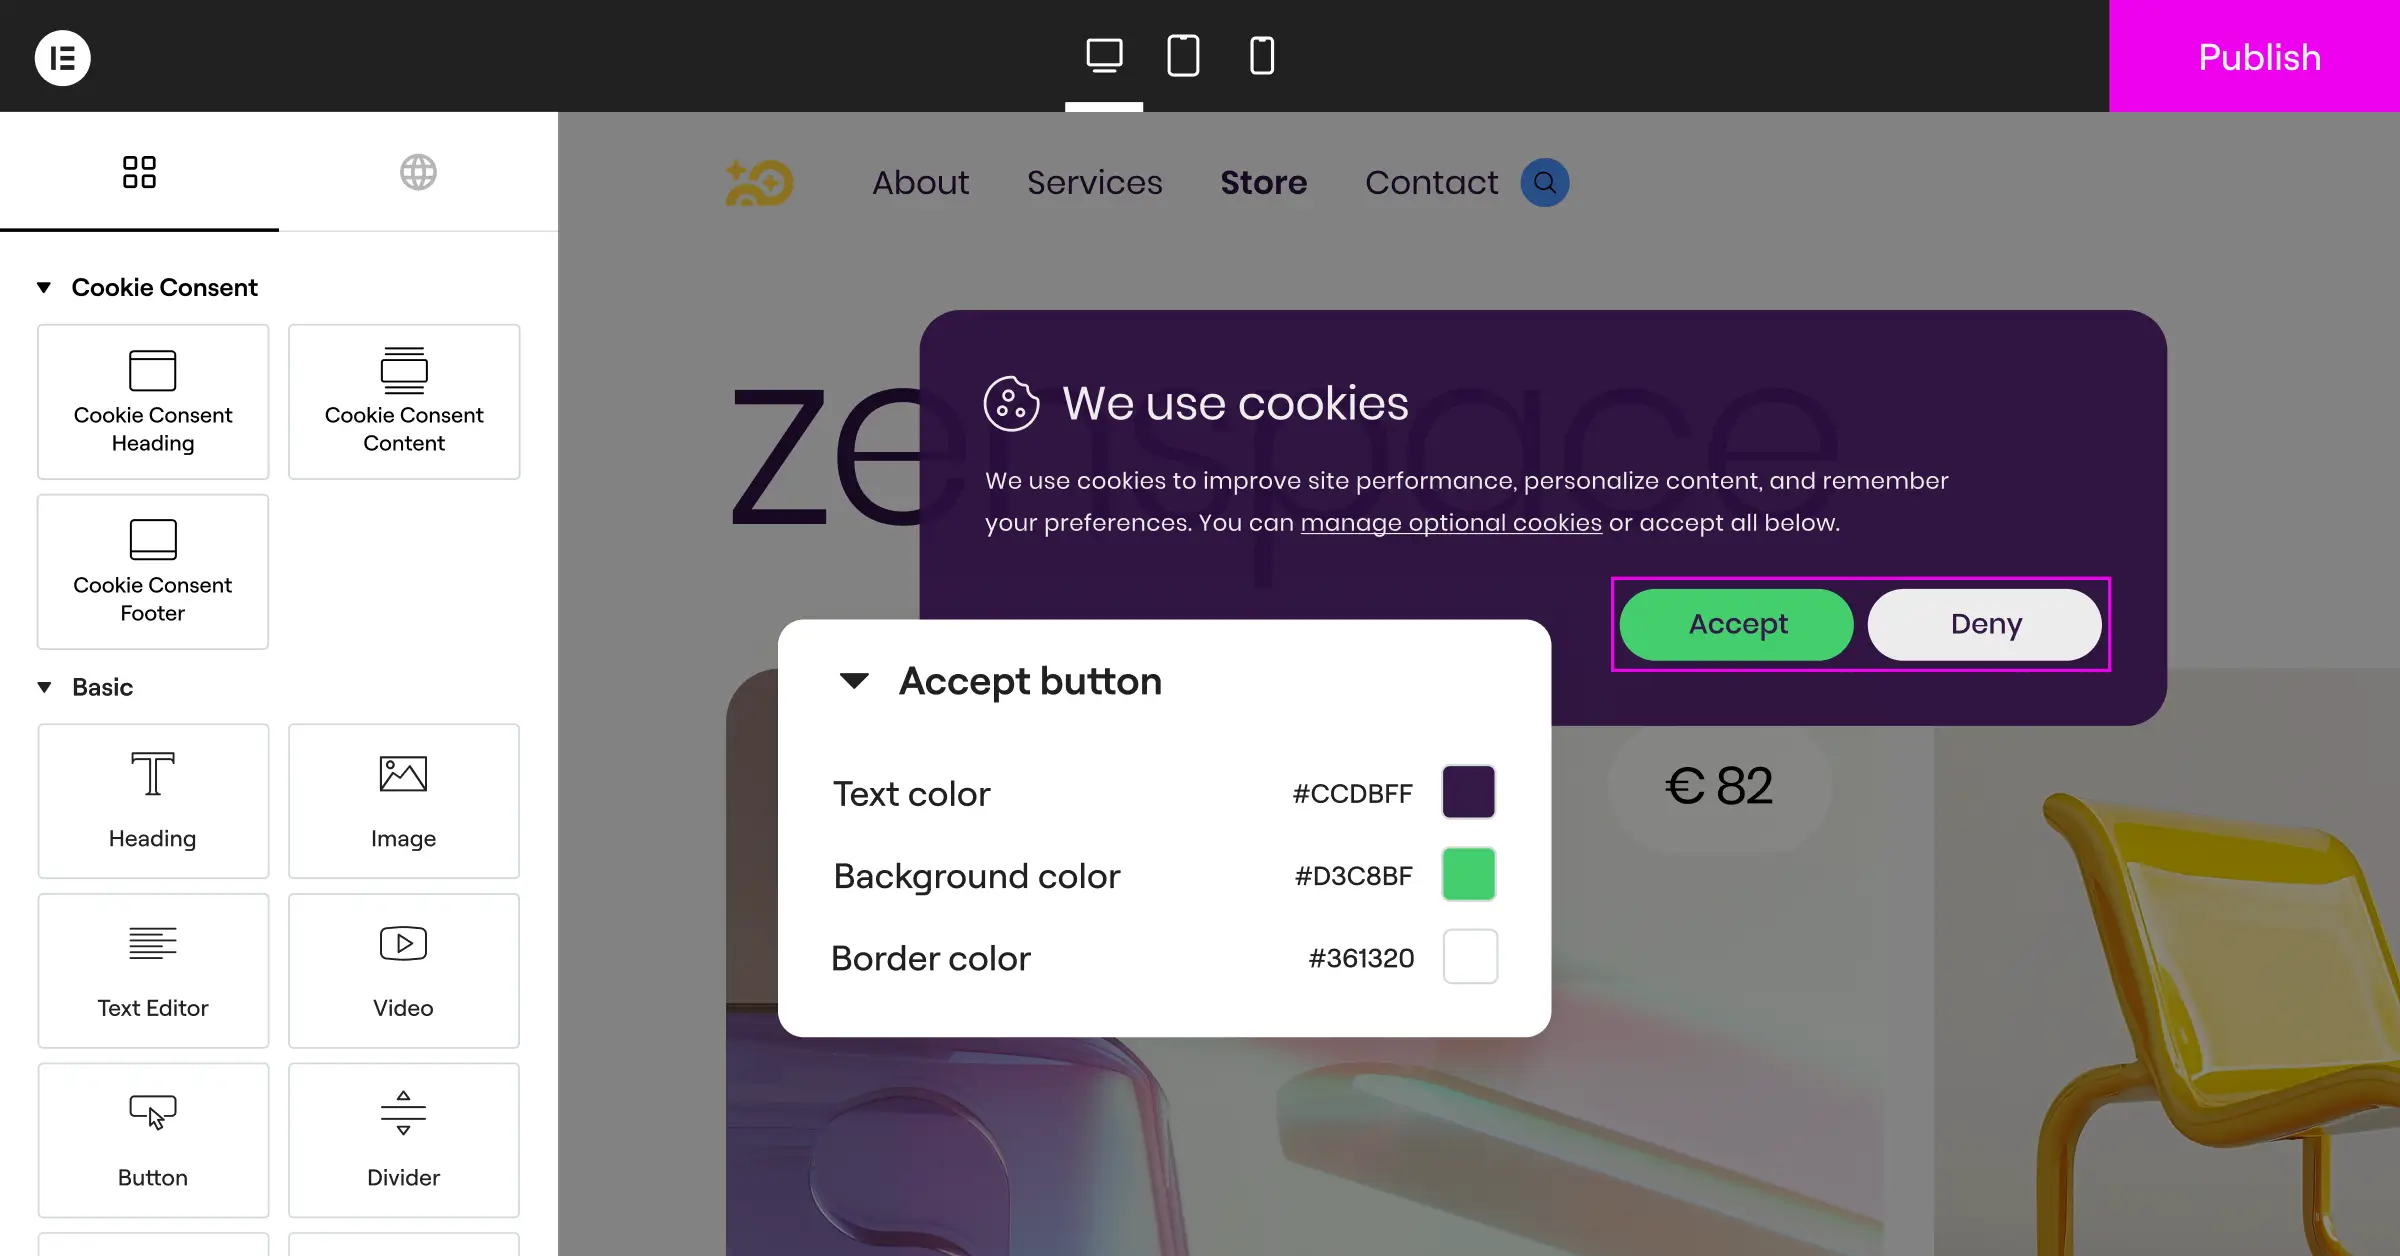
A consent banner should look like it belongs on your website, not like an intrusive pop-up from somewhere else. The native tool gives you access to stylish, pre-designed templates that save you design time.
Pick a template that matches your site layout, whether you prefer a subtle footer bar or a centered modal window, then adjust the colors, fonts, and button styles to match your brand identity. (This trips people up sometimes, but keeping your brand colors makes the banner feel trustworthy rather than suspicious.)
Step 4: Enable Geo-Targeting and Multi-Language Support
Not everyone on the internet needs to see a cookie banner. Visitors from regions without strict privacy laws might prefer a cleaner browsing experience without extra pop-ups.
Turn on geo-targeting to show the banner only to visitors from specific areas, like the EU or California. If your site serves an international audience, you can set up multilingual banners too, and the system automatically detects your visitor’s browser language and displays the right translation.
Step 5: Turn on Google Consent Mode v2
If you use Google Analytics or Google Ads, this step genuinely matters. Google Consent Mode v2 lets you collect basic, anonymous data even when a visitor declines analytical cookies.
Go to the integrations tab in your cookie dashboard and toggle Google Consent Mode v2 to active. The system handles the technical setup automatically, keeping your Google tags updated with each user’s exact consent state, so your data collection stays legal and functional.
Step 6: Publish and Keep Consent Logs
Double-check your settings, preview everything to make sure it looks right, and click “Publish.” Your native consent banner is now live. In the background, the system begins keeping secure, anonymous consent logs. These logs are your paper trail, ready to prove compliance if a regulatory body ever requests an audit.

Comparing Top Cookie Consent Methods for WordPress
A native option like Cookie Consent gives you the smoothest workflow, but there are several other tools available for WordPress users. Here’s a comparison across simplicity, speed, and platform integration to help you choose.
| Tool Name | Native Dashboard? | Google Consent Mode v2? | Setup Simplicity | Primary Focus |
|---|---|---|---|---|
| Cookie Consent | Yes, fully native | Yes, built-in | Very Simple (3 steps) | Fast, native compliance for WordPress sites |
| Cookiebot | No, external cloud | Yes, via integration | Moderate | Enterprise-level automated scanning |
| CookieYes | No, external cloud | Yes, via integration | Moderate | Multi-platform consent management |
| Complianz | Yes, native plugin | Yes, supports integration | Complex (wizard-heavy) | Legal document generation and consent |
| iubenda | No, external cloud | Yes, via script | Complex | All-in-one privacy policies and compliance |
Alternative Cookie Consent Tools: A Dry Overview
If you want to look at other tools on the market, here’s a factual breakdown of some established options. Each takes its own approach to managing visitor privacy on WordPress.
Cookiebot
Cookiebot is an established cloud-based consent management platform with a strong automated scanner that finds and categorizes cookies on your site. Because it runs on an external platform, you’ll manage your cookie lists and banner designs through the Cookiebot website. It supports Google Consent Mode v2 and works well for large enterprise sites, though it requires linking your WordPress site to an external account.
CookieYes
CookieYes is a widely used multi-platform tool that works with WordPress and other content management systems, offering a clean web interface for customizing consent banners, viewing consent logs, and setting up automatic scanning and geo-targeting. Like other cloud solutions, most daily management happens outside the WordPress dashboard, but it offers a reliable entry-level plan for smaller sites.
Complianz
Complianz is a privacy tool built specifically as a dedicated WordPress plugin, with a detailed configuration wizard that walks you through legal questions to help build your cookie policy. It’s thorough but can feel a bit involved if you want a quick, simple setup. It runs locally on your server and integrates well with popular translation systems.
iubenda
iubenda is a legal suite for websites that helps you generate privacy policies, terms of service, and cookie banners through a remote dashboard. It’s useful if you need deep legal documentation alongside your consent banner, though the initial integration requires copy-pasting code snippets into your site templates.
OneTrust
OneTrust is a privacy management platform designed for large companies that need to manage compliance across many websites and mobile apps, with deep customization and detailed consent reporting. For small-to-medium WordPress site owners, its extensive feature set and setup process may feel like more than you need for day-to-day compliance.
Best Practices for Compliance and User Experience
Setting up your cookie banner is only half the battle. To keep your visitors happy and your website fully compliant, a few design and technical practices go a long way. (It’s simpler than it sounds, we promise.)
- Give “Accept All” and “Reject All” equal visual weight. Don’t hide the reject button in tiny text. Regulators want users to have a genuinely free choice, so both options need to be equally visible.
- Avoid blocking content unnecessarily. Giant wall-to-wall overlays that stop users from reading unless they make an immediate choice frustrate visitors. Keep your banners clean and non-intrusive.
- Categorize cookies correctly. Don’t list tracking codes or marketing pixels as “Necessary” cookies. Keep your functional, analytical, and marketing scripts strictly separated.
- Link to your privacy policy. Always include a clear link on your banner so users can read more details if they want to.
- Test on mobile. Your banner should fit comfortably on smaller screens without blocking essential navigation.
- Block scripts before consent. Keep analytical and marketing scripts from loading until the user actually clicks accept. Loading them early violates compliance rules.
How to Test If Your Cookie Banner Is Working Properly
Once your banner is live, you should verify that it’s actually doing its job. Checking this yourself is easy and takes just a few minutes.
- Open a new private or incognito window in your browser. This clears any saved cookies from previous visits.
- Type in your website URL and watch your banner load.
- Right-click anywhere on your page and select “Inspect” to open your browser’s developer tools.
- Go to the “Application” or “Storage” tab, then find the “Cookies” section on the left-hand side.
- Before clicking anything on the banner, look at the active cookies. Only strictly necessary session cookies should appear here.
- Click “Accept” on your banner and watch the cookie list. Your analytics and marketing cookies should appear right after.
If you see analytics cookies loading before you click accept, head back into your dashboard and check your script integration settings to make sure your blockers are still active.
Frequently Asked Questions
What is Cookie Consent in WordPress?
It’s a built-in capability that lets site owners show a clear compliance banner to website visitors. The tool collects consent before running analytical, tracking, or marketing scripts, helping you comply with global privacy regulations directly from your WordPress dashboard.
Do I really need a cookie banner on my WordPress site?
If your website has visitors from the European Union, the United Kingdom, California, or other regions with active privacy laws, yes. If you use tools like Google Analytics or marketing pixels like Facebook, you need to give visitors a way to decline those tracking scripts.
Is Google Consent Mode v2 supported natively?
Yes, the native Cookie Consent tool includes built-in support for Google Consent Mode v2. It sends the correct consent signals to Google services automatically, letting you collect anonymous analytics even when a user declines tracking.
Does a cookie banner slow down my WordPress site?
Some third-party tools can add lag because they load extra files from external servers. A native tool like Cookie Consent keeps the scripts lightweight and fast, so there’s no round-trip to an external platform on each page load.
Can I customize how my consent banner looks?
Absolutely. You can choose from pre-made templates, change the layout, adjust the colors to match your brand, and use your own fonts so the banner looks natural on your site rather than like a generic overlay.
What is the difference between Necessary and Marketing cookies?
Necessary cookies are essential for basic site functions, like keeping a user logged in or holding items in a shopping cart. Marketing cookies track user activity across sites to show relevant ads. Necessary cookies don’t require prior consent, but marketing cookies do.
Can I show my cookie banner only to European visitors?
Yes. Built-in geo-targeting lets you set the banner to show up only for visitors arriving from specific regions, like the EU or UK, keeping the experience clean for visitors from elsewhere.
What happens if a visitor rejects my cookie banner?
If a visitor clicks reject, your site runs only essential cookies. Analytical scripts and marketing pixels stay blocked, keeping their browsing session completely private.
Do I get consent logs for compliance audits?
Yes, the Cookie Consent capability securely logs visitor consent choices. These records are kept anonymously and can be used as proof of compliance if your business is ever audited by privacy regulators.


