Setting up privacy compliance on your WordPress site can feel like a lot, especially with terms like “consent mode” and “cookieless pings” flying around. If you get visitors from Europe, the UK, or California, you’ve probably run into Google Consent Mode.
Here’s the good news: you don’t need a computer science degree to get this right, just the right tool and a clear walkthrough. We’ll go step by step, so you know exactly how to set up Google Consent Mode v2 on your WordPress site. It’s simpler than it sounds, promise.
There are ten solid methods here, from WordPress-native tools to developer-level code, so you can pick whichever fits your workflow.
Key Takeaways
- Google Consent Mode v2 is now mandatory for websites using Google ads and analytics to track traffic in the European Economic Area (EEA).
- Consent Mode adjusts how Google tags behave based on your visitors’ choices, allowing for anonymous data modeling when cookies are rejected.
- Using a WordPress-native capability like Cookie Consent simplifies the setup process without requiring complex third-party dashboards.
- You can choose between a basic or an advanced implementation depending on your privacy goals and data needs.
- Testing your setup using Google Tag Assistant keeps your tracking accurate and prevents compliance issues down the road.
What Is Google Consent Mode and Why Does It Matter Now?
Put simply, Google Consent Mode lets your website tell Google’s tracking tags what your visitors chose about cookies. In the past, declining consent meant tracking stopped cold, leaving gaps in your analytics and making it hard to know if campaigns were working.
Consent Mode changes that. When a visitor declines, Google’s tags adjust instead of shutting off, sending anonymous, cookieless pings that let Google’s models fill in the missing data, so you get a clearer picture of traffic while respecting privacy.
In 2024, Google rolled out Consent Mode v2 with two new settings: ad_user_data and ad_personalization. Without them, your Google Ads campaigns can’t build remarketing audiences or track conversions accurately in regulated regions, and these signals matter for any serious marketing strategy heading into 2026.
Understanding Basic vs. Advanced Consent Mode
You’ll pick between two paths that fit different business needs and risk comfort.
The first path is Basic Consent Mode. Google tags are blocked completely until a visitor agrees on your banner. Say yes, and tags load and track normally; decline, and nothing fires or reaches Google. It’s the safest route for compliance, with less data modeling in return.
The second path is Advanced Consent Mode. Google tags load before the banner even appears. Consent lets tags read and write cookies as usual; decline switches them to sending cookieless pings instead. You get richer modeling data, but spell this out in your privacy policy.
The 10 Best Methods to Set Up Consent Mode in WordPress
There are several ways to put this framework in place. Some use native tools right inside WordPress, others lean on external compliance platforms, and a few call for direct code editing. Here are the ten best methods, so you can find whichever fits how you work.
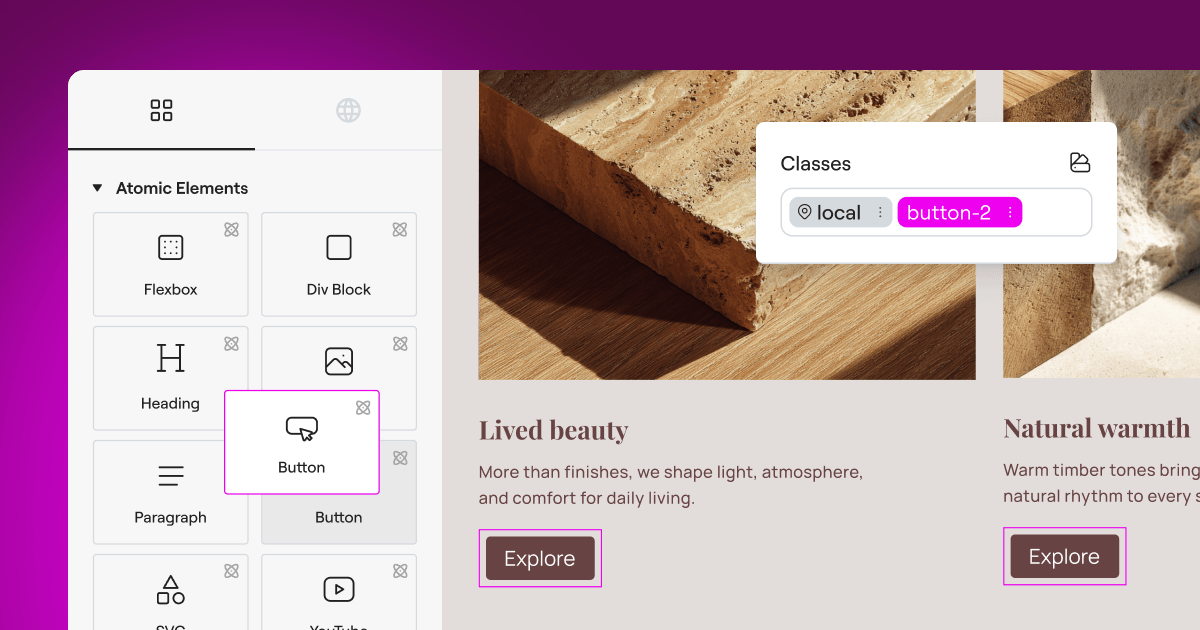
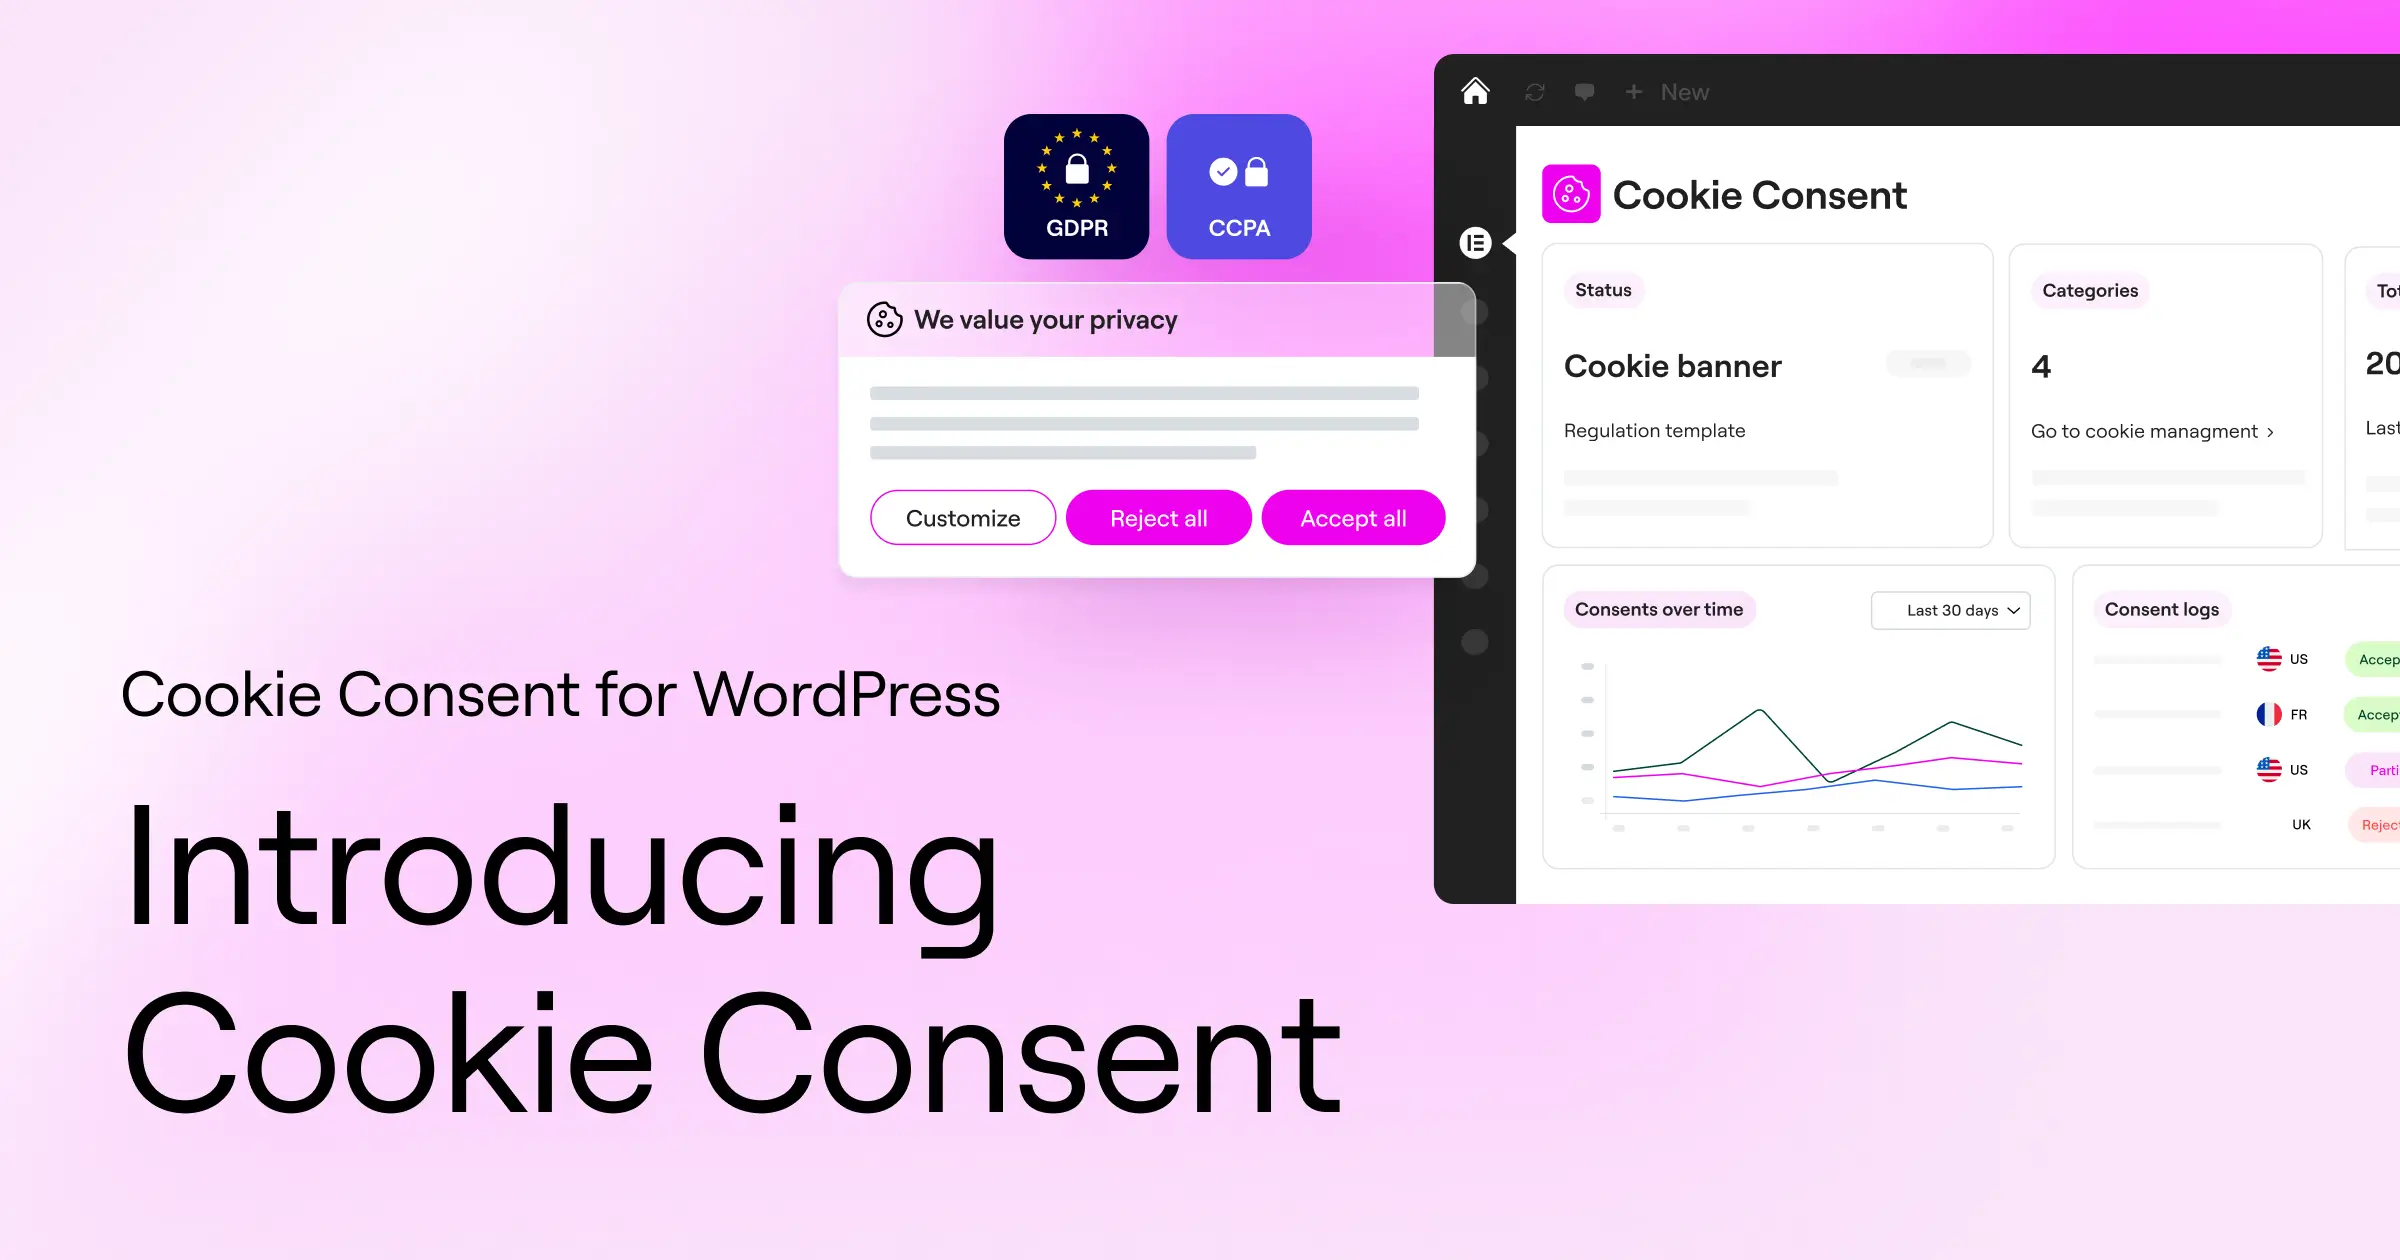
1. Cookie Consent by Elementor
If you use Elementor to build and manage your WordPress site, the built-in Cookie Consent capability is a great place to start. It’s a WordPress-native feature that handles compliance right from your dashboard, skipping external portals or separate SaaS accounts just to change a banner color.
This capability covers what you need for modern privacy rules: Google Consent Mode v2 support out of the box, a clean setup wizard, and banners that match your design. Since it’s part of Elementor’s broader feature set, you skip the code bloat that often comes with third-party integrations.

- Scans your site automatically to sort cookies and scripts by type.
- Builds custom banner layouts that match your brand using native design controls.
- Saves consent logs so you’ve got an audit trail ready for any regulatory inquiry.
- Determines user locations with built-in geo-targeting, so banners only show up where they’re legally required.
- Connects directly to Google Consent Mode v2 without complex manual script tagging.
- Translates your consent banners into multiple languages for international visitors.
2. CookieYes WordPress Integration
CookieYes is a widely used cloud-based consent platform with a dedicated WordPress integration. Install their script and connect your API key through the CookieYes portal, which supports the latest consent signals and major analytics platforms.
- Categorizes trackers automatically using a database of millions of known cookies.
- Supports major global privacy frameworks including GDPR, CCPA, and GPC.
- Updates consent settings across your site in real time from a central cloud portal.
3. Complianz Privacy Suite
Complianz is a privacy-first tool built for the WordPress ecosystem. A wizard assesses your site’s requirements, generates cookie policies, and configures banners to match, integrating with Consent Mode v2 and connecting responses to GTM or gtag.js automatically.
- Generates legally validated cookie policies and terms of service documents.
- Blocks third-party scripts dynamically before the user gives consent.
- Integrates with the WP Consent API to coordinate with other active tools on your site.
4. Cookiebot via Google Tag Manager
Cookiebot is an enterprise-grade compliance solution built on automated cloud scanning. Pair it with Google Tag Manager, and a community template manages consent states. It’s popular with enterprise sites already running GTM, delivering deep cookie audits and regular compliance reports.
- Conducts monthly automated cookie scans to verify ongoing compliance.
- Loads through GTM using certified community templates to keep site code organized.
- Manages banners in dozens of languages with automatic language detection.
“When setting up Google Consent Mode, many site owners make the mistake of assuming their tags are automatically compliant just because they installed a banner. You must verify that your default consent states are declared before any Google script attempts to run, or you risk violating user privacy guidelines.”
– Itamar Haim, Web Compliance Specialist
5. iubenda Compliance Solution
iubenda is a full legal-compliance suite handling cookie banners, privacy policies, and terms and conditions in one place, suited to sites wanting one drafted solution. Its auto-blocking feature integrates with Google’s APIs to send consent states, with geo-targeting for California and Germany visitors.
- Generates privacy policies drafted by a team of legal professionals.
- Detects each visitor’s legal requirements in real time.
- Allows deep CSS styling to match the consent interface to your site’s design.
6. Manual GTM Implementation Using Community Templates
If you want full control without paying for outside platforms, set up Google Tag Manager manually. Use the Consent Mode template from the GTM Community Template Gallery, define default states, then update them based on events your banner pushes to the dataLayer. It takes familiarity with tag triggers, but it’s flexible.
- Keeps your site code clean by housing all tracking logic inside GTM.
- Saves budget by avoiding paid third-party consent tools entirely.
- Lets you customize trigger groups and exceptions based on user choices.
7. OneTrust Consent Management
OneTrust is a large, detailed privacy platform built mainly for enterprise sites, covering compliance reporting, data mapping, and custom integrations. It suits a WordPress site tied to a bigger business needing strict auditing, though the interface can feel like a lot for smaller sites.
- Tracks user consent actions across multiple websites and mobile applications.
- Delivers detailed security auditing tools for legal teams.
- Connects with internal CRM systems to maintain unified user privacy profiles.
8. Site Kit by Google with Custom Consent Settings
Google’s official WordPress plugin, Site Kit, connects Google Analytics, Search Console, and AdSense in one dashboard. It doesn’t come with a visual banner, but includes settings to turn Consent Mode support on, pairing with an approved consent platform for the banner itself.
- Connects your site directly to your Google Analytics account without manual code tracking.
- Turns on basic consent configurations within a few simple dashboard clicks.
- Displays site performance metrics directly inside your WordPress admin panel.
9. Hardcoding gtag.js in a Child Theme
If you’d rather skip tools and tag managers, write the consent scripts directly into your child theme’s functions.php or header.php file. It’s the lightest-weight option here, but calls for real comfort with JavaScript, so be honest about your skill level first.
You declare default consent states with gtag('consent', 'default', {..}) before your tag scripts load, then trigger gtag('consent', 'update', {..}) when a visitor chooses.
- Eliminates third-party tool dependencies, which keeps page loading speeds fast.
- Protects your configuration from being overridden by automatic CMS updates.
- Gives you precise control over the loading order of your analytical scripts.
10. WP Consent API and Compliant Add-ons
The WP Consent API is an open-source effort creating one unified consent standard for WordPress, so tools speak the same language instead of fighting over registration. Your banner, analytics, and embedded content all check the same central state before loading cookies, for a stable, easy-to-maintain setup.
- Standardizes consent statuses across your entire suite of active tools.
- Prevents duplicate banners and overlapping scripts on your public pages.
- Supports direct integration with advanced Consent Mode parameters.
Comparison of the Top Consent Mode Implementation Methods
Here’s how these methods compare across the criteria that matter most.
| Implementation Method | Setup Difficulty | WordPress Native | Consent Mode v2 Ready | Requires Cloud Account | Best For |
|---|---|---|---|---|---|
| Cookie Consent (Elementor) | Easy | Yes | Yes | No | WordPress & Elementor Users |
| CookieYes | Medium | No (Integration Script) | Yes | Yes | Cross-platform site owners |
| Complianz | Medium | Yes | Yes | No | Users wanting auto-generated policies |
| Cookiebot (via GTM) | Hard | No | Yes | Yes | Sites running deep GTM configurations |
| iubenda | Medium | No (Integration Script) | Yes | Yes | Complex multi-country compliance |
| Manual GTM | Hard | No | Yes | Yes | Developers and analytics specialists |
| OneTrust | Hard | No | Yes | Yes | Enterprise corporations and legal teams |
| Google Site Kit | Easy | Yes | Yes (Requires companion) | No (Uses Google sign-in) | Basic site tracking setups |
| Hardcoding gtag.js | Very Hard | Yes (Theme level) | Yes | No | Performance purists and coders |
| WP Consent API | Medium | Yes | Yes (via addons) | No | Developer-heavy standard setups |
Step-by-Step Tutorial: Setting Up Consent Mode with Cookie Consent
Let’s walk through a practical setup using Cookie Consent, one of the easiest methods since everything happens right inside your WordPress admin.
Step 1: Enable the Capability
Log in to your WordPress dashboard, go to the compliance panel, and toggle on Cookie Consent. A settings panel then appears in your sidebar.
Step 2: Run the Initial Cookie Scan
Before designing your banner, click “Scan” to identify the trackers your site uses. It sorts cookies into groups like Marketing, Analytics, or Necessary in under two minutes.

Step 3: Design Your Banner
Open the design customizer to adjust layout, colors, and typography, picking a bottom bar, modal window, or slide-in box that matches your theme.
Step 4: Configure Consent Mode v2 Settings
In your settings panel, find “Google Consent Mode v2” and toggle it on. This sends the required ad_user_data, ad_personalization, analytics_storage, and ad_storage signals to Google whenever a visitor interacts with your banner.
Step 5: Define Default States by Region
Set default consent states by region: “denied” for EU visitors, “granted” for less restrictive regions. This keeps you compliant without limiting data collection elsewhere.
Step 6: Save and Test
Click “Save Changes,” then check your homepage in an incognito window to confirm the banner works and lets visitors accept or decline categories easily.
How to Test and Verify Your Consent Mode Implementation
Getting your banner live is only half the job. Verify your tags respect the signals it sends, or you risk compliance warnings later.
- Open Google Tag Assistant: Go to
tagassistant.google.comand enter your site’s URL. - Examine the Consent Tab: Pick an early event like “Consent,” then click the “Consent” tab.
- Check the Default Values: You’ll see
deniedfor keys likead_storageandanalytics_storagebefore touching the banner. - Click “Accept” on Your Banner: Go to your site preview and click accept.
- Verify the Updated States: The “On-page Update” column should now show
granted. - Check Your Analytics Report: Open GA4’s real-time report to confirm your visit shows up.
Troubleshooting Common Consent Mode Issues
Even with solid tools, hiccups happen. Here’s how to fix the most common ones fast.
If you see a “Consent Not Configured” error in Google Ads, your default consent states are firing too late. A caching tool that defers your banner script makes Google treat Consent Mode as missing. Fix it by loading your banner’s initialization script at the very top of your <head> tag.
Another common issue is double tracking or duplicated page views, from hardcoding Google Analytics while also running it through Tag Manager. Both interpret consent independently, skewing your metrics. Pick one tracking method and stick with it.
Finally, watch your caching and optimization tools. Many speed tools defer JavaScript files, and a deferred consent script can break the connection to Google. Add its file path to your exclusion list so it fires immediately.

Frequently Asked Questions
What is Google Consent Mode v2?
It’s an updated version of Google’s consent framework, adding ad_user_data and ad_personalization. Needed for Google Ads conversion tracking and remarketing in the EU and other regulated regions.
Do I need Google Consent Mode if I don’t run ads?
Yes, if you use Google Analytics 4. Consent Mode lets Google model users who decline cookies, so you still get a useful performance picture without cookie-based tracking.
Can I use the native Cookie Consent tool with Google Tag Manager?
Yes. Elementor Cookie Consent talks to dataLayer events, connecting banner responses directly to Google Tag Manager triggers without custom scripting.
Is Google Consent Mode v2 required for US-based websites?
Not strictly for US-only traffic. But US states are passing their own privacy laws fast, and European or UK traffic means you need it active for accurate tracking.
What happens if I don’t set up Consent Mode?
Google will limit your ability to track conversions and build remarketing lists for regulated regions like the EEA, making your metrics less reliable over time.
What’s the difference between Basic and Advanced Consent Mode?
Basic Consent Mode blocks Google scripts until a visitor clicks “Accept.” Advanced Consent Mode loads scripts with restricted, cookieless permissions from the start, sending anonymous signals even if the visitor declines.
Does using a consent banner slow down my WordPress site?
External tools that pull large scripts from cloud servers can add page weight. A WordPress-native option like Cookie Consent keeps requests local, keeping impact small while staying compliant.
How do I know if my Consent Mode setup is working?
Google Tag Assistant is the most reliable check. It lets you inspect page events and watch consent states shift from denied to granted as you interact with your banner.
Do I still need a privacy policy page on my website?
Yes, a cookie banner and Consent Mode don’t replace your privacy policy. You still need a page explaining how you collect, process, and store data, and how visitors can request deletion.


