The new Domains experience in My Elementor makes it easier than ever to purchase, connect, and manage domains directly from your Elementor account. Whether you’re launching your first site or migrating an existing one, you can now handle everything from buying a domain to linking it to your hosted site all within the My Elementor dashboard.
Purchase a New Domain
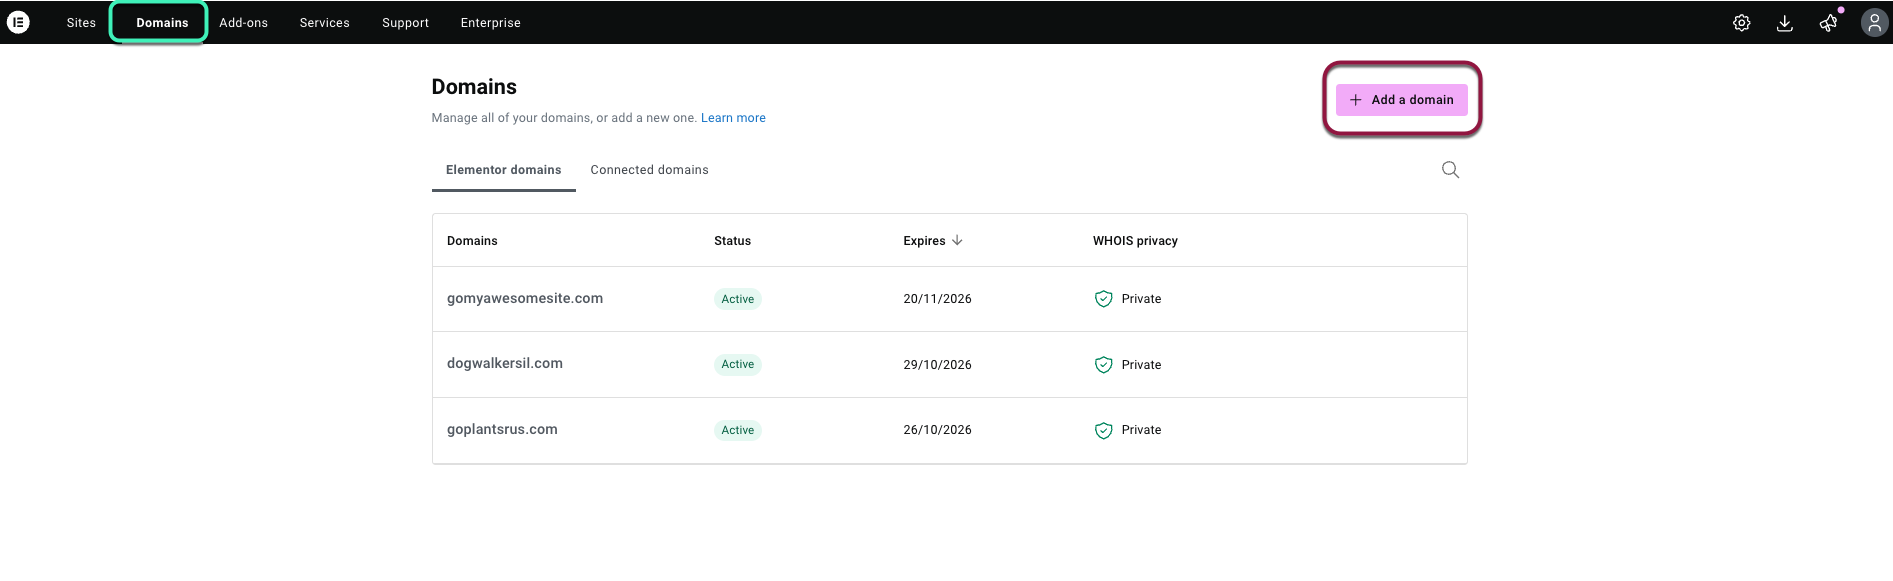
- From the Domains dashboard, click + Add new domain.
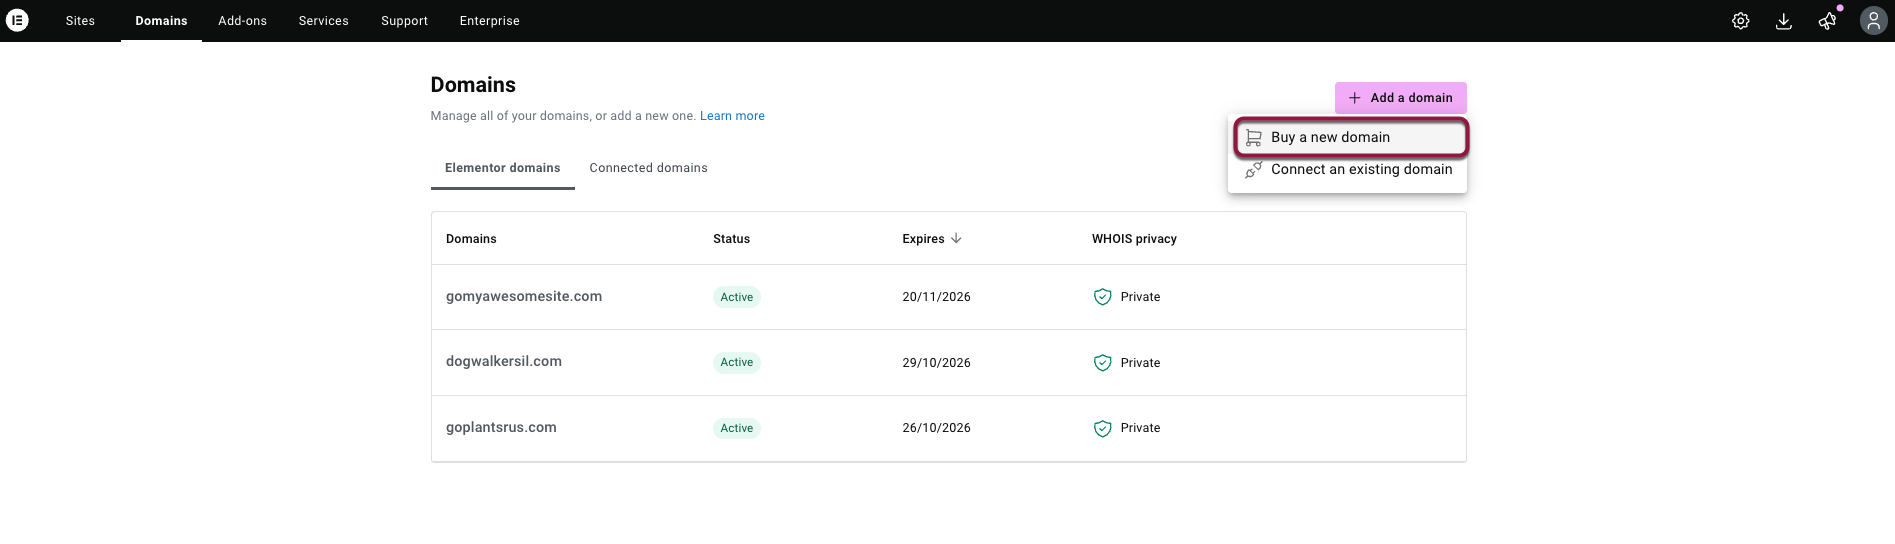
- Click Buy new domain.
- Enter your desired domain name in the search bar (e.g., mygreatwebsite.com) and click Search domains.
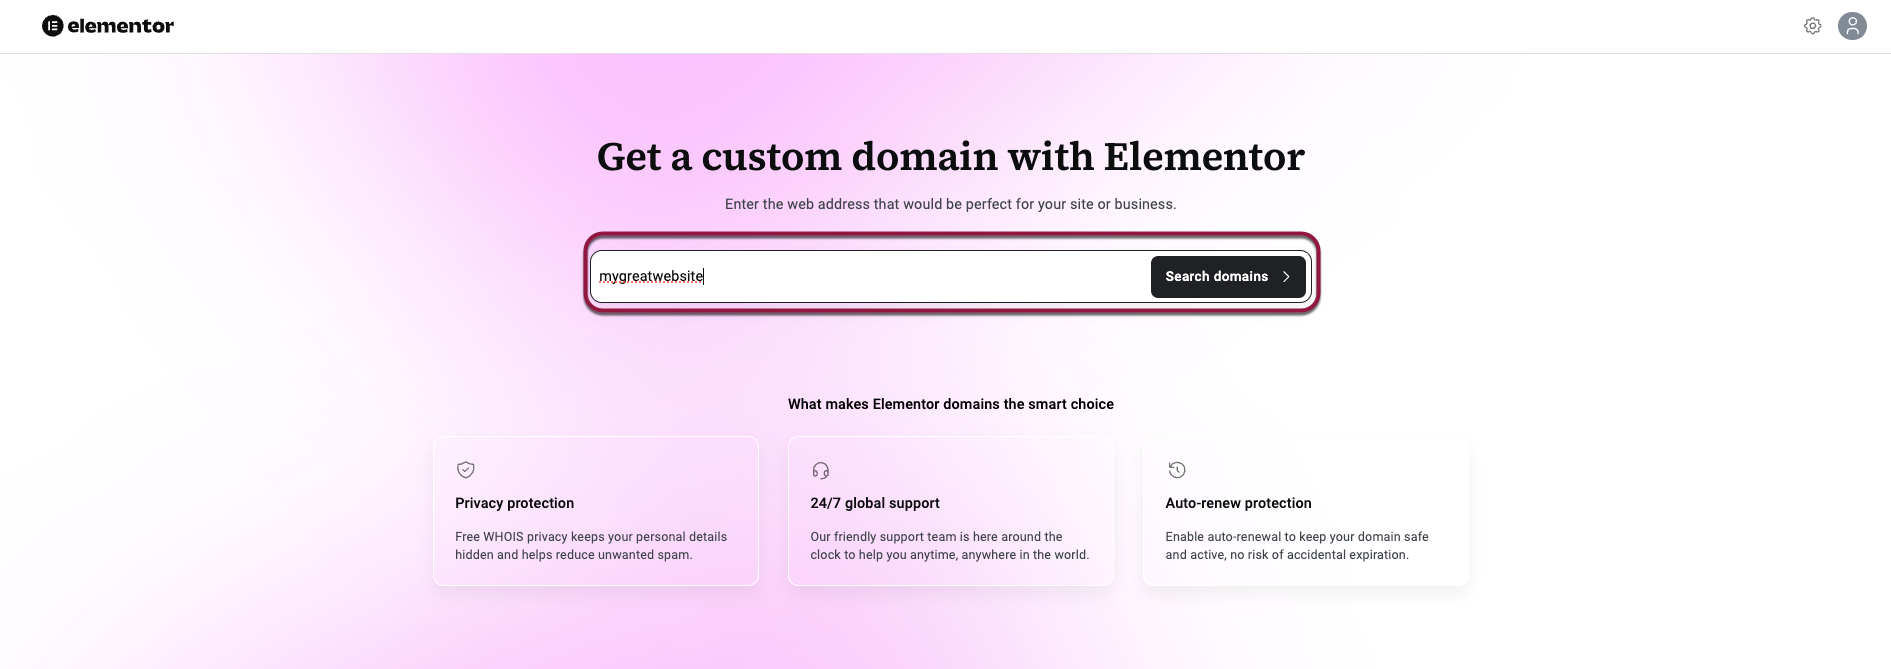
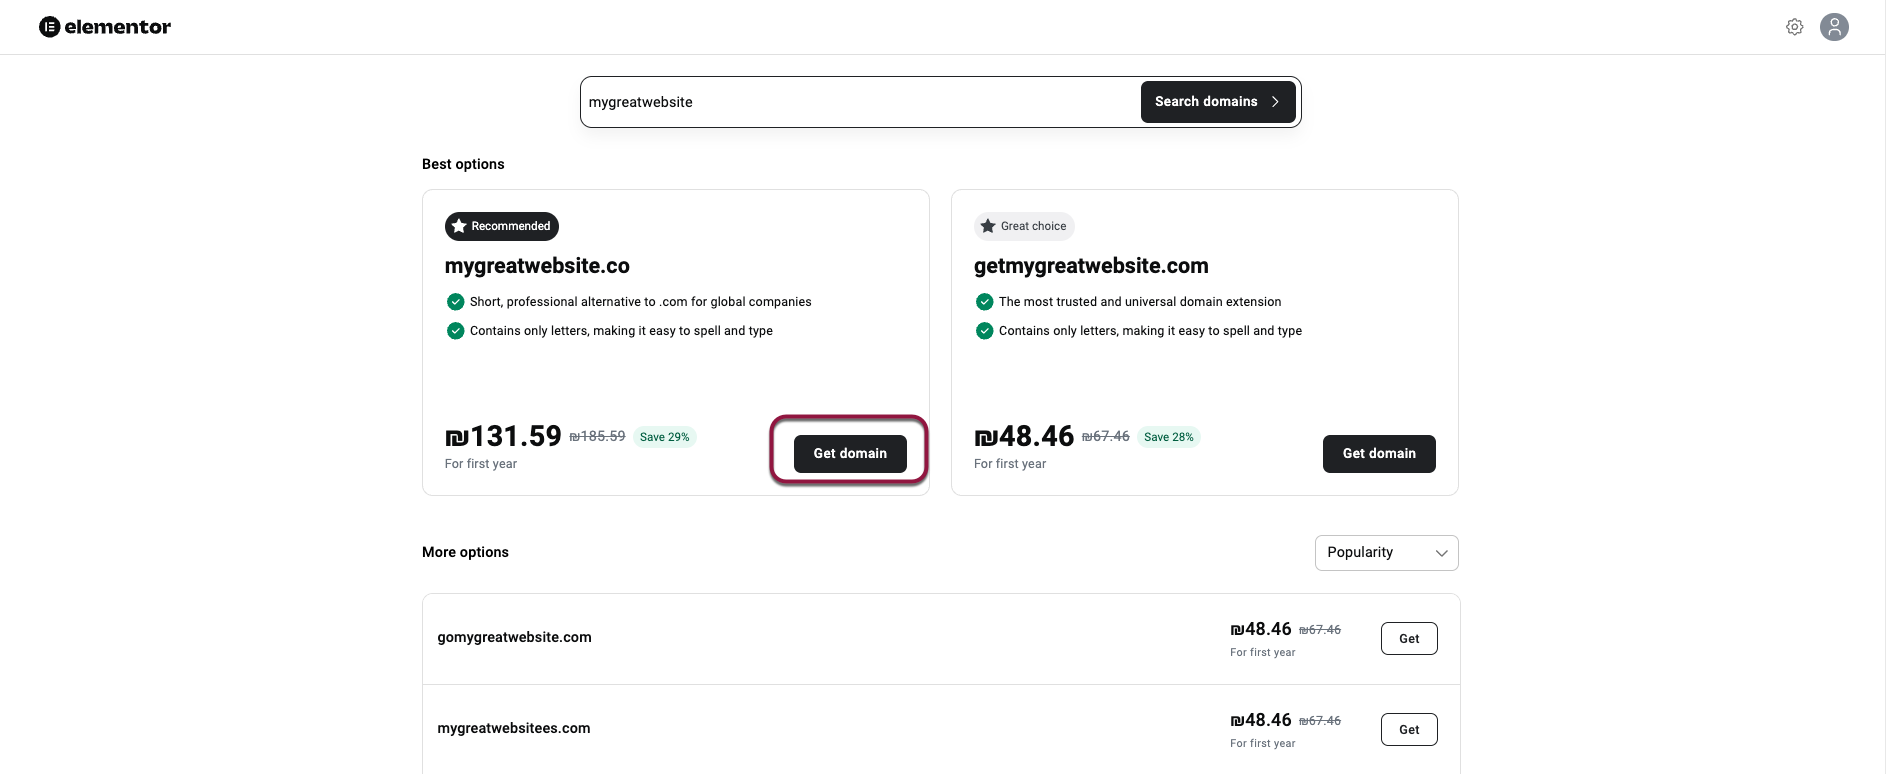
- Elementor will show available options and pricing for your search.
- If the domain is taken, Elementor presents you with the best alternative options.
- Next to the domain you want, click Get domain. You can choose to add a Hosting bundle or buy the domain only.
- Review your order summary, confirm your contact details, and proceed to checkout.
Note: You must enter all starred information, including a phone number, to proceed.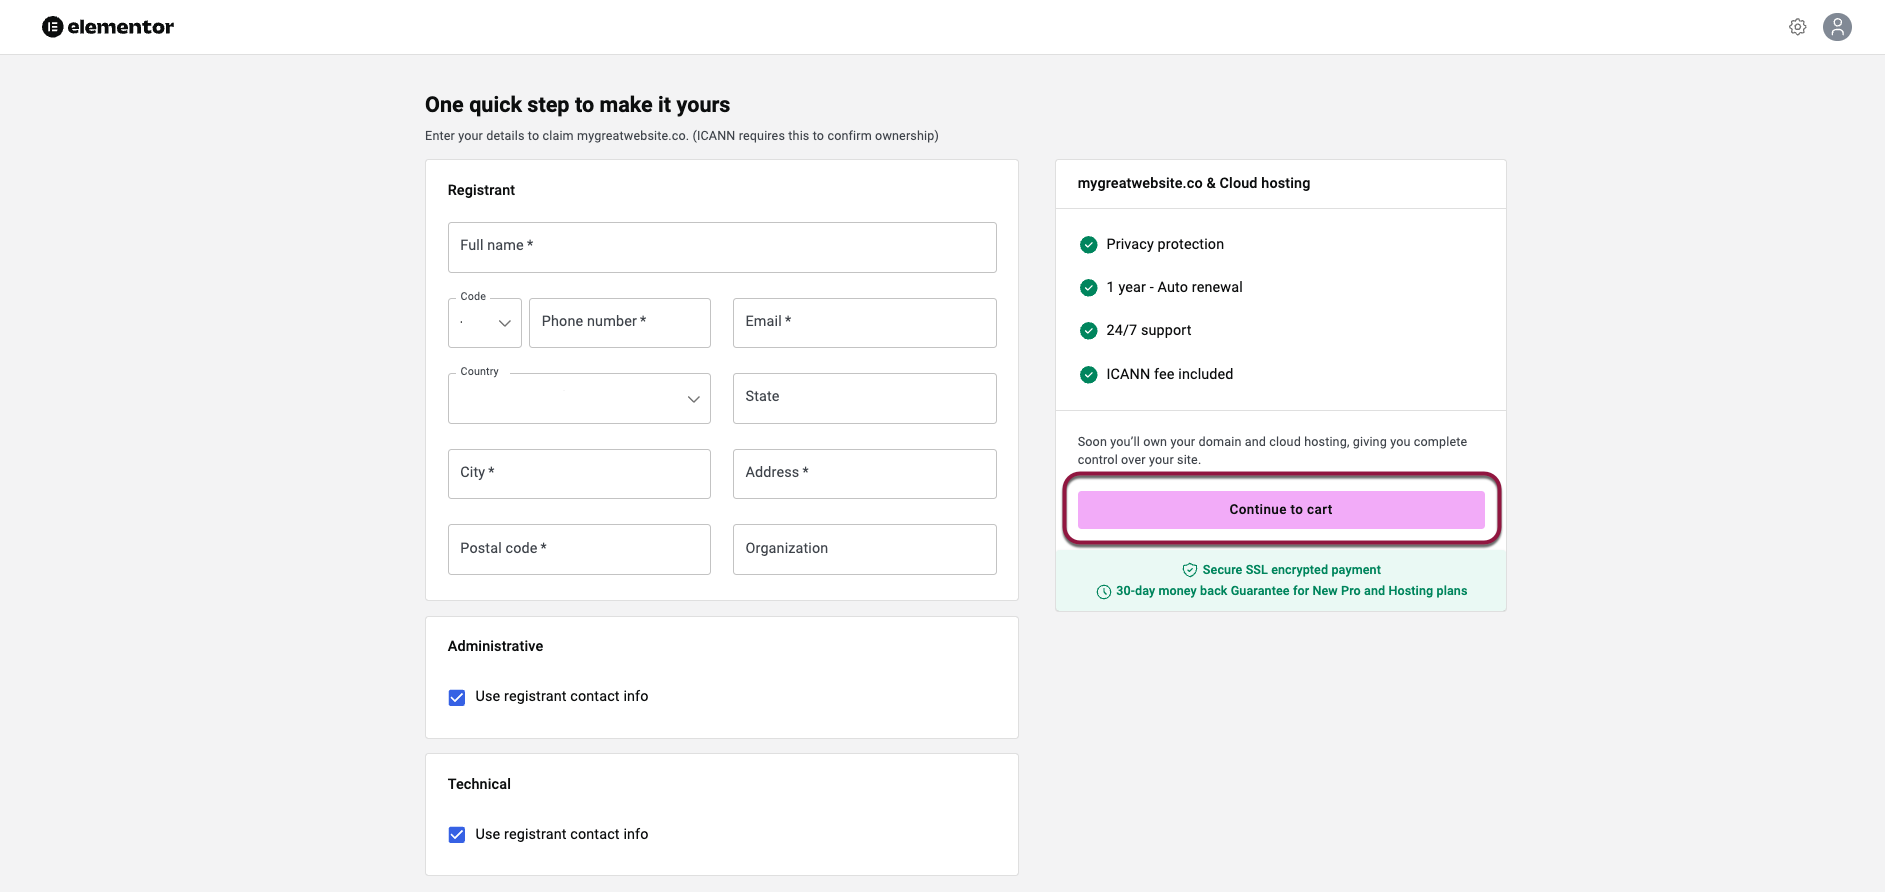
- Click Continue to cart.
- Complete your payment to finalize the purchase.
Once the purchase is successful, your new domain will automatically appear in your Domains list.
Access Elementor Domains
- Log in to your My Elementor account.
- From the topbar click the Domains tab.
You’ll arrive at the new Domains dashboard, where you can view, purchase, or connect your domains, both Elementor domains and external domains.