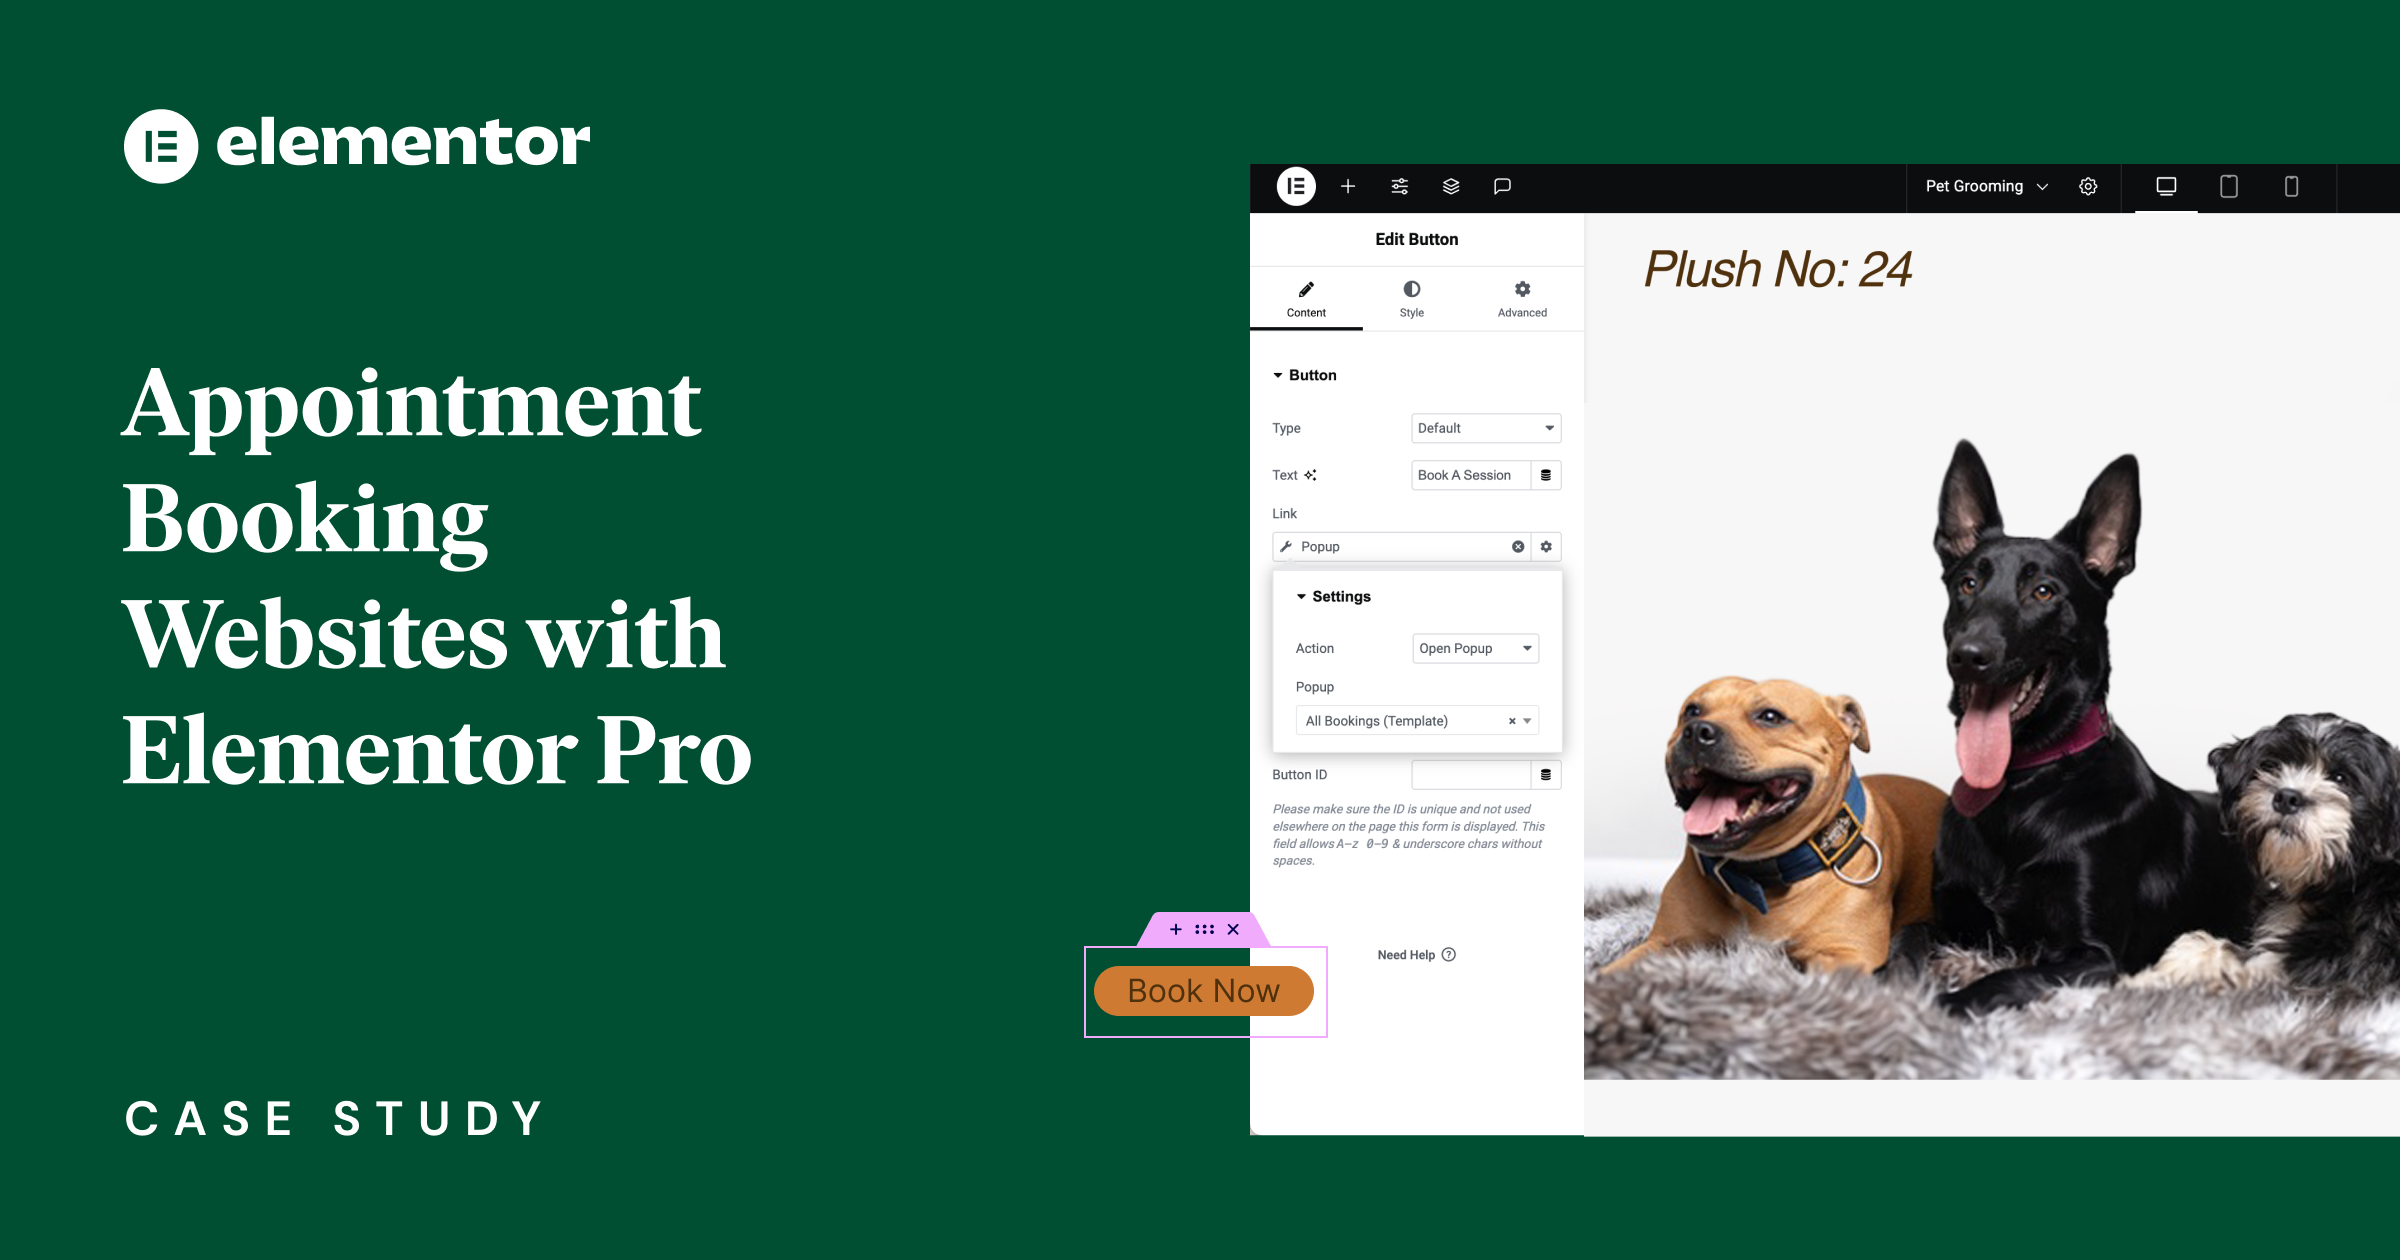
Streamline Your Business Scheduling with Elementor Pro and Google’s Latest Feature
In the ever-evolving world of digital convenience, Google has recently unveiled Appointment Scheduling, a new feature tailored for users of the Google Business Suite, designed to streamline the appointment-booking process. This feature allows businesses and service providers to create custom appointment slots, offering a dynamic and user-friendly experience for your business and your clients. Using Elementor Pro, you can seamlessly add scheduling options to your website.
The Dynamic Scheduling Solution
Imagine being able to offer your clients the flexibility to book appointments based on the specific nature and duration of the service they require. Whether it’s a 45-minute consultation or a 1.5-hour session. Leveraging Google’s new feature with Elementor Pro allows you to display available slots to your clients, according to their duration, to streamline your appointment scheduling process and improve the visitor experience.
Virtually any appointment-based business can use this feature to enhance operational efficiency and customer satisfaction. Here’s are a few examples for businesses that can benefit from streamlining their booking process:
- Healthcare Services: From doctors’ offices to specialist medical services, healthcare providers.
- Beauty and Personal Care: Salons, spas, barbers, hairdressers, and tattoo studios.
- Wellness and Fitness: Personal trainers, yoga studios, and nutritionists.
- Professional Services: Legal, financial, and consulting services.
- Educational and Tutoring Services: Tutors and instructors across disciplines.
- Pet Services: Veterinary clinics, grooming services, and boarding facilities.
- Leisure and Recreation: Businesses offering activities like golf, climbing, or private tours or party rooms.
- And many others.
How Does it Work?
First, you’ll start by determining how long you would like to reserve for each appointment. Let’s take for example a pet grooming business. Pets differ significantly in size and coat type, which influences the time required for grooming services. Once you’ve decided the duration of each appointment type, you can set up a flow on your website where visitors can book the most suitable time slots. That way you can avoid incorrect bookings and improve customer satisfaction.
For the sake of this example, let’s breakdown the duration of various pet grooming services:
- Basic Grooming Package: For cats and small to medium breed dogs, including bathing, drying, and more, lasting 1 to 2 hours.
- Basic Grooming Package for Large Breed Dogs: Similar services tailored for larger breeds, with a duration of 2 to 3 hours.
- Full Grooming Packages: An extensive grooming session for all sizes, including detailed styling and health checks, ranging from 2 to 4 hours.
Now that we have a breakdown of services, their details and durations let’s get started building our appointment schedules.
Step 1: Create Your Appointment Schedule In Google Calendar
- Click the ‘Create’ button in your Google calendar to see the appointment schedule option.
- Write the title, select the appointment duration and the days available to set appointments on, and follow further instructions within your Google Calendar.
- Repeat these steps for every appointment type you want to offer, as demonstrated above with the Pet Grooming example.
- Now all the slots available for bookings are presented in your calendar.
- Click on one of them to display or share your booking page. You can share your appointment schedules individually or as a group where your visitors can select the appointment type
Step 2: Design Your Appointment Schedule Flow On Elementor Pro
There are many approaches to get your visitors to schedule appointments. One of them is to invite them to book an appointment right away from a button in the header section. A “Book Now” button in your header ensures an immediate engagement, maximum visibility and accessibility, making it easy for users to find and use the booking feature at any point during their site visit. You can use the theme builder to design your header any way you like and display it throughout your website.
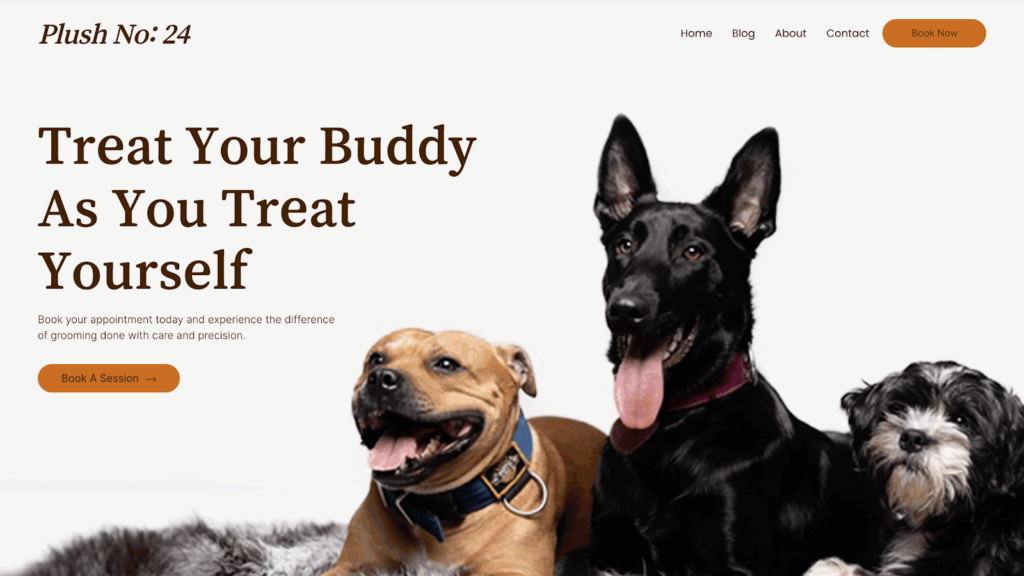
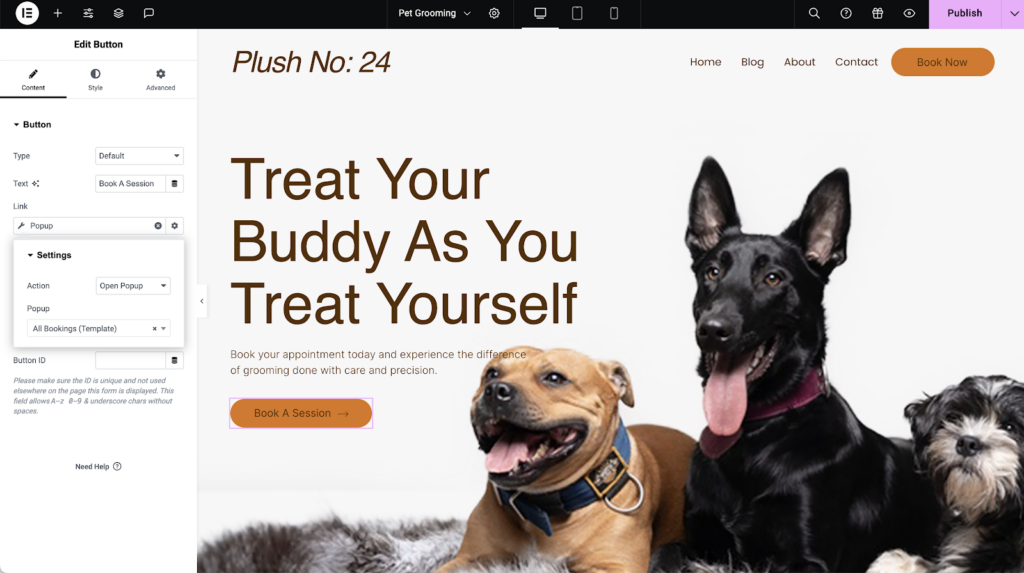
Another approach is to place a ‘Book Now’ button on the first section of your home page that we call the hero section. The hero section is the prime real estate of your website and it gives you a huge opportunity to make a strong first impression. You can leverage this high-value space with high-impact visuals and big, attention-grabbing headlines, taking advantage of the full attention of your visitors. You can access the rich template library to get inspired or to ensure using a high-converting hero section layout.
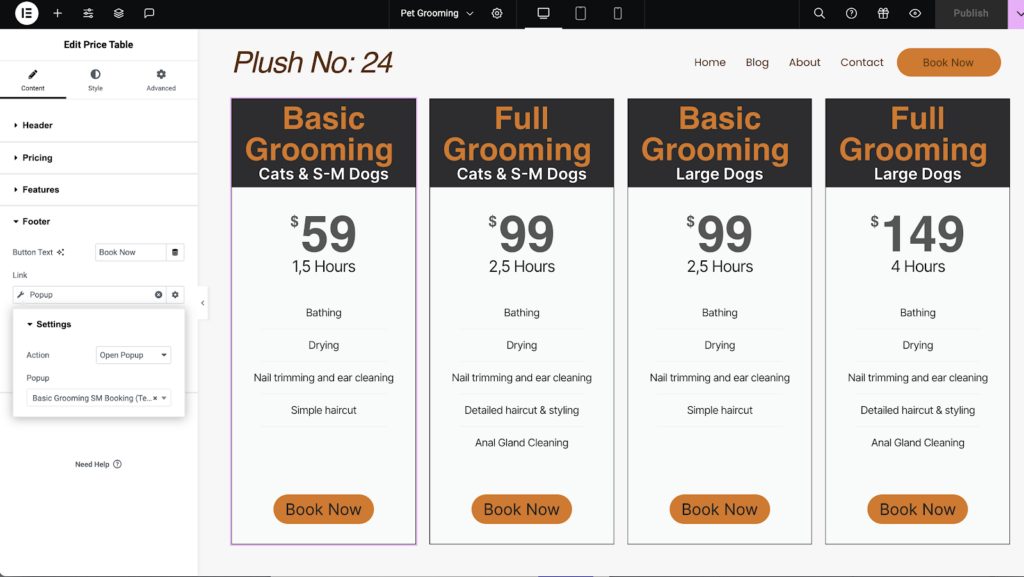
And last but not least, a good complementary approach to placing it in the header and in the hero section is to add a CTA in the pricing areas. Elementor Pro’s price table widget is a very versatile widget that allows you to to list the details of your services with their prices and more details. It is highly configurable, and its call to action button has all the capabilities of the button widget. This approach is best when you offer different services and would like your visitors to see the differences between them when placed next to each other.
Step 3: Add Google’s Appointment Scheduling to Your Website
Once you decide on the best approach to start your booking appointment user flow, it’s time to implement them.
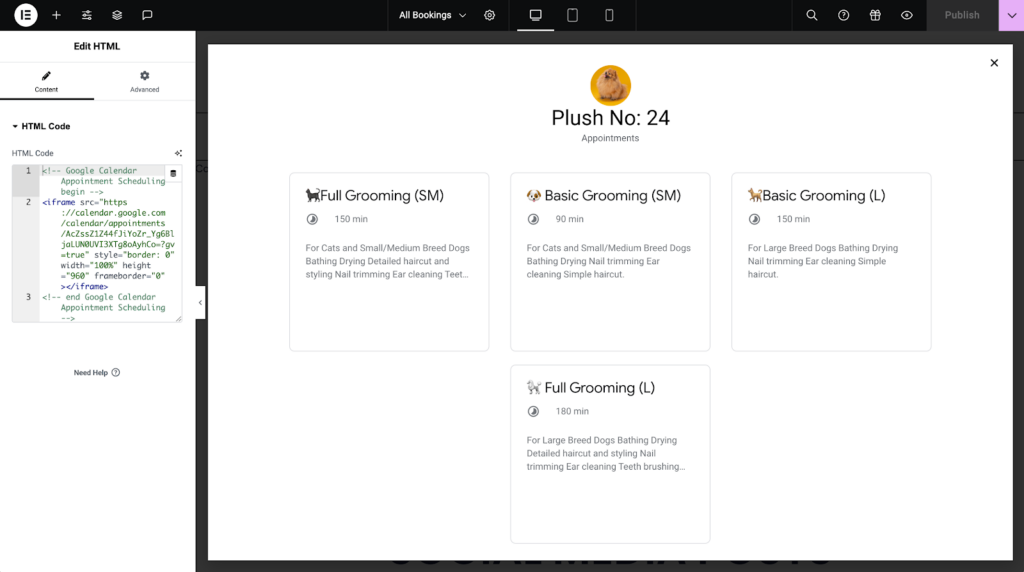
- From your calendar, select an appointment and click share. Select the ‘website embed’ option and all appointment schedules. And finally, expand the inline booking page option to copy the code provided.
- Back to your website, create a new popup and name it. Its width should be around 90% vw
- Add an HTML widget to your popup and paste the code you copied from your calendar. Save and close.
- Go to the “Book Now” call to action button you created earlier on your website.
- Click on the dynamic tags icon next to the link field of your button. Select ‘popup’ and type the popup name you want to open. And we are done.
Opening the calendar as a popup allows your visitors to accomplish actions without leaving your website. This is always a recommended user flow to reduce the bounce rate and keep the focus on your website and on your services.
If you would like to keep each appointment individual, you can take the following steps:
- On an appointment schedule from your calendar, select ‘share’ and this time select a ‘single booking page’.
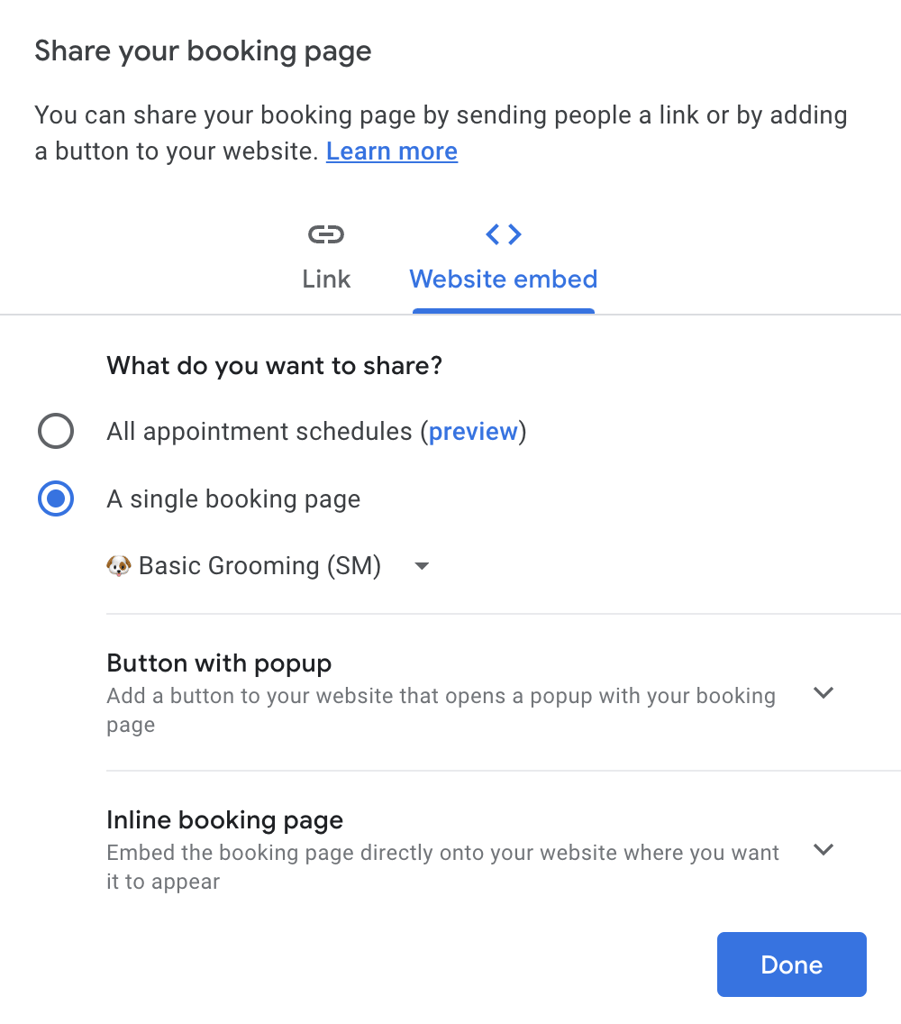
- Copy the code provided under the ‘inline booking page’ option,
- Then paste the code in an HTML widget in a popup you create on your Elementor website. You need to have separate popups for different appointment types.
- Then you can also assign individual popups to each price table widget’s button, providing more detailed information about your services.
By creating separate flows for different services, businesses can cater to the specific needs of their clients, ensuring a smooth and efficient booking experience.
Bonus: Create a Call to Action Button That Actually Collects Payments And Schedules Appointments
You can go a step further and ask for a provision payment to secure your client appointment and allow them to schedule appointments with you. That way you can reduce the no-show rates and make-up for the time if this would be the case.
Stripe or PayPal buttons in Elementor Pro offer a “redirect after success” field where it gives you the opportunity to paste the direct link to your appointment schedules, create a separate page to embed the schedule, or open a popup that you embedded the schedule .
So here is how it works:
- Add a stripe /paypal button and style it. You can copy and paste style from a regular button you have on your website.
- Connect your account on your preferred payment gateway service.
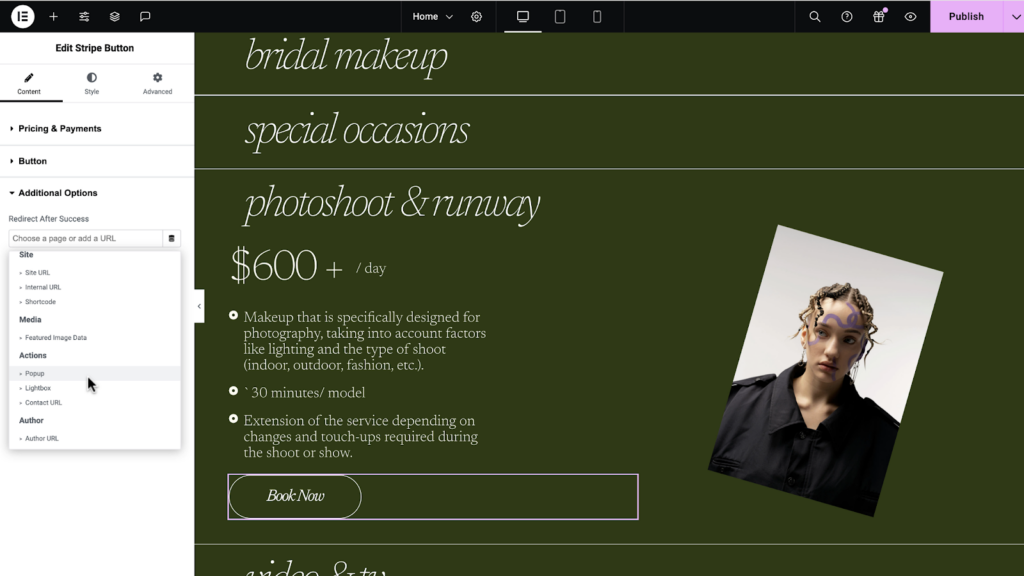
- Go to the additional options tab on Stripe/Paypal widget and find the “Redirect After Success” link field.
- Link your appointment scheduling page or popup you created using the methods above, using the dynamic tags.
Utilize External Links:
Google allows you to copy a link to a page where visitors can select among all appointment schedules or individual links to each of your appointment schedules, which would keep visitors focused on what service they would like to receive.
You can paste those links to link fields on buttons, text or wherever possible on your website. This will take your visitors out of your website.
While this method is quicker to implement, it has a risk of creating higher bounce rates.
Embrace the Future of Appointment Scheduling
Now that Google has introduced the new Appointment Scheduling feature, you can seamlessly allow visitors to book appointments on your website using Elementor Pro.
When combined with additional Elementor Pro’s features such as the popup builder and versatile widgets like the price table widget and HTML widget, you can create infinite booking experiences on your website, based on your specific needs, without having to use a separate booking plugin. You can even combine with Stripe or PayPal buttons by creating a new page and embedding the appointment schedule on it or directly pasting the appointment schedule link to “redirect after success” field and creating a whole new booking flow where your clients are creating an appointment after having paid.
By embracing these methods, you can enhance your service delivery, satisfy your clients, increase revenue and ultimately, achieve greater success while managing your time.


