What’s in this Tutorial?
In this tutorial, we will explain how to create a hero section that changes the background image when hovering over different elements. To accomplish this, we’ll use Elementor’s container feature, add custom CSS code and explain what we are doing as we go along.
What is a hero?
A hero section, also known as a hero image or hero banner, is a prominent section on a website that typically appears at the top of the homepage. It usually consists of a large image or video, accompanied by text and/or other visual elements.
The purpose of the hero section is to immediately grab the visitor’s attention and convey the most important message or value proposition of the website. It’s an opportunity for businesses to make a strong first impression.
In addition to the main visual element, the hero section may also include a call-to-action (CTA) button, which prompts the visitor to take a desired action.
A well-designed hero section can have a significant impact on a website’s success, from improving user engagement and conversion rates to enhancing the user experience and search engine optimization. It is often the most visually striking and memorable element of a website, and it can help businesses stand out in a crowded online marketplace.
Improve user engagement
A visually appealing and well-designed & developed hero section can grab a user’s attention and encourage them to stay on your website longer, increasing the chances of them taking a desired action, such as filling out a form or making a purchase.
Also the hero section is often the first thing a user sees when they visit a website, and it can set the tone for the rest of the site. A well-designed hero section can help establish the brand’s identity, personality, and values, helping to differentiate it from competitors.
How to create a hero section that changes the background image when hovering over different elements
Note
We’ll be building this design with Containers, so please activate them through the Settings > Features of Elementor.
We’ll be using a little bit of CSS- but don’t worry, I will provide all the code and guide you where to insert.
What do we need to start?
- Elementor Pro Plugin
- 4 Images
Let’s begin:
Create a new page and edit it with Elementor.
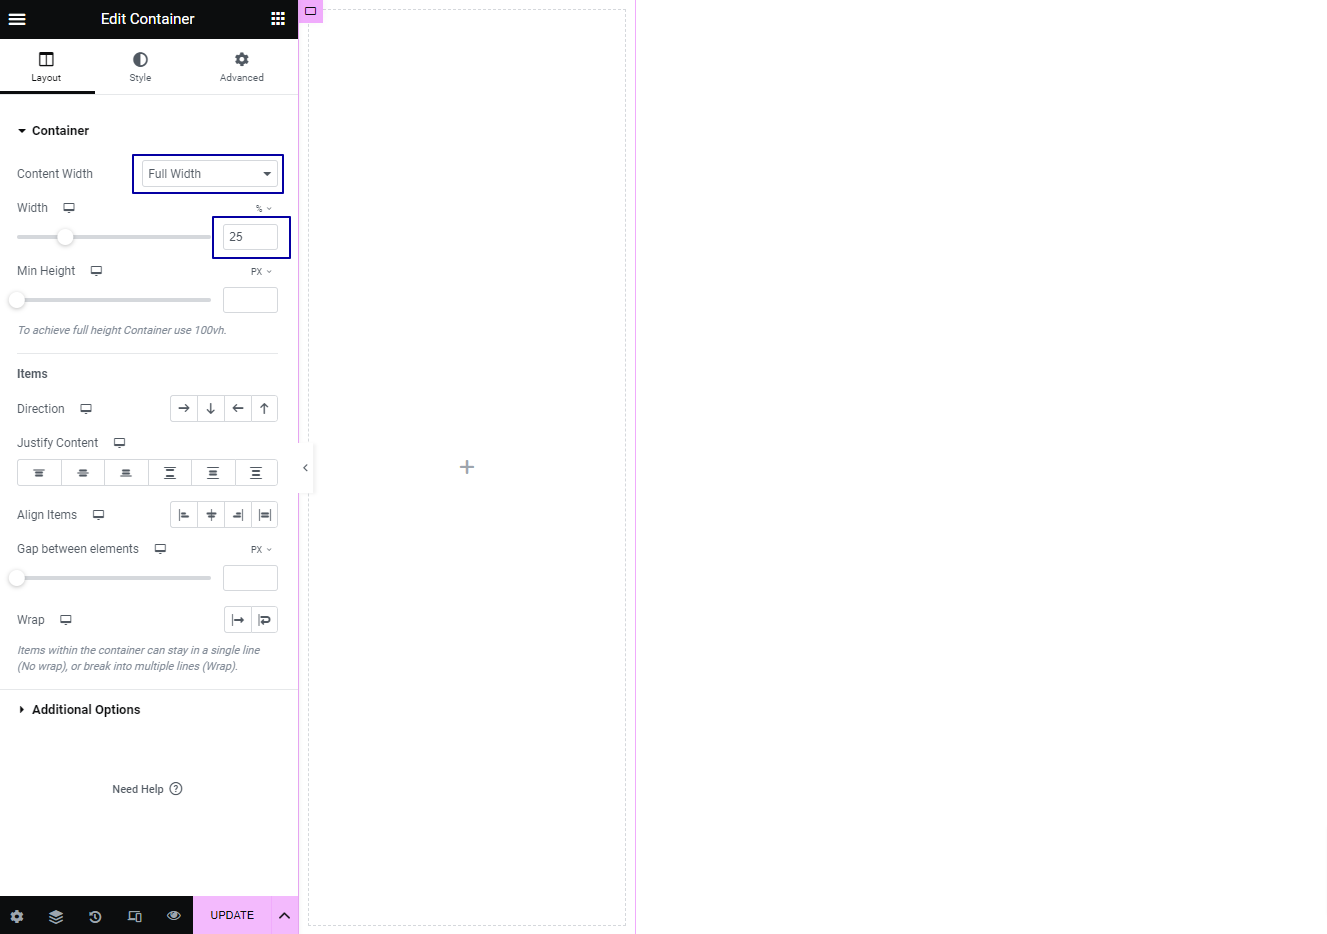
Insert a container with the following settings:
- Content Width: Full Width
- Width: 100%
- Min-Height: 100vh
- Padding: 0x
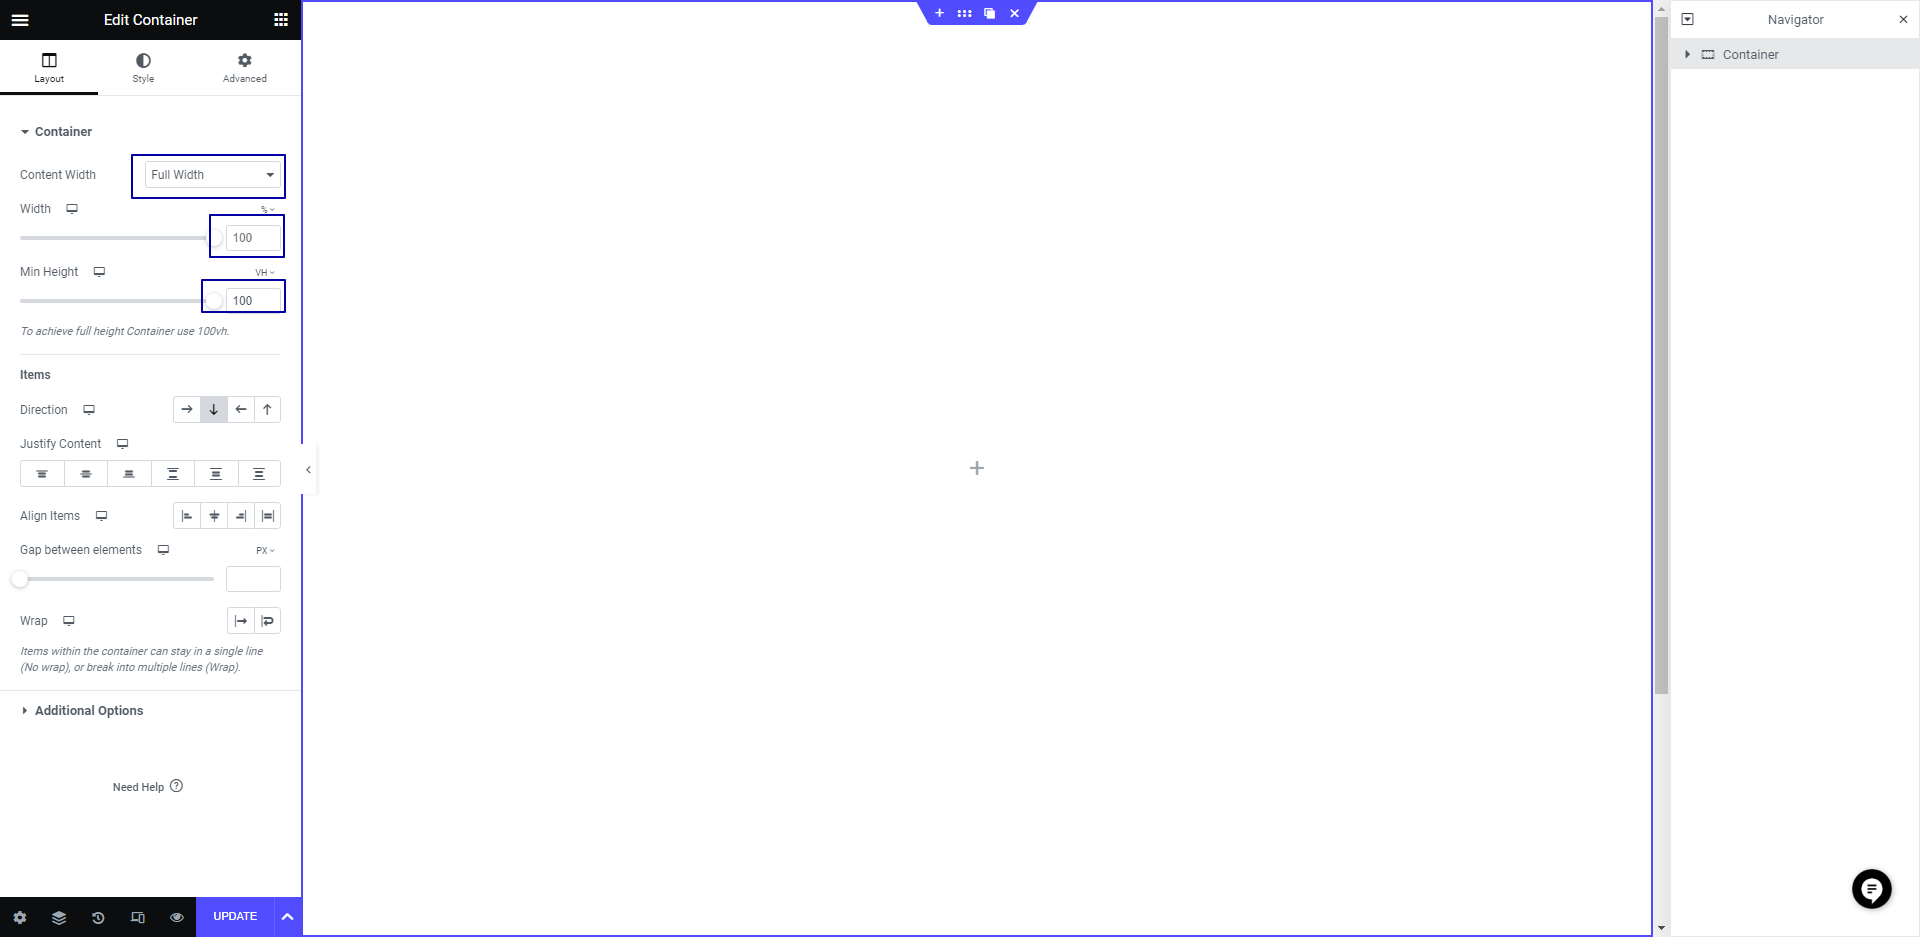
Set a class to the container called: “main-container-slide”
Go to the WordPress dashboard and upload the 4 images that you will use into the WordPress media area.

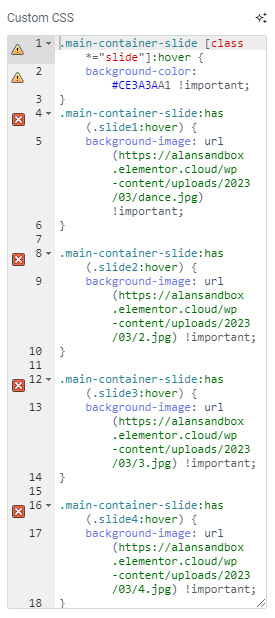
Go back to the page and insert the following CSS code into the container custom CSS tab:
Note
Replace “https://yousite.com/image.jpg” with the urls of the images that you will use in each zone.
This CSS achieves 2 things:
1 – Changes the background color on hover in each container
2 – Changes the background image in the .main-container-slide when hovering over the .slide-* containers.
Take a look at my example (I changed the urls of the images for my recently uploaded images):
Next Step:
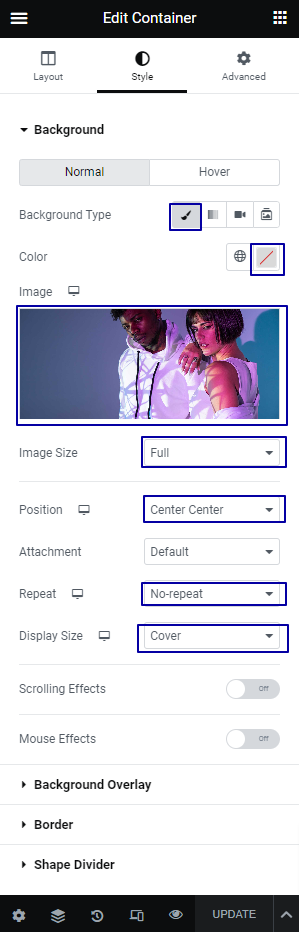
In the Style Tab,enter these settings:
- Background: Normal
- Background Type: Classic
- Color: Transparent
- Image: *Choose the first image you want to show
- Image size: Full
- Position: Center Center
- Repeat: No-repeat
- Display Size: Cover
Next Step:
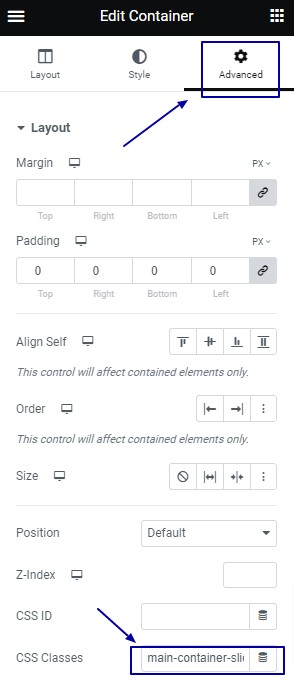
Add 1 container inside with these settings:
- Content Width: Full Width
- Width: 25%
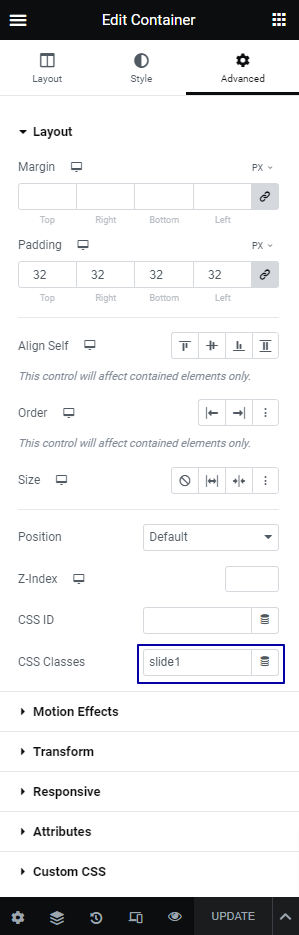
Go to the Advanced Tab and add there a class called: slide1
Now, design each container with your custom style and items, as I have done for this example:
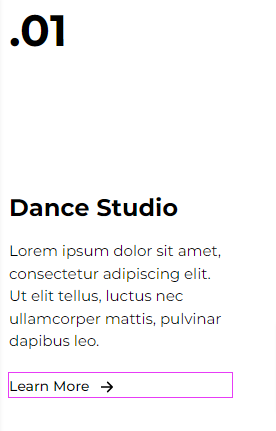
As you can see, I numbered the container, added borders to generate a difference between the categories on my site; and custom content with a CTA in each zone.
Next Step:
Once you have your first container ready, duplicate it 3 times and change the CSS class on each container to have 4 sequentially numbered classes:
slide1, slide2, slide3, slide4
And we are done!
In this tutorial, we learned how to create a hero section with Elementor, the #1 website platform for WordPress.
We focused on creating a hero section that changes the background image when hovering over different elements and used Elementor’s container feature and custom CSS code to accomplish this task.
By following this tutorial, you can improve the UX/UI design of your website and create a visually appealing and engaging section that stands out from the rest. Using Elementor makes it easy for anyone to create a professional-looking website without any coding experience. Overall, this tutorial provides a simple and effective way to design a hero section that showcases your website’s value proposition and engages your visitors.
Note
:has it’s an optional feature in Firefox – Users can enable for testing (based on the Browser Compatibility note): https://developer.mozilla.org/docs/Web/CSS/:has


