
Setting up custom cookie categories on your WordPress site can feel like assembling a puzzle without the box picture. But it’s genuinely easier than it looks. Whether you need to group affiliate trackers, isolate an interactive map, or set apart live chat scripts, custom categories keep your site tidy and legally compliant. Here’s how to build and manage them, so your visitors stay happy and your compliance team stays even happier.
Key Takeaways
- Granular Control – Custom cookie categories let you group scripts by their specific job, not just a generic label.
- Compliance Readiness – Custom grouping helps you meet strict regional privacy rules like GDPR, CCPA, and CPRA.
- Two Setup Paths – You can build custom categories with a native WordPress tool or with manual code.
- Audit First – Run a full scan of your existing cookies before you try to group them.
- Safe Testing – Always test your setup in an incognito window to confirm scripts stay blocked until consent is given.
Understanding Cookie Categorization in WordPress
When someone lands on your WordPress site, scripts start running quietly in the background. Some are essential, like keeping items in a shopping cart. Others gather stats on visitor behavior, and some track people across the web for personalized ads. Modern privacy law won’t let you treat all these cookies the same way, so you need to sort them into clear groups visitors can choose from.
Most privacy tools split cookies into four standard categories:
- Necessary Cookies – Required for basic site operations, such as login, security, and core functionality.
- Preferences/Functional Cookies – Remember choices visitors make, like language or a localized theme.
- Statistics/Analytics Cookies – Help you see how visitors interact with your pages through anonymous data.
- Marketing/Advertising Cookies – Track online activity so advertisers can serve more relevant ads.
But what happens when your site runs scripts that don’t fit neatly into those four buckets? Maybe you run a live chat widget, a custom interactive map, or specific affiliate tracking codes. Lumping these under “marketing” might push visitors to reject them, breaking your support experience or affiliate revenue. That’s why a custom category is worth setting up. It lets you explain a script’s real value to your audience, building trust while keeping your features working.
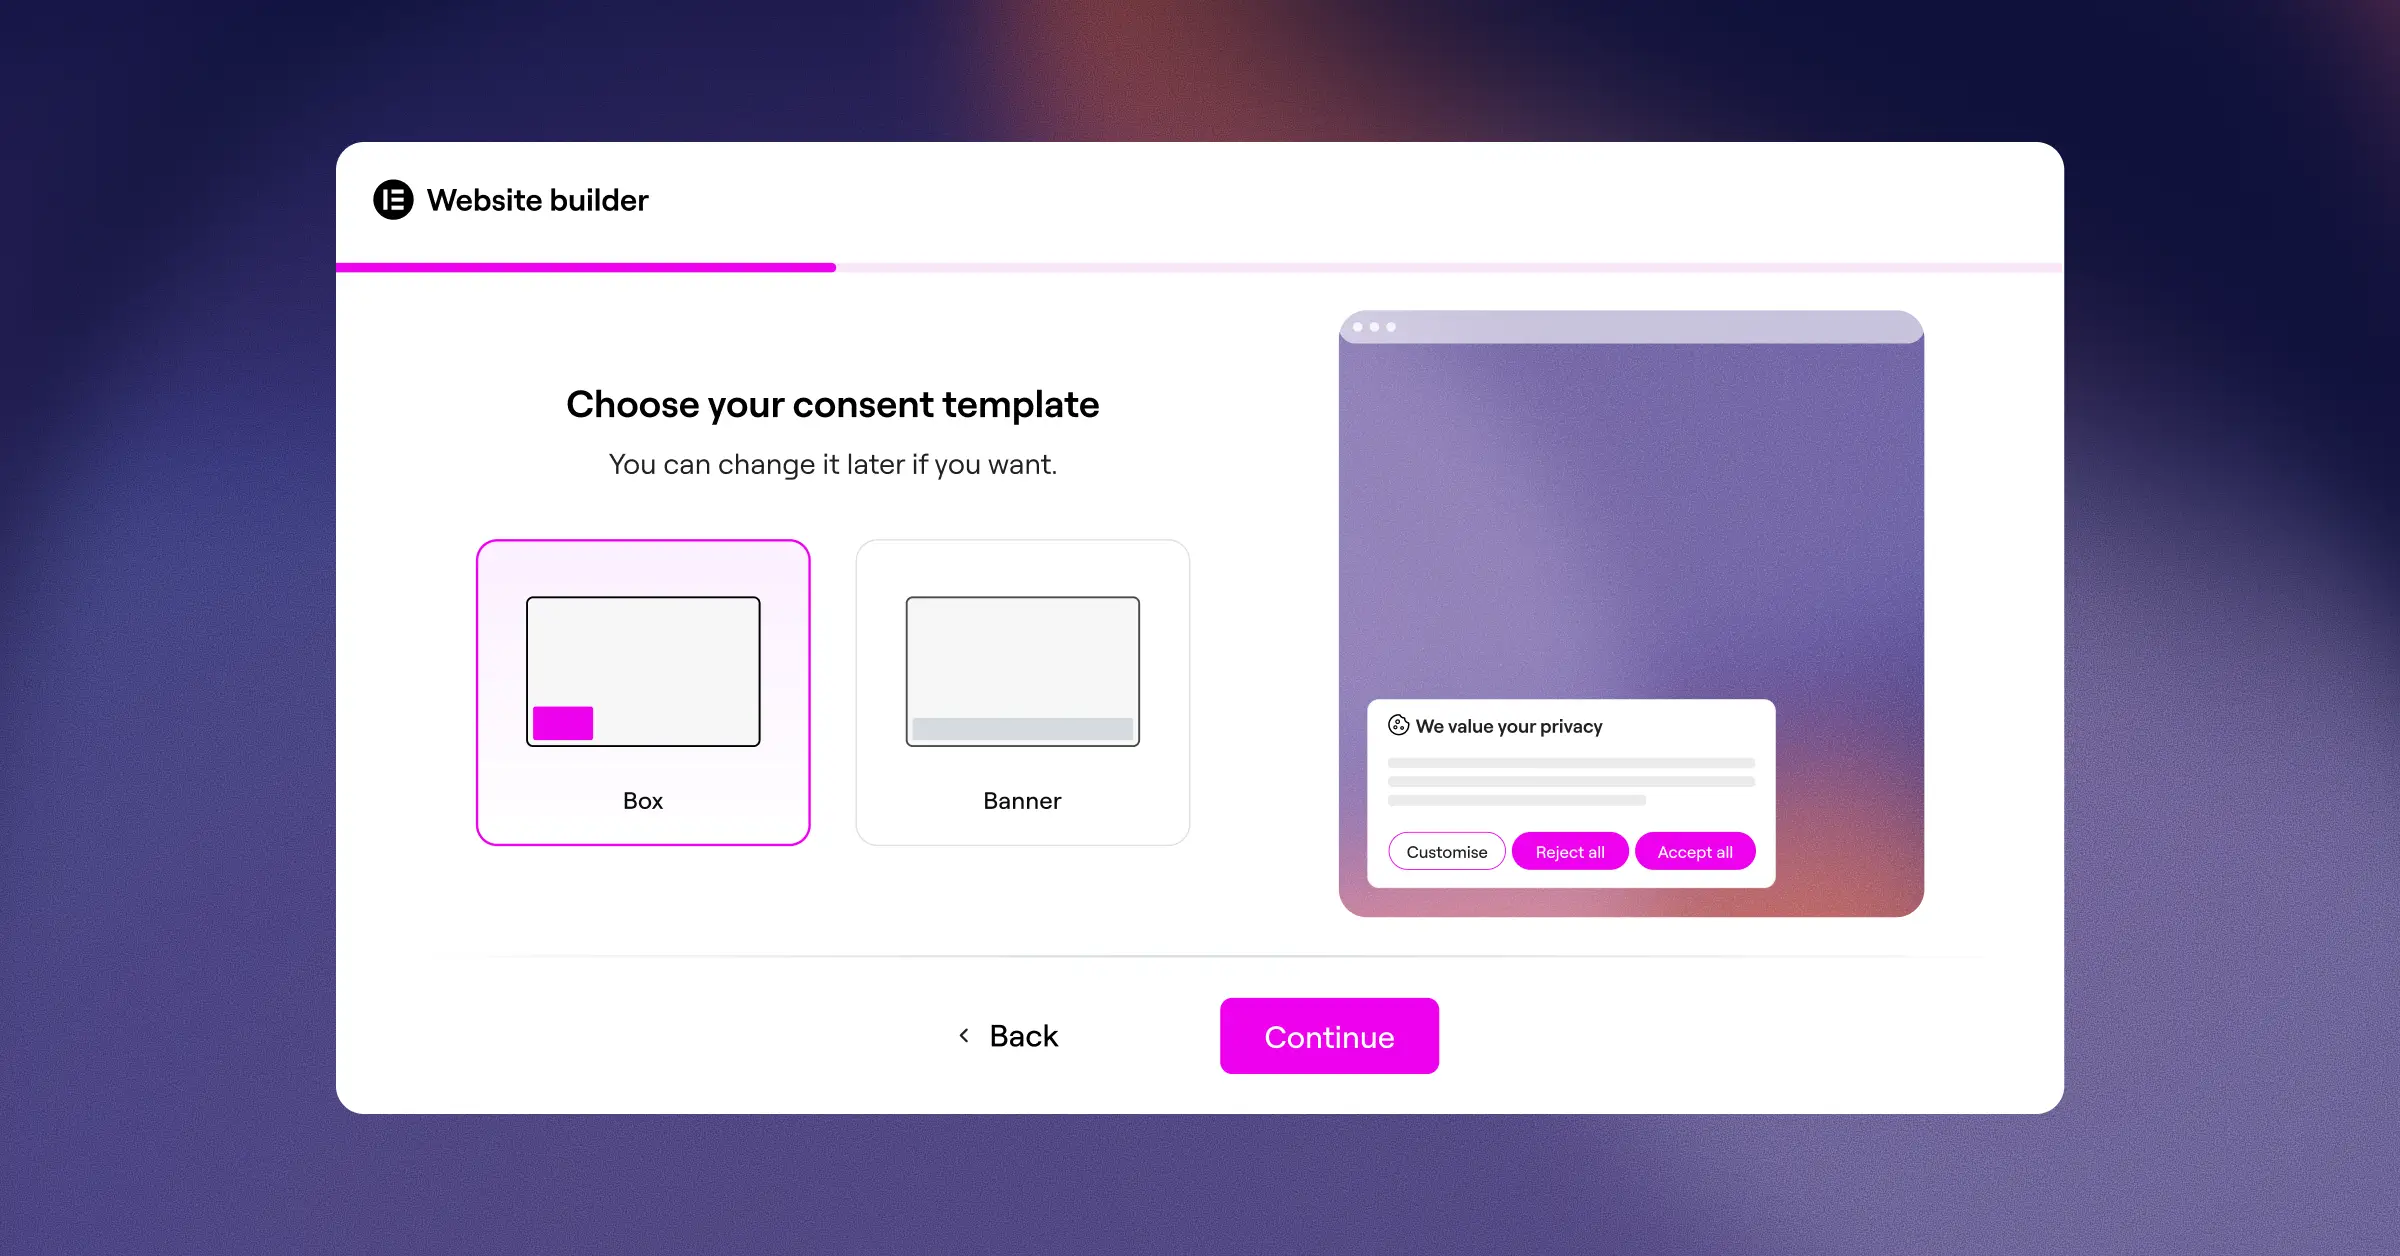
Choosing the Right Tool for Custom Categorization
Before you write any code or bring in a new system, it’s worth comparing your options. Different tools offer different levels of difficulty, control, and dashboard integration. If you build your site with Elementor, think about how well each option fits your workflow.
| Tool / Method | Setup Difficulty | WordPress-Native Dashboard | Custom Category Support | Best Suited For |
|---|---|---|---|---|
| Cookie Consent (by Elementor) | Very Low | Yes | Yes (Fully Custom) | Sites wanting a fast, built-in compliance tool without external platforms. |
| Cookiebot | Medium | No (External Dashboard) | Yes | Enterprise sites with a dedicated external privacy management budget. |
| CookieYes | Low | No (Cloud-Based Portal) | Yes | Sites looking for a basic cloud-managed compliance setup. |
| Complianz | Medium to High | Yes | Yes | Users who prefer a wizard-driven compliance setup. |
| Manual Code (PHP/JS) | High | No (Code Files Only) | Unlimited | Developers who want full code control over every script. |
Third-party tools can certainly get the job done, but many site owners would rather keep everything in one place than juggle another login or subscription. Having compliance controls right inside your site environment makes day-to-day management less stressful.
Prerequisites Before Creating Custom Categories
Before you start building custom categories, get your site ready. Skipping these steps often leads to broken scripts, inaccurate tracking, or compliance gaps, and it trips people up more than you’d think.
- Run a Complete Cookie Audit – Open your site in an incognito window, open your browser’s developer tools, and check the Application or Storage tab. Note every cookie set on your domain.
- Map Scripts to Cookies – Figure out which script sets each cookie. Is it coming from your Google Analytics code, or from a third-party social embed?
- Determine Your Regional Compliance Needs – Decide whether you need an opt-in model (like GDPR in the EU) or an opt-out model (like CCPA/CPRA in California). This shapes how your custom categories behave by default.
- Take a Complete Site Backup – Before editing template files,
functions.php, or adding a new compliance tool, always save a fresh backup of your database and files.
How to Create Custom Cookie Categories (Two Methods)
There are two main ways to set up custom categories. The first uses a native compliance tool and takes just a few minutes. The second uses custom PHP and JavaScript for developers who’d rather build their own solution. Both work well, though they suit different audiences.
Method 1: Using the Native Cookie Consent Tool
The easiest way to set up custom groups is with Cookie Consent, the native cookie consent capability built for WordPress by Elementor. Since it runs inside your WordPress dashboard, you won’t need to copy scripts from an external platform or juggle another login. It’s part of a broader compliance toolkit alongside Web Accessibility, so you can handle several needs from one place.
Here’s how to set up your custom categories in under five minutes:
- Open the Consent Settings – From your WordPress dashboard, find the Cookie Consent settings menu. It integrates naturally with Elementor sites, so styling stays simple.
- Create Your Custom Category – Go to the Categories tab and click “Add New Category.” Give it a clear name your visitors will understand, like “Customer Support Chat” or “Affiliate Referral Tracking.”
- Write a User-Friendly Description – In the description box, write a short, honest sentence explaining what scripts in this category do. For example: “These cookies let us run our live chat widget so we can answer your questions in real time.”
- Define the Default State – Choose whether this category is active or inactive by default. For strict GDPR compliance, it must be off by default, so visitors have to opt in.
- Assign Your Scripts – Paste your tracking or utility scripts into the built-in script manager and map them to your new custom category. Save your changes.
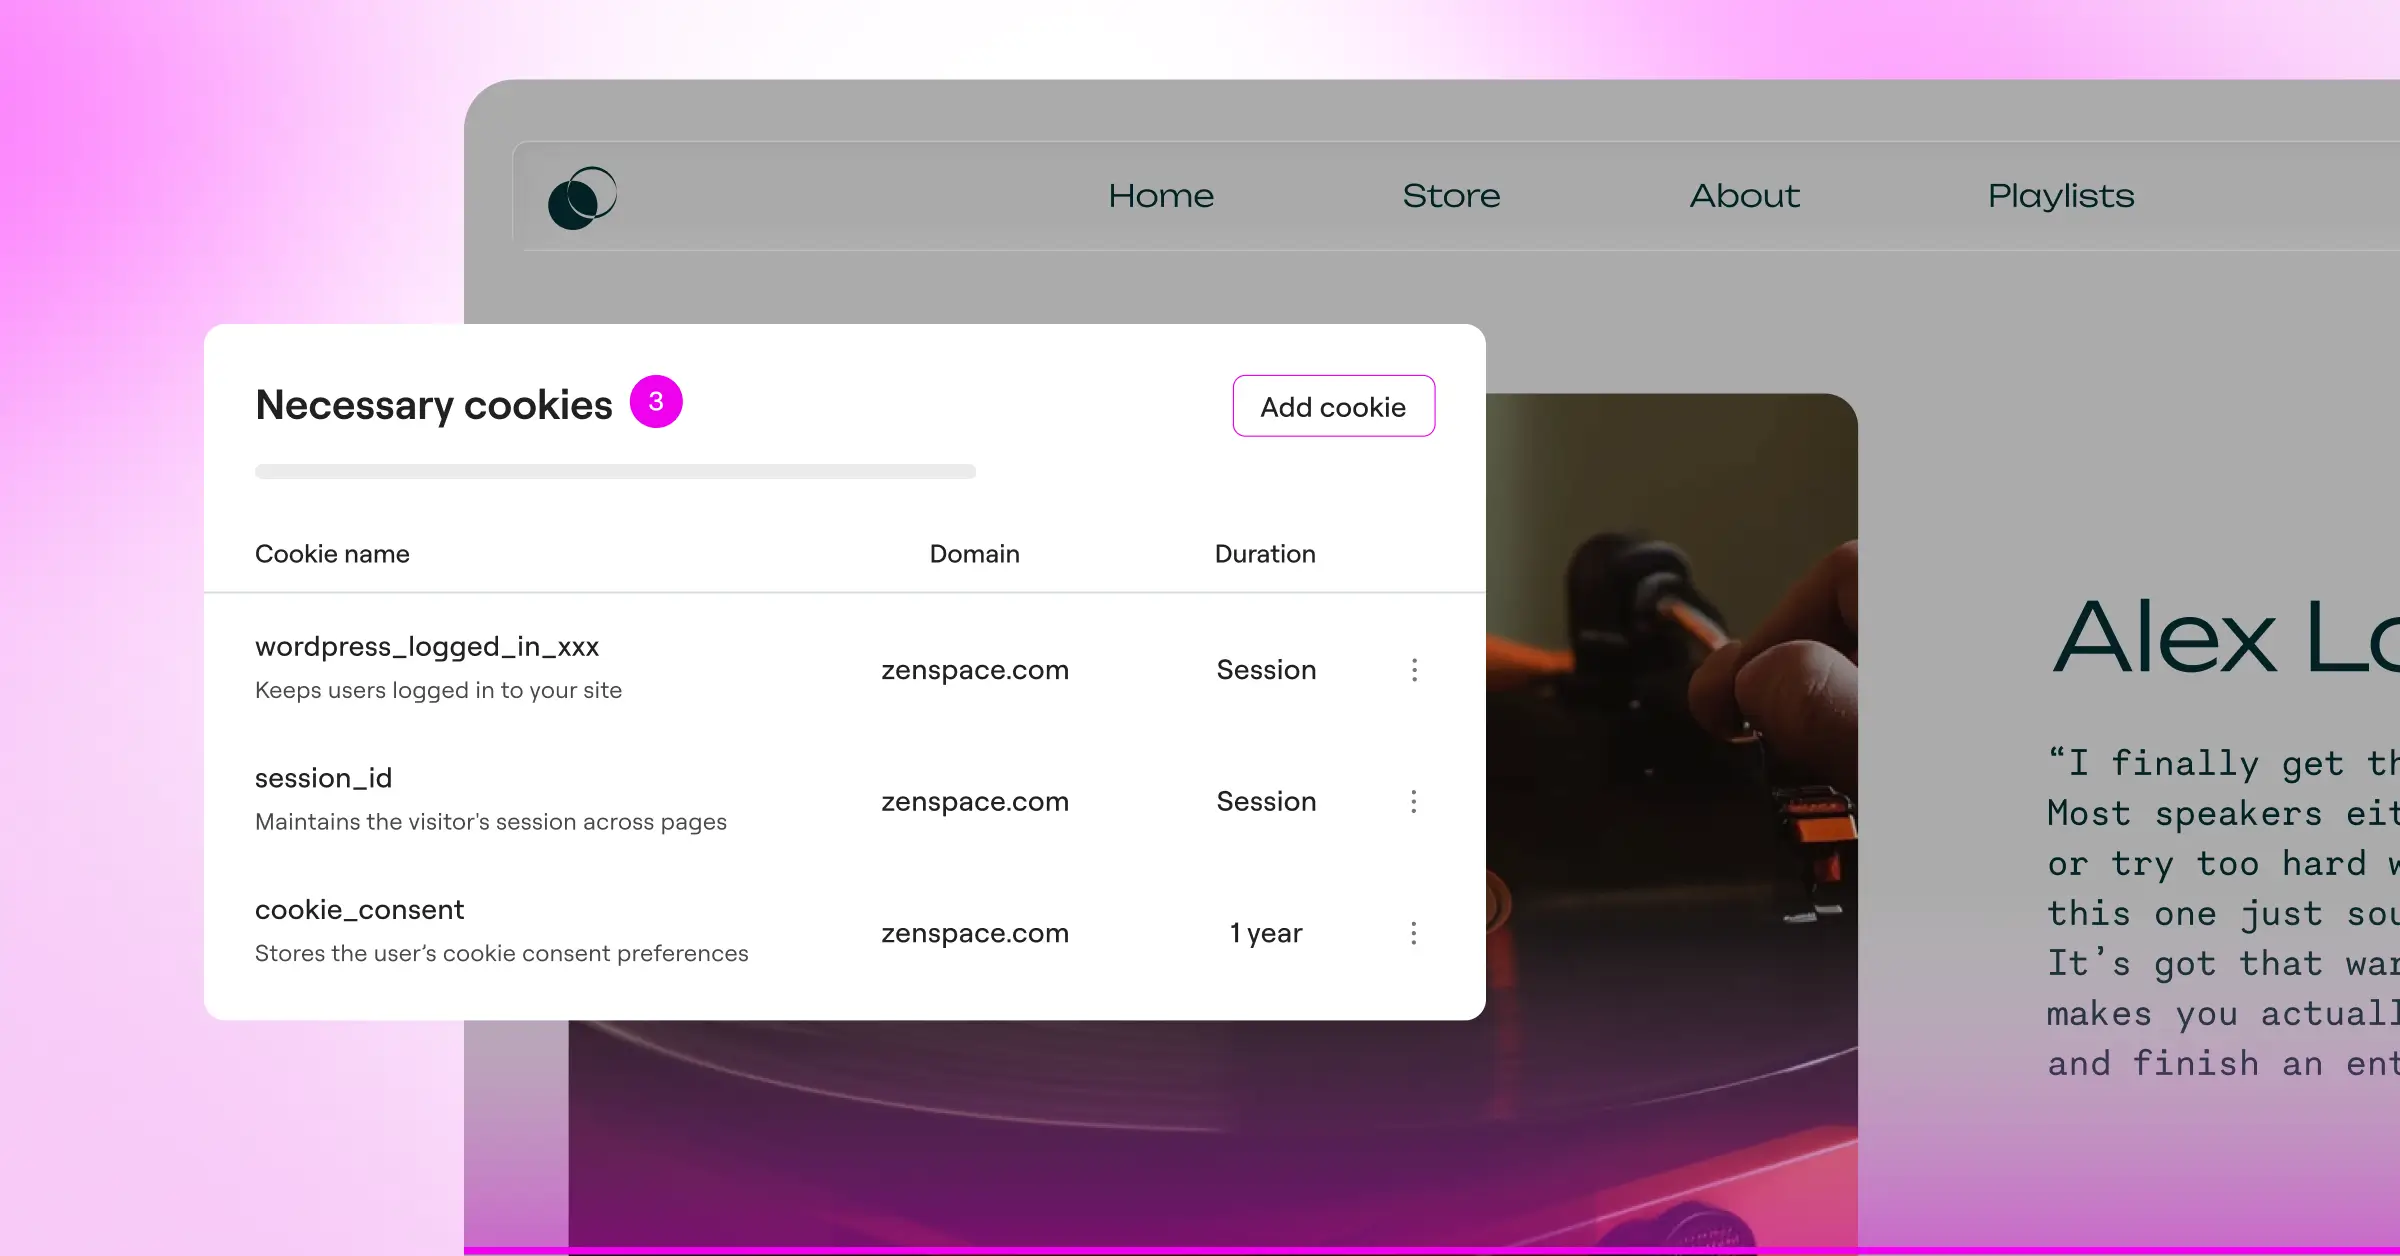
This approach keeps your database light, avoids layout shifts, and keeps your banner matching your brand design out of the box.
Method 2: Creating Custom Categories via Manual Code
If you’d rather take a hands-on approach without a pre-built tool, you can build your own consent system using your theme’s functions.php file and custom JavaScript. This calls for solid coding skills, but gives you total control over how scripts load.
First, register your custom consent banner HTML. Add this code to your child theme’s functions.php file to output a simple, accessible banner on your site pages:
function render_custom_cookie_banner() { if (!isset($_COOKIE['custom_consent_given'])) { ?> <div id="custom-cookie-banner" style="position: fixed; bottom: 20px; left: 20px; right: 20px; background: #fff; padding: 20px; border: 1px solid #ccc; z-index: 99999;"> <p>We use cookies to improve your experience. Choose your preferences below:</p> <label> <input type="checkbox" id="consent-analytics" checked> Analytics Cookies </label> <label style="margin-left: 15px;"> <input type="checkbox" id="consent-support"> Live Support Chat (Custom) </label> <button id="accept-cookies-btn" style="margin-left: 20px; padding: 5px 15px;">Save Preferences</button> </div> <?> }}add_action('wp_footer', 'render_custom_cookie_banner');Next, write the JavaScript that saves the visitor’s choices in a cookie and fires custom events once those choices are saved. Create a JavaScript file in your theme, or paste this inside a footer script tag:
document.addEventListener('DOMContentLoaded', function() { var acceptBtn = document.getElementById('accept-cookies-btn'); if (acceptBtn) { acceptBtn.addEventListener('click', function() { var analyticsConsent = document.getElementById('consent-analytics').checked; var supportConsent = document.getElementById('consent-support').checked; var consentValues = { analytics: analyticsConsent, support: supportConsent }; // Save the cookie consent choices for 365 days var date = new Date(); date.setTime(date.getTime() + (365 * 24 * 60 * 60 * 1000)); document.cookie = "custom_consent_given=" + JSON.stringify(consentValues) + "; expires=" + date.toUTCString() + "; path=/; SameSite=Lax"; // Hide the banner document.getElementById('custom-cookie-banner').style.display = 'none'; // Dispatch events to load approved scripts dynamically if (analyticsConsent) { document.dispatchEvent(new CustomEvent('consent_analytics_accepted')); } if (supportConsent) { document.dispatchEvent(new CustomEvent('consent_support_accepted')); } }); }});Then wrap your actual tracking scripts so they only run once the matching consent event fires. Here’s how you’d load a live chat script only after a visitor consents to your custom “support” category:
document.addEventListener('consent_support_accepted', function() { // This is where you insert your actual support widget script var chatScript = document.createElement('script'); chatScript.src = 'https://example.com/live-chat-widget.js'; chatScript.async = true; document.head.appendChild(chatScript); console.log('Live support chat script loaded successfully.');});This approach is flexible, but it means you’re manually managing every script on your site. For most business owners, a dedicated cookie consent tool is faster and far less prone to errors.
How to Classify and Map Scripts to Your Custom Categories
Once you’ve created your custom cookie category, you’re only halfway done. You still need to make sure the right scripts are tied to that category so they don’t fire before consent is given. This is where people most often run into trouble, so take your time.
To block and map scripts correctly, keep these rules in mind:
- Block Inline Scripts – If your tracking code sits directly in your theme’s header or footer, modify its script tag. For example, change
<script type="text/javascript">to<script type="text/plain" data-cookie-category="custom_category">. - Configure Tag Managers – If you use Google Tag Manager, set up custom trigger events that listen to your consent tool’s API states before firing any tags.
- Integrate Google Consent Mode v2 – Modern compliance requires your site to tell Google services (Ads, Analytics) whether the visitor consented to tracking. Modern cookie consent tools handle this communication automatically, so your reporting data stays accurate.
- Respect Global Privacy Control (GPC) – Make sure your categories respect GPC browser signals. If a visitor has GPC active, your custom advertising and marketing categories should switch off automatically.
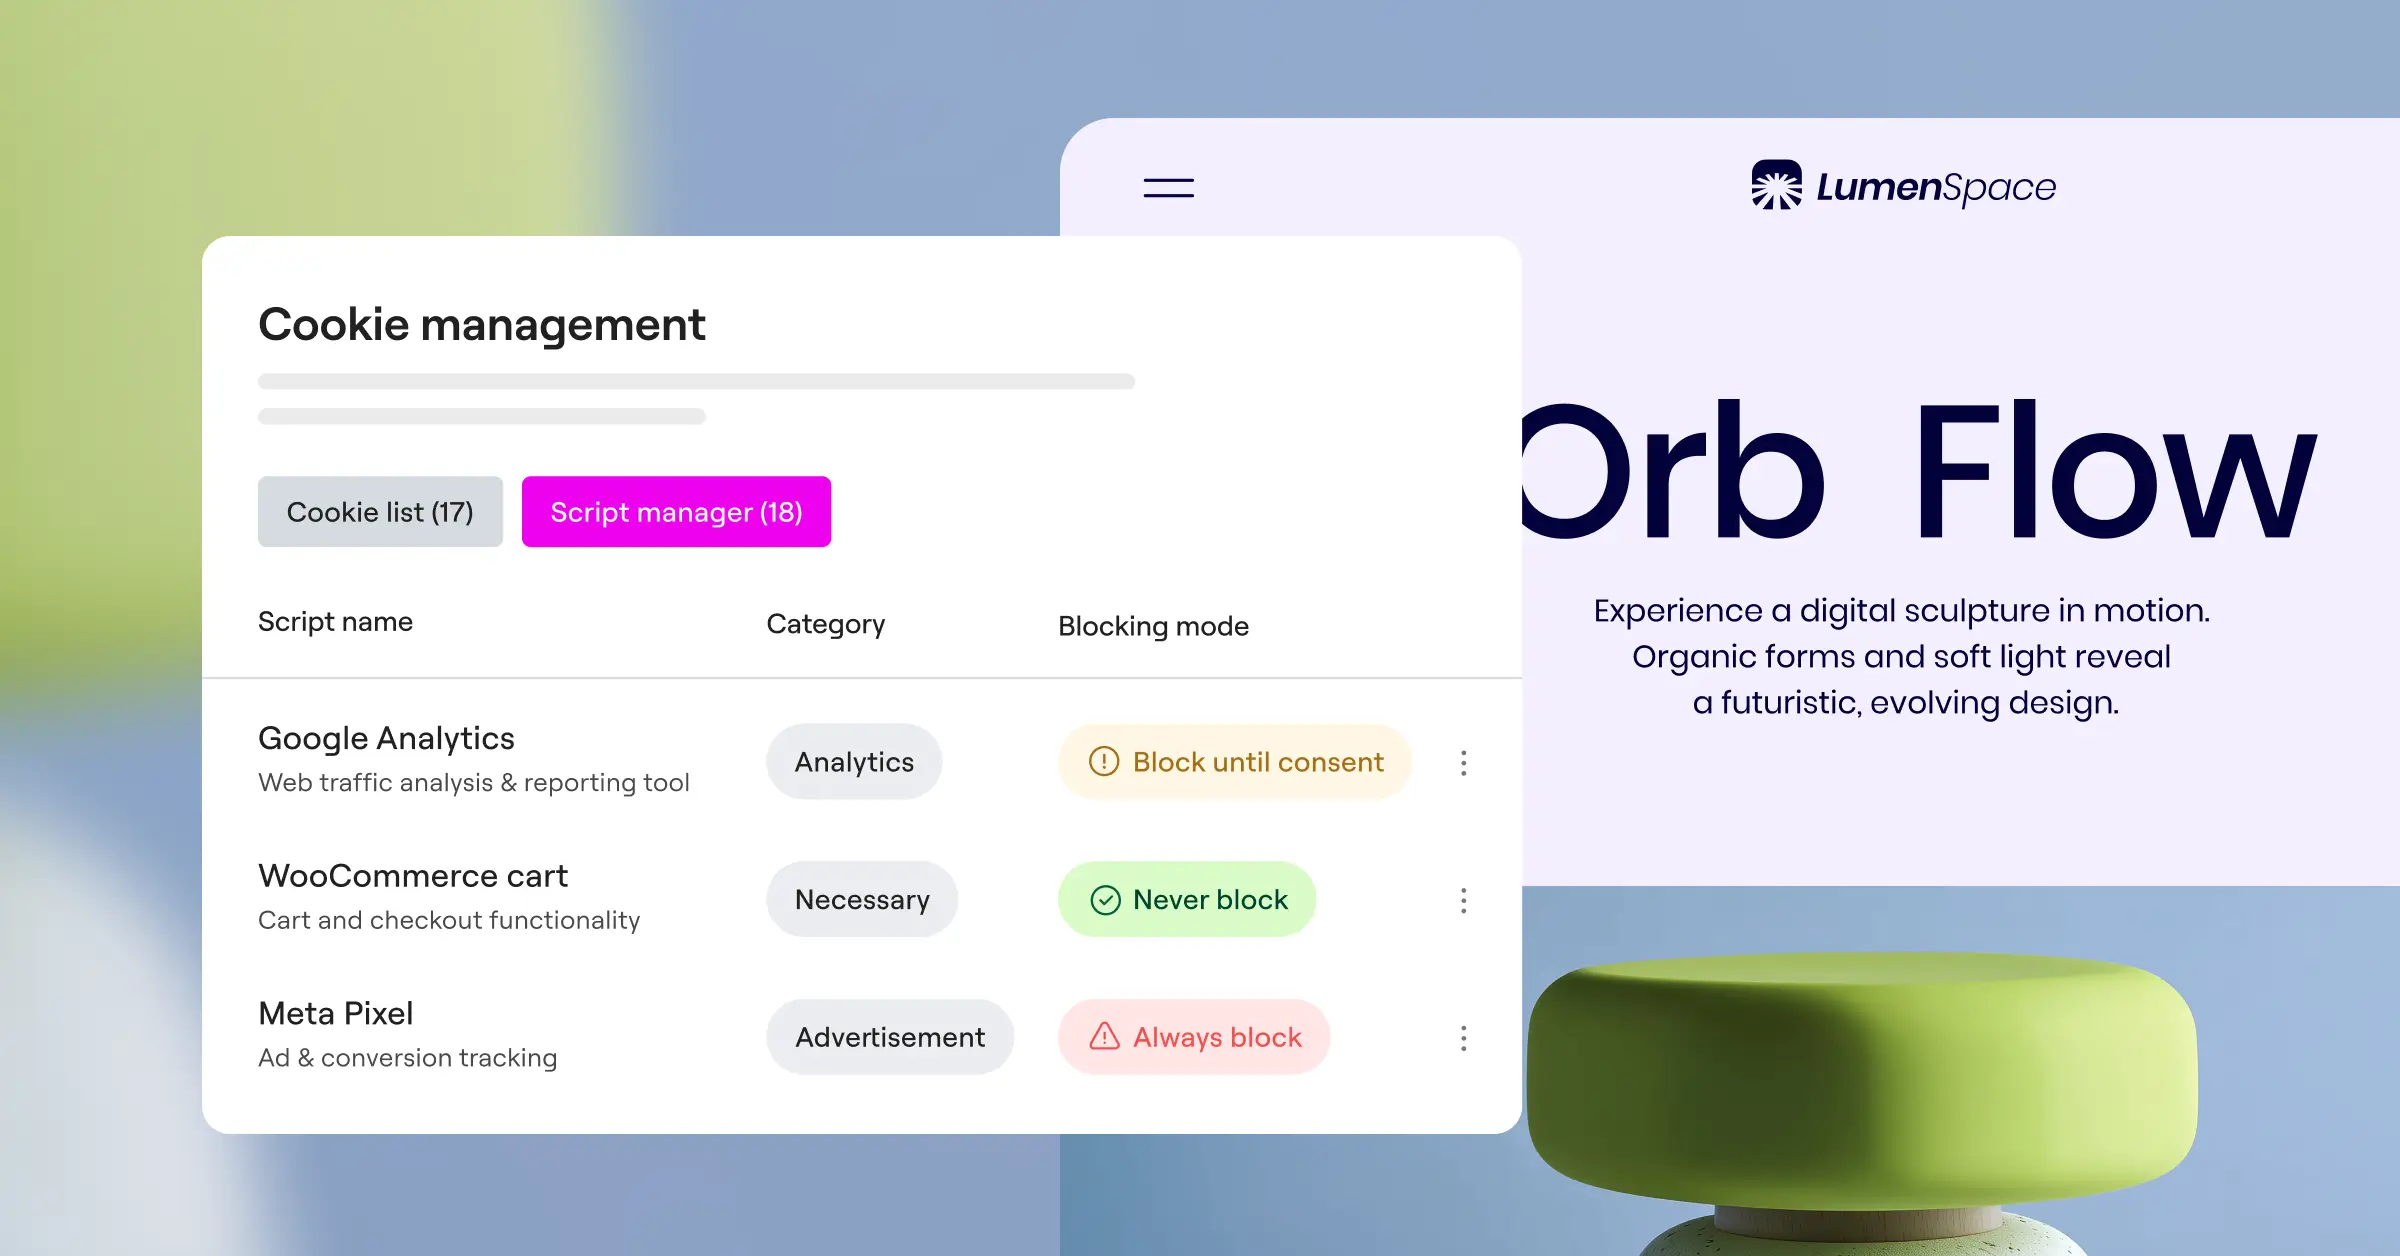
Mapping your scripts this thoroughly stops unauthorized trackers from loading in visitors’ browsers and protects your site from compliance warnings down the road.
The Professional Developer’s Approach to Compliance
“Categorizing cookies properly isn’t just about avoiding regulatory fines, though that’s a massive benefit. It’s about building a foundation of user trust. When your visitors see exactly which scripts are running and have granular control over custom categories like live support or internal analytics, they feel respected and are far more likely to engage with your business.”
– Itamar Haim, Web Compliance Specialist
Testing and Troubleshooting Your Setup
Once your custom cookie categories are live, check that everything works as intended. Never assume a compliance system is running perfectly without testing it from a real visitor’s point of view.
How to Test Consent Behavior
Follow these steps to confirm your scripts are blocked correctly:
- Clear Browser Data – Open a fresh incognito window and go to your site. Don’t click anything on the cookie banner yet.
- Inspect Running Cookies – Right-click your page and choose “Inspect.” Go to the Application tab (Chrome) or Storage tab (Firefox), expand Cookies, and check your domain. You should see zero tracking or non-essential cookies at this point.
- Check Your Network Activity – Open the Network tab in developer tools and reload the page. Filter by JS and confirm scripts like Google Analytics or your live chat widget haven’t loaded.
- Accept Only Custom Categories – Open your banner’s customization settings. Accept only your custom “Support” category and keep “Marketing” rejected.
- Verify Script Loading – Check your Network and Application tabs again. Your live chat script should now load, while advertising and marketing scripts stay completely blocked.
Troubleshooting Common Issues
If things aren’t working quite right, don’t panic. Here are the most common fixes:
- Scripts loading before consent – Double-check that you’ve modified the script tags correctly, and that your tag manager triggers are listening to the consent tool’s API.
- Layout shifts on banner load – Make sure your banner uses a lightweight CSS structure. The Cookie Consent tool built natively for Elementor loads its styling with the rest of your page, so you avoid those annoying layout jumps.
- Caching plugin conflicts – Caching plugins sometimes serve optimized HTML that skips your consent rules. Exclude your cookie consent scripts from minification and deferred loading.
- Banners not showing to international visitors – Check that your geo-targeting settings are configured correctly. If your banner is set to appear only for EU visitors, test with a VPN set to an EU location to confirm.
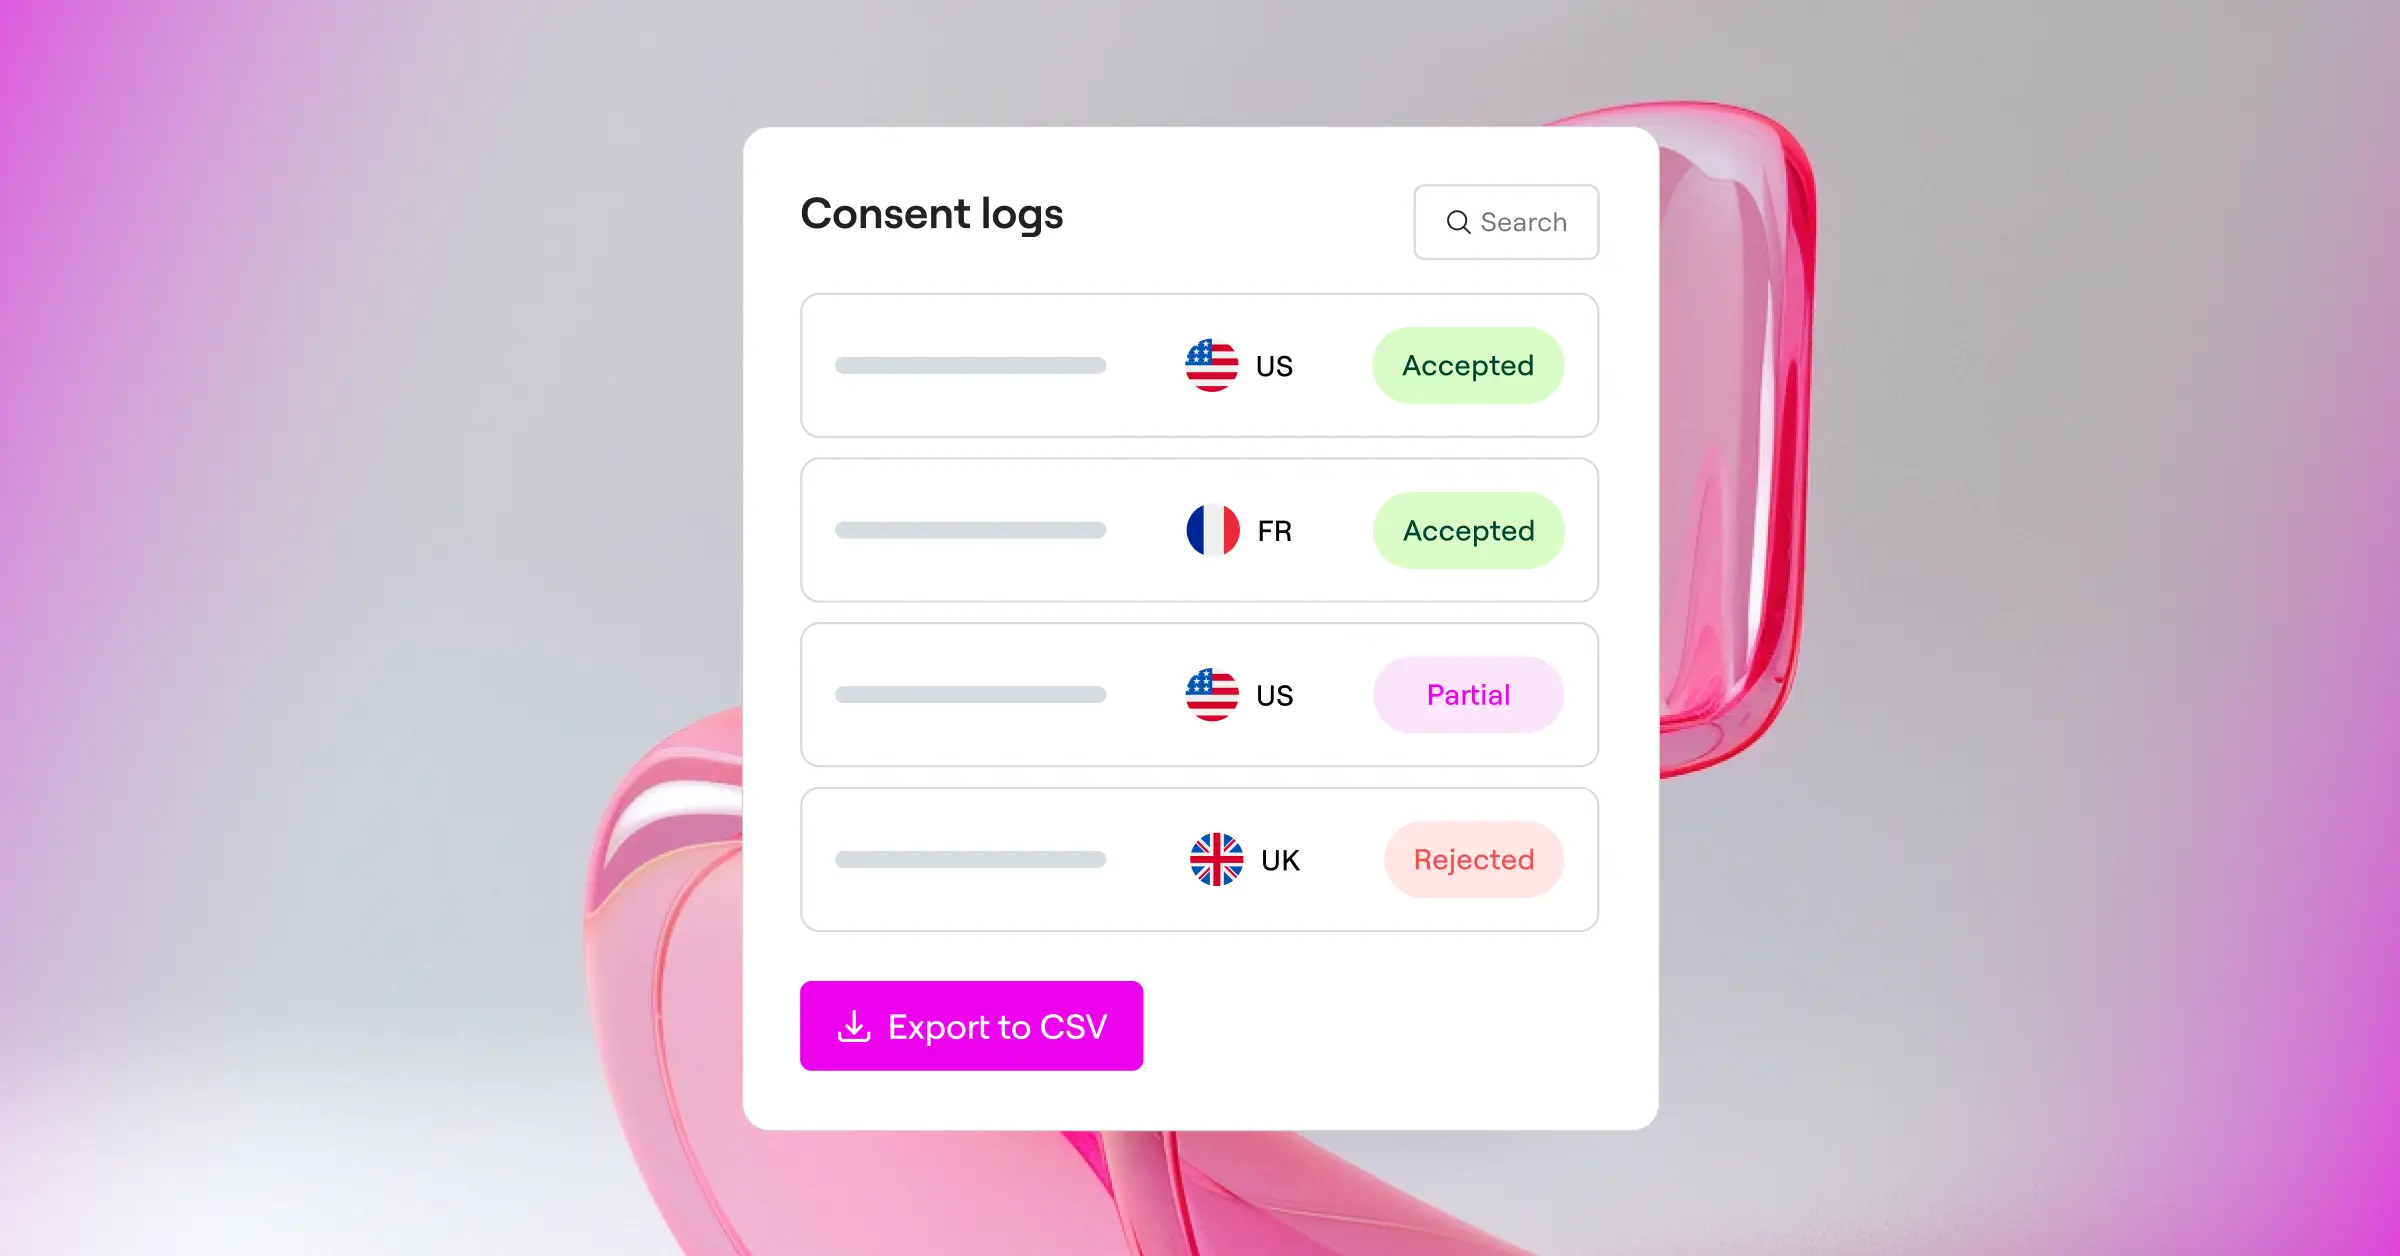
Frequently Asked Questions
What are custom cookie categories?
Custom cookie categories are personalized groups you create to organize tracking scripts by their job, not generic labels. This lets you isolate tools like customer support chat, map APIs, or affiliate integrations under clear groups visitors can toggle on or off.
Do I need custom cookie categories for a simple WordPress blog?
If your blog only uses default WordPress features and basic analytics, the standard categories are usually enough. But if you monetize with affiliate links, run custom newsletters, or host interactive widgets, custom categories help you explain these systems clearly and keep visitors well-informed.
How does Google Consent Mode v2 work with custom categories?
Google Consent Mode v2 requires your consent tool to communicate the visitor’s specific choices directly to Google tags. Native cookie consent solutions coordinate with Consent Mode automatically, so Google Analytics and Ads can adjust their behavior depending on whether visitors accepted your analytics or advertising categories.
Can I use a free cookie consent tool to create custom groups?
Yes, many solutions offer entry-level plans that cover basic compliance needs. That said, advanced features like custom categorization, automatic cookie scanning, geo-targeting, and consent logging are often reserved for premium tiers or full compliance toolkits.
Will adding custom cookie categories slow down my WordPress site?
If you use external scripts that depend on heavy third-party API calls, you might notice minor delays. A WordPress-native tool keeps load times fast since it doesn’t rely on cloud wrappers, database redirects, or heavy API calls.
What happens if a visitor rejects my custom cookie category?
When a visitor rejects a custom category, the scripts mapped to that group must not load in their browser. If they reject a custom support category, for example, your live chat widget stays hidden and no tracking cookies from that widget get set.
Do custom categories work with page caching plugins?
Yes, but you’ll want to make sure your caching setup doesn’t cache the active state of your consent banner. Most modern cookie consent tools use lightweight JavaScript to check consent state on the client side, so they work well alongside caching plugins like WP Rocket or LiteSpeed Cache.
How often should I audit my cookie categories?
Running a cookie audit at least once every three months is good practice, or any time you add a new feature to your site. New tools often introduce unexpected trackers that need to be categorized properly to keep your site fully compliant.

