AI is reshaping every corner of how we build for the web. But for professional creators, the way most AI tools deliver value has always come with a tradeoff. You either get the speed of AI but the output lives outside your system, in code or files you can’t easily refine. Or you get full control over your design but you lose the speed that made AI useful in the first place.
That tradeoff is what Angie was built to remove.
Angie is Elementor’s agentic AI framework for WordPress. From the start, Angie has been built around a different idea: AI that understands your site, takes real actions inside it, and produces output that lives natively in the platform you already work in, not in a black box on the side.
With this release, Angie takes the next step. She now generates Forms, Variables, and Classes directly inside the Atomic Editor, accelerating professional workflows while staying fully aligned with the new atomic foundation.
What’s new: Angie in the atomic workflow
Version 4 introduced a new foundation for professional web creation: an atomic, system-driven editor where structure is predictable, styling is reusable, and performance is built into the foundation. Angie now plugs into that foundation as part of the workflow.
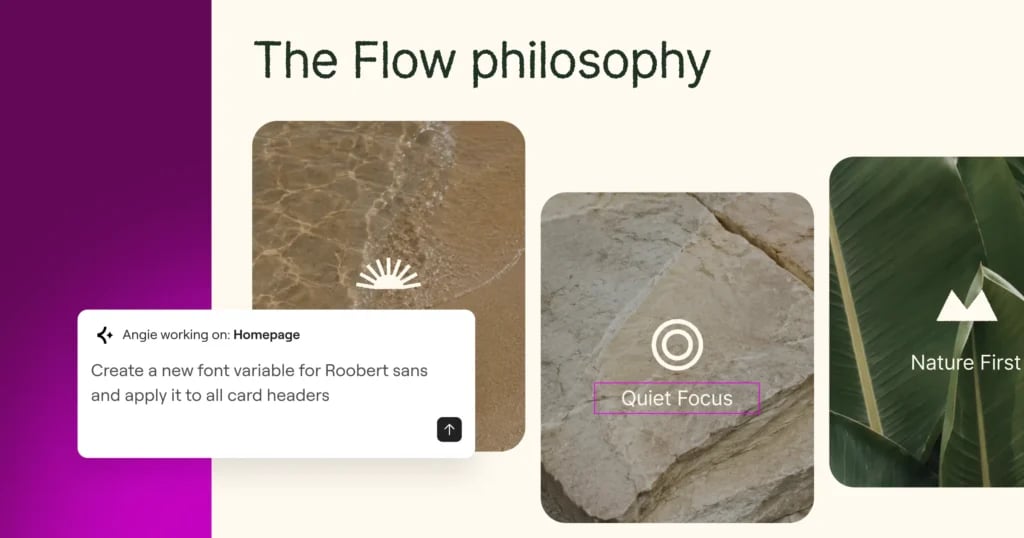
Create Classes and Variables faster
One of the biggest shifts introduced in version 4 is the move from page-level styling toward reusable design systems powered by Variables and Classes. Instead of styling every element individually, creators define reusable styling logic once and apply it consistently across the site.
Rather than manually creating every Variable and Class one by one, you can now use Angie to scaffold reusable styling systems using prompts, references, screenshots, or existing design directions.
“Create a new font variable for Roobert Sans and apply it to all card headers.”
“Based on the attached image – create reusable color and font Variables, as well as Classes for Buttons, Headings, Paragraphs, Form Inputs and Form Fields.” (attach reference)
“Create this class: .card-product { background: #ffffff; border: 1px solid #e5e7eb; border-radius: 12px; padding: 24px; }”
Because the generated Variables and Classes become native parts of the Atomic system, they remain fully editable, reusable, and maintainable throughout the project lifecycle.
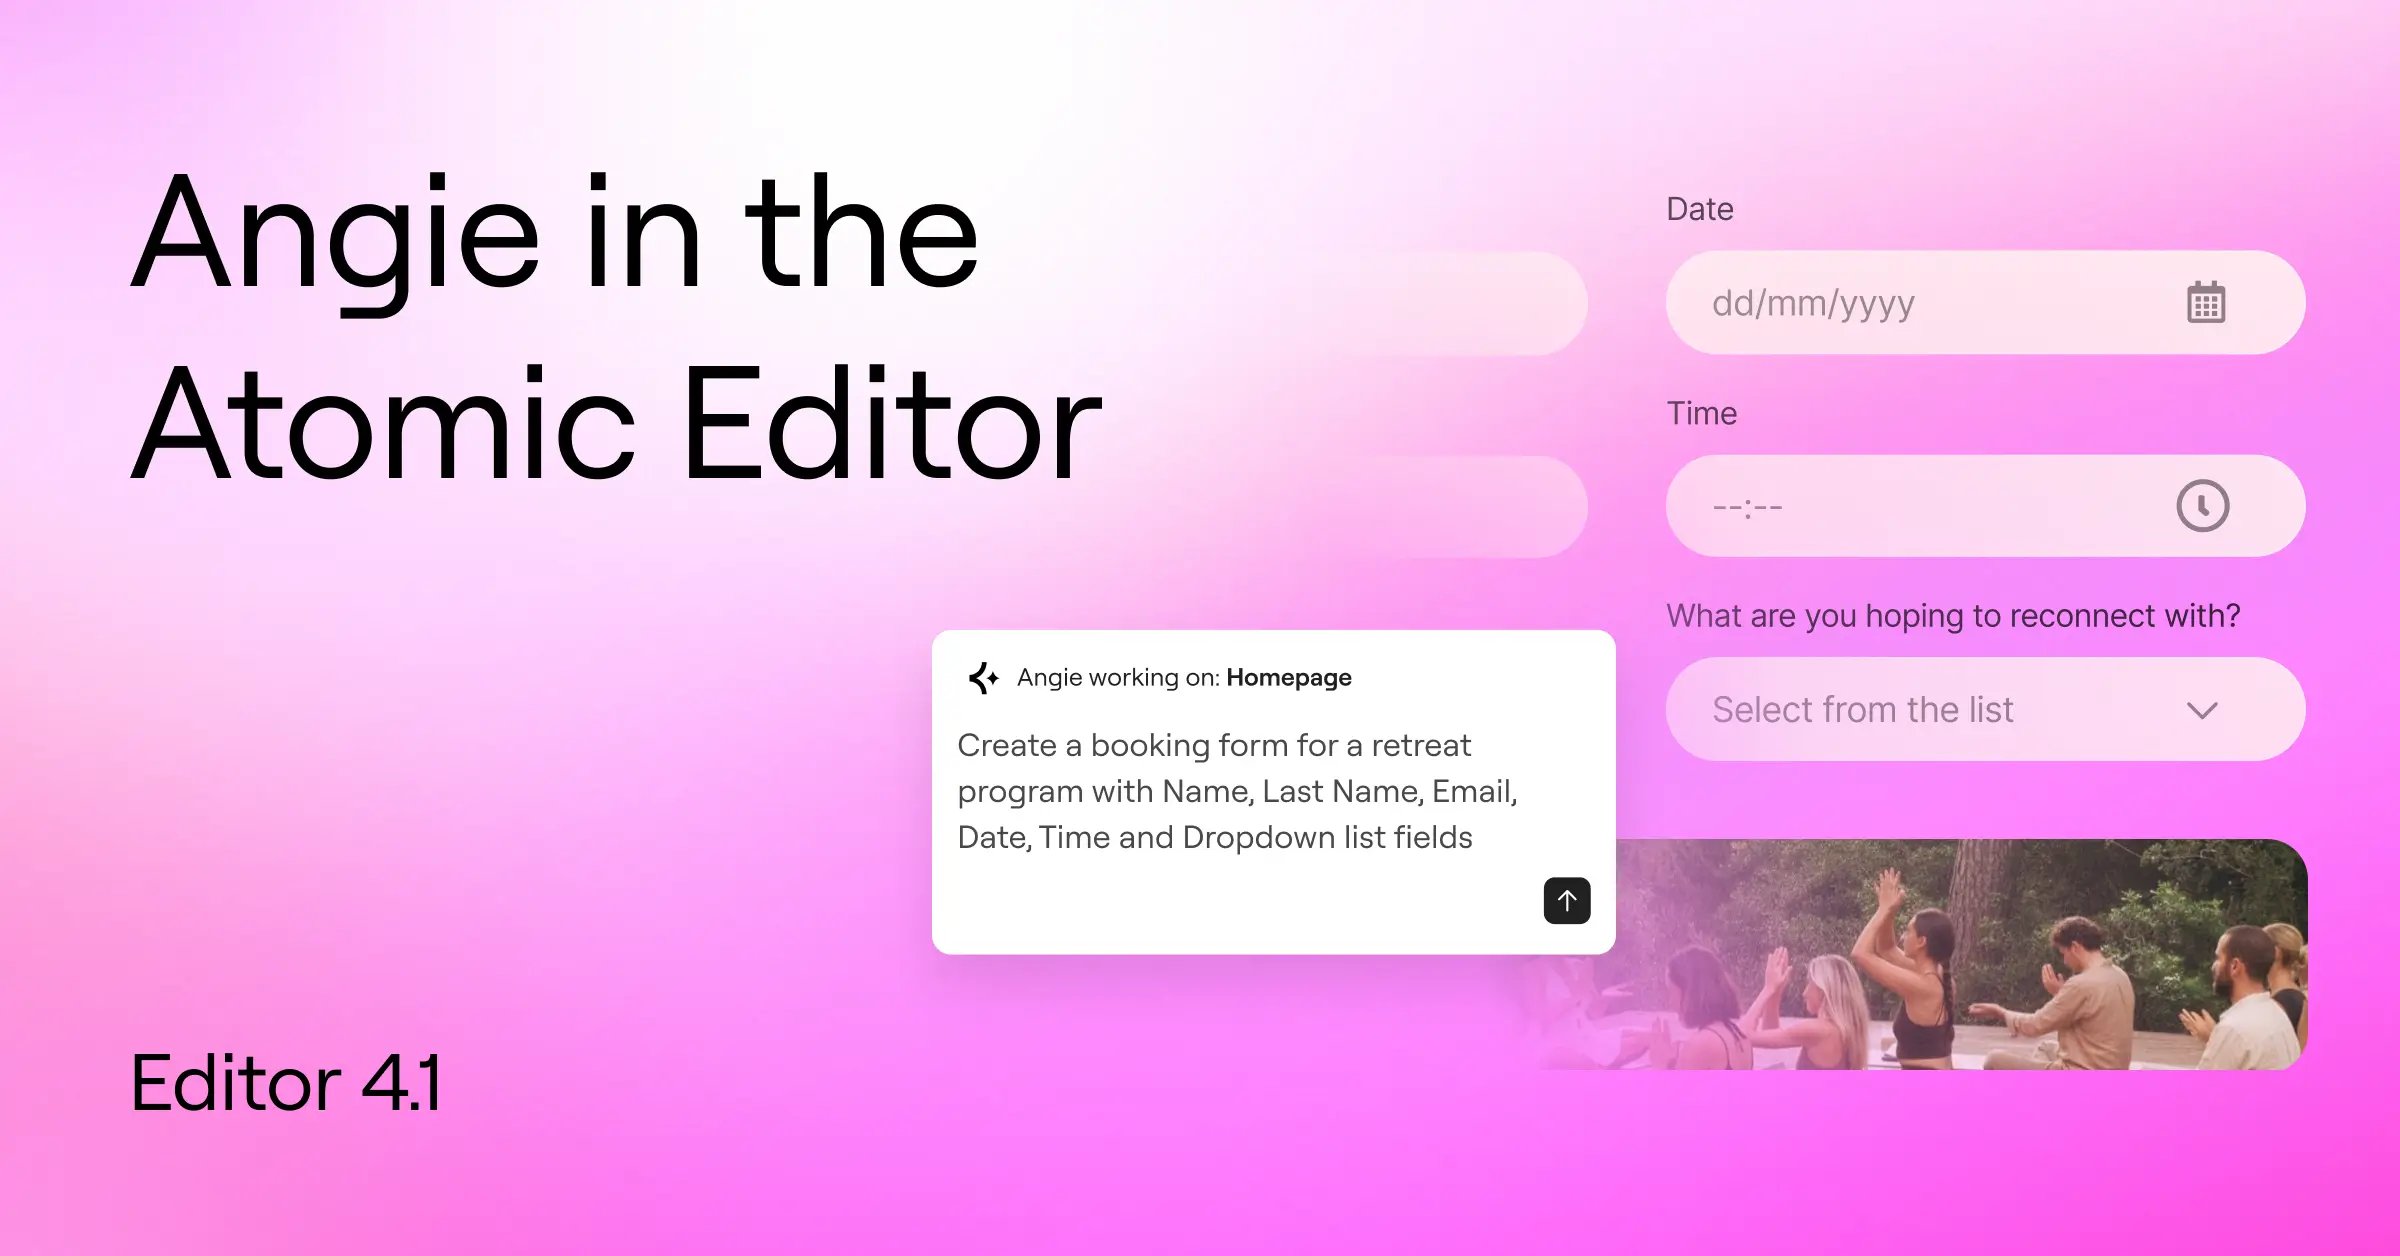
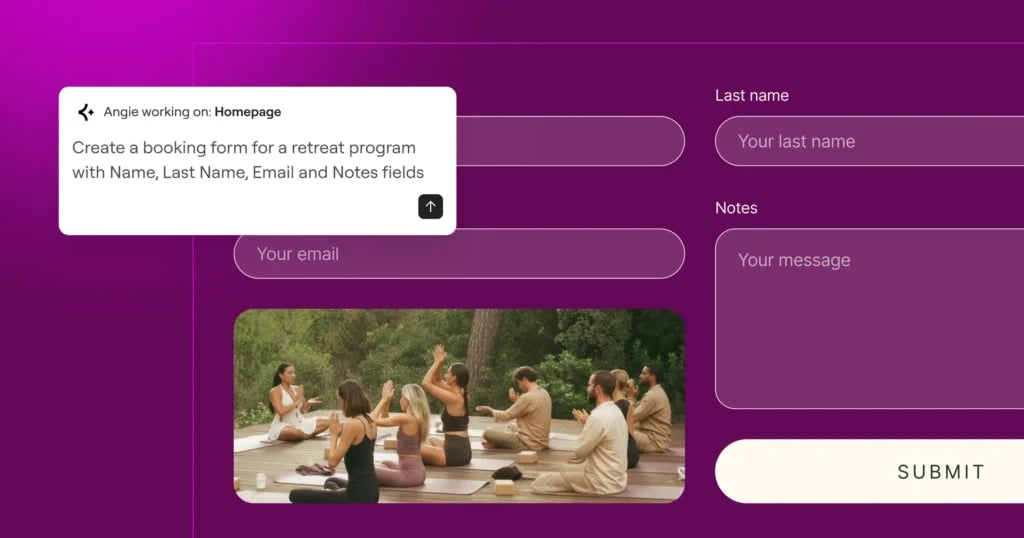
Speed up Form creation
Angie can now generate Forms directly from prompts, creating structured starting points that remain fully editable inside the Editor.
Whether you’re building onboarding forms or lead-capture flows, the workflow is the same: describe what you need, and Angie builds it natively.
“Create a booking form for a retreat program with Name, Last Name, Email, retreat selection dropdown, file upload for medical certificate, and Notes fields.”
These capabilities help creators move from setup to refinement faster, while preserving the flexibility and control of the Atomic Editor.
** Forms are an Elementor Pro feature, and Angie will only generate Forms if you have an active Pro subscription.
Getting the best results with Angie
Knowing what Angie does is only half the story. The bigger question and the one we hear most often from professional creators is how do you actually work with her to get best results?
Like all AI tools, Angie works best when given clear direction, references, and context. The more specific and powerful your prompts, references, screenshots, and URLs are, the better and more reusable the results become.
Here’s how to set yourself up for the best outcomes.
Set up your AI context
The first thing to do in any new Angie session is set up AI context. Click the three lines on the top right of the Angie panel and select AI context.
From there, you can add:
- Business info — what you’re building, for whom, and what the goal is
- Voice and tone — how you want copy to sound (calm, confident, direct, casual, etc.)
- Keywords — terms you want Angie to reach for naturally
Sharpen your prompts (with help, if you want)
A short, vague prompt usually returns a short, vague result. The prompt is half the work.
For more complex builds with specific styling requirements, many professional creators now open ChatGPT or Gemini in a second tab and use it to sharpen their prompt before bringing it to Angie. Describe what you’re building, what brand voice you’re working in, what hierarchy you need, what edge cases matter. Ask the chatbot to write you a structured prompt for Angie that will build it inside Elementor.
The result is a much more specific brief and a much more usable Angie output. You’re using one AI to make your prompt to another AI better.
Attach references
Angie can see what you give her. Visual references like Figma frames, Stitch generations, screenshots, sketches, and URLs, all work as part of the brief.
This is where the workflow really clicks. You’re not asking Angie to invent a design. You’re asking her to translate a direction into your atomic system.
Drop a Figma frame into the Angie input. Generate a quick visual exploration in Stitch and screenshot it. Paste an inspiration URL. Combine references with a structured prompt and a clear AI context, and the output starts to look like it came from your team.
The simple path works too
All of the above is the professional workflow, the one that returns the most polished, most reusable output. But it’s not the only way to use Angie. Sometimes you just want a quick block on a page or an idea you’re testing.
Type a one-line prompt. Send. Refine in-canvas after. The output will be less polished, but it works, and because everything Angie generates is part of your atomic system, even a “quick draft” output isn’t a throwaway.
Start building with Angie
Angie in the Atomic Editor brings agentic AI into your professional workflow natively, transparently, and on your terms.
To activate Angie:
- Update to the latest Elementor version.
- Go to WP Admin > Elementor > Editor > Settings > Atomic Editor > Activate.
- Open the Elementor Editor.
- Click the Angie icon on the left side of the Top Bar.
- If Angie isn’t installed yet, follow the install steps.
- Set up your AI context, and start prompting.
This is the beginning of Angie’s integration into the Atomic Editor. More atomic AI capabilities are coming.


