Table of Contents
Building a custom website used to require a computer science degree. Today, it just requires a solid plan and the right tools.
Look, the team created well over 400 custom sites over the past decade. The technology changes rapidly, but the foundational principles don’t. You need speed, you need security, and you need a system that doesn’t break every time you click update.
Key Takeaways
- WordPress rules the web – It powers 43.5% of all websites globally in 2026.
- Mobile dictates design – With 58.67% of traffic coming from phones, mobile-first design is mandatory.
- Speed equals money – A 100-millisecond load delay can tank your conversion rates by 7%.
- AI accelerates everything – 90% of web professionals now use AI tools for faster site development.
- Budgets vary wildly – Expect to spend between $200 and $600 annually for a professional plugin stack.
- Security requires vigilance – WordPress sites face over 2,000 automated login attempts monthly.
Prerequisites for Your 2026 Website Launch
You can’t build a house without buying the land first. A website works the exact same way.
Before touching any code or installing any software, you’ll need three core digital assets. This is the unglamorous part of web development. But it’s also the most critical step for your long-term success.
The Essential Tech Stack
Don’t fall for the “free website” marketing traps you see online. If you’re building a business asset, you need full ownership of your data.
- A Domain Name – This is your digital address. Keep it short and memorable.
- Web Hosting – This is the physical server where your website files live.
- An SSL Certificate – This encrypts user data and puts the little padlock in the browser bar.
- A Design Framework – You need a system to translate your ideas into code visually.
Estimated Initial Investment
So, what does this actually cost? Prices fluctuate based on your needs, but here’s a realistic breakdown for a professional small business setup in 2026.
| Requirement | Average Cost (2026) | Why You Need It |
|---|---|---|
| Domain Name (.com) | $12 – $21 / year | Establishes brand identity and trust. |
| Managed WP Hosting | $35 – $180 / year | Ensures site speed and server security. |
| Premium Page Builder | $60 – $99 / year | Allows visual design without writing CSS. |
| Security & Optimization | $0 – $150 / year | Protects against the 2,000+ monthly attacks. |
Pro tip: Don’t skimp on hosting. Budget hosting leads to slow load times, and 40% of users will abandon your site if it takes more than 3 seconds to load.
Step 1: Secure Your Domain and Managed Hosting
Your domain name is permanent. Choose it wisely.
If you pick a terrible name, rebranding later is a nightmare. It requires complex redirects and risks losing your search engine rankings.
Selecting a Domain Name for SEO
Here’s the deal with domains in 2026. While new extensions pop up every day, the classic .com still reigns supreme for consumer trust.
- Keep it under 15 characters – Long domains invite typos.
- Avoid numbers and hyphens – They’re hard to communicate verbally.
- Target brandability over exact match keywords – “BuyCheapShoes.com” looks spammy today.
- Check social media handles – Make sure your name is available on major platforms.
Setting Up Managed WordPress Hosting
You’ve two main choices for hosting: shared or managed. Shared hosting puts you on a crowded server with thousands of other sites. Managed hosting is optimized specifically for WordPress.
Managed hosting providers handle the technical heavy lifting for you.
- Automatic core updates – They patch security holes immediately.
- Server-level caching – This dramatically improves your site speed.
- Daily automated backups – If you break something, you can restore it in one click.
- Built-in CDN integration – Content Delivery Networks serve your files globally.
Many modern creators opt for dedicated cloud setups (like Elementor Managed Cloud Hosting) because it guarantees an incredibly fast 109ms Time to First Byte (TTFB). Speed isn’t just a luxury anymore. It’s an absolute necessity for ranking in search engines.
Step 2: Installing WordPress and Initial Configuration
Installing WordPress used to involve downloading zip files and creating SQL databases manually. Today, it takes about five minutes.
Most managed hosts provide a “One-Click Install” button right in your account dashboard. But the installation is just the first part of the process.
The 5-Minute Install Process
Log into your hosting provider’s control panel. You’ll usually find a section labeled “Software” or “Website Setup”.
- Locate the auto-installer – Click on the WordPress icon.
- Select your domain – Choose the web address you just purchased.
- Create an admin account – Never use “admin” as your username. That’s a massive security risk.
- Generate a strong password – Use a password manager to create a 16-character string.
- Click install – The server will explain the files and connect the database automatically.
Critical Settings: Permalinks and Privacy
Once you log into your new WordPress dashboard, you need to fix a few default settings immediately. The factory settings aren’t great for search engine optimization.
Go to Settings > Permalinks in your left-hand menu. By default, WordPress uses a clunky URL structure with question marks and numbers. Change this to Post name. This ensures your URLs look clean (like yoursite.com/about) instead of messy (yoursite.com/?p=123).
Next, navigate to Settings > Reading. There’s a small checkbox that says “Discourage search engines from indexing this site.” Make absolutely sure this is unchecked. If you leave it checked, Google won’t ever show your website in search results.
Pro tip: Delete all the dummy content. Go to Pages and Posts, and trash the “Hello World” post and the “Sample Page”. You want a completely clean slate before you start designing.
Step 3: Choosing Your Design Framework
WordPress is just a content management system. By itself, it’s pretty ugly.
To make it look like a professional website, you need a design framework. Historically, people bought heavy premium themes loaded with features they never used. That approach is dead.
The Case for Lightweight Themes
In 2026, the smartest developers use a “blank canvas” approach. You install an incredibly fast, minimal theme and then use a visual builder to create the design.
Why do we do this?
- Better Core Web Vitals – Minimal themes don’t load unnecessary CSS or JavaScript files.
- Total design freedom – You aren’t locked into a specific layout dictated by a theme author.
- Fewer plugin conflicts – Heavy themes often clash with essential security plugins.
- Faster troubleshooting – When something breaks, there’s less code to sift through.
I highly recommend using the Hello Elementor theme. It’s a completely free, stripped-down starter theme that weighs less than 30KB. It’s practically invisible to browsers, which makes your site load instantly.
Gutenberg vs. Visual Builders in 2026
WordPress includes a native block editor called Gutenberg. It’s fine for writing simple blog posts. But if you’re building a highly customized business site, it often falls short on advanced layout controls.
That’s why over 16 million websites use a dedicated visual builder. A premium builder gives you pixel-perfect control over every single element on the page, tailored specifically for different device sizes.
You don’t just want your site to look good on a laptop. It has to look flawless on an iPhone, an iPad, and a massive ultra-wide monitor.
Step 4: Designing Your Site with Elementor Pro
This is where the actual building happens. You’re going to use a visual editor to construct your pages visually.
Don’t just start throwing text boxes onto a page. You need a systematic approach.
“Treat your website architecture like a digital nervous system. If your global design settings and URL structures aren’t communicating perfectly from day one, you’ll spend months untangling the SEO mess later. Build the foundation right, and the traffic will follow.”
Itamar Haim, SEO Team Lead at Elementor. A digital strategist merging SEO, AEO/GEO, and web development.
Building a Global Design System
Consistency is the difference between an amateur site and a professional one. You’ll establish this using Global Settings.
- Open the Elementor Editor – Click the hamburger menu in the top left and select Site Settings.
- Define Global Colors – Set your Primary, Secondary, Text, and Accent colors. Use precise hex codes.
- Set Global Fonts – Choose a highly readable font for body text (like Inter or Roboto) and a bolder font for headings.
- Configure Global Buttons – Design your primary call-to-action button once. Now, every button you drop onto a page will match automatically.
Creating Custom Headers and Footers
Your header and footer appear on every single page. You’ll use the Elementor Pro Theme Builder to construct these globally.
Go to Templates > Theme Builder. Click “Add New Header”.
Drop in a Site Logo widget on the left. Drop a Nav Menu widget on the right. Adjust the spacing, set the background color, and publish it. When prompted for display conditions, select “Entire Site”. Just like that, your navigation is live everywhere.
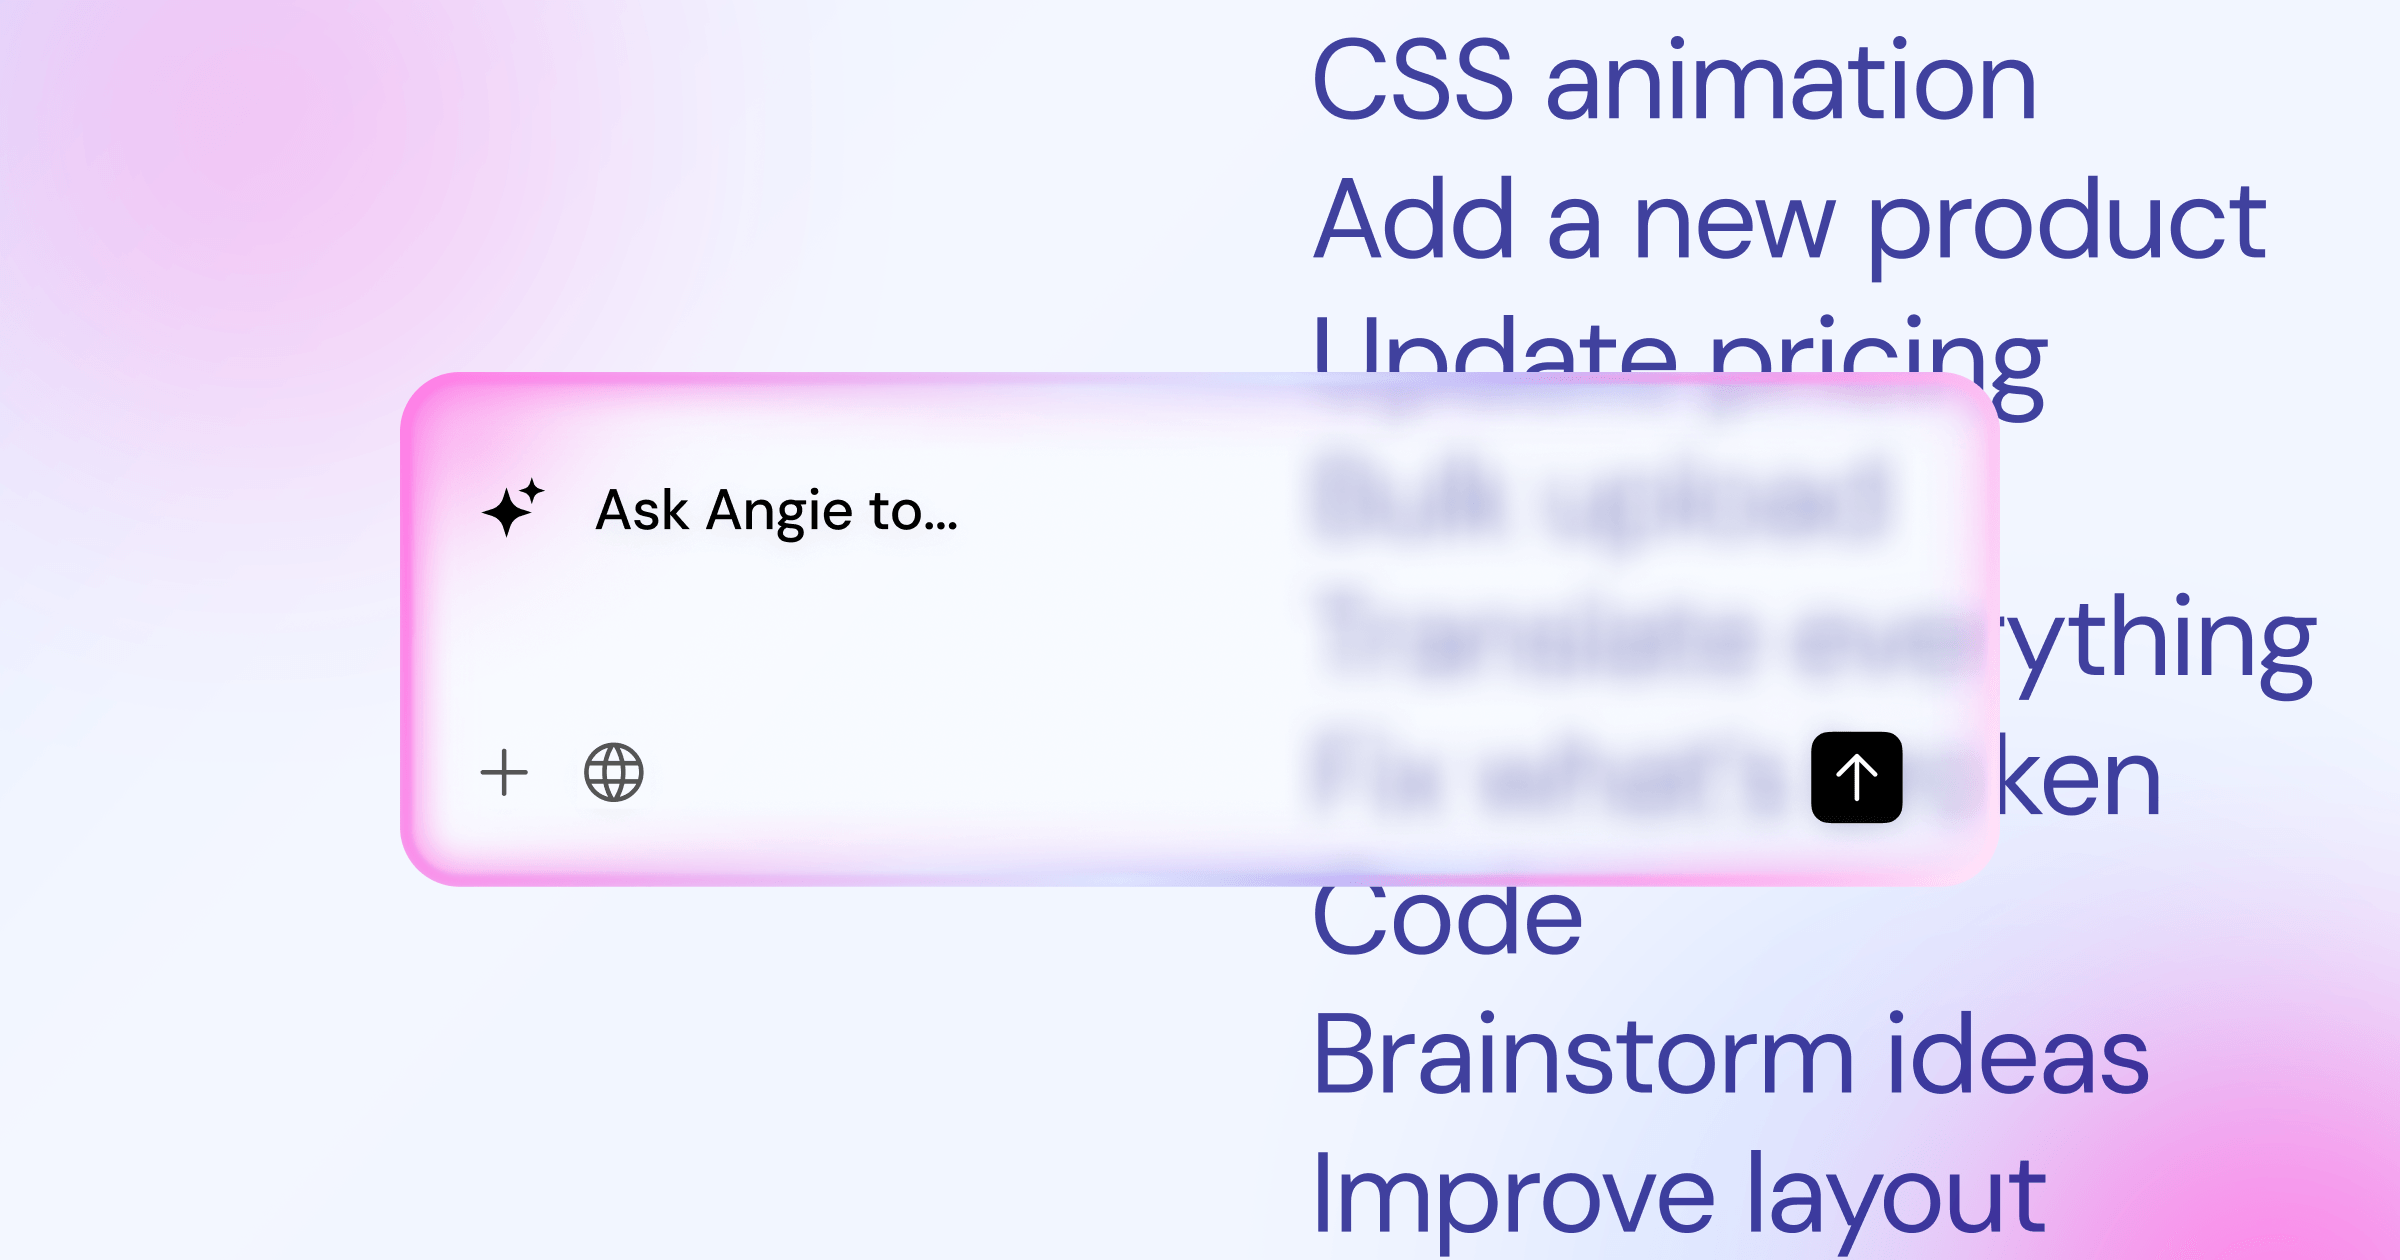
Applying Native AI for Rapid Development
You don’t even have to build from scratch anymore. The workflow has completely changed in 2026.
Using Angie (Elementor’s native agentic AI), you can generate entire layouts through simple conversation. It’s not just a text generator. It uses Model Context Protocol (MCP) to actually take action inside your WordPress environment.
You just describe the specific page you want (e.g., “Build a pricing page for a landscaping company with three tiers”). The AI outputs production-ready WordPress assets directly into your site. It understands your global design system and matches your brand colors instantly.
Pro tip: Always check your element spacing. Use consistent padding (like 80px) on the top and bottom of every major section to give your design room to breathe.
Step 5: Essential Plugins for Performance and Security
WordPress is open-source. That’s its greatest strength, but it also means you’re responsible for securing it.
Never install random plugins just because they look cool. Every plugin you add introduces a potential security vulnerability and adds code to your site. Stick to this essential checklist.
Security Hardening Practices
Hackers don’t target small businesses manually. They use automated bots that scan the internet for weak WordPress sites. You’ve to block them automatically.
- Install a Web Application Firewall (WAF) – Plugins like Wordfence actively block malicious traffic before it hits your database.
- Limit login attempts – Configure your security plugin to lock out any IP address that fails the password three times.
- Enable Two-Factor Authentication (2FA) – Require a code from your phone to access the admin dashboard.
- Change your login URL – Move away from the default “/wp-admin” to stop 90% of basic automated attacks.
Performance Optimization Targets
Google penalizes slow websites. It’s that simple. Only 41% of mobile sites currently pass all three Core Web Vitals metrics, which gives you a massive competitive advantage if you optimize correctly.
- Implement Page Caching – This saves a static HTML version of your site, so the server doesn’t have to rebuild it for every visitor.
- Use Object Caching – This speeds up database queries significantly.
- Minify CSS and JS – Optimization tools will strip out unnecessary white space in your code to reduce file sizes.
SEO Foundations
Search engines need help understanding your content. Install a dedicated SEO plugin like Rank Math or Yoast SEO right away.
These tools allow you to customize your meta titles and descriptions. More importantly, they automatically generate an XML sitemap. This is essentially a roadmap of your website that you submit to Google to ensure all your pages get crawled.
Step 6: Creating High-Conversion Core Pages
Traffic is useless if your website doesn’t convert visitors into leads or customers.
Every page needs a specific job. If a page doesn’t have a clear goal, delete it.
The Homepage Strategy
Your homepage is your digital storefront. You’ve roughly three seconds to convince a visitor they’re in the right place.
Structure your homepage using this proven hierarchy:
- The Hero Section – Place a crystal-clear headline stating exactly what you do. Add a subheadline explaining the benefit. Include a bright, highly visible Call to Action (CTA) button.
- Social Proof – Immediately below the hero, add trust badges. This could be client logos, industry certifications, or a star rating.
- The Problem/Solution – Agitate the customer’s pain point, then introduce your service as the logical answer.
- Features and Benefits – Use a grid layout to quickly outline what they get. Keep the text minimal.
- Final CTA – End the page with another strong push toward your contact form or checkout.
Building a Contact Page with Advanced Forms
Don’t just slap an email address on a page. Spambots will scrape it and fill your inbox with garbage.
Use a strong form builder to capture structured data. If you’re using Elementor Pro, the native Form widget handles this perfectly.
Set up conditional logic if necessary. If a user selects “Sales” from a dropdown, route the email to your sales team. If they select “Support”, send it to your helpdesk. Connect the form directly to your CRM using webhooks so you never lose a lead.
Pro tip: Always design a custom “Thank You” page. Redirect users there after they submit a form. You can use this page to offer a secondary action, like following your social media accounts.
Step 7: Mobile Optimization and Core Web Vitals
If you build your site exclusively on a desktop monitor, you’re going to fail. Period.
Over 58% of global web traffic is generated via mobile devices. Google uses mobile-first indexing, meaning they strictly evaluate the mobile version of your site for search rankings.
Responsive Editing Best Practices
You’ve to manually check every single page on multiple device breakpoints.
When working in your visual editor, switch to the Mobile view. You’ll likely notice that your massive desktop headings look ridiculous on a phone. Adjust the typography settings specifically for the mobile breakpoint.
Sometimes, complex elements just don’t work on small screens. Use the “Hide on Mobile” responsive toggle to remove heavy background videos or complicated multi-column layouts. Replace them with simplified mobile-only versions.
Image Optimization Strategies
Images are usually the heaviest assets on a webpage. If you upload a 5MB photo directly from your camera, your site will crawl to a halt.
You must optimize every image before or during the upload process.
- Convert to next-gen formats – Use WebP or AVIF formats instead of heavy JPEGs or PNGs.
- Resize dimensions – Never upload an image wider than 2500 pixels.
- Enable Lazy Loading – This tells the browser to delay loading images until the user actually scrolls down to them.
You can automate this entirely. The Elementor Image Optimization plugin will automatically compress files and convert them to WebP as soon as you drag them into the media library.
Step 8: Final Testing and Launch Protocol
You’re almost at the finish line. But launching a broken website is worse than not having one at all.
You need a strict pre-flight checklist. Missing a minor detail here can ruin your initial indexing with search engines.
Cross-Browser and Device Testing
Your site might look perfect on Chrome, but entirely broken on Safari. You’ve to test the live environment.
- Check standard browsers – Load the site in Chrome, Firefox, Safari, and Edge.
- Test physical devices – Borrow an Android phone and an iPhone. Tap every button. Submit every form.
- Audit accessibility – Run a tool like Ally to flag contrast issues or missing alt text. (Accessibility is critical, as 96.3% of the top 1 million homepages fail basic WCAG standards).
- Verify SSL – Ensure the browser padlock is visible and there are no “mixed content” warnings.
Analytics and Search Console Integration
You can’t improve what you don’t measure. Before announcing the site, install your tracking scripts.
Set up Google Analytics 4 (GA4) to track user behavior, traffic sources, and conversion events. Then, verify your domain in Google Search Console.
Search Console is your direct line of communication with Google. Submit the XML sitemap you generated earlier. This forces Google’s bots to crawl your new pages immediately, rather than waiting weeks for them to find the site naturally.
Pro tip: Do a final pass of all your links. Broken internal links frustrate users and signal to search engines that your site is poorly maintained.
Frequently Asked Questions
How do I fix the ‘Error Establishing a Database Connection’?
This usually means your wp-config.php file has the wrong database credentials. Check your hosting panel for the correct database name, username, and password, then update the file via FTP.
Why is my Elementor editor not loading?
This is almost always a memory limit issue. Contact your host or edit your wp-config.php file to increase the WP_MEMORY_LIMIT to at least 512M. It can also be caused by conflicting third-party caching plugins.
How often should I update my plugins and WordPress core?
You should apply security patches immediately. For major feature updates, wait 48 hours to ensure no widespread bugs are reported. Always take a full backup before clicking update on anything.
Can I change my WordPress theme later without losing content?
Yes, your written content and media live in the database, not the theme. However, any design customizations built specifically within the old theme’s proprietary settings will need to be recreated.
Do I need to know how to code to build a WordPress site?
Not anymore. With tools like Elementor Pro and agentic AI generators, you can build complex, dynamic websites entirely visually. CSS knowledge helps for advanced tweaks, but it isn’t required.
What is the difference between WordPress.com and WordPress.org?
WordPress.com is a hosted, restricted service similar to Wix. WordPress.org is the free, open-source software you install on your own web host to maintain total control and ownership.
How do I backup my WordPress website?
Your managed host should provide automated daily backups. For redundancy, install a plugin like UpdraftPlus to send weekly encrypted backups to a remote storage location like Google Drive or Amazon S3.
How many plugins are too many?
It’s about quality, not quantity. Fifty well-coded, lightweight plugins will perform better than one heavy, poorly coded plugin. Generally, try to keep your active plugin count under 20 to minimize conflict risks.
Looking for fresh content?
By entering your email, you agree to receive Elementor emails, including marketing emails,
and agree to our Terms & Conditions and Privacy Policy.


