help center

On this page

Post Comments widget

Last Update: March 11, 2024

Add the widget

Post Comments
  1. In Elementor Editor, click +.
    All available widgets are displayed.
  2. Click or drag the widget to the canvas. For more information, see Add elements to a page.

What is the Post Comments widget?

The Post Comments widget is a Theme Element. It is one of the available Single Post Template widgets that is used to dynamically display user comments on posts. For more information, see Create a single post template.

Once you’ve set up your Single Post Template, insert the Post Comments widget into the template design wherever you want the comments section to appear. This widget pulls in the comments associated with the specific post being viewed and displays them according to your customization settings.

Common use case

Sam is building a website for a photography company. They want to create an engaging experience for visitors, where they can view their stunning photos and interact and leave feedback on each photo post.

To achieve this, Sam utilizes the Single Post Template feature to design custom templates for showcasing their photography posts. Within these templates, they add the Post Comments widget to allow visitors to leave comments below each photo.

When visitors land on the website and click on a specific photo post, they are greeted with a beautifully designed page that showcases the photo in full glory. Below the picture, they see comments from other visitors and a comment submission form.

Visitors can leave their thoughts, compliments, or questions about the photo, creating a sense of community and interaction around the company’s work.

Post Comments 4

Additional use cases

  • Use the post comments widget on destination posts to let travelers share their experiences and recommendations and even ask for travel advice.
  • Add the post comments widget to the product review posts, allowing readers to ask questions and share their opinions on the latest gadgets.
  • Use the post comments widget to allow readers to share their cooking experiences and ask questions on each recipe post.

Add a Post Comments widget: Step-by-step

  1. Add the Post Comments widget to the canvas. For details, see Add elements to a page.
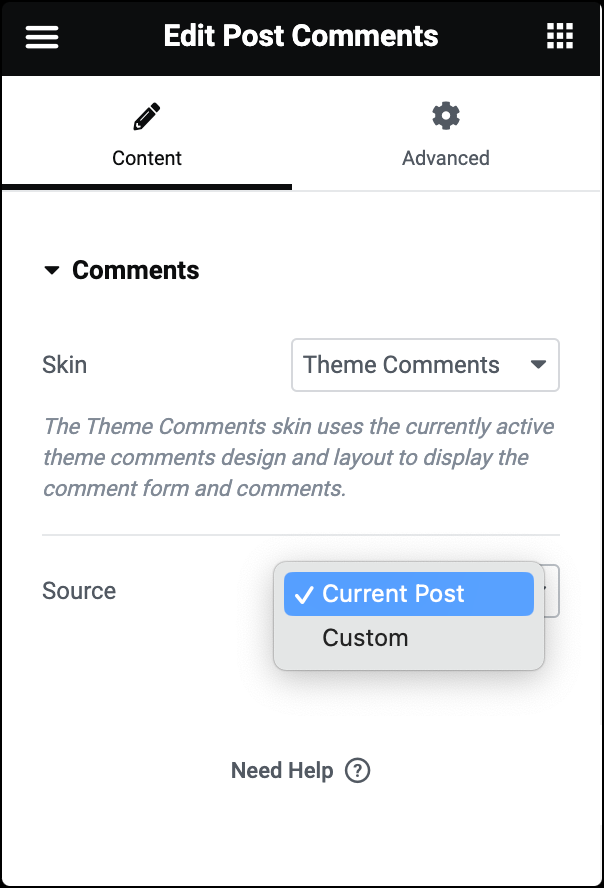
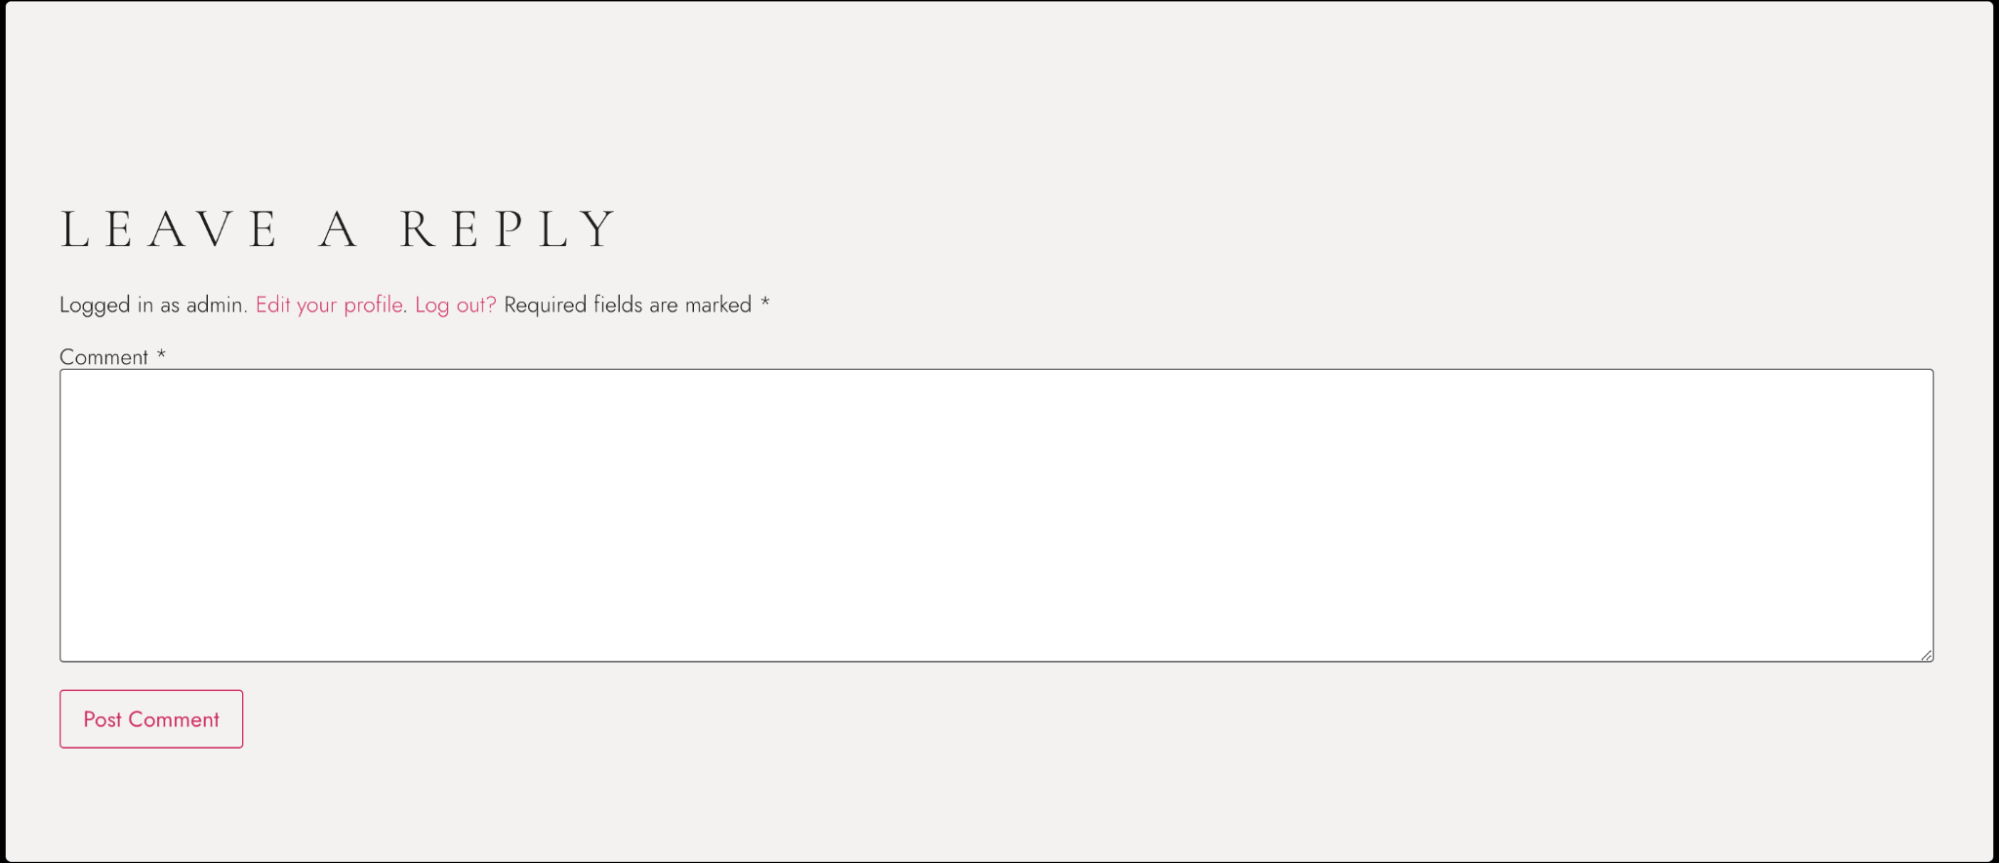
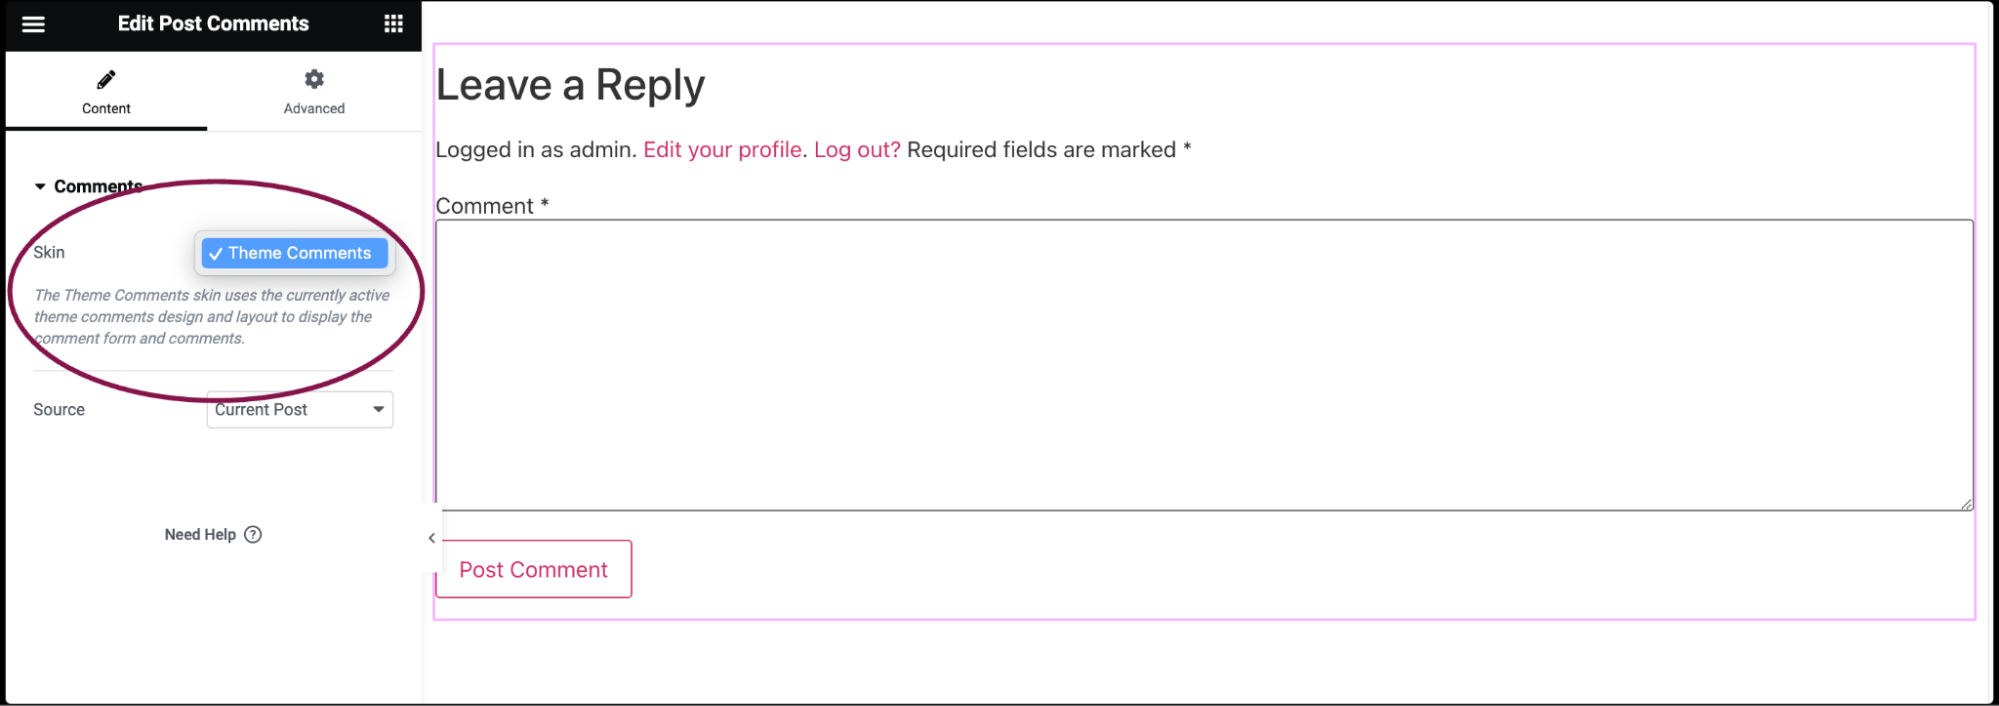
  2. In the Content tab, under the Comments section, use the Skin field to choose how the comments section will look on your website. Right now, there’s only one option available: Theme Comments. The Theme Comments skin uses the currently active theme comments design and layout to display the comment form and comments.
    Post Comments 5 Post Comments widget 3
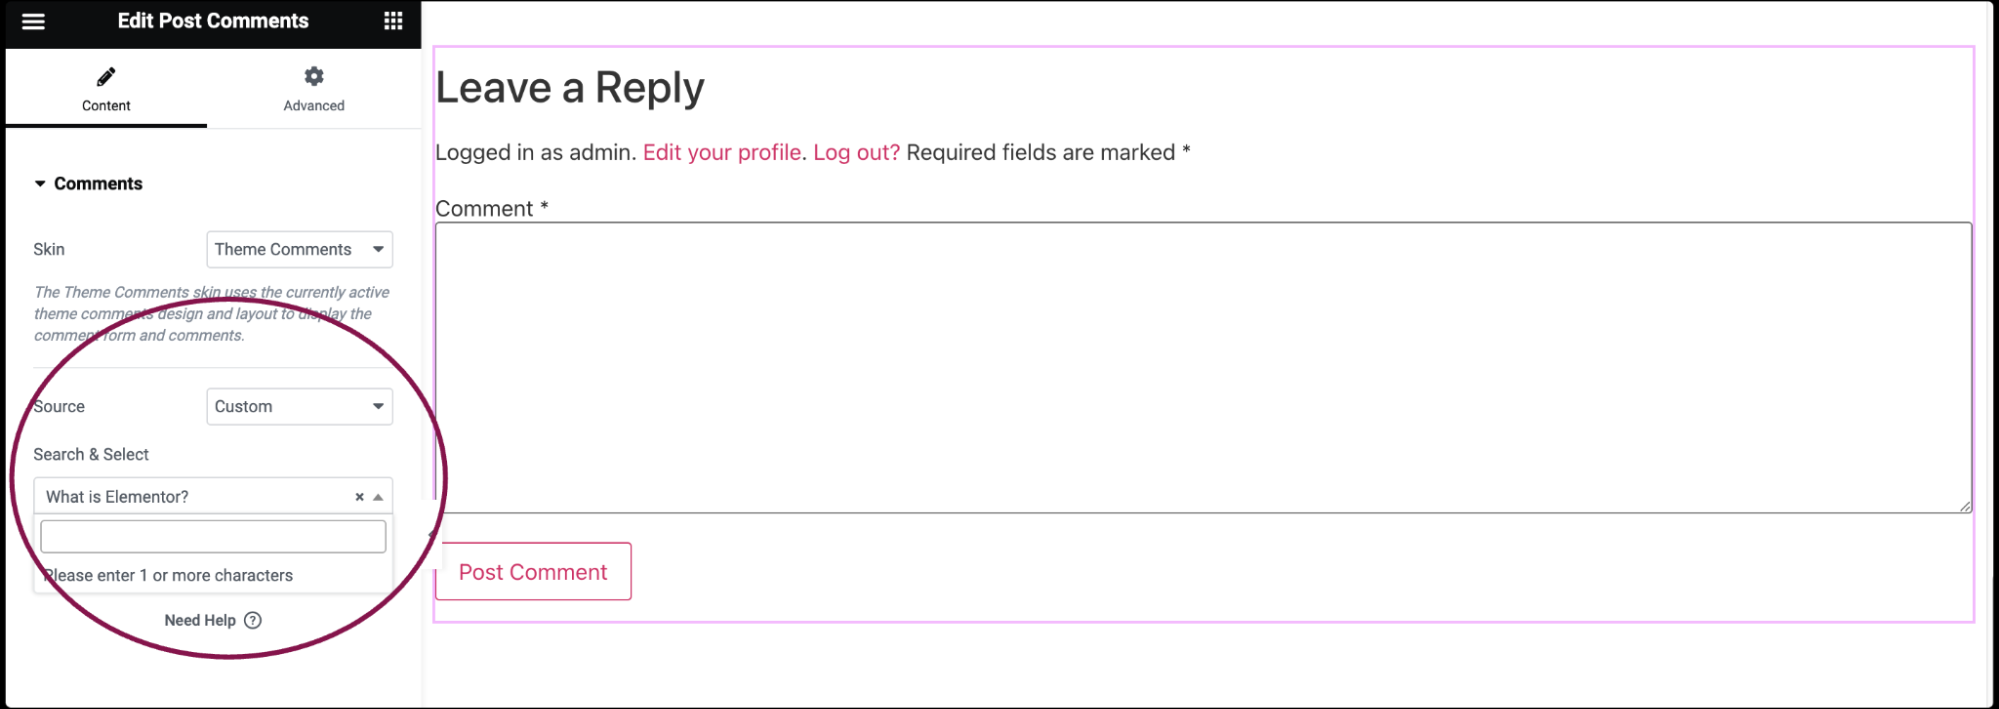
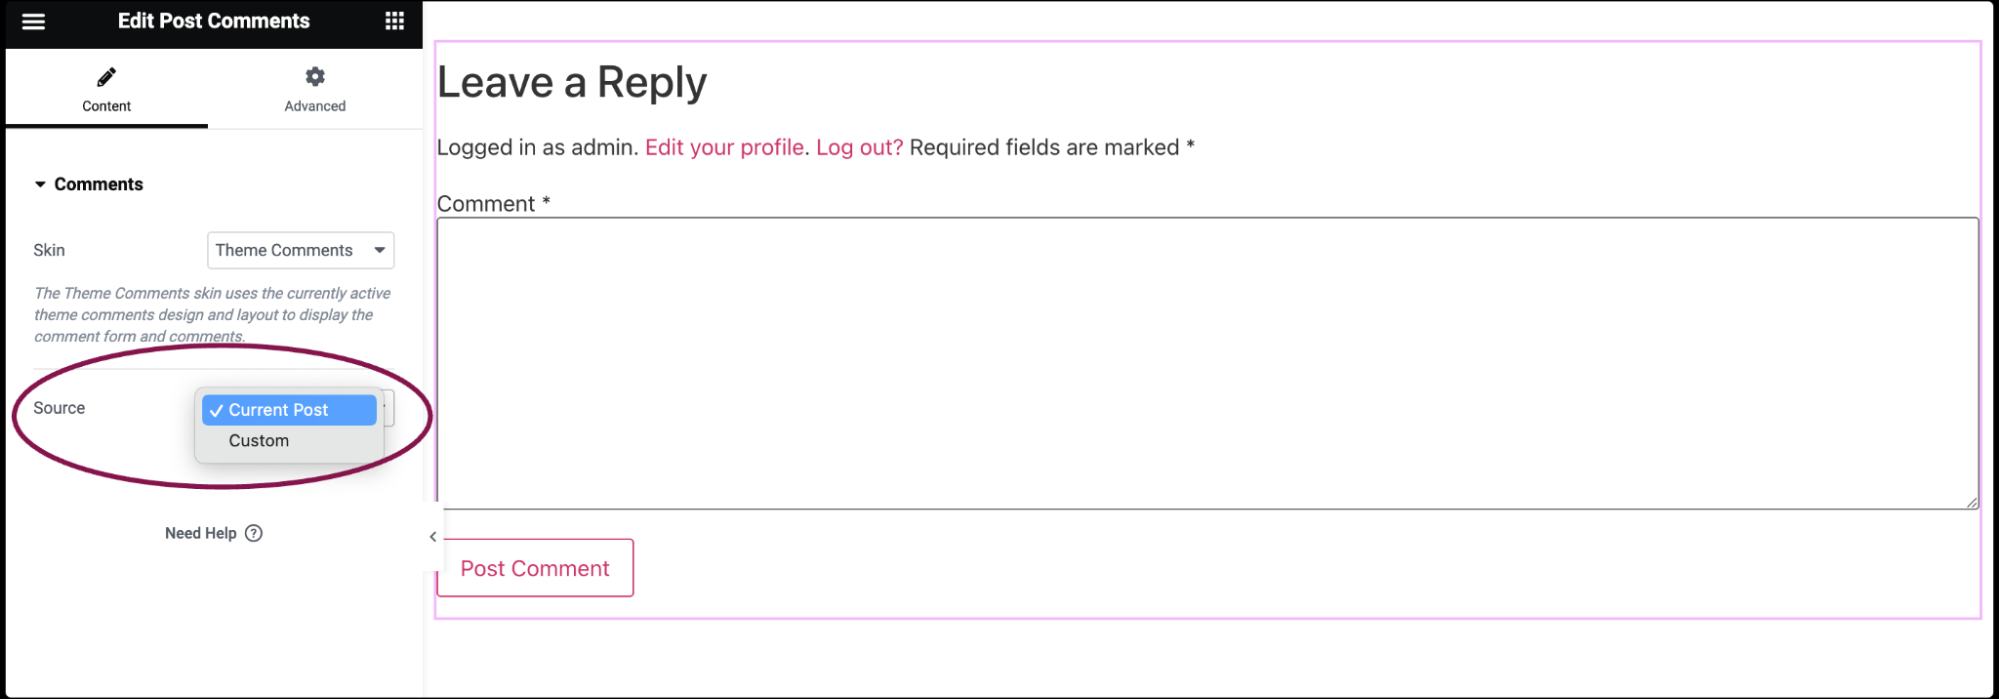
  3. In the Source field, select the source of the user comments. You have two choices: Current Post and Custom.
    1. Current Post: This option will display comments from that particular blog post that site visitors are currently viewing.
    2. Custom: With this option, you can select comments from a specific post to be displayed across your entire website. For example, if you have a popular post and want to showcase those comments on all posts, you can choose this option and select that specific post. This way, visitors to any post on your site will see comments from your selected post.
      Post Comments 6
  4. If you choose Custom, you’ll see a search bar where you can type the post name you want to pull comments.

    Post Comments 1
Note
The Post Comments widget will only work if comments are allowed. This setting is controlled via WordPress Discussion settings.

Settings for the Post Comments widget

You can customize the Post Comments widget using content and other advanced parameters, offering you great flexibility in tailoring them to your needs. Click the tabs below to see all the settings available for this widget.

Content tab

Post Comments 3

Select an available skin. Currently, one skin is available, the Theme Comments skin. The Theme Comments skin uses the currently active theme comments design and layout to display the comment form and comments.

Select the source of the user comments, either those from the Current Post or Custom. If Custom is chosen, the following option becomes available:

  • Search & Select: When you start typing a specific post name, you will get the autocomplete full name of the post, which you can then select. The comments from the selected post will be displayed.

Advanced tab

The Advanced tab provides options to control widget position, adjust spacing, add custom code, and more.

Advanced panel Post Comments widget 8

Learn more about the Advanced tab settings.

Have more questions? We’re more than happy to assist.

Link is copied to clipboard!
On this page

Is this article helpful?

Share this article