Add the widget
Add the widget to the canvas
To access and use a widget:
In Elementor Editor, click +.
All available widgets are displayed.Click or drag the widget to the canvas. For more information, see Add elements to a page.
What is the Lottie widget?
Lottie widgets allow you to add Lottie animations to your webpages. Lotties are small animated elements rendered from .json files. Simply upload or reference an external .json file and adjust as desired.
Lottie animations help make a webpage come alive and draw visitors attention.
Common use case
Francis is the marketing manager of a website design firm. They want to incorporate a Lottie animation to show how their business can boost sales for their clients so they incorporate the Lottie animation below on their home page.
Additional use cases
- A travel website featuring an animated cyclist to attract attention to their bike tours.
- A web design agency showing a rocket ship taking off to symbolize how they launch their sites.
Video
See a video demonstrating the Lottie widget in action.
Adding a Lottie widget: Step-by-step
In the example below, we’ll create a Lottie widget that will activate when visitors mouse over it.
Add the Lottie widget
- Add the Lottie widget to the canvas. For details, see Add elements to a page.NoteThe Lottie widget can use two types of Lottie animations:
From an external source. In this case you’ll need the URL of the Lottie animation.
A json file. In this case you’ll upload a media file to your site.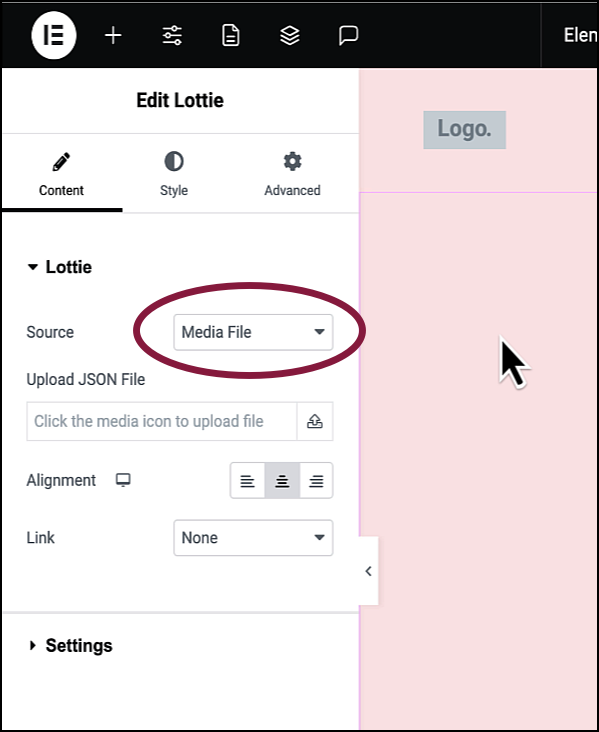
- For this example, we will upload a json media file. So use the Source dropdown to select Media File.
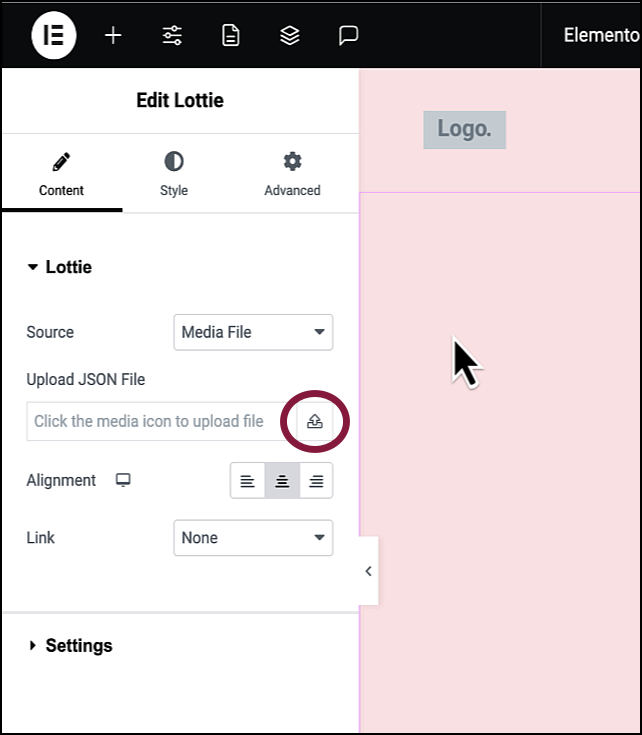
- Click the upload icon
 and navigate to the file on your PC.
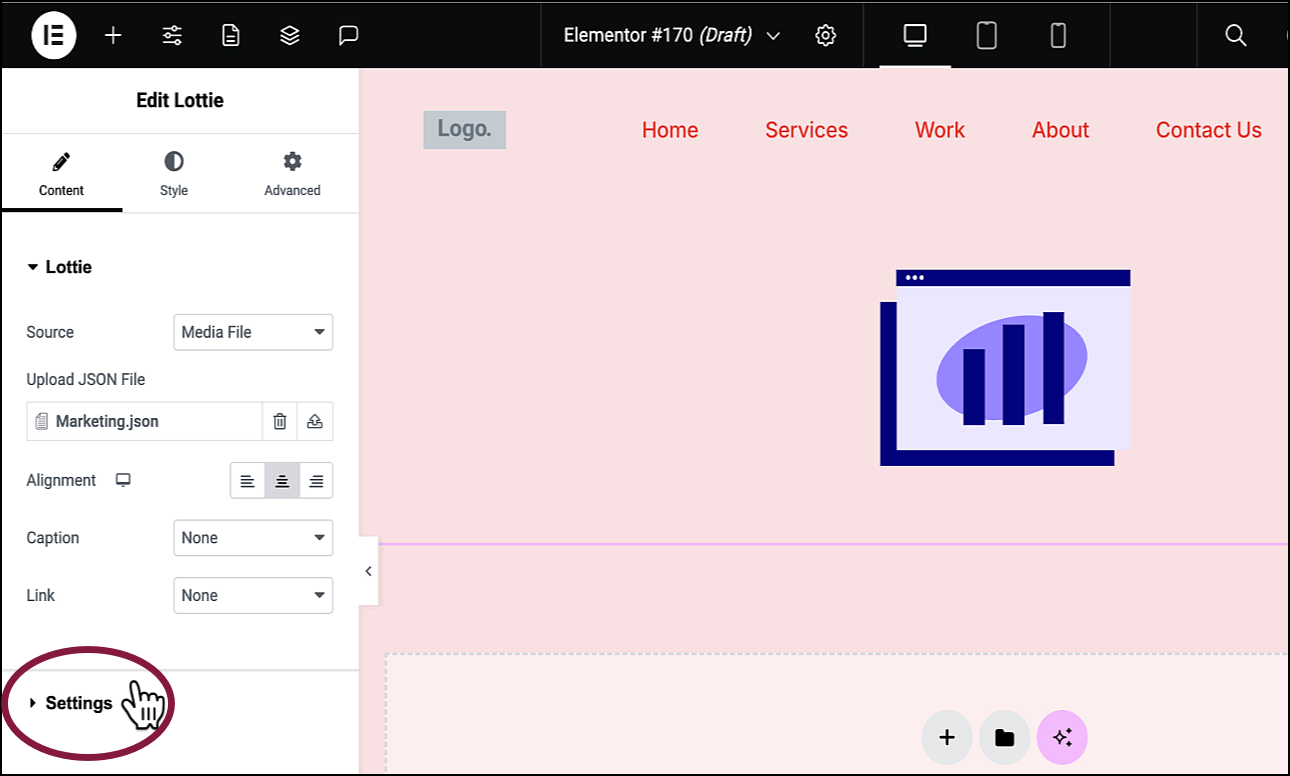
- In the panel, open the Settings field.
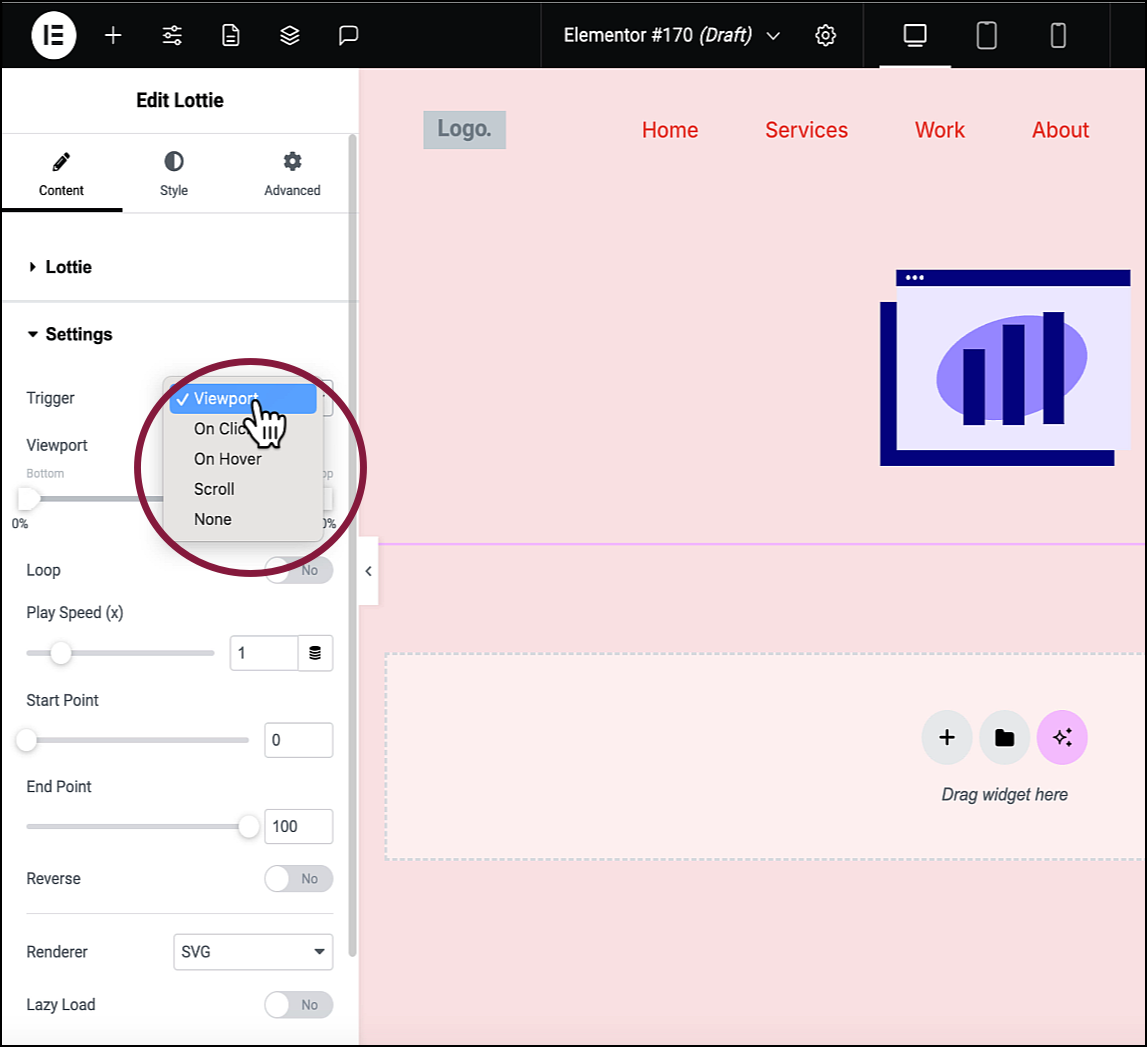
- Use the Trigger dropdown menu to select On Hover.
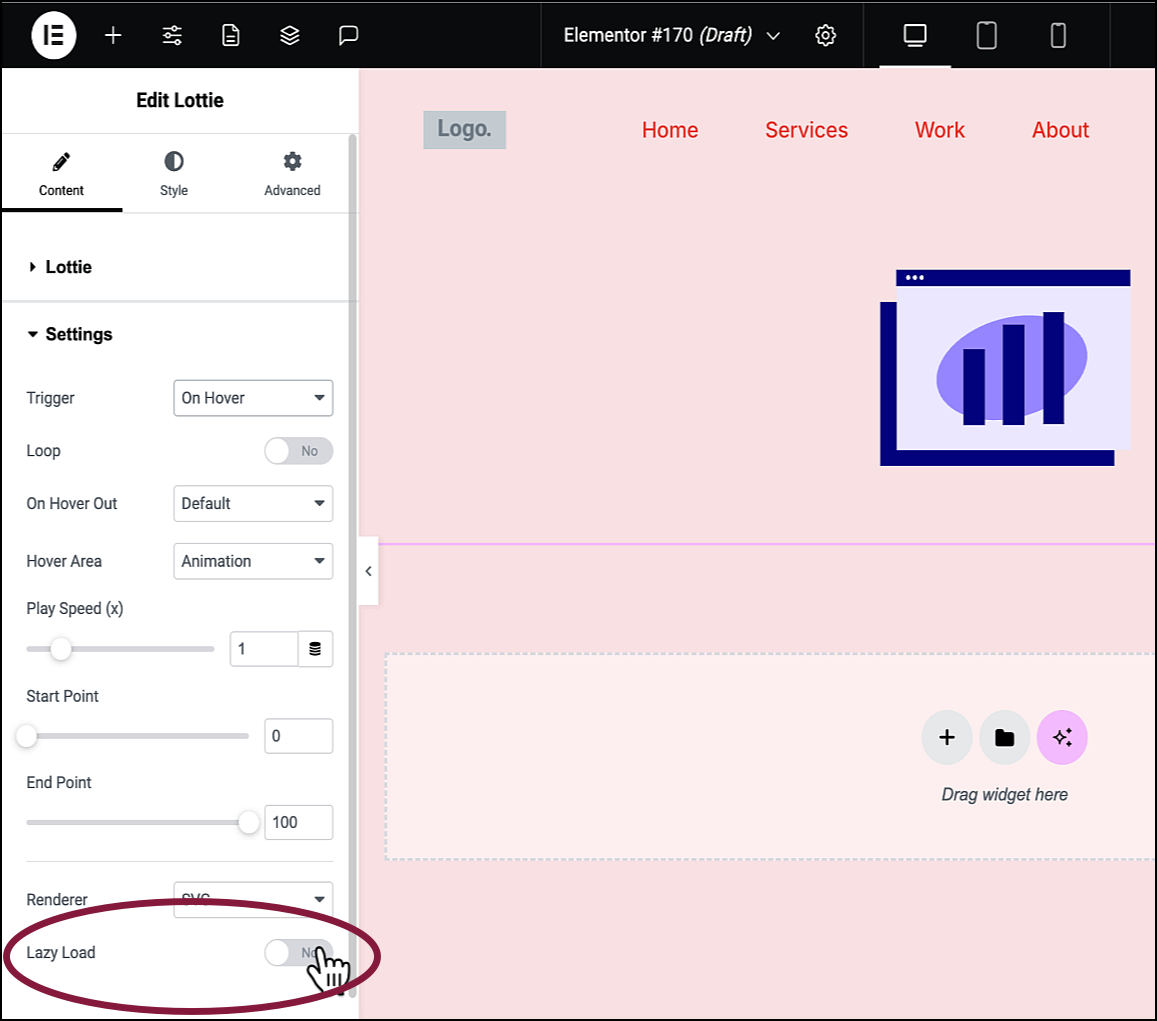
- In order to help the page load faster, toggle Lazy Load on. This means the animation will only load when it becomes visible.
Settings for the Lottie widget
You can customize your widgets using content, style, and other advanced parameters, offering you great flexibility in tailoring them to your needs. Click the tabs below to see all the settings available for this widget.
Content tab
Add, delete, and edit Lottie widget items and controls.
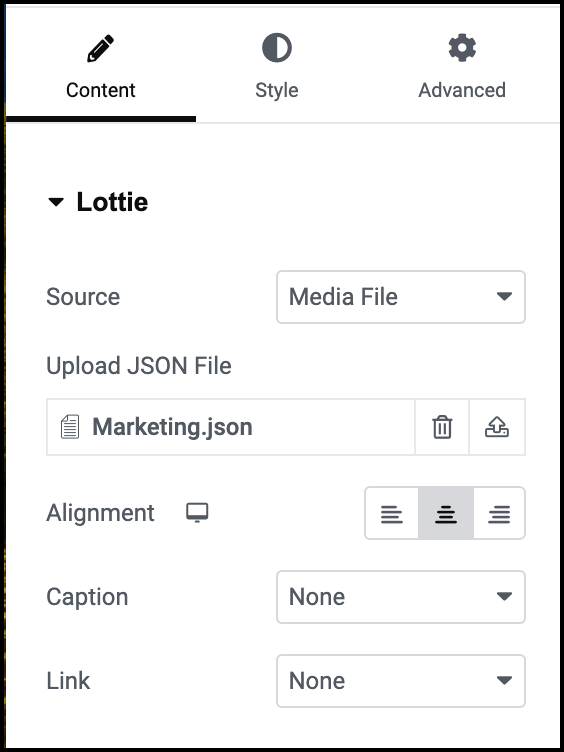
Source
- External URL: The Lottie animation is located on a different webpage. If you select External URL, you’ll need to enter the animation’s URl in the External URL field.
- Media File: Click the upload icon
 to add a json file to your website.
Alignment
Move the animation to the right, left or center of the widget.
Caption
Enter text to the text box to add a caption to your animation. If you are using an external URL, this is renamed Custom Caption as it overrides the caption of the external site.
Link
Enter a URL in the Link field and users will go to that page when they click the animation.
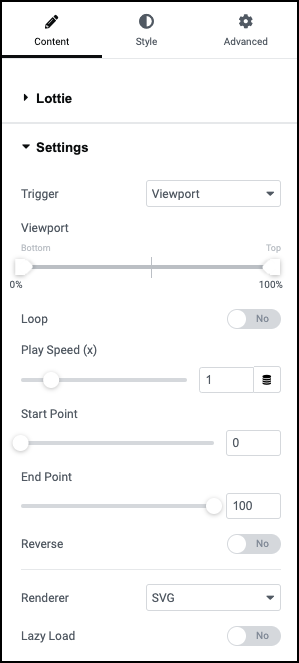
Trigger
Select the action that will start the animation. Choices are:
- Viewport: The animation begins when a certain percentage of the animation is visible to the visitor. Use the Viewport slider to determine the exact percentage.
- On Click: The animation begins when the visitor clicks it.
- On Hover: The animation begins when the visitor mouses over it. If you choose:
- Hover Area: Define the area users have to mouse over to activate the animation. The choices are:
Animation: The animation itself.
Column: The column containing the animation.
Section: The section containing the animation.
- Container: The container containing the animation.
- On Hover Out: Determine what happens to the animation when the visitor moves the cursor off the animation area.
- Hover Area: Define the area users have to mouse over to activate the animation. The choices are:
- Scroll: Activate the animation as the user scrolls down the screen, A Viewport slider determines how much the user has to scroll before the animation begins.
- None: The animation won’t activate.
Loop
Determines how long the animation will continue:
- Default: the animation finishes its loop and stops
- Pause: The animation stops where it is
- Reverse: the animation goes backwards to the beginning of the loop.
Play Speed
How fast the animation will play.
Start Point and End Point
You don’t have to play the entire Lottie animation. Use the Start and End Point sliders to limit how much of the animation plays.
Reverse
Toggle to Yes if you want the animation to begin at the end and run backwards.
Renderer
Choose which system to render the animation:
- SVG: Render as SVG which gives you greater control over the animation.
- Canvas: Render as either SVG or Raster. Usually works faster than SVG.
Lazy Load
Toggle on to delay loading the animation to speed up page loading. For details, see Lazy Loading.
Style tab
Determine the look and feel of Lottie widget items and controls.
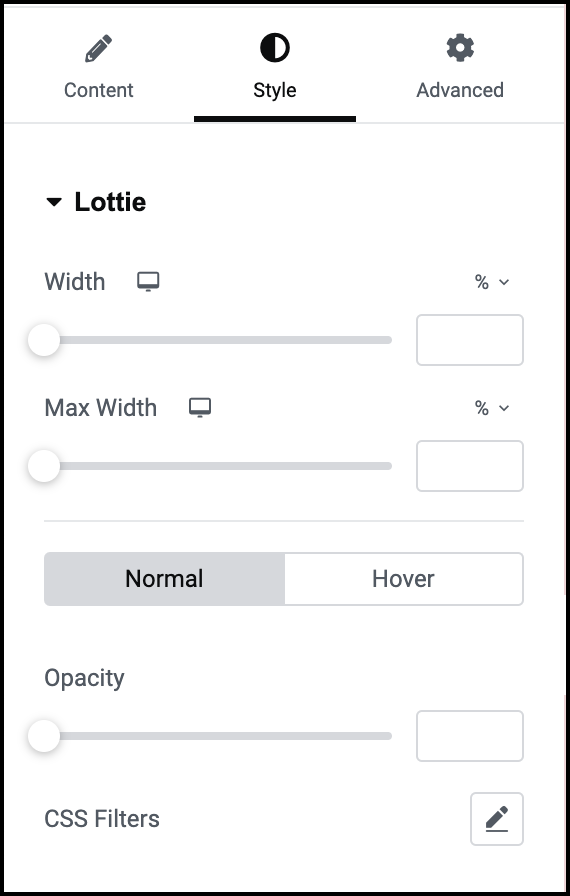
Width and Max Width
- Width: The minimum size of the animation is from side to side.
- Maximum Width: The maximum size of the animation is from side to side.
You can set the Width of an animation to 100% and the Maximum Width to 600 pixels. This means the animation will take up 100% of the parent container’s width but never be more than 600 pixels wide.
Normal/Hover
Normal/Hover
- Normal: Determine how the animation appears by default.
- Hover: Determine how the animation appears when moused over.
When Hover is selected, you’ll be able to set a Transition Duration. This is the amount of time it takes the animation to change when the user mouses over it.
Opacity
Use the slider to determine how transparent the animation is.
CSS Filter
Use different special effects to change the look of your animation. These include:
- Blur
- Brightness
- Contrast
- Saturation
- Hue
Advanced tab
Control the placement of your widget, insert links, add custom code and more.
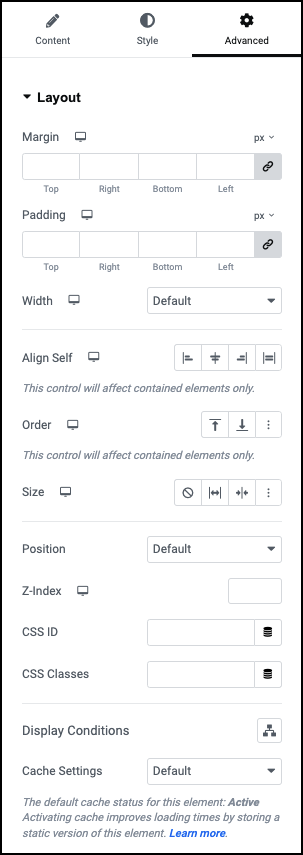
Advanced
Learn more about the Advanced tab settings.

