Elementor hosted websites come with web hosting optimized for WordPress and Elementor, and include a subscription to Elementor Pro – all in one package. By combining hosting with Elementor Pro, users don’t have to worry about dealing with different companies for their hosting and site building needs – it’s all in one place.
With these powerful tools, you can get straight to creating a professional website from scratch–no code required. Now you can focus solely on the UX and aesthetics of your website. This can lead to better click-funnels, improved ecommerce sales, and ultimately, having a highly polished look and feel on your site. This all improves your site traffic, builds brand loyalty, and imparts trust in your brand.
If you’re looking for an excellent end-to-end website solution for your business, consider getting an Elementor hosted website. In this guide, we’ll show you how to purchase your own Elementor hosted website.
Getting started
Begin the process by navigating to our pricing page.
Choose a plan suitable for your needs.
Next, click the Buy Now button. You’ll receive all the features at an annual price with a 30-day money-back guarantee.
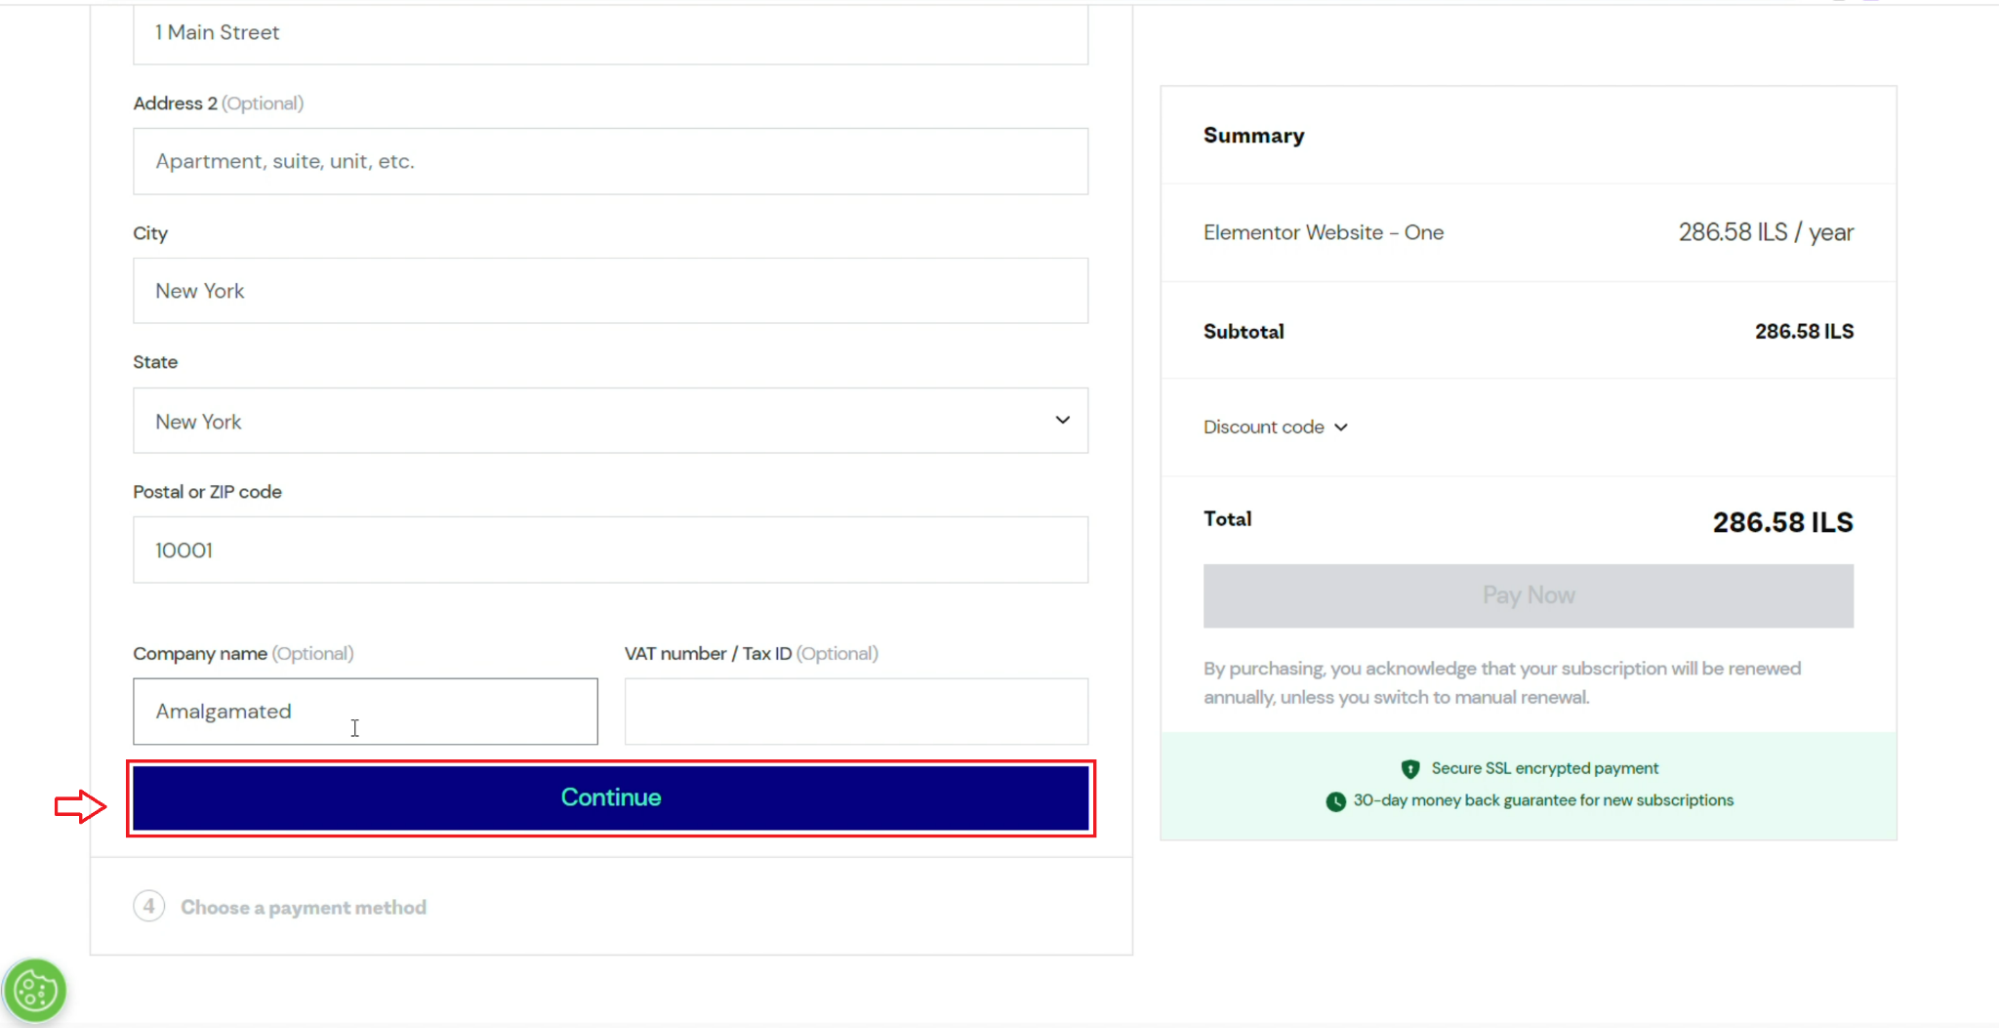
This will take you to the purchase page. Fill in the required information in the fields and click Continue.
Note: If you don’t have an Elementor account, you’ll need to create one.
Next, choose your payment method and fill in the details.
If you have a discount code, click on Discount code and enter it.
Click Pay Now.

And that’s it! Your purchase was successful!
Click Start creating your website. This will take you through a configuration wizard that will allow you to customize the website to meet your needs!

Create your website
Now you’re ready to start creating your website. You can use the configuration wizard to take care of the broad strokes.
First, you’ll be prompted to put in your preferred website name. Once you’ve done that, click Next.

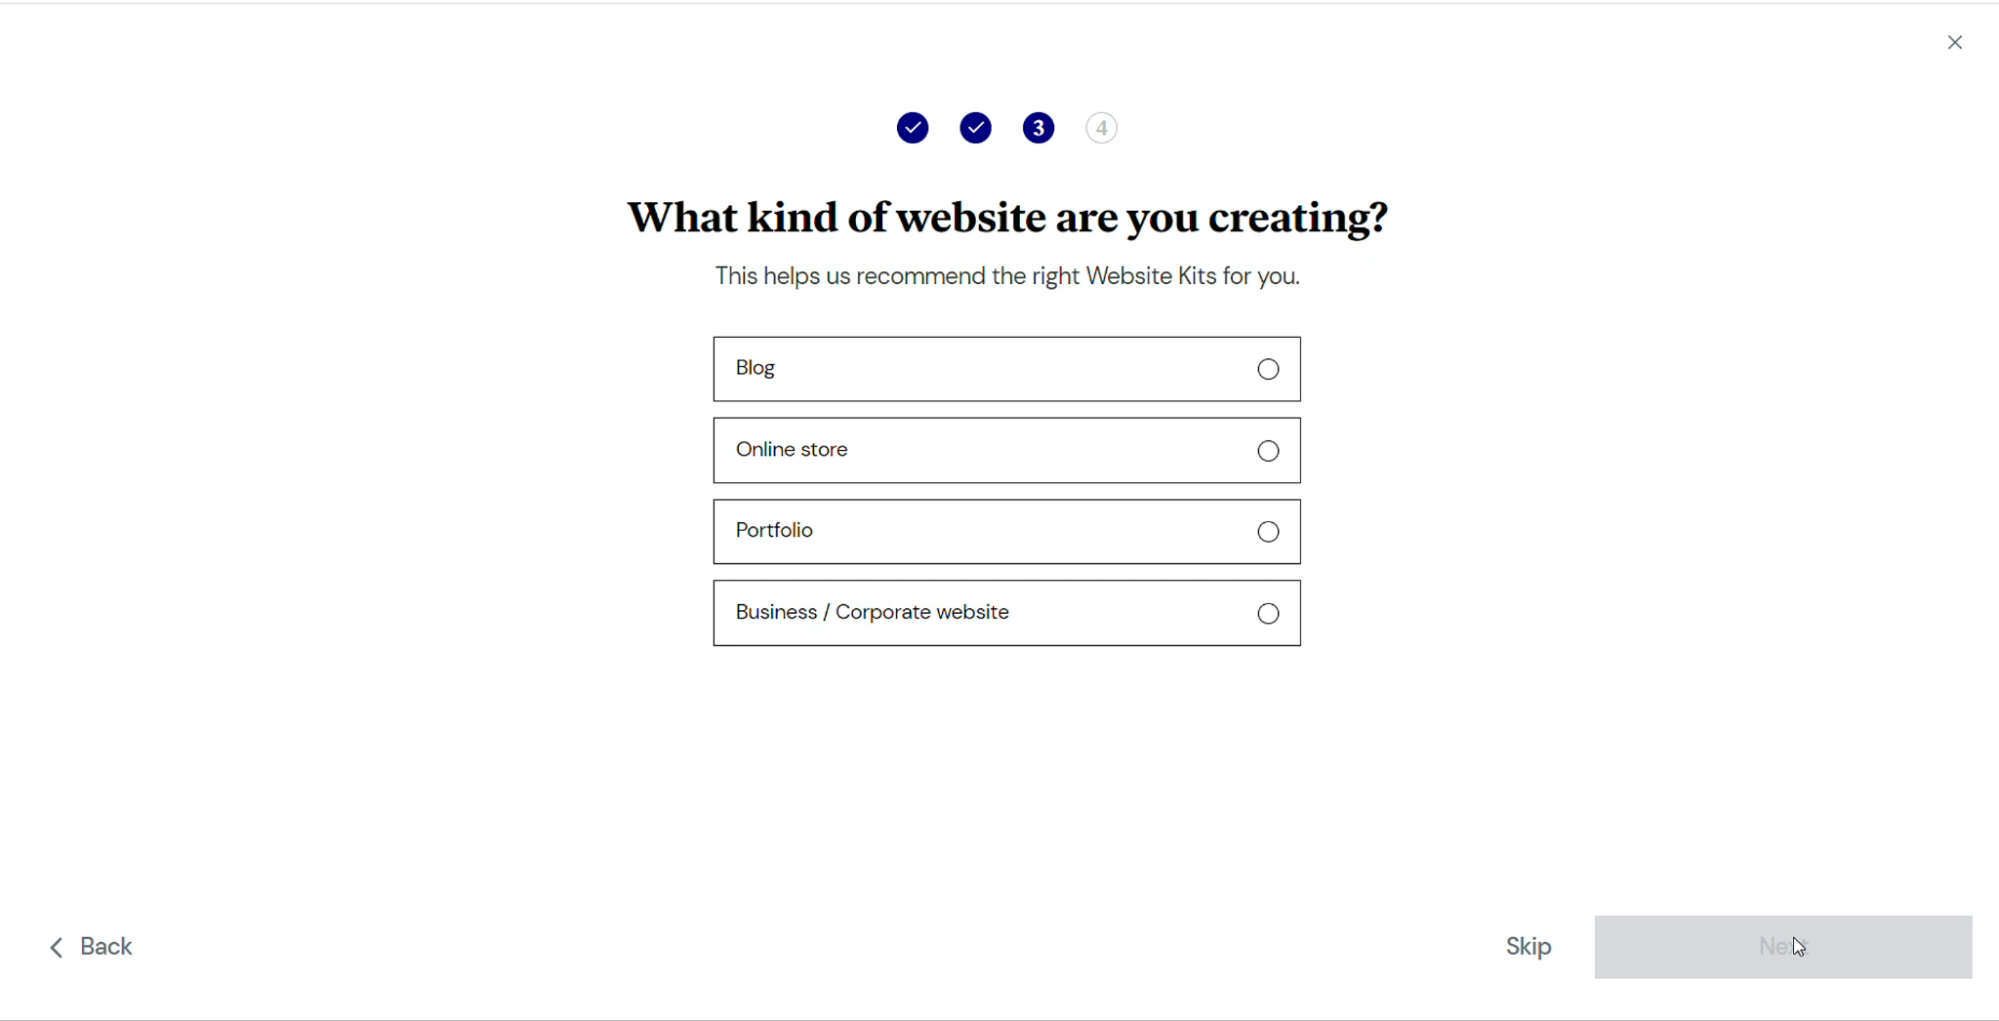
Next, choose what kind of website you want. You have four options to choose from: Blog, Online Store, Portfolio, and Business or Corporate website. Once you’re ready, click Next.
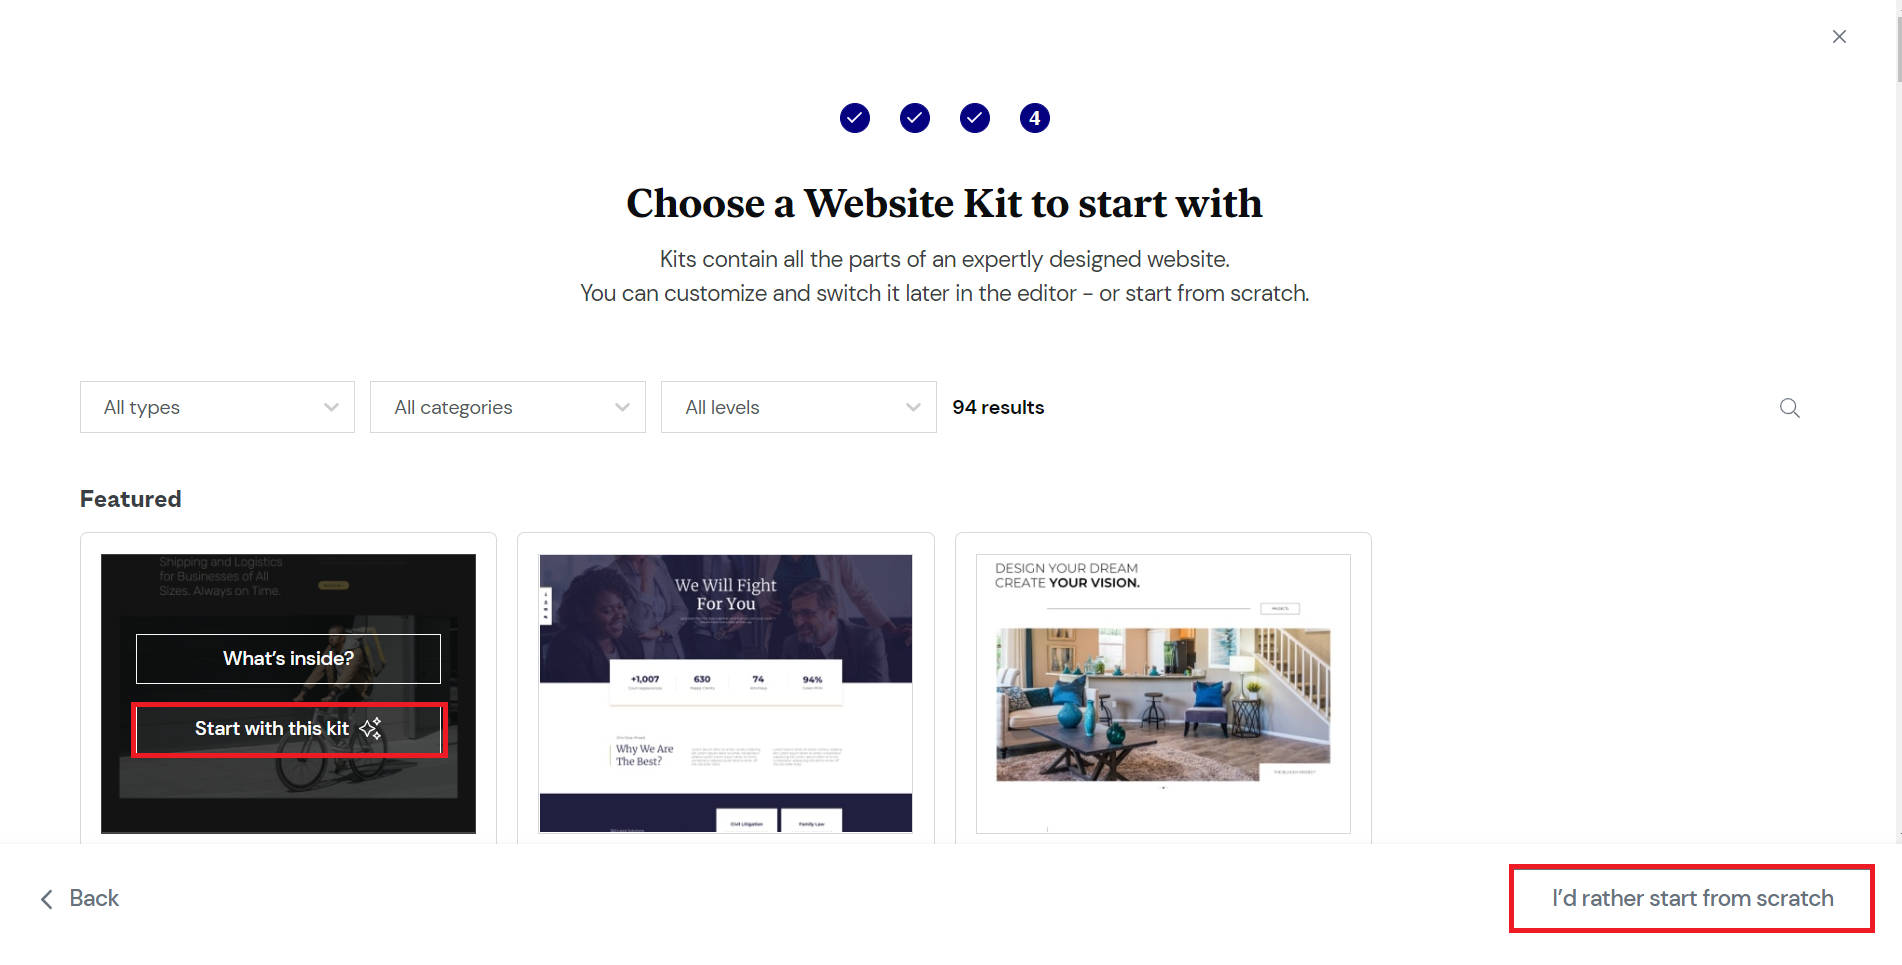
You can now select your website kit.
A website kit contains all the main components of an expertly designed website. You can decide to customize it, or switch it out later for another kit from the editor. Of course, if you prefer design your own website from the ground up, click the I’d rather start from scratch button.
The website configuration wizard will now start creating a new WordPress site for you. After a few moments, you’ll get a message saying your site is ready.

Check your email for the new website’s sign-in details, and click Let’s go!
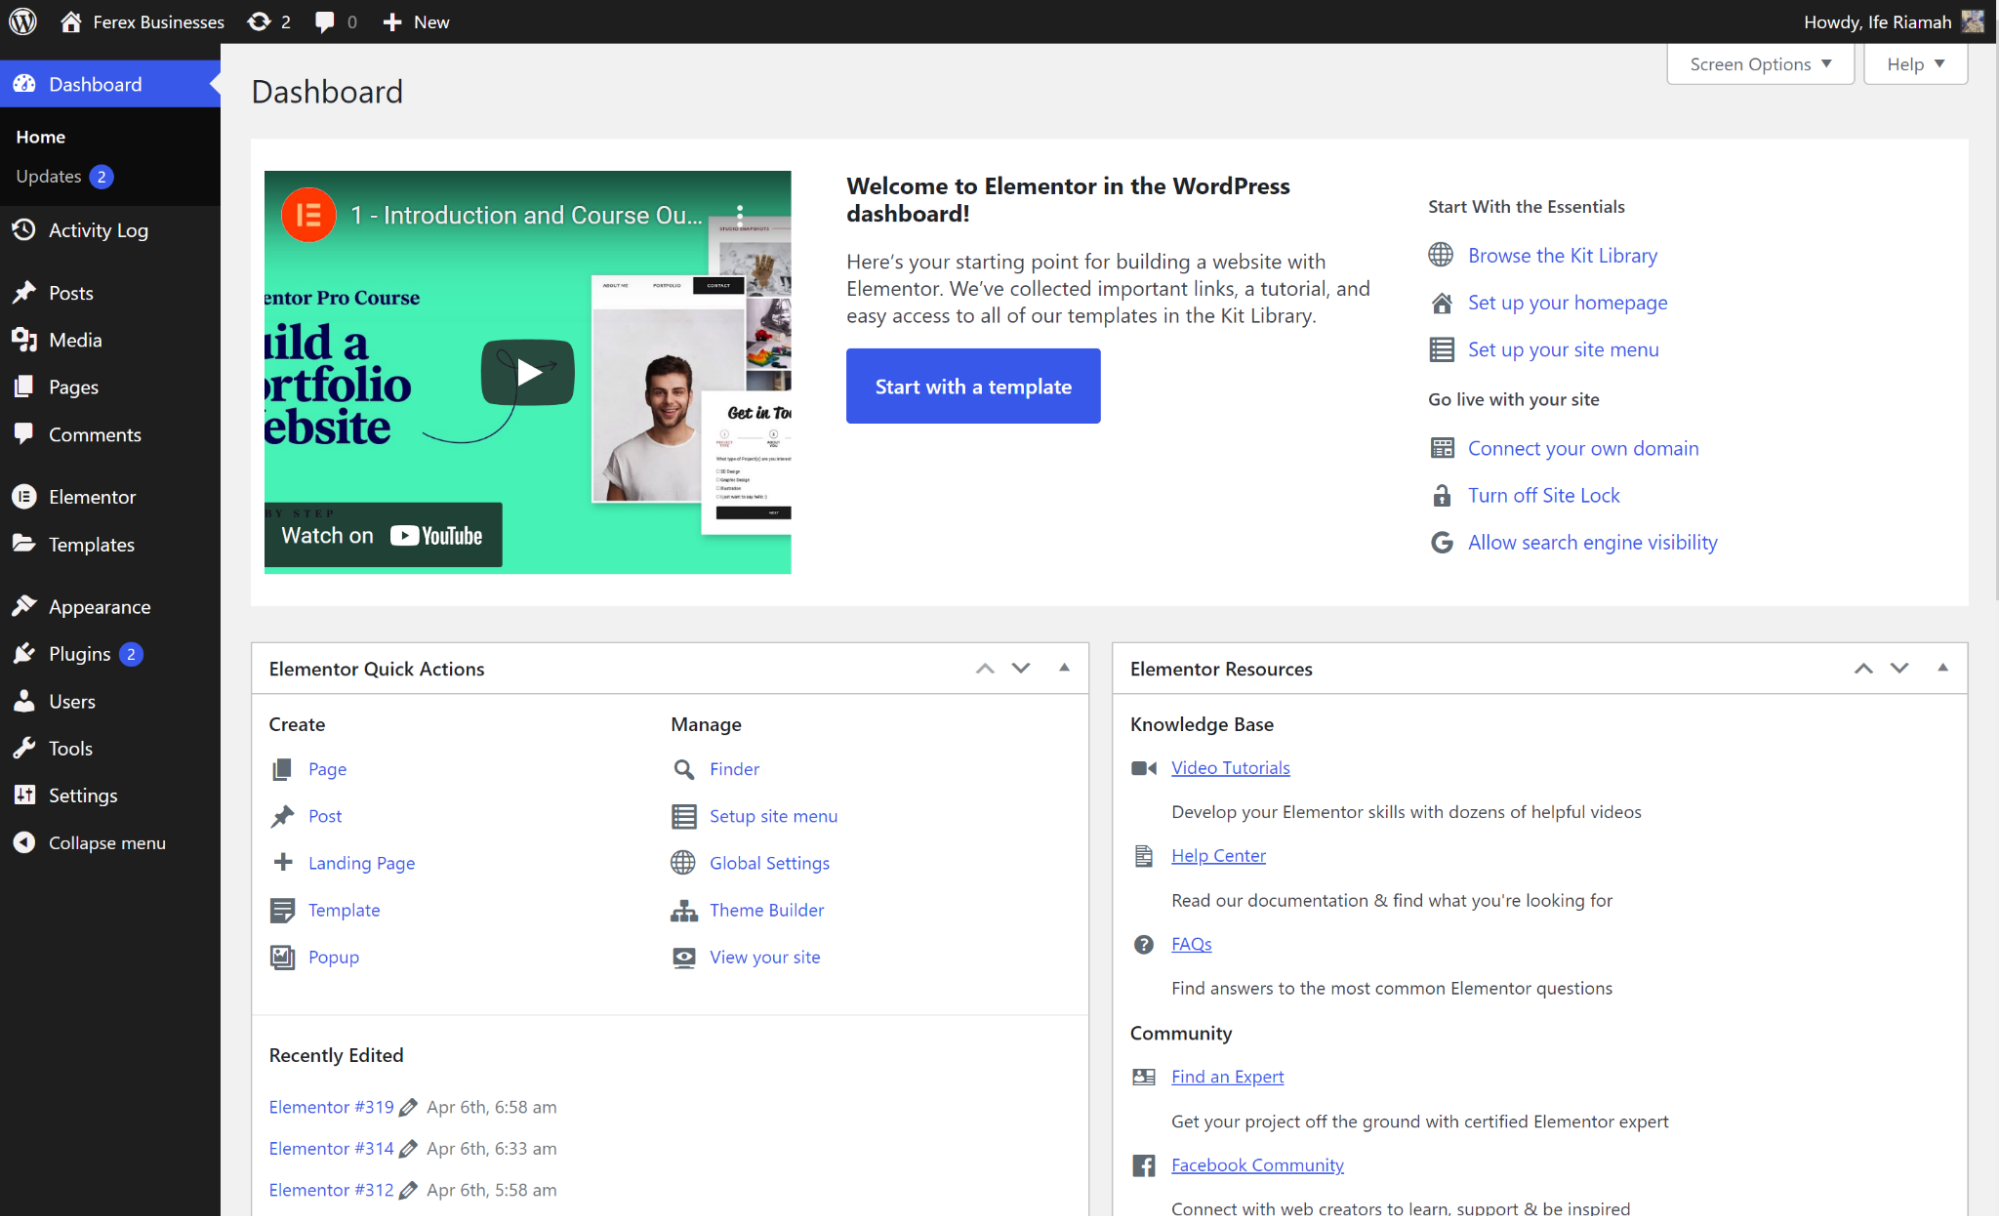
You’ll be taken to My Elementor Dashboard where you can get to work.
If you elected to start with a website kit, click Edit with Elementor to start editing the homepage of your website.
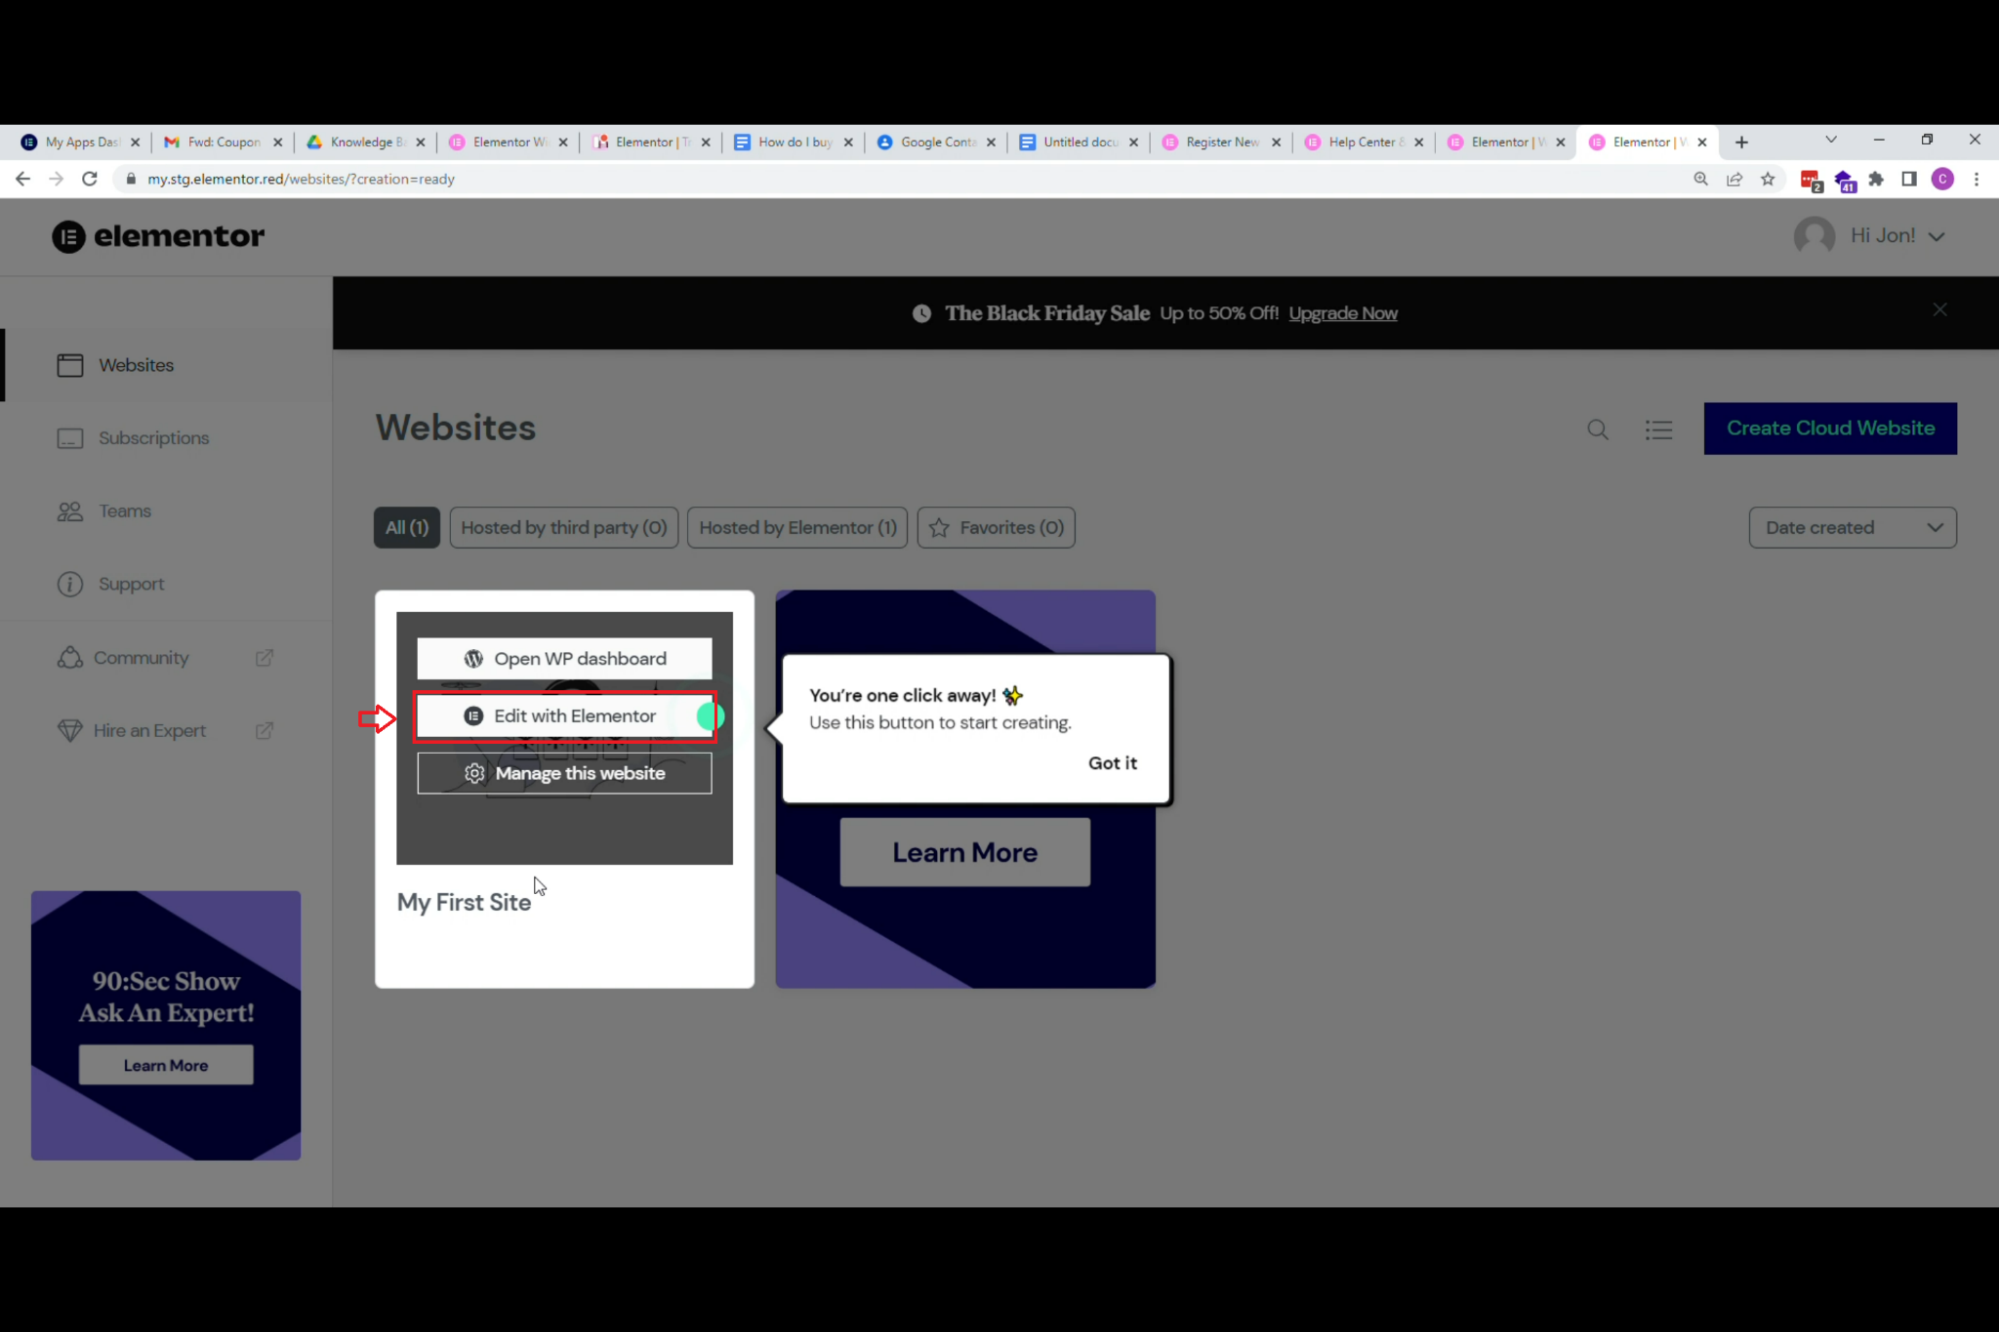
If you elected to start from scratch, you can either Open WP dashboard to go to the WordPress dashboard, or click Edit with Elementor to start working on a page.
The bottom line
The Elementor Hosted Website helps you create websites in real-time. You can view your website as you build it without having any prior coding skills. Just drag and drop features onto your canvas and let your creativity flow.
You can also adjust your website’s layout and style for every screen type by customizing breakpoints for tablets, desktop computers, mobile devices, and more.
Head over to the Academy to learn more about Elementor’s powerful site building tools.

