
We’ve all been there: you install a consent banner, style it to match your brand, and figure the job’s done. But how do you actually know it’s working? In 2026, privacy rules are stricter than ever, and a banner that looks right but still lets trackers fire before someone clicks “Accept” can land you in real trouble. Testing it doesn’t have to be a headache, though. Let’s walk through it together.
Key Takeaways
- Testing your cookie banner keeps you compliant with evolving GDPR, CCPA, and Google Consent Mode v2 standards.
- Manual browser inspection reliably confirms tracking scripts stay blocked until consent is given.
- Geotargeting tests confirm visitors see the correct legal banner for their location.
- Automated scans and consent logs give you an audit trail to prove compliance to regulators.
- Native WordPress tools simplify setup, scanning, and testing directly from your dashboard.
The Foundations of Cookie Banner Verification
Before you dive in, it helps to know what you’re checking for. A compliant banner doesn’t just show a message; it controls when scripts run. No non-essential cookies should be placed on a visitor’s device before consent. That’s the core idea behind prior consent under the GDPR, and what these ten methods verify.
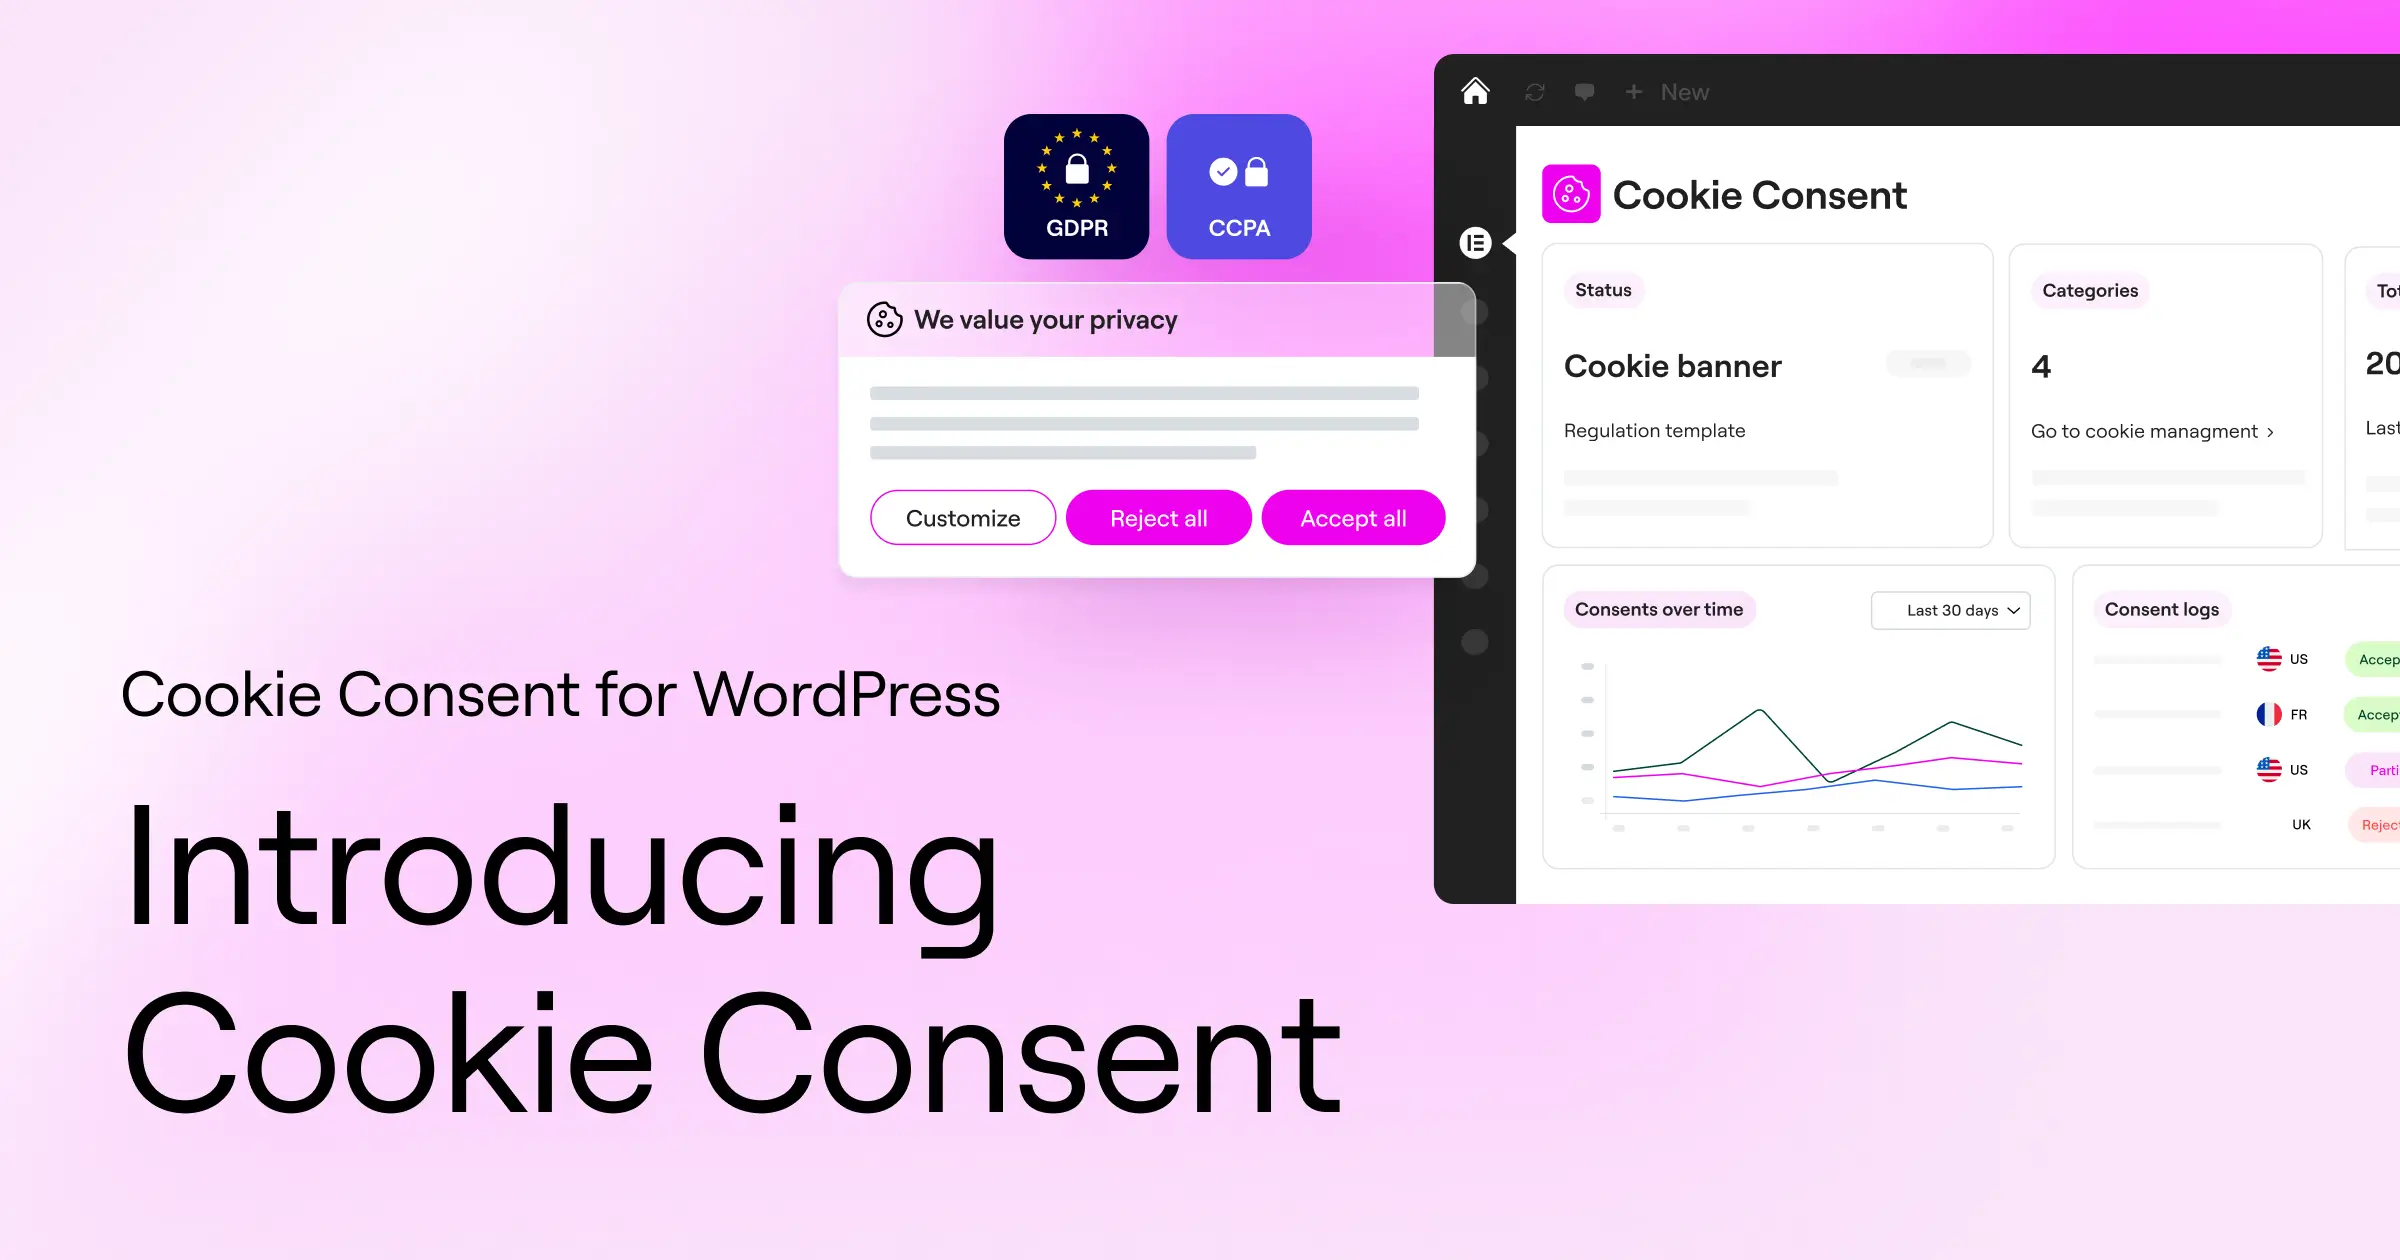
Plenty of site owners assume a visible banner means it’s doing its job. In reality, scripts like Google Analytics and Facebook Pixel often run in the background regardless of what a visitor clicks. The built-in Cookie Consent capability in Elementor manages compliance, scans cookies, and controls scripts from your dashboard.
As you work through these methods, you’ll see exactly how to confirm your setup is doing its job.
“A visible consent banner is only half the battle. True compliance requires verified script blocking. If your tracking codes fire before a visitor explicitly clicks ‘Accept,’ your banner is merely decorative.”
– Itamar Haim, Web Compliance Specialist
Method 1: Perform a Clean-Slate Browser Inspect Test
The most reliable manual method uses your browser’s developer tools. It shows exactly which cookies get set in real time, and it costs nothing. Use an incognito window so existing sessions don’t skew your results.
Here’s how to run a clean-slate inspection:
- Open a new incognito window in Chrome, Firefox, or Edge.
- Right-click anywhere and select Inspect to open Developer Tools.
- Select the Application tab (Chrome) or Storage tab (Firefox).
- Find the Cookies dropdown in the sidebar and select your domain.
- Refresh and watch the list. Before clicking anything on the banner, you should only see strictly necessary cookies, if any.
- Click Accept on your banner and watch marketing or analytics cookies like
_gaor_fbpappear.
If analytics or advertising cookies appear in step five before you click “Accept,” your tracking scripts aren’t wired up correctly. Check your Tag Manager settings so they hold back until consent is granted.
Method 2: Use Google Consent Mode v2 Diagnostics in Tag Assistant
If you use Google Ads, Analytics 4, or Tag Manager, verifying Consent Mode v2 matters. Google requires it to track conversions and build audiences for EU traffic, and if your banner sends the wrong states, your ad performance data will be incomplete.
You can verify this with Google Tag Assistant:
- Go to Google Tag Assistant and enter your site’s URL to start a debugging session.
- When your site opens in the debug window, click the Consent tab in the sidebar.
- Check the Consent State table. Default settings for
ad_storage,analytics_storage, andad_user_datashould read denied. - Go back to your live preview and click Accept on your banner.
- Return to Tag Assistant and confirm the states switched to granted.
This confirms your consent tool is talking to Google’s API correctly. If the default state shows “granted” before any user action, your banner isn’t enforcing the opt-in requirement.
Method 3: Run an Automated Cookie Scanner
Manual testing works page by page, but scanning your whole site is easier with automation. Automated tools crawl your site like a search engine, turning up hidden trackers in old blog posts or archive pages.
Running a scanner regularly is a smart habit. Good scanners help you:
- Catch forgotten third-party cookies from old widgets or embedded media.
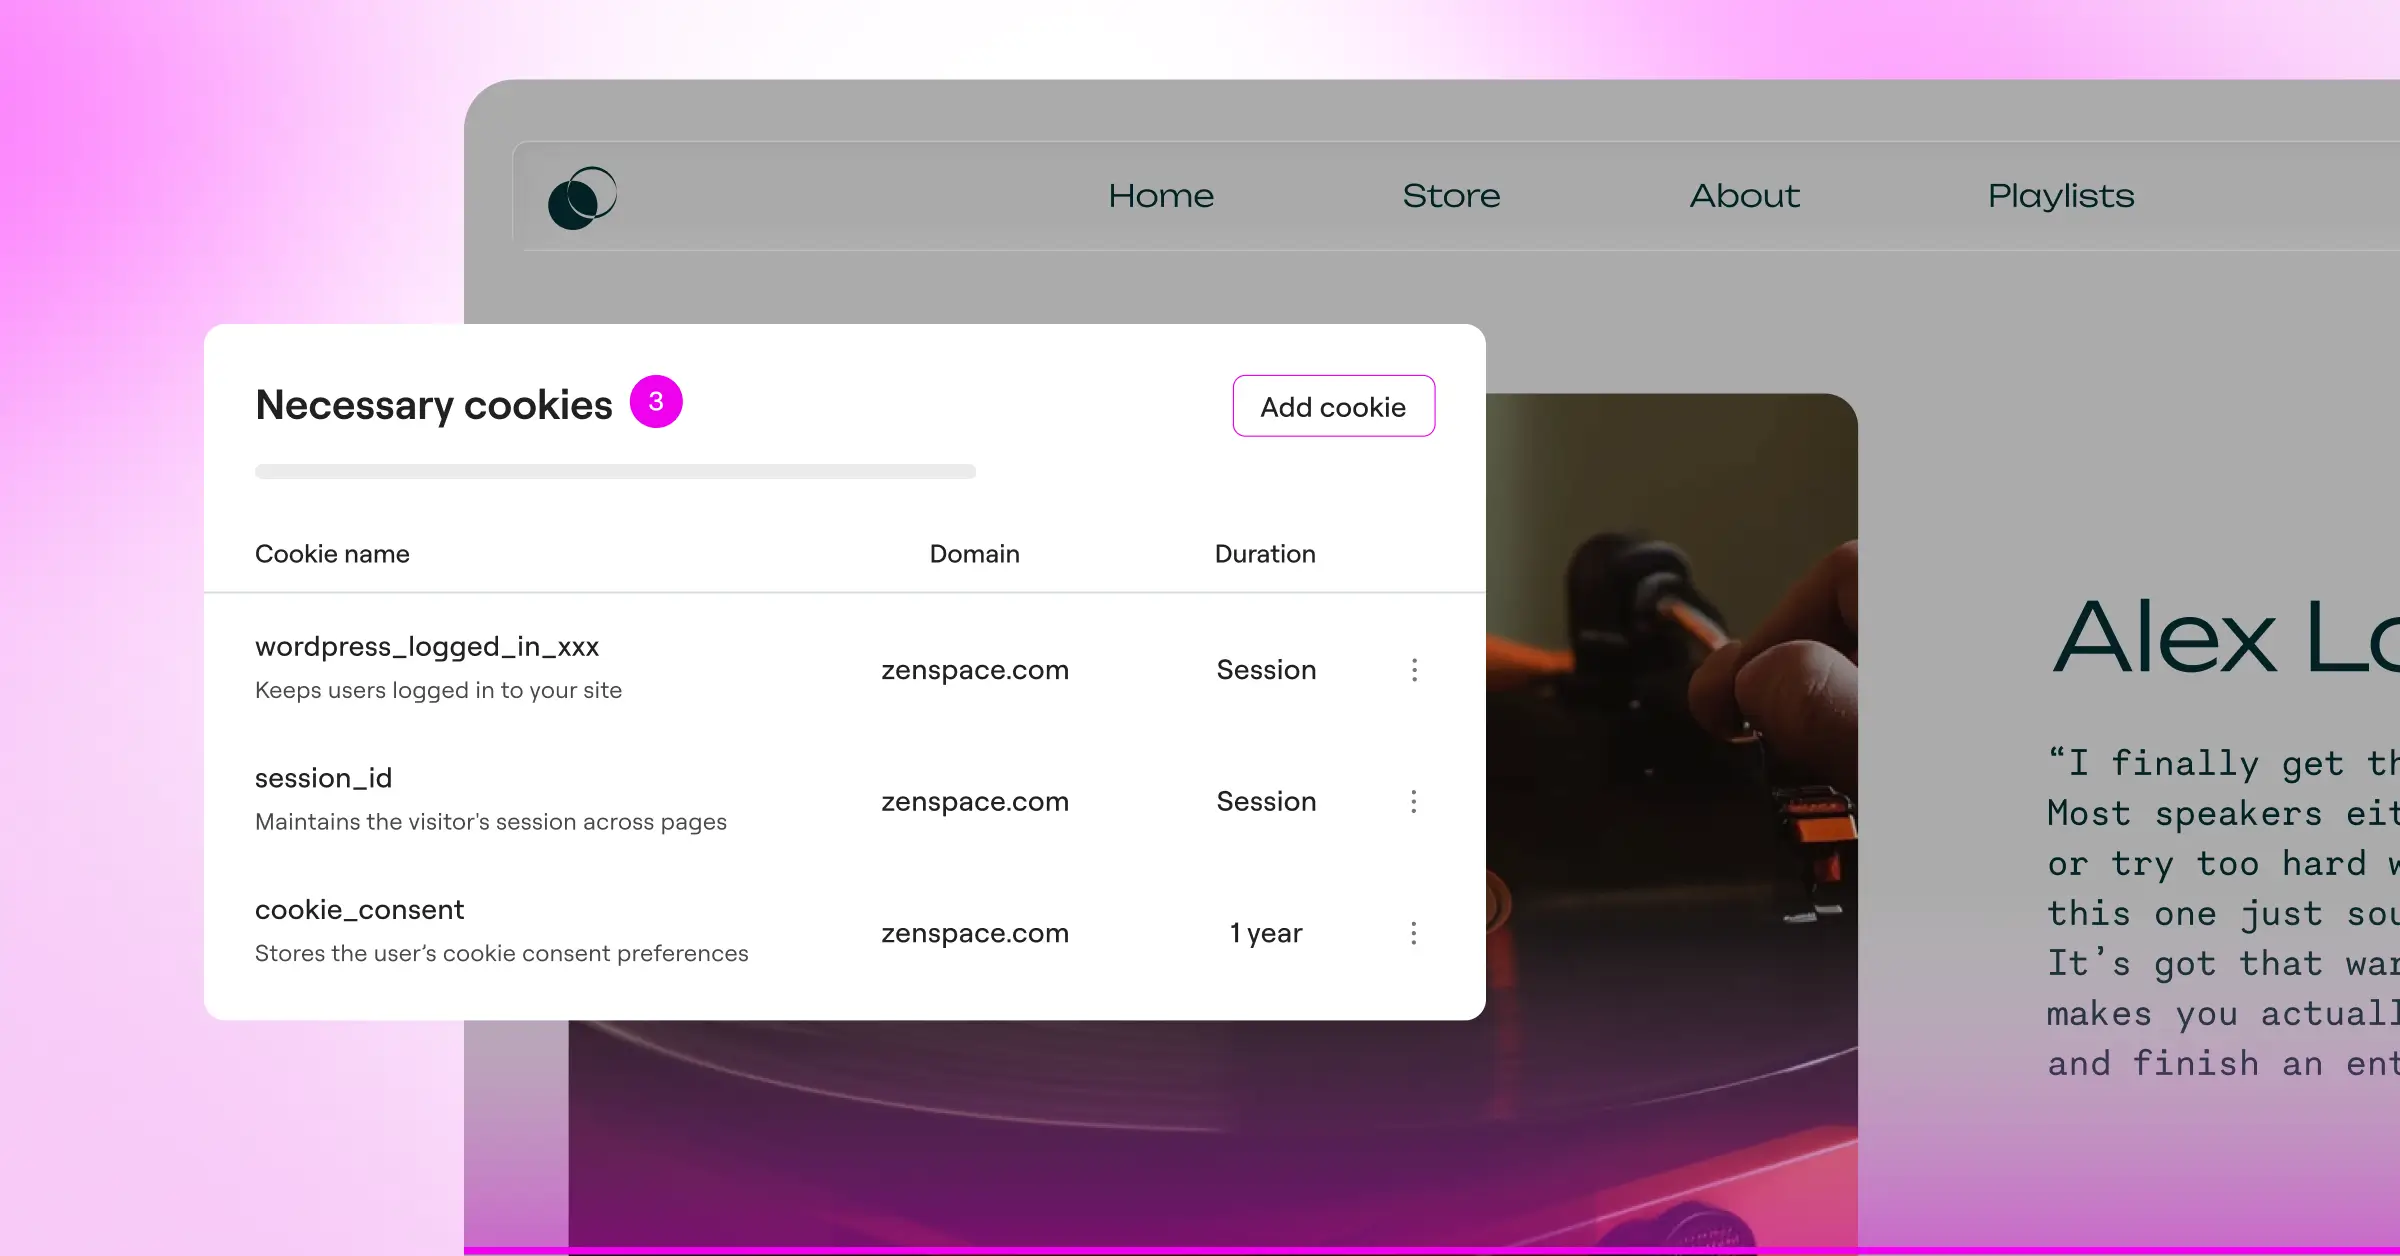
- Build a clear list of cookie categories for your privacy policy.
- Connect with script-blocking settings to flag newly added, unclassified trackers.
- Pull cookie metadata so you understand what each cookie does.
Cookiebot, CookieYes, and Complianz all offer external scanners that can analyze your site. Running a native scan from your WordPress dashboard keeps things simpler, since scanning and styling controls stay in one place, without extra subscriptions or logins.
Method 4: Test Geographic Targeting and Banner Behavior
Different regions require different consent models. The EU requires opt-in, where cookies stay blocked until the user consents. California and other US states use opt-out instead, where cookies run by default but visitors need an easy way to say “Do Not Sell My Info.”
To check whether your banner adapts, simulate visits from different locations. A VPN is your best friend here:
- Connect your VPN to a server in Germany or France and open your site in a private window. You should see a clear banner with explicit “Accept All” and “Reject All” choices.
- Switch your VPN to a California server and reload. You might see a subtler notice or a “Do Not Sell or Share My Personal Information” link instead.
- Switch to a country with no strict cookie laws and check whether your banner disappears entirely or shows a simple informational notice.
Testing these variations keeps you compliant without adding friction where banners aren’t required, respecting local privacy laws.
Method 5: Verify Consent State Persistence Across Pages
Imagine how annoying it’d be to click “Accept” on every single page. To prevent that, your consent tool needs to remember the choice as visitors browse, usually by storing a key in local storage or a first-party cookie.
Open Developer Tools and go to the Console or Application tab. Look under Local Storage or Cookies for a key tied to your banner, something like elementor_consent_status or cookie_consent_preferences.
Once you accept or decline, note the value under that key, then click through four or five pages, checking the storage panel each time. Confirm the key stays put, the value doesn’t change, and the banner doesn’t reappear. If it does, your consent cookie may expire too fast or be scoped to a single subdirectory instead of your whole domain.
Method 6: Audit Consent Logs and Storage
Under the GDPR, a banner alone isn’t enough. If a regulator audits your business, you need to prove visitors gave active consent before tracking scripts ran, which takes secure, structured logging.
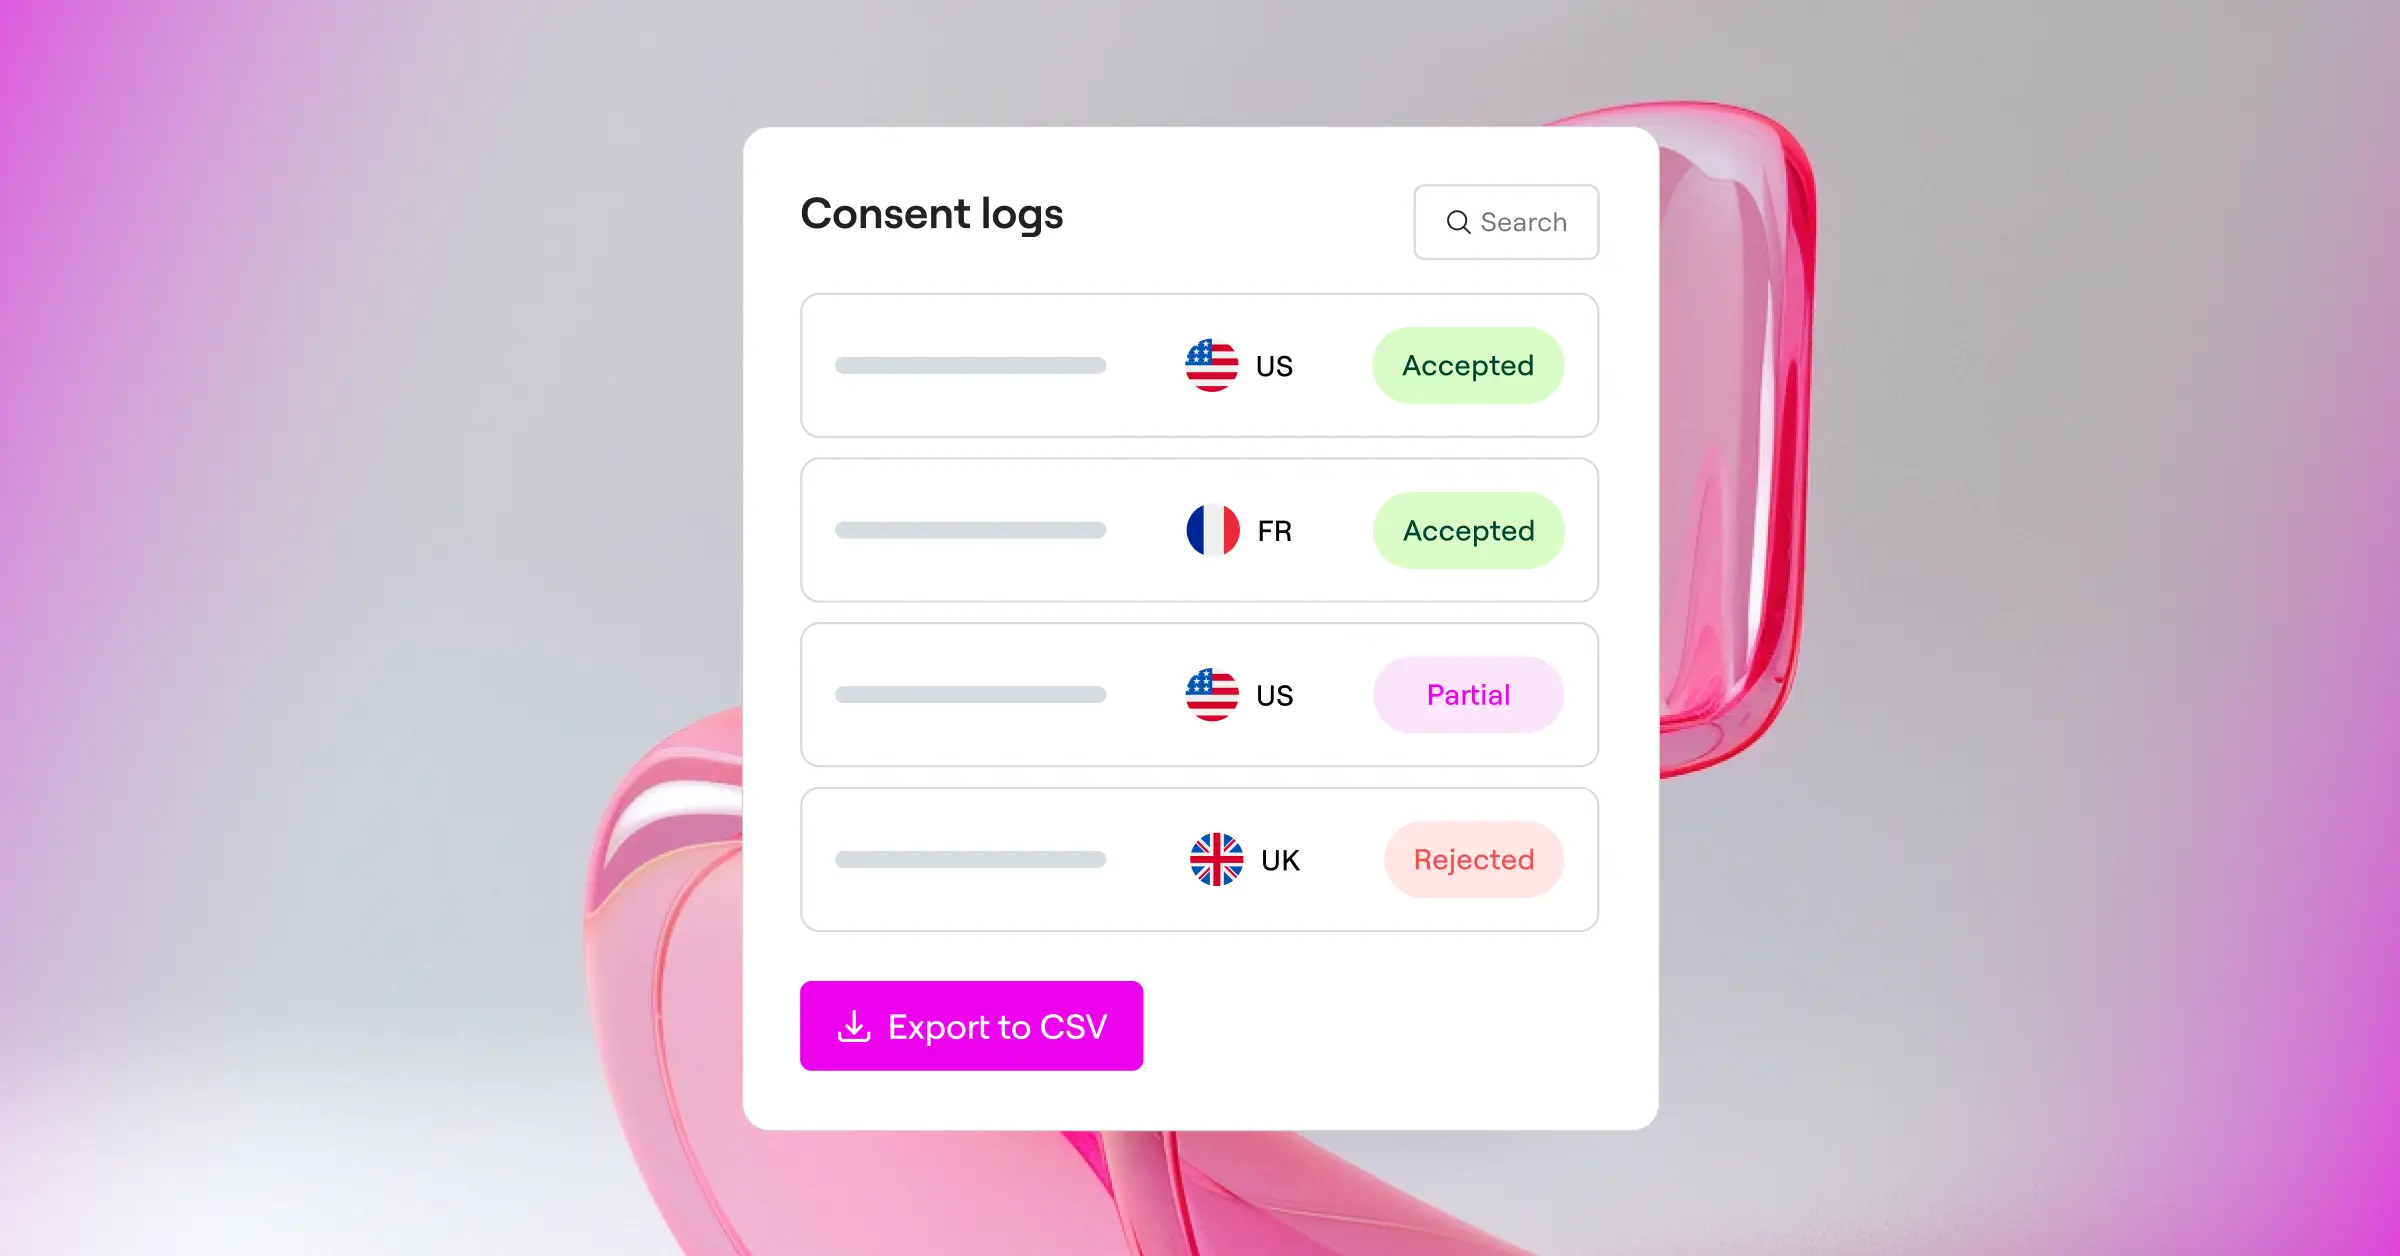
Check where your audit logs live. External platforms often store records on their own cloud servers, tricky to access if your subscription changes. A native WordPress feature keeps logs in your own database.
To confirm your logs are working, run through this checklist:
- Confirm an entry appears every time a user accepts or rejects cookies.
- Check that anonymized data, like a masked IP and timestamp, gets recorded.
- Verify the specific policy version links to each logged consent event.
- Test CSV or PDF export so you can hand data to auditors if needed.
Run a test opt-in, then check your dashboard logs. You should see a fresh entry matching your time and choice. If nothing shows up, a caching layer or security setting may be blocking log creation.
Method 7: Evaluate Mobile Responsiveness and Interaction
A huge chunk of your traffic comes from mobile. If your banner covers the whole screen, blocks navigation, or has tiny buttons that are hard to tap, you’ll frustrate visitors and risk accessibility issues too (testing this is simpler than it sounds).
Your actual phone works, but your browser’s responsive design mode is just as good. Open Developer Tools, click the device toggle icon, and pick a profile like an iPhone 14 or Galaxy to preview your banner on a small screen.
Pay attention to touch target sizes: buttons to accept or reject should be easy to tap without hitting other links by accident, and text should stay legible without overlapping your main navigation or a sticky cart button. With Elementor’s responsive editing tools, you can tweak banner styles for specific breakpoints.
Method 8: Test “Reject All” and “Preferences” Functionality
Plenty of banners work fine on “Accept All” but fall apart on “Reject All” or custom choices, exactly where regulators look closely: rejecting tracking has to be just as easy as accepting it.
Test it with this path:
- Clear your browser cache and cookies to reset the banner state.
- Reload your page and open Developer Tools to the cookie storage section.
- Click Preferences or Settings on your banner to open the detailed modal.
- Toggle “Analytical Cookies” to On but leave “Marketing Cookies” turned Off.
- Save, then check your cookies list: Analytics cookies should appear, but Facebook or Google Ads cookies should stay absent.
- Repeat with Reject All: confirm no tracking scripts run and no third-party cookies get set.
If “Reject All” still drops advertising cookies, your integration isn’t configured properly. This is one of the most common compliance gaps, worth the extra five minutes to test.
Method 9: Verify Global Privacy Control (GPC) Compliance
Global Privacy Control is a browser-level signal that lets visitors share their privacy preference automatically. If a visitor has GPC enabled, several jurisdictions legally require your site to treat that signal as a valid opt-out from tracking, no banner interaction required.
Testing GPC is easy: download a browser that supports it natively, like Brave, or add a GPC extension to Chrome or Firefox. Visit your site once enabled. A compliant banner should detect the signal, opt out of marketing and tracking cookies, and confirm the preference was respected.
If your banner still shows a standard opt-in prompt or ignores the signal, toggle on GPC support in your consent tool’s settings. Getting this right keeps you aligned with US state privacy rules as they keep evolving.
Method 10: Run a Script-Blocking Sandbox Audit
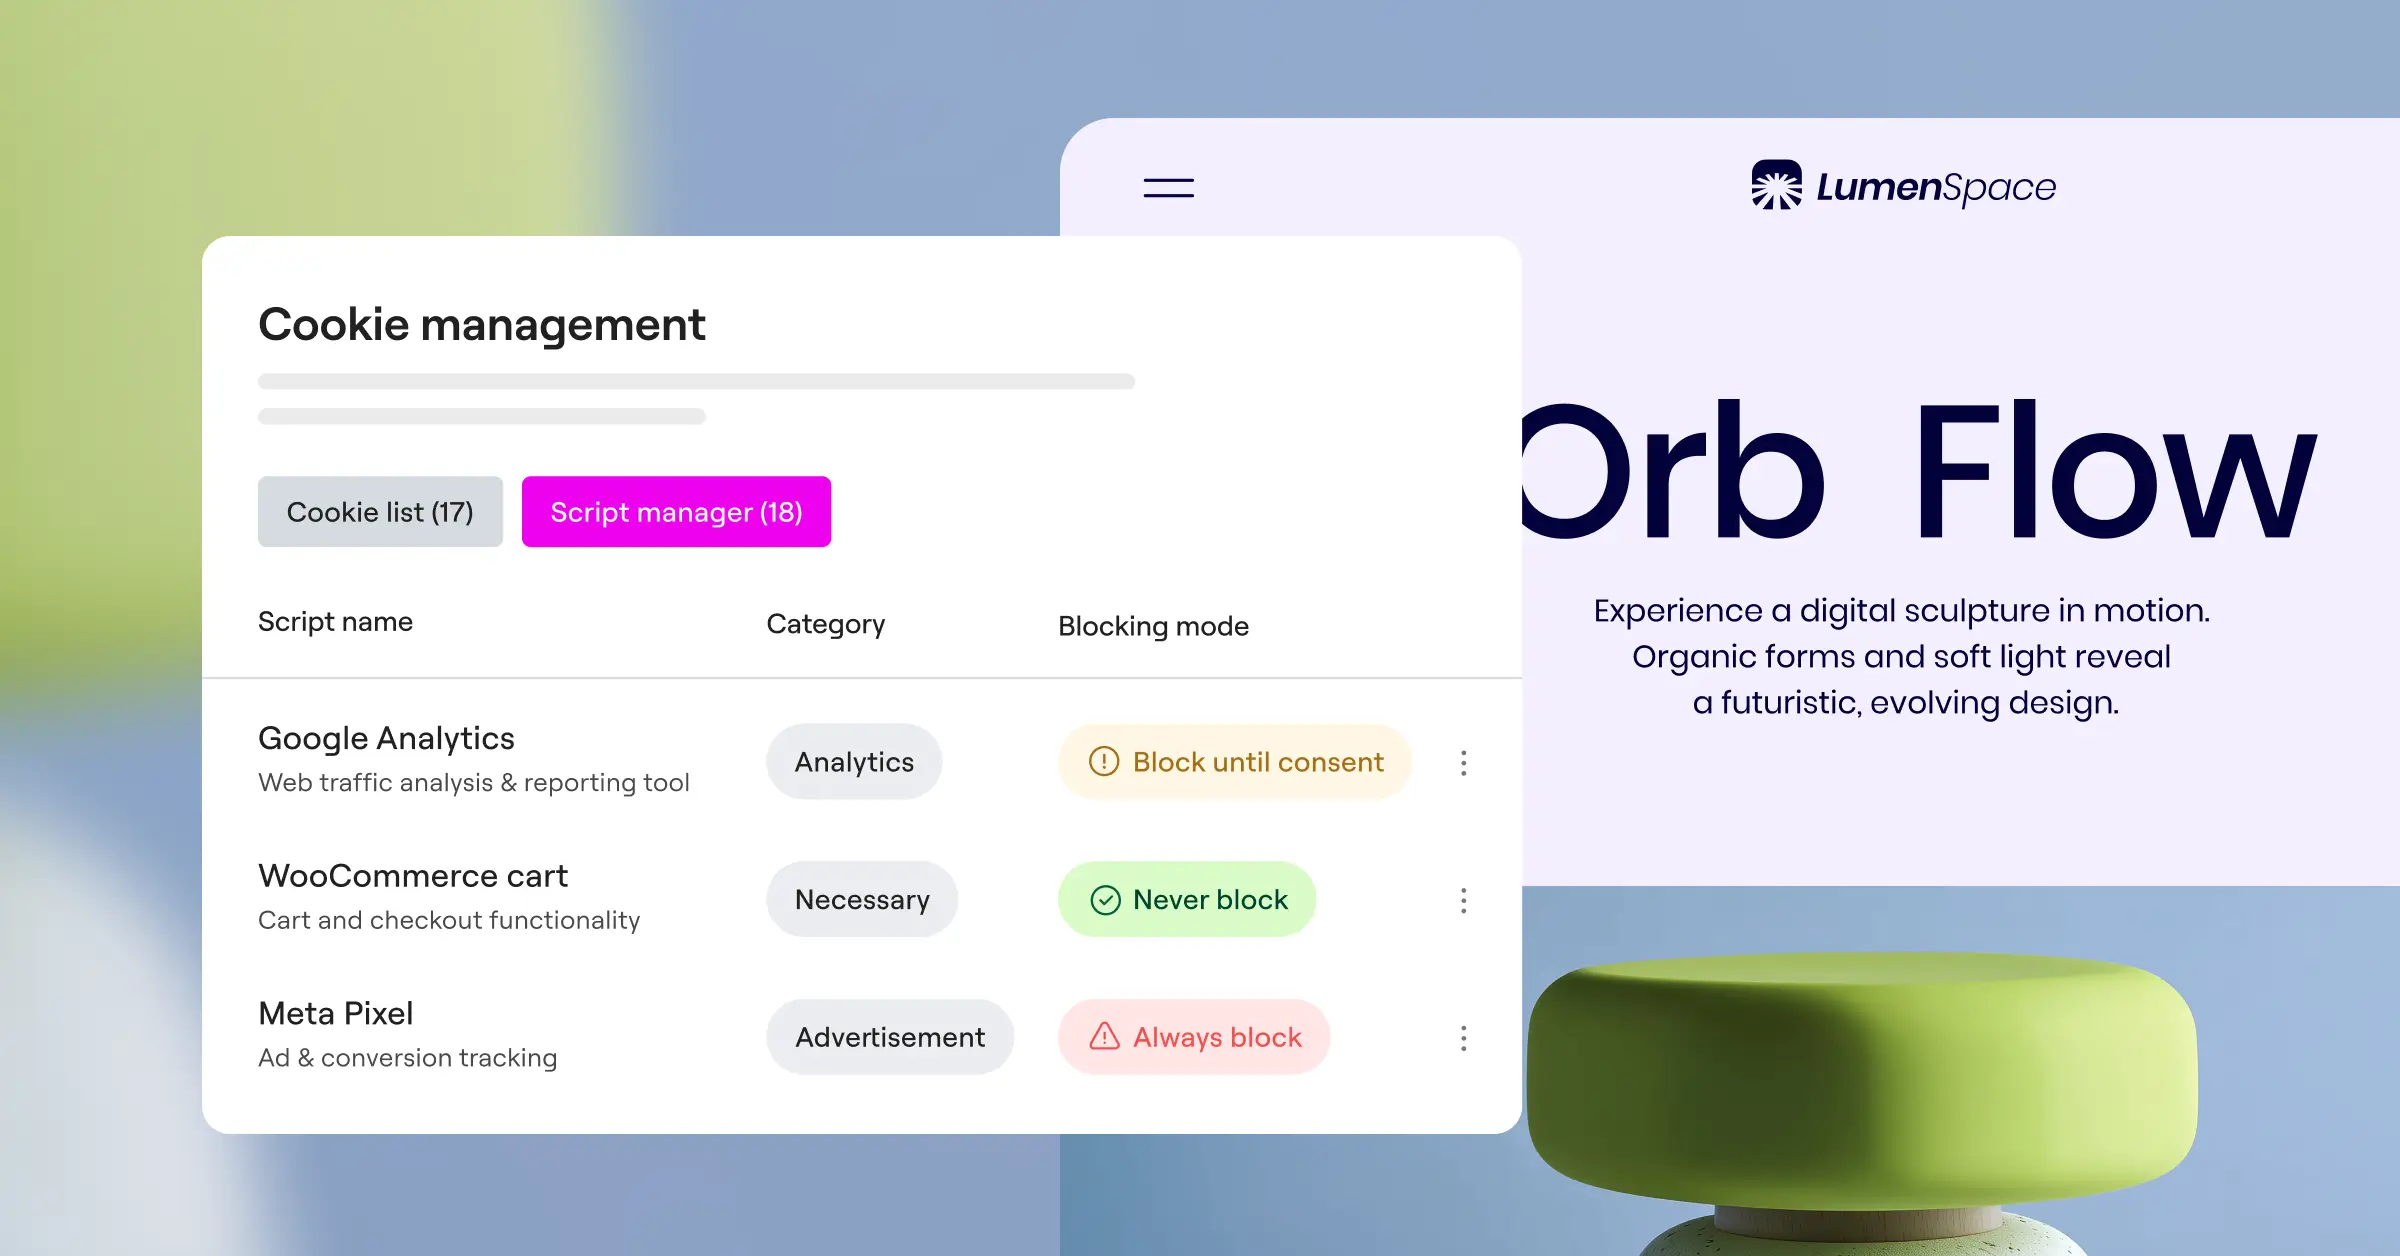
For a more rigorous test, try a script-blocking sandbox audit, checking whether your site loads scripts through hardcoded HTML tags, bypassing your consent tool entirely, often because tracking codes get pasted straight into a header template instead of a tag manager.
To run this test, use the Request Blocking tool in Chrome DevTools:
- Open DevTools by pressing F12 or right-clicking and selecting Inspect.
- Click the three dots in the top-right corner, then More Tools, Network Request Blocking.
- Check the box to enable request blocking.
- Add a pattern to block your consent tool’s script file, found in the Network tab as the page loads.
- Reload the page. With the consent tool blocked, check whether tracking scripts still fire.
If your analytics or ad pixels still loaded with the consent controller blocked, your scripts are loading too early and need to load only after the consent tool runs and verifies the choice. A native Cookie Consent capability integrated with WordPress avoids these conflicts cleanly.
Comparing Popular Cookie Consent Testing Tools
Here’s a factual comparison of how popular platforms stack up for testing and managing user consent on a WordPress site.
| Tool / Capability | Native Integration | Key Testing Strength | Consent Mode v2 Support | Cost Model |
|---|---|---|---|---|
| Cookie Consent (Elementor) | Yes (Built-in) | Dashboard-native script logs and visual editor checks | Yes (Native) | Included in Elementor One |
| Cookiebot | No (Requires integration) | Detailed automated monthly email reports | Yes | Entry-level plan and paid plans based on domain size |
| CookieYes | No (Requires integration) | Quick web-based external sandbox scans | Yes | Entry-level plan and scaling monthly tiers |
| Complianz | Yes (WordPress) | Wizard-based compliance check and statistics tracking | Yes | Free and premium plans available |
| Termly | No (Requires integration) | Consent records dashboard and policy generator | Yes | Free tier and paid plans by traffic volume |
A solution built directly into your WordPress dashboard saves you from copying script configurations between services, handy when managing multiple client sites or pulling records quickly.
Setting Up a Safe Testing Workflow on WordPress
Now that you know all ten methods, apply them without disrupting live visitors. Running cookie tests on a production site can skew your analytics or break tracking for active campaigns.
Instead, follow this safe workflow:
- Set up a staging site. Duplicate your live site with your host’s staging tool for a safe space to test script changes without risk to visitors.
- Pause active marketing pixels during testing. Use test measurement IDs on staging so you don’t send fake data to your live Analytics or Ads dashboards.
- Keep a changelog. Note where an early-firing script lives, whether your theme’s header, a script manager, or a widget, before making changes.
- Push to production during low-traffic hours. Once staging correctly blocks and allows cookies based on user choice, deploy live and rerun Methods 1 and 2 to confirm.
Keeping your testing structured makes for a calmer compliance process. You’ll know what’s running on your site, your data stays clean, and your visitors’ privacy is genuinely respected.
Frequently Asked Questions
Does Google Consent Mode v2 apply to my site if I’m outside the EU?
Yes, if your site gets any EU or UK traffic. Tracking those visitors via Google Analytics or Ads requires sending consent signals to Google for full measurement.
How do I check if my banner is blocking cookies on Safari?
Safari enforces cookies strictly through Intelligent Tracking Prevention. Open a Private window, right-click, select Inspect Element, then check the Storage tab.
Can I test my consent banner on a local site (localhost)?
Yes. Automated scanners can’t crawl a local setup since it isn’t public, so lean on browser inspect tools and Tag Assistant instead.
Why are some cookies still dropping after I click “Reject All”?
These are usually “strictly necessary” cookies, like ones storing consent choice or running a cart, and don’t need consent under GDPR. Marketing cookies still dropping means your scripts are likely hardcoded.
How often should I test my cookie consent banner?
Test after any major update: new plugins, tracking pixels, theme changes, or tag manager edits. A quick quarterly check also helps.
Will a cookie consent banner slow down my WordPress site?
Heavy third-party banners can add load time from external script and style calls. A native capability like Cookie Consent, built into Elementor, keeps things lightweight.
What happens if a visitor ignores my banner and keeps browsing?
Under strict GDPR rules, ignoring a banner isn’t consent. Tracking scripts must stay blocked until someone clicks “Accept.” Scrolling or clicking links shouldn’t trigger cookie placement.
How long should my cookie consent preferences be saved on a visitor’s browser?
Most privacy authorities recommend keeping preferences for no more than 12 months, then prompting the visitor again. Modern consent tools handle this automatically.

