Table of Contents
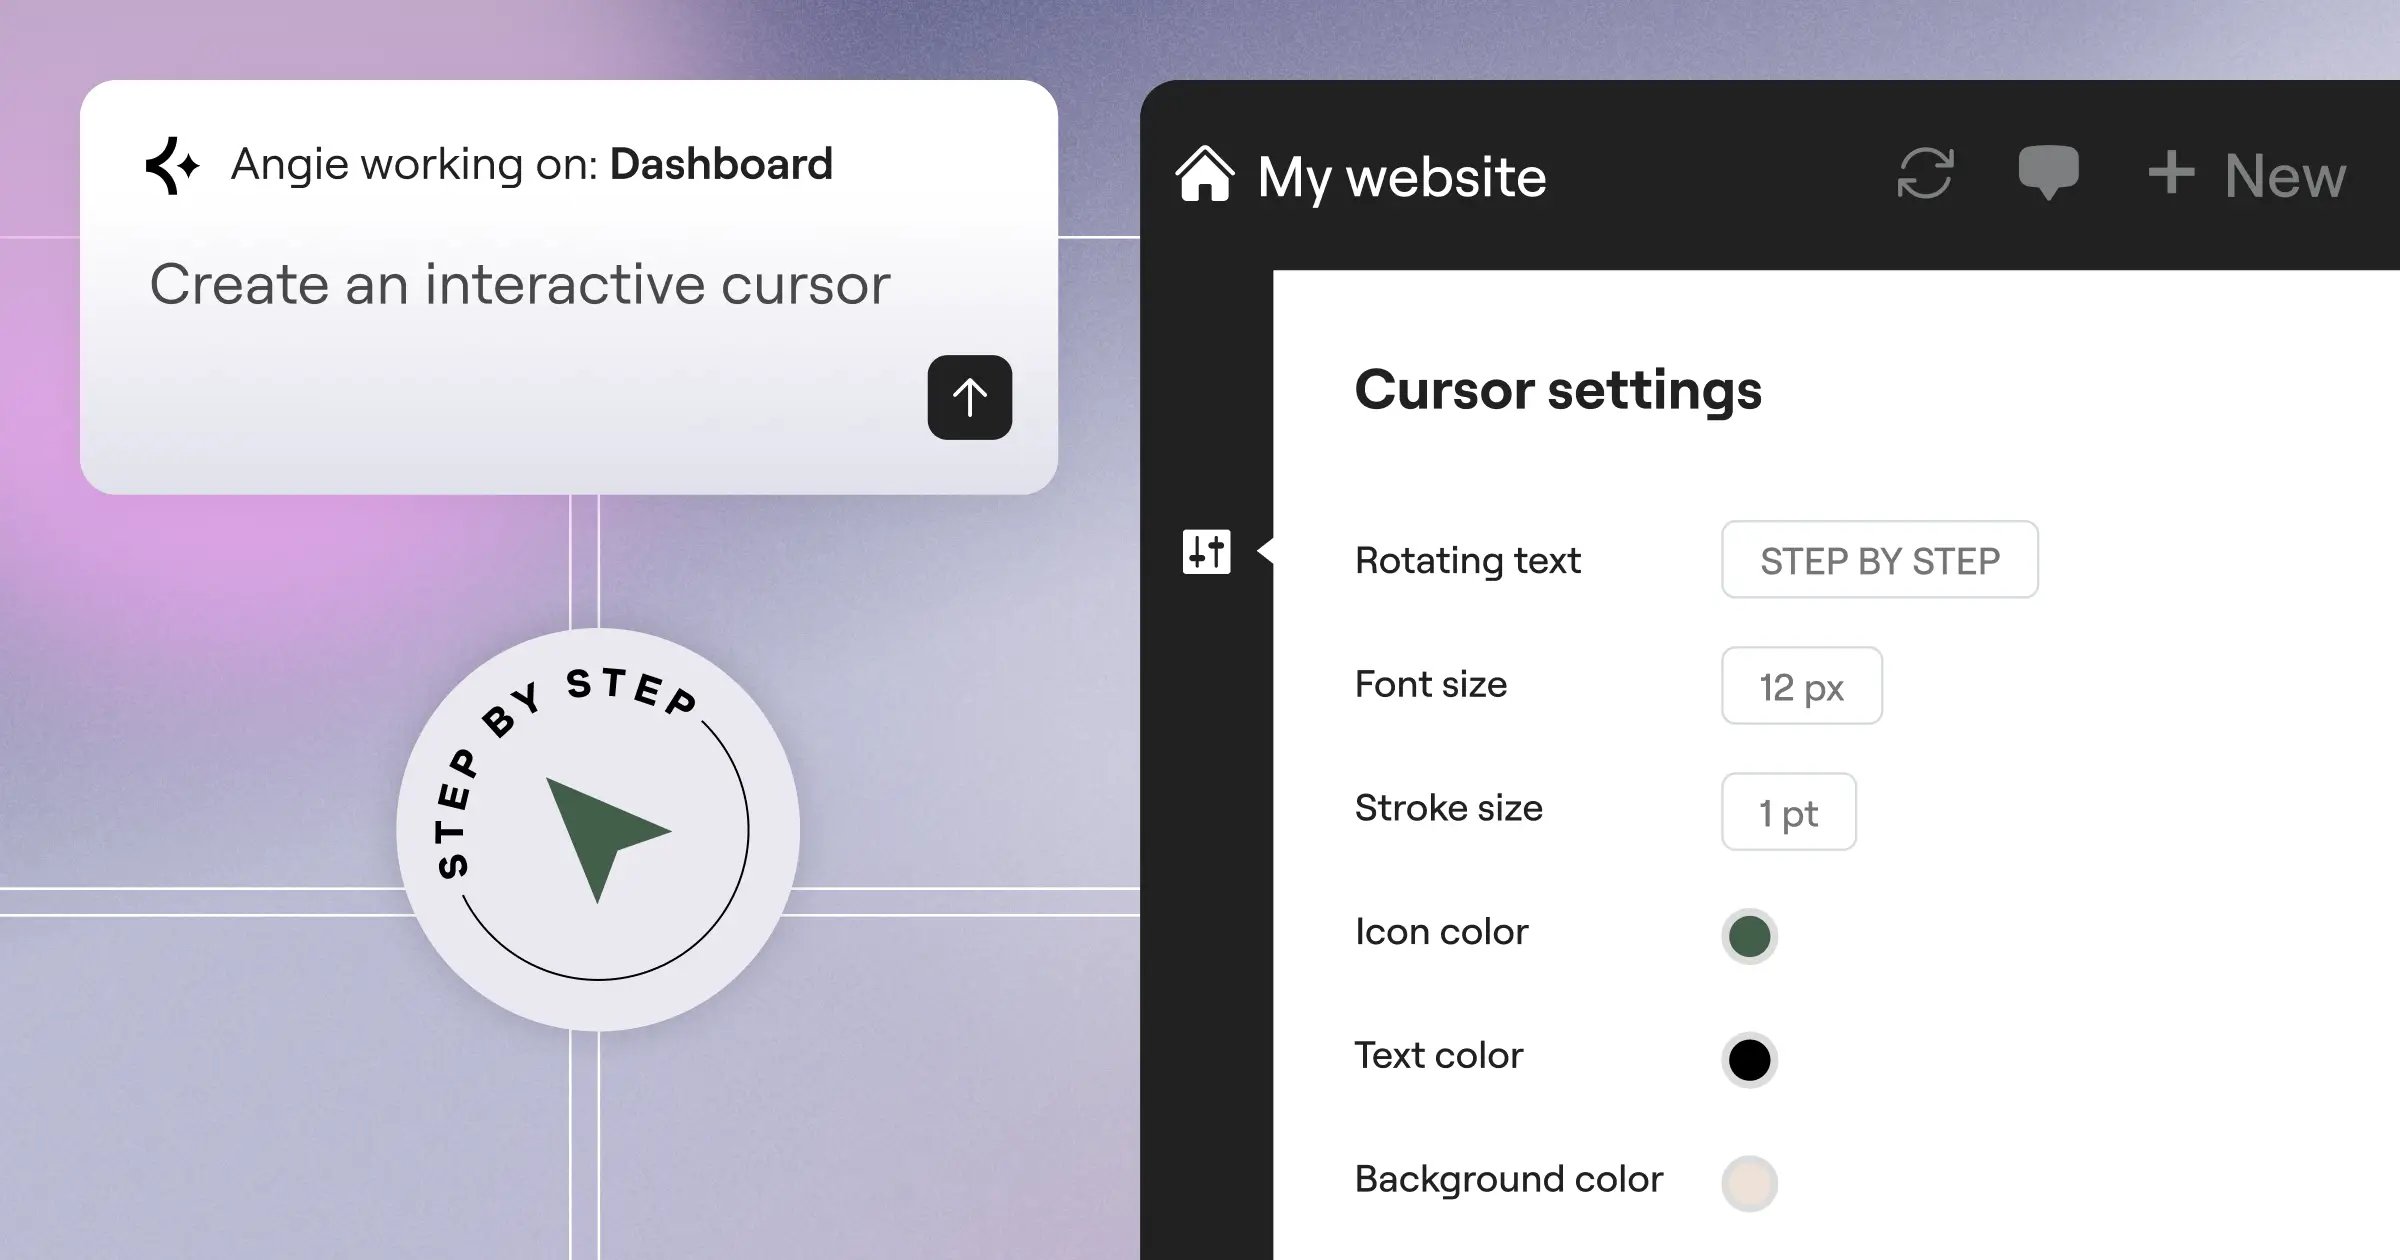
Look, moving from a closed ecosystem to an open-source platform isn’t just a basic technical shift. You’re trading training wheels for a high-performance engine. Wix served its purpose when you needed a quick online presence, but now you need total ownership of your data, advanced custom functionality, and scalable architecture.
Migrating a live site in 2026 demands absolute precision. You can’t just click a powerful export button, because proprietary website builders actively restrict how easily you can leave their platform. So, we’re going to manually extract your content, map your SEO structures, and rebuild your digital property on a foundation you actually control.
Key Takeaways
- Proprietary lock-in – Wix blocks direct database exports, adding an average of 4.2 hours to standard migration timelines.
- Content extraction – You’ll rely on RSS feeds for blog posts and manual copying for static pages.
- Image trapping – Media files remain hosted on Wix servers even after migration unless specifically scraped and downloaded.
- SEO retention – Failing to implement 1-to-1 URL redirects causes a 68% drop in organic traffic within two weeks of launch.
- Design rebuilding – You can’t transfer templates. You’ll build a cleaner, faster architecture from scratch using modern visual builders.
- Performance gains – Migrating to optimized WordPress hosting typically reduces Time to First Byte (TTFB) by 41%.
Phase 1: Prepare Your Migration Prerequisites
You don’t start tearing down a house before securing a new plot of land. Your first step is building a staging environment and auditing your current assets. Most business owners skip the inventory phase and immediately start copying text. Don’t do that. When you lose track of secondary pages during the move, you permanently destroy valuable search rankings.
Are you entirely sure how many pages actually exist on your domain? You’ll need to crawl your own site to find out. Use a free tool like Screaming Frog SEO Spider to generate a complete URL list. This spreadsheet becomes your master checklist.
You also need specific infrastructure ready on the WordPress side before any data moves. Here’s exactly what you must configure:
- A blank WordPress installation – Set up a temporary staging domain (like staging.yourdomain.com) so your live site remains untouched.
- PHP 8.3 or higher – Check your server settings. Outdated PHP versions cause massive timeout errors during large data imports.
- WP All Import plugin – You’ll need this to map your extracted XML data into standard WordPress post formats.
- Auto Upload Images plugin – This specific tool forces WordPress to download hotlinked images and save them locally.
- A primary redirection tool – Install Redirection or RankMath to handle the complex URL mapping later.
- Sitemap access – Locate your current XML sitemap (usually yourdomain.com/sitemap.xml) to verify your total page count against your crawl data.
Keep your Wix subscription active. If your current billing cycle ends next week, renew it for one more month. You need overlapping uptime to ensure DNS propagation happens without taking your business offline. (Trust me, trying to rush a migration to save $20 on a renewal fee usually costs thousands in lost sales).
Pro tip: Take full-page screenshots of your top 10 most trafficked pages. When you rebuild the layouts later, you’ll want a visual reference of the exact spacing and content hierarchy.
Phase 2: Secure Your WordPress Hosting Foundation
Why leave a restrictive platform just to put your growing business on slow, shared hosting? Wix handled server maintenance behind the scenes. Now, that responsibility falls on your infrastructure. If you choose a $3-per-month budget host, your new site will buckle under moderate traffic.
You need an environment built for speed and security. Google prioritizes Core Web Vitals, making server response times critical for organic visibility. Let’s look at the actual performance differences.
| Infrastructure Type | Average TTFB (Time to First Byte) | Scalability | Server Control |
|---|---|---|---|
| Standard Wix Plan | 350ms – 600ms | Locked by tier | Zero control |
| Budget Shared WordPress | 800ms+ | Poor | cPanel only |
| Managed Cloud Hosting | 109ms – 200ms | Auto-scaling | Full environment access |
You’ll want a managed solution that automatically handles caching, daily backups, and security rules. For example, modern WordPress Hosting built on Google Cloud C2 instances paired with a Cloudflare Enterprise CDN drastically reduces load times. This specific architecture consistently achieves a 99.9% uptime metric while keeping server-side caching out of your way.
Don’t install any caching plugins yet. Caching heavily interferes with data imports. You’ll enable performance features only after the entire migration finishes. Right now, you just need a stable, high-memory environment capable of processing thousands of database queries during the content transfer.
Phase 3: Extract Your Content from the Closed Ecosystem
Here’s the harsh reality: proprietary builders don’t want you to leave. They deliberately omit a universal “export to WordPress” button. You’ll have to pull your content out piece by piece using a few different technical workarounds.
Blog posts are the easiest part because of legacy syndication protocols. Static pages require brute force. eCommerce products demand spreadsheet manipulation. We’re going to tackle these in order of difficulty.
- Extract the blog feed – Add
/feed.xmlor/blog-feed.xmlto the end of your primary blog URL. This generates an RSS file containing your posts, publishing dates, and text content. Right-click the page and select “Save As” to download this file directly to your desktop. - Isolate eCommerce products – If you run a store, go to your Store Products dashboard. Select all active products and click the “Export” icon. Choose the CSV format. This file contains your pricing, SKUs, and descriptions, but you’ll have to manually format the column headers later to match WooCommerce requirements.
- Copy static pages manually – Your About, Contact, and Service pages can’t be exported via RSS. You’ll literally need to copy the text and paste it into a plain text editor (like Notepad or TextEdit) to strip out all the proprietary HTML and CSS wrappers.
- Scrape the metadata – Go back to your SEO settings for each major page. Copy your exact meta titles and descriptions into your master spreadsheet. You’ll need to re-enter these manually to maintain your current search presence.
What about your custom forms? You can’t export them. You’ll download your existing contact lists and lead data, but the form structures themselves must be rebuilt. Accept this early. It saves you hours of searching for impossible automated solutions.
Phase 4: Import Pages and Posts into WordPress
Now we push your extracted data into the open-source database. The default WordPress importer is notoriously clunky and often fails on files larger than 2MB. We’ll use a more reliable method to ensure your formatting survives the transition.
You’ll process your RSS file first. This populates your database with the bulk of your written content. It’s crucial to assign these posts to the correct authors immediately, rather than trying to fix attributions later.
- Install the RSS Importer – Go to your WordPress dashboard, navigate to Tools > Import, and run the standard RSS importer for basic blogs.
- Use WP All Import for complex data – If your blog has custom fields or specialized categories, bypass the default tool. Upload your XML file through WP All Import and visually drag your data fields into the correct WordPress post sections.
- Assign temporary categories – Put all imported posts into a “Migrated” category. This isolates the new data so you can bulk-edit permalinks without affecting default WordPress placeholder posts.
- Draft your manual pages – Create new pages for your static content. Paste the text you stripped earlier. Don’t worry about styling yet. Just get the raw text into the database and hit publish.
- Process the WooCommerce CSV – Install WooCommerce. Use their built-in product CSV importer. You must map your old “Price” column to the `_regular_price` field, and “Product Name” to `post_title`.
Verify the publishing dates on your blog posts. Sometimes, RSS feeds default to the current date during import. If your 2023 articles suddenly show a 2026 timestamp, you’ll confuse search engines and readers alike. Run a quick database query or use a bulk editing plugin to correct the timelines.
Phase 5: Rebuild Your Design and Architecture
Think of this phase like moving from a furnished apartment where you can’t paint the walls to building your own custom house from scratch. You can’t import your old theme. It doesn’t exist here. Instead, you’ll build a faster, more responsive version of your brand.
You need a lightweight foundation. heavy themes slow down your site and limit your creative control. Install a bare-bones framework like the Hello Theme. It weighs under 30KB and loads instantly, giving you a completely blank canvas.
Next, you’ll construct the visual elements. Using a professional visual builder like Elementor Editor Pro allows you to recreate your previous layouts while injecting modern functionality that wasn’t possible before. You’ll manage this through a highly structured approach:
- Establish global variables – Before designing a single page, set your exact brand colors and typography in the Global Settings. This ensures absolute consistency and allows you to update a hex code once to change it across 300 pages.
- Construct the Theme Builder templates – You’ll create dedicated templates for your header, footer, single blog posts, and archive pages using the Theme Builder. Apply display conditions so these elements automatically wrap around your imported content.
- Rebuild the homepage – Use your previous screenshots as a guide. Use structural containers (CSS Flexbox) to build responsive sections that actually stack correctly on mobile devices.
- Inject dynamic content – Connect your imported post data to your new templates. Map the post title widget to the database title, and the featured image widget to the media library.
Honestly, you’ll likely realize your old design had massive UX flaws once you start rebuilding it properly. Take this opportunity to improve your button contrast, increase tap targets for mobile users, and remove unnecessary scroll-jacking animations.
Phase 6: Transfer and Optimize Your Media Library
Here’s a massive trap that catches almost everyone during this process. When you import your blog posts, the images inside those posts still point to your old servers. They’re hotlinked. The moment you cancel your old subscription, every single image on your new website breaks, leaving thousands of empty grey boxes.
You must sever this connection and host the files locally. But downloading 400 images and manually uploading them into the media library takes days. We automate this.
First, activate the Auto Upload Images plugin we mentioned in Phase 1. Open your list of migrated blog posts, select all of them, and click “Update” via the bulk editing menu. The plugin will scan the content, detect external image URLs, download the physical files to your WordPress server, and rewrite the HTML `src` tags to point to your new domain.
Are you done with images? Absolutely not. Your imported files are likely massive, unoptimized JPEGs weighing 2MB each. You need to crush these file sizes to protect your Core Web Vitals.
Implement an Image Optimization to automatically convert those heavy legacy files into modern WebP or AVIF formats. This usually results in up to a 60% file size reduction without noticeable quality loss. Configure the settings to strip EXIF data and dynamically serve the scaled versions based on the user’s screen size.
Pro tip: Check your Media Library grid after running the bulk update. If you see broken thumbnails, your server likely hit a PHP memory limit during the extraction. Increase your `memory_limit` to 512M in your `wp-config.php` file and run the process again.
Phase 7: Reroute Your Domain and Manage SEO
Search engines index exact URL strings. Your old platform used a highly specific, often rigid URL structure. For example, your old blog posts probably lived at `yourdomain.com/post/article-name` or even contained weird hashbangs like `#!`. WordPress uses clean permalinks (just `yourdomain.com/article-name`).
If you launch without mapping these changes, every backlink pointing to your site will hit a 404 error. Your traffic will flatline.
- Configure standard permalinks – In WordPress, go to Settings > Permalinks and select “Post name”. This gives you the cleanest, most search-friendly structure.
- Map the old URLs – Open your master spreadsheet from Phase 1. In column A, list every old URL. In column B, paste the corresponding new WordPress URL.
- Implement 301 Redirects – Using your redirection plugin, bulk upload this spreadsheet. A 301 redirect explicitly tells Google, “This page permanently moved to this new location, please transfer all ranking power.”
- Handle category structures – If your old store used `/collections/` and WooCommerce uses `/product-category/`, write a Regex (Regular Expression) rule to catch and redirect all category variations dynamically.
Migrating without a meticulous 1-to-1 redirect map is digital suicide. You aren’t just moving files; you’re transferring years of built-up domain authority. A single broken high-traffic URL can cascade, destroying your overall site visibility for months while search engines attempt to re-evaluate your new architecture.
Itamar Haim, SEO Team Lead at Elementor. A digital strategist merging SEO, AEO/GEO, and web development.
Finally, update your internal links. The redirection plugin handles external traffic, but you don’t want your own buttons forcing users through a redirect hop. Run a search-and-replace tool across your database to swap all old hardcoded internal links with the new permalinks.
Phase 8: Final Testing and Launch Protocol
You’re almost at the finish line. But flipping the DNS switch without a rigorous quality assurance pass guarantees public embarrassment. You need to stress-test the new environment while it still lives on the staging URL.
I’ve seen development teams skip mobile testing because the desktop site looked perfect. They launched, and their mobile menu was entirely inaccessible, cutting off 70% of their conversions. Execute this final checklist:
- Form functionality – Submit every contact form. Check if the emails actually arrive in your inbox or if they bounce due to missing SMTP configurations.
- eCommerce transactions – Run a $1 test purchase through your payment gateway. Verify the confirmation emails trigger and the stock levels adjust correctly.
- Mobile responsive checks – Load the site on an actual phone, not just a resized desktop browser. Check the tap targets on your navigation and ensure no horizontal scrolling occurs.
- Hidden pages verification – Check your privacy policy, terms of service, and checkout pages. These administrative pages frequently get forgotten during the design rebuild.
- Speed analysis – Run your staging URL through Google PageSpeed Insights. If you’re scoring below 80 on mobile, find the render-blocking scripts and defer them before going live.
When you’re completely satisfied, it’s time to update your DNS records. Log into your domain registrar (like GoDaddy, Namecheap, or Google Domains). Locate your A Record. Change the old IP address to your new server’s IP address. If you’re using a CDN, update your Nameservers accordingly.
DNS propagation takes anywhere from 1 to 48 hours. During this window, some users will see the old site, and some will see the new one. Don’t publish new blog posts or change inventory during this overlapping period.
Once propagation finishes, log into Google Search Console. Submit your brand new XML sitemap and request indexing. Monitor your 404 error reports obsessively for the next 14 days to catch any rogue URLs you missed in your initial spreadsheet.
Frequently Asked Questions
Will I lose my current domain name during the move?
No, you completely own your domain name. If you registered it through your old platform, you’ll simply unlock it and transfer it to an independent registrar, or just point the existing DNS records to your new hosting server.
How long does a complete migration typically take?
For a standard 20-page business site, expect to spend 15 to 25 hours over a week. eCommerce sites with hundreds of products often require 40+ hours due to the complexity of importing customer data and rebuilding the checkout flow.
Does leaving a hosted builder negatively impact my SEO?
The platform change itself doesn’t hurt SEO. Open-source platforms actually offer superior technical SEO control. However, traffic drops happen when developers fail to implement proper 301 redirects or drastically change the internal linking structure during the rebuild.
Can I automatically migrate my premium theme?
You can’t. Proprietary templates are locked to their specific ecosystems and written in closed-source code. You must recreate the visual design using modern WordPress themes and visual editing tools.
What happens to my old website once I switch?
It remains active on their servers until you cancel your subscription. Once your domain points to the new server, the old site becomes invisible to the public. Cancel the old subscription only after confirming your new site functions perfectly.
Do I need to hire a developer for this process?
If you’re comfortable managing DNS records, using CSV files, and learning a new interface, you can manage it yourself. But if you run a complex membership site or rely heavily on custom user databases, hiring a migration specialist minimizes costly downtime.
How do I transfer my business email accounts?
Website hosting and email hosting should remain separate. If your email was bundled with your old plan (like Google Workspace), you’ll update your MX records in your domain registrar to ensure uninterrupted email delivery after the web traffic redirects.
Looking for fresh content?
By entering your email, you agree to receive Elementor emails, including marketing emails,
and agree to our Terms & Conditions and Privacy Policy.


