Table of Contents
Look, web design in 2026 isn’t what it used to be. You’re no longer just moving pixels around a blank canvas or writing boilerplate code from scratch. Today, you’re an orchestrator. And AI is your production team. By late 2024, the GitHub Octoverse Report showed 92% of developers already used AI daily. Now, we’re building full sites in a fraction of the time.
But simply pasting generic prompts into a chat window won’t cut it. You need a reliable system. If you want to know how to use AI for web design properly, you must move beyond basic generation. You’ve to integrate these tools into your actual workflow. Here’s exactly how to build faster, smarter, and better using modern artificial intelligence.
Key Takeaways
- Over 73% of web designers report cutting their initial wireframing time in half using AI.
- Agentic AI frameworks like Angie execute tasks directly inside WordPress.
- AI-optimized image compression and code formatting improve Largest Contentful Paint (LCP) by up to 35%.
- Websites applying AI-driven layout personalization see a 19% increase in conversion rates.
- Automated accessibility tools can identify and fix 80% of common WCAG 2.1 violations automatically.
- AI-generated meta-descriptions yield a 15% higher Click-Through Rate (CTR) from search engines.
Prerequisites: Setting Up Your AI Design Environment
Before you write a single prompt, you need the right tools. The global AI in web development market is massive right now. It’s projected to hit $14.27 billion by 2026. Because of this growth, the market is flooded with gimmicks. You’ve to filter out the noise. Your tech stack dictates your efficiency.
We aren’t bolting AI onto the side of our workflow. We’re putting it at the center. This means choosing platforms that speak directly to your Content Management System. If your AI doesn’t understand your site context, you’ll waste hours copying and pasting.
Here are the essential components you need to get started:
- A Modern Core Platform – You need a flexible foundation like WordPress. It powers a massive portion of the web and supports native AI integrations perfectly.
- Advanced Page Builder – Get Elementor Editor Pro. It contains built-in AI tools for text, code, and image generation right inside the editor.
- Agentic Framework – Install Angie by Elementor. This is a free WordPress plugin that acts as a true AI agent, not just a chatbot.
- External LLM Access – Keep a ChatGPT Plus subscription handy. At $20/month, it’s essential for heavy text generation and complex logic mapping outside your editor.
- High-End Image Generator – For specific artistic needs, Midjourney is the standard. Plans range from $10 to $120 per month depending on your usage volume.
- Performance Analytics – Connect Google Search Console and Lighthouse. You must measure the impact of your AI-generated code.
Pro tip: Don’t try to learn every tool at once. Start with your core builder’s native AI. Master prompt engineering inside the editor before you branch out to standalone applications. Context switching kills productivity.
Step 1: Architecting with Angie (Agentic AI for WordPress)
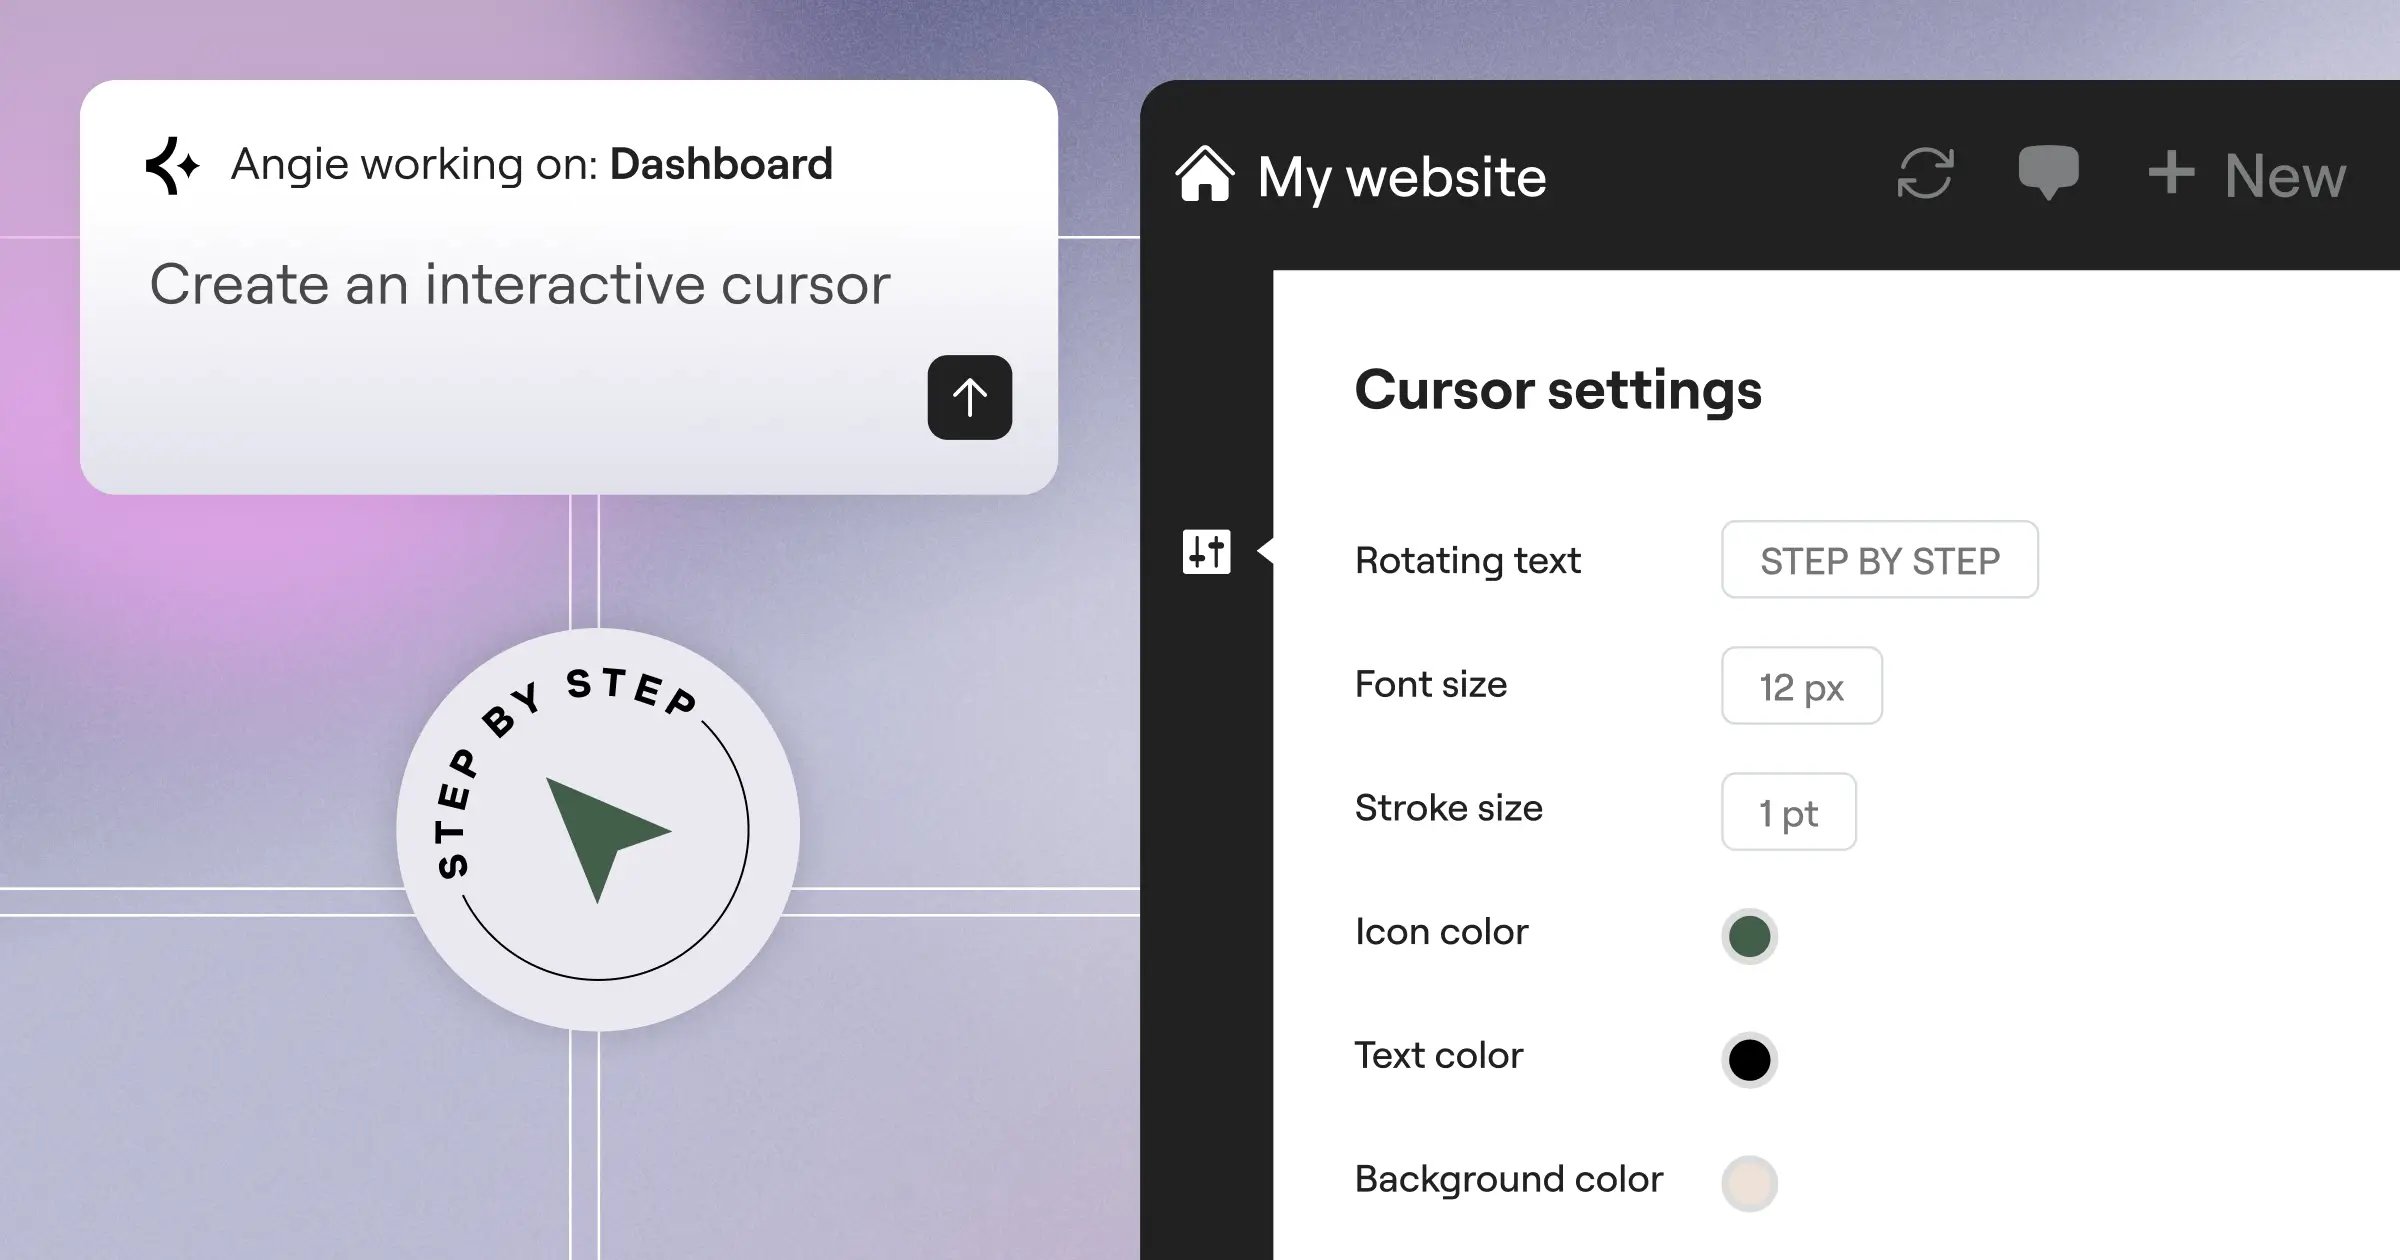
This is the part most tutorials skip entirely. They tell you to use a generic chatbot to write code, which you then manually paste into your site. That’s the old way. Today, we use Agentic AI. Angie by Elementor is an agentic AI framework built specifically for WordPress.
Agentic AI doesn’t just give you text. It takes action. Angie uses the Model Context Protocol (MCP) to automatically inherit your site’s exact context. It knows your theme. It knows your plugins. It knows your custom post types. You don’t have to explain your environment to it.
When you ask Angie to build something, it creates a safe experimentation sandbox. You can test features without breaking your live site. It gives you full creative control from idea to production in minutes. Here’s the exact process for using Angie to build custom site components:
- Define the Capability – Open the Angie prompt interface and describe exactly what you need. For example, ask for a custom Elementor widget that displays recent WooCommerce products in a specific masonry grid.
- Review the Plan – Angie won’t just blindly write code. It outlines a step-by-step execution plan. It tells you which files it’ll modify and what WordPress admin snippets it needs to create.
- Execute in Sandbox – Approve the plan. Angie builds the custom widget, registers the necessary PHP snippets, and applies the front-end styling inside an isolated environment.
- Test the Logic – Interact with the new widget. Verify that the dynamic data pulls correctly from your database.
- Push to Production – Once you’re satisfied, click the deploy button. The agent applies the changes to your live WordPress environment instantly.
Honestly, this changes everything. You aren’t hunting for specific plugins to add minor functionality anymore. You’re prompting custom solutions on demand.
Step 2: Planning Site Structure and User Flows
You can’t build a strong house without a blueprint. The same applies to websites. A major mistake beginners make is jumping straight into layout design. You must map the user flow first. According to HubSpot Research, websites applying AI-driven layout optimization see an average conversion increase of 19%. That starts with structure.
We use AI to process raw business data and output logical sitemaps. You feed an LLM your client’s business details, target audience, and primary goals. The AI analyzes this data against successful industry patterns. Then it gives you a precise architecture.
Let’s look at how to prompt for a highly effective sitemap. You need to be specific. Vague prompts yield vague websites. Give the AI strict parameters. Here’s a proven prompt structure you can adapt for your projects:
- Role Definition – “Act as a senior UX designer specializing in B2B SaaS websites.”
- Project Context – “I’m building a site for a cybersecurity startup targeting enterprise IT directors.”
- Specific Requirements – “Create a sitemap that guides users toward booking a demo. Include maximum 6 primary navigation items.”
- Output Format – “Format the output as a nested bulleted list, including a one-sentence goal for each page.”
- Conversion Focus – “Detail exactly where the primary and secondary calls to action should live on the home page.”
- SEO Inclusion – “Suggest three cornerstone content pages for the blog to target high-intent search terms.”
Once the AI outputs the structure, refine it. Don’t accept the first draft blindly. Ask the AI to identify potential friction points in the user flow. Ask it how to reduce the number of clicks between the landing page and the checkout. This is how you use AI as a strategic partner.
Step 3: Generating Layouts with Elementor AI Containers
Moving from a blank wireframe to a structured page used to take hours of manual padding and margin adjustments. Not anymore. Adobe’s recent experience trends report shows 64% of users find AI-generated layouts more intuitive for navigation. We use Elementor’s ‘Build with AI’ feature to generate structural Containers instantly.
This isn’t about slapping pre-made templates onto a page. It’s about generating custom, flexbox-based layouts through natural language. You open the Elementor AI interface directly on the canvas. Then, you describe the exact section you need.
The secret to great layout generation is semantic prompting. You’ve to speak the language of web design. Don’t just ask for “a cool hero section.” Ask for a specific arrangement of elements. The AI understands structural commands.
- Open the AI Generator – Click the AI icon inside an empty Container in your editor.
- Prompt the Structure – Type your request. “Generate a hero section with a two-column layout. Left column contains a large H1, a subheadline, and two side-by-side CTA buttons. Right column contains an image placeholder. Make the section height 80vh.”
- Generate Variations – If the first result isn’t perfect, use the Variations button. The AI will offer three alternative structural interpretations of your prompt.
- Apply and Refine – Insert the chosen Container onto the canvas. Now you’ve a structurally sound, responsive foundation. Tweak the specific padding values manually if needed.
This process eliminates the tedious setup phase. You spend your time refining the aesthetic details rather than wrestling with column widths. It’s a massive shift in how we approach page building.
Step 4: Creating and Editing Visual Assets
Visuals make or break a design. Sourcing high-quality photography usually means spending hundreds of dollars on stock sites or hiring a photographer. AI image generation solves this completely. But you’ve to know which tool to use for the job.
Sometimes you need hyper-realistic product shots. Other times you just need a stylized background texture. Different tools excel at different tasks. You also have to consider the cost and workflow friction. Sourcing images externally requires downloading, compressing, and uploading. Native tools handle this in place.
Here’s a breakdown of the top image generation approaches for web design in 2026:
| Tool / Approach | Primary Use Case | Cost | Workflow Friction |
|---|---|---|---|
| Midjourney V6 | Hyper-realistic, standalone hero images and complex artistic concepts. | $10 – $120 / month | High (Requires Discord/Web UI, external rendering, manual upload) |
| Elementor AI Image Generator | In-editor asset creation, generative fill, and background expansion. | Included in AI plans | Zero (Generates directly onto the canvas) |
| Traditional Stock Media | Generic corporate photography or highly specific editorial content. | $30+ per image | Medium (Requires searching, licensing, and importing) |
| Competitor (Framer AI) | Basic placeholder generation for rapid prototyping. | $5 – $40 / month | Low (But locked into their specific ecosystem) |
The real powerful happens when you use Generative Fill inside your editor. Let’s say you’ve a great photo of a team, but it’s a square. You need it to span a full-width hero banner. You simply select the image, choose the AI expand tool, and ask it to extend the background horizontally. The AI matches the lighting, the depth of field, and the environment perfectly.
Step 5: Crafting High-Conversion Copy and SEO Metadata
Design without compelling copy is just decoration. You need words that sell. AI is exceptionally good at writing conversion-focused copy if you train it right. A recent Search Engine Journal study confirmed that AI-generated meta-descriptions and structured data result in a 15% higher Click-Through Rate (CTR) from search results.
The problem is most AI copy sounds robotic. It uses words like “explore” or “collection” and puts people to sleep. You’ve to force the AI to write like a human. You do this by establishing a strict brand voice and providing negative constraints.
When you use the AI text generator inside your site builder, apply these specific rules to your prompts:
- Define the Tone – Instruct the AI to write in a punchy, conversational tone. Tell it to use active voice exclusively.
- Set Negative Constraints – Explicitly ban cliché marketing jargon. Add “Don’t use the words innovative, modern, or collaboration” to your prompts.
- Focus on Outcomes – Ask the AI to write benefits, not features. Prompt it with: “Explain how this feature saves the user 10 hours a week.”
- Format for Readability – Tell the AI to keep paragraphs under three sentences. Ask for bullet points when explaining multiple concepts.
- Generate Microcopy – Use AI to write highly specific button text. Instead of “Submit,” prompt it to write action-oriented CTAs based on the surrounding text.
Pro tip: Use AI for automated localization. If you’re building a multilingual site, Elementor AI supports over 25 languages. You can highlight any text block and instantly translate it while preserving the exact layout constraints of your Containers.
Step 6: Writing Custom Code and CSS Effects
Even the best page builders sometimes require custom code for highly specific interactions. In the past, if you didn’t know JavaScript or advanced CSS, you were stuck. Today, 46% of new code in web applications is generated or suggested by AI tools. Stack Overflow confirmed this in their latest developer survey.
You don’t need a computer science degree to create advanced web animations anymore. You just need to know how to describe the interaction clearly. The AI writes the code, and you paste it into the custom code panel.
Let’s look at three common scenarios where AI code generation saves massive amounts of time:
- Complex Hover States – You want a product card to lift off the page, cast a soft shadow, and reveal a hidden “Add to Cart” button when hovered. Describe this exact sequence to the AI. It’ll generate the precise CSS transition code.
- Scroll-Triggered Animations – You need a specific element to fade in and rotate slightly as it enters the viewport. The AI can write the Intersection Observer JavaScript and the accompanying CSS keyframes in seconds.
- Third-Party API Connections – You need to pull data from a custom CRM and display it on the front end. Angie by Elementor can write the necessary PHP functions and secure the API calls without exposing your credentials.
Always review the generated code. AI isn’t perfect. Sometimes it includes redundant selectors. But tweaking a 90% complete snippet is much faster than writing from scratch.
Step 7: Optimizing Performance and Accessibility
A beautiful site is useless if it takes ten seconds to load or fails basic legal compliance. You must optimize. Google’s Web Vitals case studies show that AI-optimized image compression and automated code cleaning improve LCP scores by up to 35%. You simply can’t achieve those numbers manually without wasting days of development time.
Accessibility is equally critical. AccessiBe’s industry report notes that AI-powered tools automatically identify and fix 80% of common WCAG 2.1 violations. These include missing alt text, low contrast ratios, and improper ARIA labels. You’re legally liable for these issues, so automate the fixes.
Here’s your exact AI optimization checklist before launching any project:
- Automate Image Compression – Run all media through an AI image optimizer. It converts heavy PNGs and JPEGs into modern WebP or AVIF formats automatically based on browser support.
- Generate Missing Alt Text – Use your built-in AI assistant to scan the media library. Instruct it to analyze the images and write descriptive, keyword-rich alt text for every single file.
- Audit Color Contrast – Run an AI accessibility scan on your global color palette. Let it suggest slight hex code shifts to meet AAA compliance without ruining the brand aesthetic.
- Clean Unused CSS – Prompt your code assistant to review your custom stylesheets. Ask it to identify and remove redundant or conflicting CSS rules that slow down rendering.
- Optimize Breakpoints – Webflow data shows AI responsive design tools reduce manual breakpoint adjustments by 60%. Let the AI suggest font scaling and padding adjustments for tablet and mobile views.
This phase is mandatory. Don’t skip it. The algorithms penalize slow, inaccessible sites mercilessly in 2026.
The biggest mistake designers make today is treating AI purely as a content generator. Its real power lies in structural intelligence. When you use AI to optimize your site architecture, schema markup, and code delivery, you aren’t just building faster-you’re building technical foundations that search engines actively reward.
Itamar Haim, SEO Team Lead at Elementor. A digital strategist merging SEO, AEO/GEO, and web development.
Maintaining Brand Consistency Across AI Generations
Here’s the problem with heavy AI usage: the results can feel disjointed. If you generate an image on Monday and another on Friday, they might look like they belong to entirely different brands. You’ve to enforce consistency. This requires strict system rules.
You can’t rely on memory to keep your brand aligned. You must document your constraints and apply them to every single prompt you write. A fragmented brand identity destroys trust instantly. Users notice when the tone shifts abruptly from page to page or when illustration styles clash.
To lock down your brand consistency, follow these specific protocols:
- Establish Global Styles First – Before you generate any content, set your typography, colors, and button styles in your theme builder’s global settings. Your AI layout generations will automatically adopt these base rules.
- Save a Master Prompt Template – Create a text document containing your brand’s core identity. Include target audience, tone of voice, and visual aesthetic keywords. Paste this context into the AI before requesting specific tasks.
- Use Reference Images – When generating new visual assets, always upload a reference image. Instruct the AI to match the lighting, color grading, and composition of the reference file.
- Create a Custom GPT – If you use ChatGPT Plus, build a Custom GPT trained exclusively on your brand guidelines. Feed it your previous high-performing copy and approved design files.
Pro tip: Keep an “AI failures” folder. When the AI generates something totally off-brand, save it. Analyze why the prompt failed. Use those failures to write better negative constraints in your future templates.
Frequently Asked Questions
Why isn’t my AI-generated layout completely mobile-responsive?
Sometimes the AI defaults to absolute positioning if your prompt is too rigid. Always include terms like “flexbox,” “CSS grid,” or “fluid responsive” in your layout prompts. If it fails, check your container settings and ensure the wrap property is active.
How do I stop the AI from writing cliché marketing copy?
You’ve to use negative constraints. Tell the AI exactly what words to avoid. Explicitly ban words like “unlock,” “supercharge,” or “innovative.” Force it to write at a specific reading level and demand concrete data points instead of adjectives.
What happens if I run out of AI credits mid-project?
Most platforms, including Elementor AI, operate on a credit system based on computational load. Text is cheap, images are expensive. Monitor your usage. If you run out, you’ll need to upgrade your subscription tier or wait for the monthly cycle to reset.
Can AI completely replace my need for custom CSS?
No. AI writes excellent CSS, but you still need basic knowledge to know where to apply it and how to troubleshoot conflicts. It replaces the heavy typing, but it doesn’t replace the developer’s structural logic.
Is Angie by Elementor safe to use on a live client site?
Yes. Angie operates within a secure sandbox environment initially. It won’t push changes to the live production site until you review the proposed code and explicitly click the deploy button. You maintain total control.
How do I fix AI images that have weird hands or text?
AI still struggles with complex typography and fine details. Use the Generative Fill tool to highlight the messed-up area specifically and reprompt just that section. Alternatively, generate images without text and add the typography using your page builder.
Does AI-generated code slow down my website?
It can if you don’t audit it. AI sometimes writes heavy, repetitive code to solve a simple problem. Always prompt the AI to “write the most lightweight, optimized version” and test your page speed using Lighthouse after implementation.
Can I use AI to migrate a site from another platform?
AI can’t push a single powerful button to migrate everything perfectly. However, you can use it to map URL redirects, reformat exported CSV data, and rewrite outdated HTML structures into modern React or WordPress-friendly code blocks.
Are AI-generated images protected by copyright?
Currently, purely AI-generated images can’t be copyrighted in most jurisdictions because they lack human authorship. However, you can freely use them commercially. If you heavily edit the AI output manually, you may claim copyright on the final composition.
What’s the best way to learn AI prompt engineering for web design?
Stop reading generic lists of prompts and start building. Open a staging site, pick a complex layout from a site you admire, and try to recreate it entirely using natural language commands. Trial and error is the fastest teacher.
Looking for fresh content?
By entering your email, you agree to receive Elementor emails, including marketing emails,
and agree to our Terms & Conditions and Privacy Policy.


