Setting up analytics used to mean pasting a code snippet and calling it done. These days, privacy rules move fast, and if your WordPress site gets visitors from Europe or California, you’ve probably run into Google Analytics Consent Mode v2. It sounds technical, but it’s easier than it looks, and we’ll walk you through it.
Privacy compliance isn’t just about dodging regulators. It’s about building trust with your visitors without losing the analytics data you rely on. You’ve got this, and we’re right here with you.
Key Takeaways
- Consent Mode v2 is mandatory for using Google ad personalization and remarketing features in the European Economic Area.
- The setup introduces two new privacy parameters: ad_user_data and ad_personalization.
- Using a built-in WordPress capability like Cookie Consent simplifies your setup by managing everything directly inside your dashboard.
- You can choose between Basic and Advanced implementation models depending on your privacy risk appetite and tracking requirements.
- Always test your installation using Google Tag Assistant to make sure consent signals are transmitting correctly before going live.
What is Google Analytics Consent Mode v2?
Google Analytics Consent Mode v2 lets your website tell Google tags what visitors have agreed to. In the past, saying no to cookies meant your tags simply didn’t run, leaving big gaps in your data. Now your site tells Google what’s approved, so it adjusts tracking on the fly, keeping reports accurate and visitor choices respected.
Google rolled this out mainly to comply with strict EU digital market rules. If your site gets EEA visitors and you run Google Ads, setting it up isn’t optional, since without it you can’t build remarketing audiences or track conversions for personalized campaigns there. The system runs on four core consent signals, and this part trips people up, so here they are:
- analytics_storage: Controls whether Google Analytics can store cookies on the user’s device to track their visit.
- ad_storage: Controls whether Google Ads can store cookies for advertising purposes.
- ad_user_data: Controls whether user data can be sent to Google for advertising purposes (new in v2).
- ad_personalization: Controls whether user data can be used for personalized ads and remarketing (new in v2).
When visitors land on your site, they share their choices through a banner, and your site passes those states to Google. If they accept, tracking works as normal. If they decline, Google uses modeling to fill in the gaps without identifying anyone.
Basic vs. Advanced Consent Mode: Which is Right for You?
Before writing any code, decide which path fits you. Google offers two approaches, Basic and Advanced, each with its own tradeoffs, and neither is wrong, it comes down to balancing privacy risk against data recovery.
The Basic Consent Mode is the most privacy-conservative route: no tags load until a visitor clicks “Accept” on your banner, and nothing happens if they decline or ignore it. Compliance risk stays very low, but you’ll lose all data from visitors who decline cookies, leaving you guessing about them.
The Advanced Consent Mode is more nuanced. Tags load immediately but run in a restricted state, sending cookieless pings to Google first, things like time, browser type, and landing page, with no personal identifiers. Consent upgrades those tags to full tracking. A decline instead lets Google use those pings to estimate behavioral and conversion data in your reports, so you recover a good chunk of your analytics while staying compliant.
| Feature | Basic Consent Mode | Advanced Consent Mode |
|---|---|---|
| Tag Behavior Before Consent | Blocked entirely. No tags load. | Loaded in a restricted state. Cookieless pings sent. |
| Data Recovery via Modeling | No data modeling available in GA4. | GA4 uses machine learning to fill in data gaps. |
| Cookies Used | Only set after active consent. | No cookies set unless consent is granted. |
| Compliance Risk | Extremely low, widely accepted by all regulators. | Low, but some EU regions require clear disclosure. |
| Implementation Complexity | Simple configuration. | Requires careful tag firing rules. |
Prerequisites for Setting Up Consent Mode in 2026
Before the step-by-step setup, make sure you have everything ready. Setup on WordPress is straightforward, but a missing prerequisite can cause frustrating troubleshooting later. (Test on a staging site first if you can, it’s worth the extra five minutes.)
First, you need a working Google Analytics 4 (GA4) property, upgrading from old Universal Analytics if that’s what you’re still on, since it doesn’t support these modern privacy standards.
Second, you need a way to manage tags. We recommend Google Tag Manager (GTM), since it keeps triggers and consent states cleaner than hardcoding via gtag.js, which means manual updates whenever your privacy policy changes.
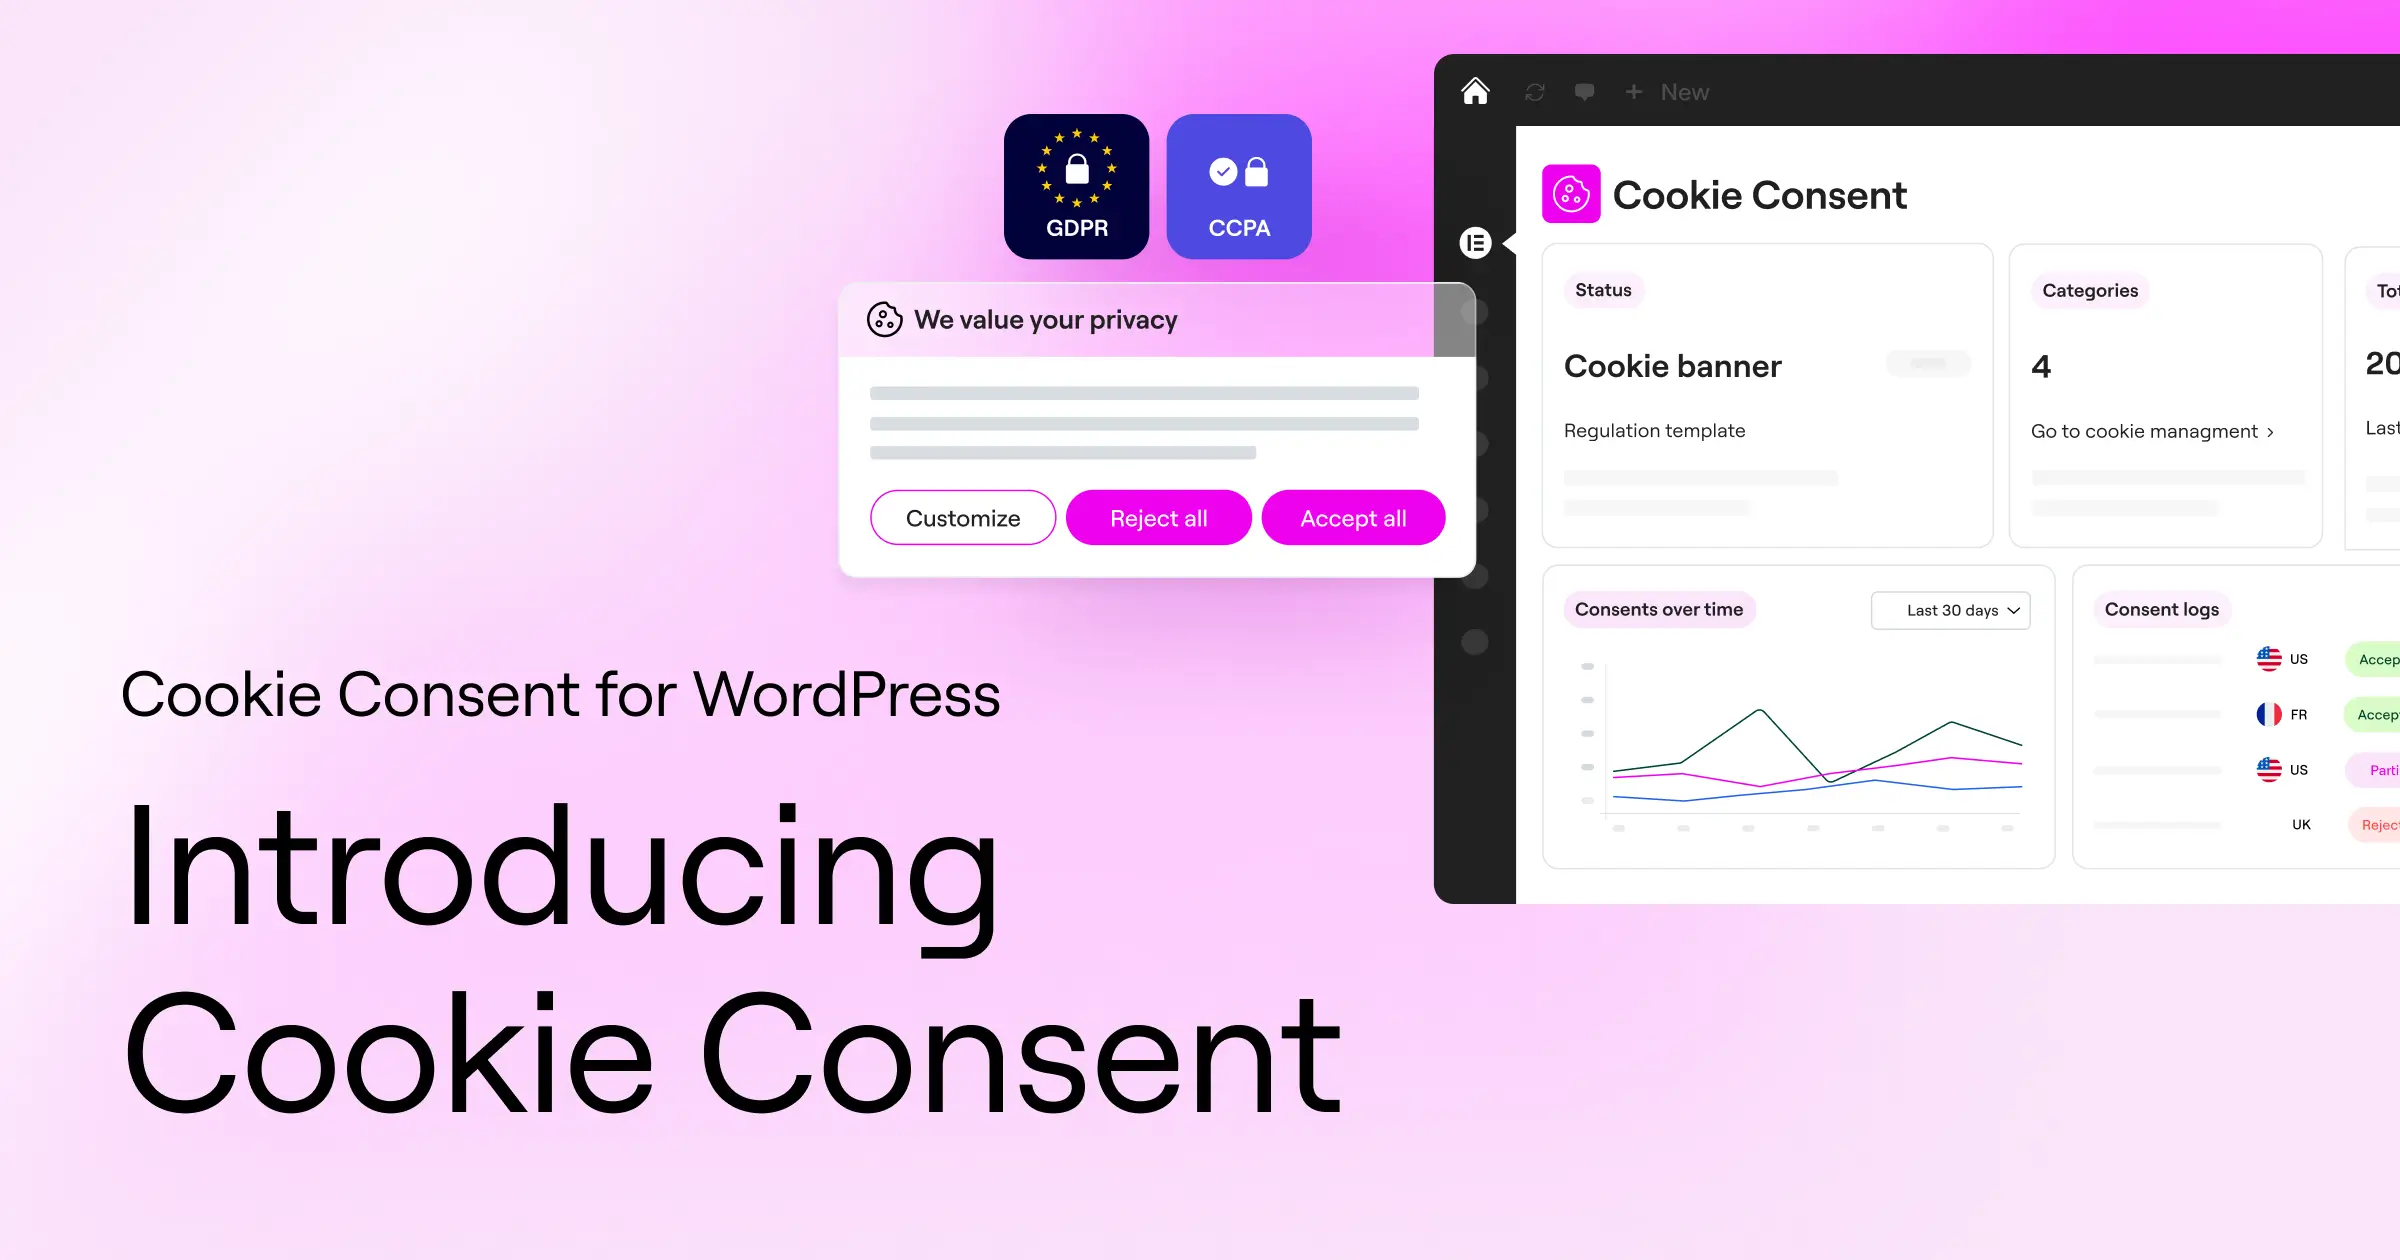
Third, you need a compliant cookie banner that can talk to Google. For WordPress users, Elementor offers a built-in tool called Cookie Consent, which handles compliance banners, cookie scanning, and consent management right from your dashboard, no external tools needed, and it supports Google Consent Mode v2 out of the box.
“Implementing consent mode correctly isn’t just about avoiding fines, it’s about building a foundation of digital trust with your visitors while keeping your business intelligence intact.”
– Itamar Haim, Web Compliance Specialist
Step 1: Selecting and Configuring Your Consent Management Tool
To get started, set up the banner your visitors will actually see, the bridge between them and Google’s servers. Let’s focus on the most straightforward path for WordPress users.

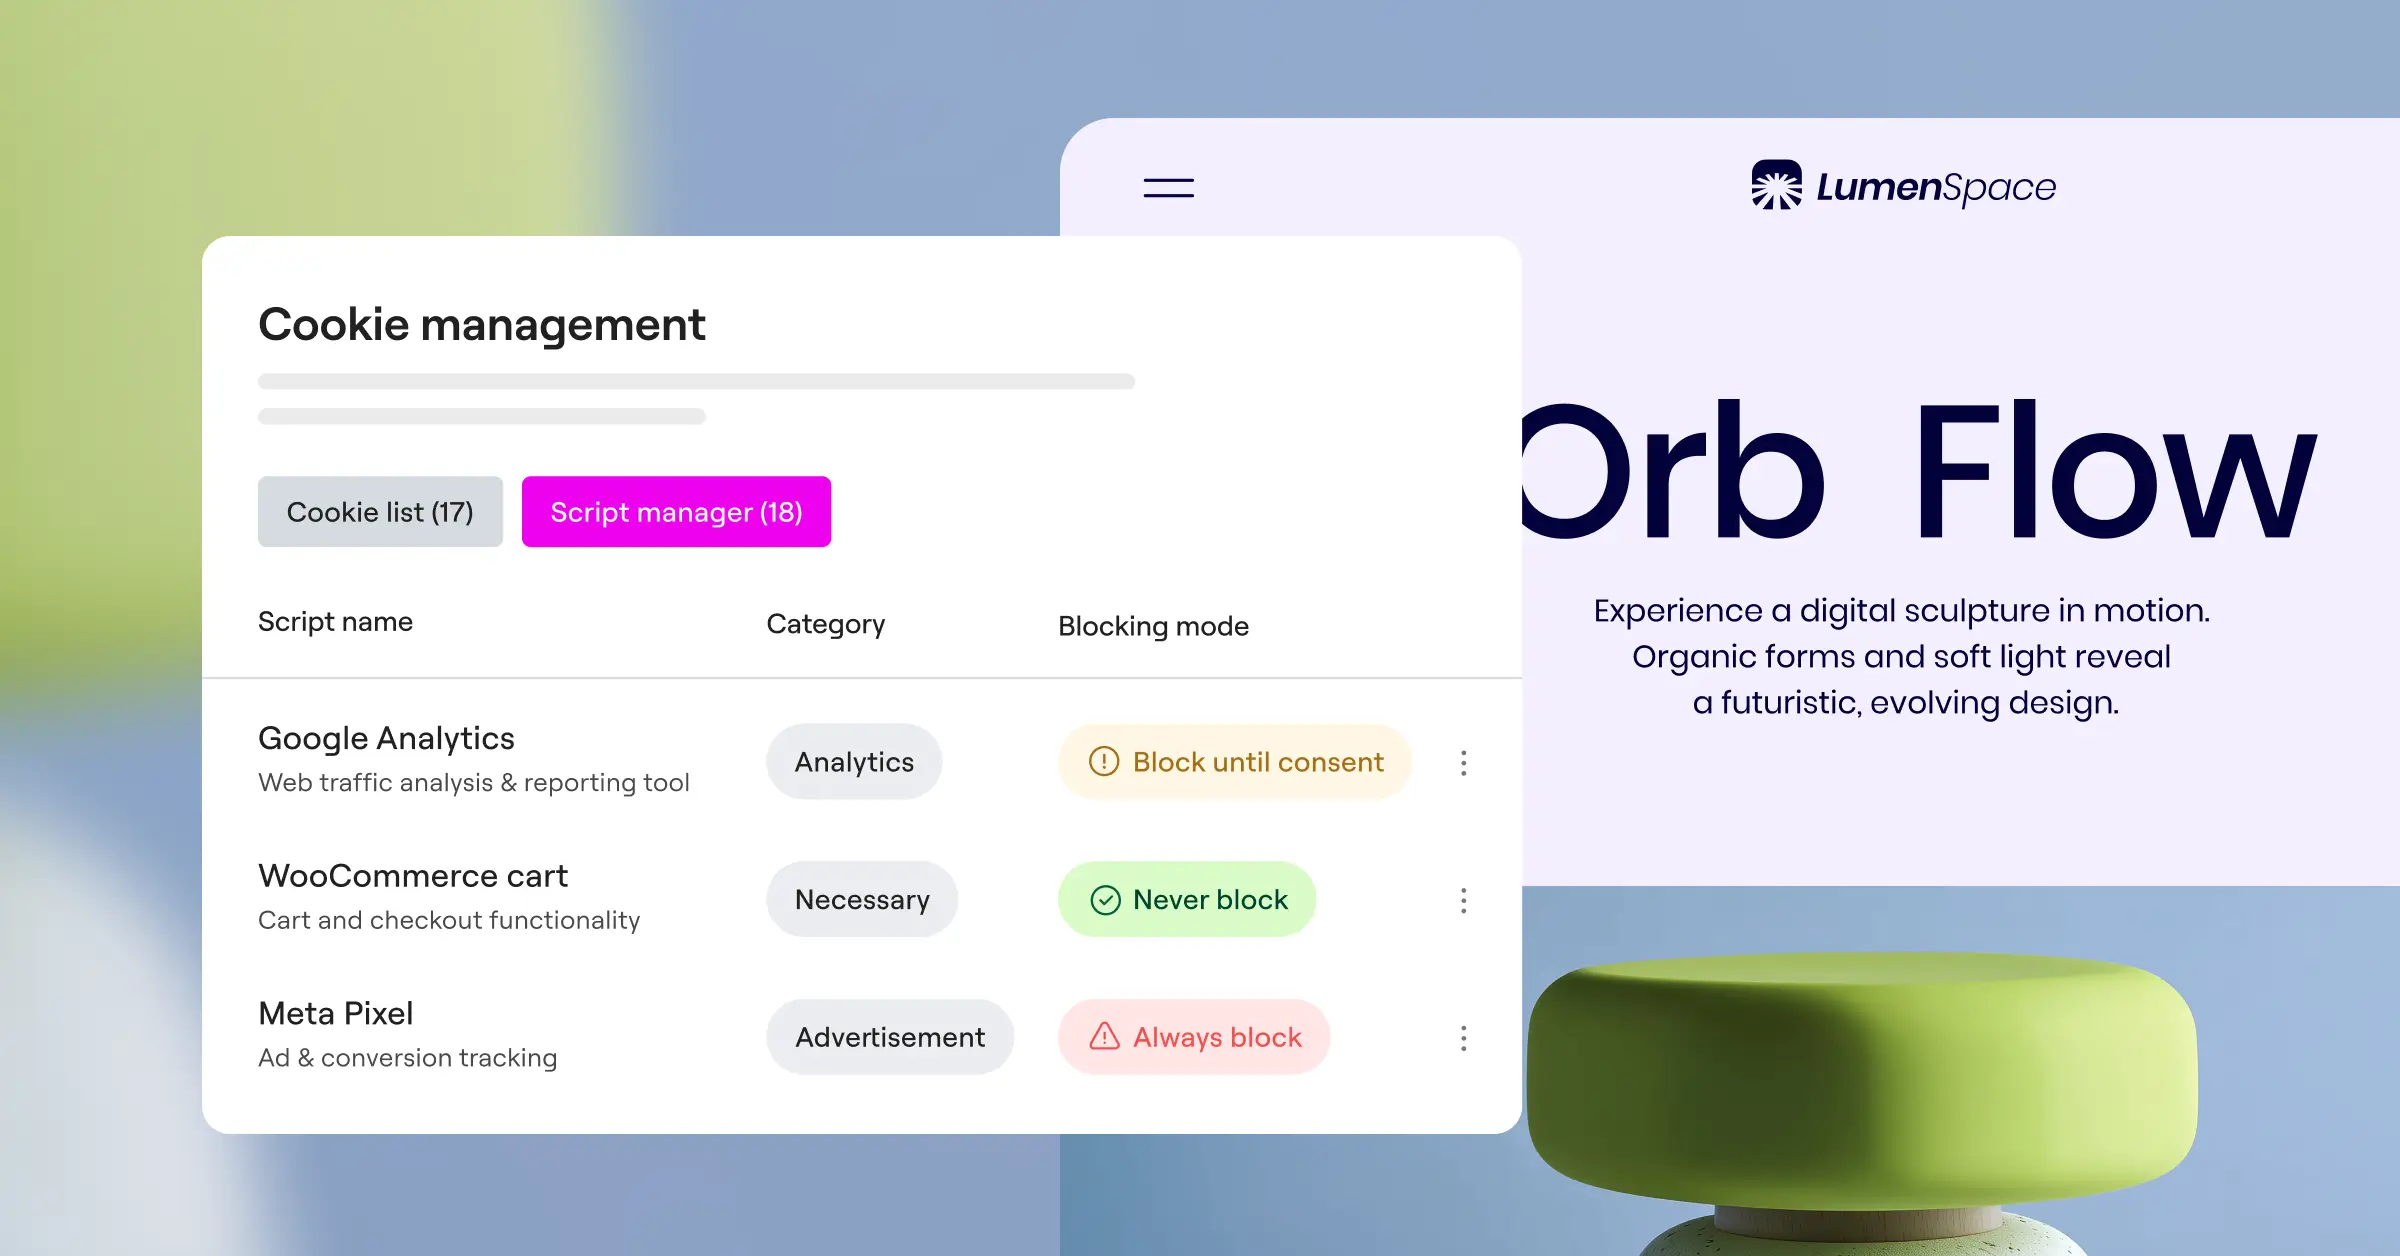
If you use Elementor, the built-in Cookie Consent capability keeps things clean since it runs natively inside your dashboard. No separate platform to log into for compliance logs or banner design. To get started:
- Log in to your WordPress dashboard and open the Cookie Consent settings.
- Run an automatic cookie scan to identify what tracking scripts are currently running on your site.
- Select a built-in template that matches your brand style. (You want the banner to feel like a natural part of your site, not a jarring pop-up.)
- Turn on the built-in option for Google Consent Mode v2, which automatically prepares the code to send the necessary signals to Google.

Not using Elementor’s native tool? Cookiebot, CookieYes, and Complianz also offer solid consent management. Whichever you choose, show the banner to EEA and UK visitors, since those regions enforce the strictest rules.
Step 2: Implementing Default Consent States (The Technical Base)
To keep your site compliant, set “default” consent states so tracking defaults to “denied” before a visitor clicks anything. That’s what keeps you safe under GDPR.
With Google Tag Manager, configure these defaults through a custom template or direct tag configuration. For the earliest possible setup, place a small script in your theme’s header, before any other Google tags load.
Add this script to your site’s header:
<script>// Create the dataLayer if it doesn't existwindow.dataLayer = window.dataLayer || [];function gtag(){dataLayer.push(arguments);}// Set default consent states to 'denied'gtag('consent', 'default', { 'ad_storage': 'denied', 'ad_user_data': 'denied', 'ad_personalization': 'denied', 'analytics_storage': 'denied', 'wait_for_update': 500});</script>This tells Google it doesn’t have permission to use cookies or personal data until told otherwise. The wait_for_update parameter, set to 500 milliseconds, gives your banner a moment to check whether this visitor already granted consent.
Step 3: Setting Up Google Tag Manager for Consent Mode v2
Now that defaults are set, configure Google Tag Manager to handle your tags. This part is visual, no raw code editing required, and one of the more satisfying steps.
How do you enable consent settings in GTM?
First, turn on the built-in consent overview in your GTM container settings for a clear view of all your tags and their privacy settings.
- Open your Google Tag Manager workspace.
- Go to Admin and click on Container Settings.
- Scroll down and check the box that says Enable consent overview.
- Save your changes and return to your tags menu.
A small shield icon now appears at the top of your tags list. Click it to bulk-edit consent settings across multiple tags at once, saving you a lot of time.
How do you configure tag-specific consent checks?
Next, tell GTM which tags need consent. GA4 configuration and Google Ads conversion tags already have built-in checks that listen to the default states you set in Step 2.
- Click on your GA4 configuration tag to edit it.
- Scroll down to Advanced Settings and expand the Consent Settings section.
- Select Built-in Consent Checks. GA4 automatically monitors
analytics_storage. - For custom marketing tags (like Facebook Pixel or Hotjar), select Require additional consent for tag to fire.
- Specify which consent states those tags need. A Facebook Pixel, for example, should require both
ad_storageandad_user_databefore it’s allowed to load.
This keeps custom marketing tags locked down until the visitor actively clicks accept on your banner.
Step 4: Mapping Consent Updates on User Action
When a visitor makes a choice on your banner, your site needs to tell Google right away. Clicking “Accept All” pushes an update command to the Google data layer.
With the native Cookie Consent capability in Elementor, this happens automatically, the tool listens for the click and triggers the update instantly. Building a custom setup instead? You’ll trigger the update yourself, with code like this:
<script>// This runs when the user accepts all cookiesfunction onUserAcceptsCookies() { gtag('consent', 'update', { 'ad_storage': 'granted', 'ad_user_data': 'granted', 'ad_personalization': 'granted', 'analytics_storage': 'granted' });}</script>Once this runs, Google Tag Manager detects the change, and any tags waiting for consent fire immediately. You won’t miss a second of data once the visitor gives you the green light.
Step 5: Verifying and Testing Your Implementation
Never assume your setup works without testing it. Catching problems now is easier than untangling them later, and Google offers excellent tools to help you verify everything.

How do you test using Tag Assistant?
The easiest way to test is Google Tag Assistant, which shows exactly what signals are being sent in real time.
- Go to the Google Tag Assistant website and enter your site’s URL to launch Preview mode.
- When your site loads, check the Tag Assistant sidebar.
- Click on the very first event that fires (usually “Consent” or “Message Received”).
- Navigate to the Consent tab in Tag Assistant.
You should see your default states here, “Denied” next to the main parameters if it’s set up right. Accept the banner on your site and check again, a new Consent event should appear with status updating to “Granted” in green text.
How do you check network requests?
Want to be completely sure? Inspect the network requests your browser sends to Google. It’s more technical, but reliable and worth knowing.
- Right-click anywhere on your website and select Inspect to open developer tools.
- Navigate to the Network tab.
- Type
collect?v=2into the filter box to find your Google Analytics requests. - Click on one of the network requests and look at the Query String Parameters.
- Search for the parameter named gcs or gcd.
The gcs parameter is a shorthand code for what consent was granted, G111 means both ads and analytics storage were accepted, G100 means only ads storage was. The gcd parameter is a longer string Consent Mode v2 uses to track the source and state of each type. If these show up in your network requests, your site is talking to Google correctly.
Troubleshooting Common Consent Mode v2 Mistakes
Even experienced developers hit snags configuring these settings. If your testing shows something’s off, don’t panic, here are the common issues and quick fixes.
- Tags firing before the default state is set: Your GA tracking script sits higher in your header than your default consent script. Fix it by making the consent code the very first script inside your
<head>tags. - Double-triggering tags: If your GA4 tag fires on page load and again after consent, you likely have conflicting triggers in GTM. Set your GA4 configuration tag to fire on “Initialization” or “All Pages”, not both.
- Consent states resetting on page change: If a visitor accepts cookies but gets prompted again, your banner isn’t saving their preference, often because a cache plugin needs your consent tool’s cookies excluded from caching.
- Zero data showing up in GA4: If real-time reports go silent after setup, you might be blocking your tags entirely instead of using the Advanced model. Check that your GTM triggers aren’t preventing base GA4 tags from loading.
- Google Ads showing consent errors: If your account flags missing consent signals, double-check that
ad_user_dataandad_personalizationare explicitly defined in your default script.
Frequently Asked Questions
Is Consent Mode v2 required if I do not run Google Ads?
If you only use GA4 for basic reporting and don’t run paid Google Ads campaigns, Consent Mode v2 isn’t technically mandatory. We still recommend it, since Google keeps rolling out privacy updates, and a solid consent structure keeps your tracking future-proof.
What happens if I ignore the Consent Mode v2 requirements?
If you keep tracking EEA visitors without passing consent signals, Google restricts your capabilities: no remarketing lists, no ad conversion tracking, no custom audience exports, and your campaign measurement grows less accurate over time.
Does Consent Mode v2 make my website GDPR compliant?
Consent Mode v2 is only one piece of the compliance puzzle. It handles how data reaches Google, but doesn’t make your entire site compliant on its own. You still need a complete cookie banner (like the Cookie Consent capability in Elementor), a clear privacy policy, and a way for visitors to change preferences anytime.
Can I set up Consent Mode v2 without Google Tag Manager?
Yes, with raw gtag.js scripts in your template files, though that takes a solid grasp of JavaScript. For most site owners, GTM or a dedicated WordPress capability is safer and easier to maintain.
What is the difference between gcs and gcd parameters?
The gcs parameter shows the visitor’s consent status for the current session. The gcd parameter is a more detailed code introduced in Consent Mode v2 that tracks the exact source of the consent signals, whether the defaults were set correctly, and how values changed after the visitor interacted with your banner.
Does Advanced Consent Mode set cookies on my visitor’s browser?
No, it doesn’t set or read cookies before the visitor grants permission. It sends cookieless pings with basic technical data instead, which Google processes with machine learning to fill reporting gaps without violating privacy standards.
How does Consent Mode v2 affect my site speed?
A properly configured setup has almost no impact on loading speed. A lightweight, native option like Elementor’s Cookie Consent capability keeps scripts optimized, and loading tags asynchronously in GTM keeps things fast for visitors.
Can I customize the look of my consent banner?
Absolutely. Your consent banner is often the first thing visitors see, so it should look professional and on-brand. Native WordPress compliance capabilities let you customize colors, fonts, layouts, and button styles to fit your site’s design.


