Edit Your Pages
With your homepage editing complete, you are now ready to edit the rest of the pages in your kit. This unit contains guidance on how to accomplish that effectively.
Your Goal
Edit all your website’s pages.
Process
How to do it
- When you’ve completed editing your homepage’s content, header, and footer, edit the other pages of your kit. To maintain order, edit them one by one.
- To add a new page or delete an existing page, go to WP dashboard → pages.
[simple_note] In kits with a blog or online store, some pages will display posts or products.
To learn about Posts and Products go to the Elementor academy homepage and choose a learning path explaining Blog or Store [/simple_note] - There are multiple approaches to editing a page. Here are some basic guidelines to keep your work effective:
- Top-down:
Starting at the top of the page, edit each parent container until it’s perfected.
Click each element to open its settings. - Start with fundamentals:
When editing an element, start by editing the basics.
Examples:
– When editing the layout, start with the parent container settings, then edit the child container settings.
– If you want to change a widget’s location, go to the container’s layout settings to check if you can do it from there.
– When editing a widget, first edit its content and then its style. - Pre-made:
Reusing saves time-
Examples:
– Use the Global color and font settings.
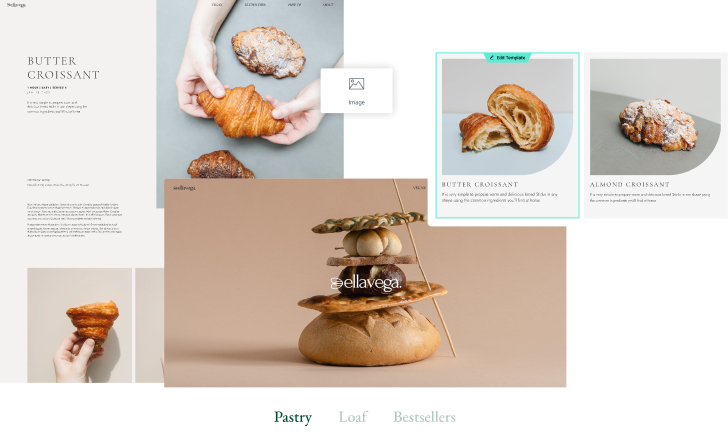
– If you want to add content, go to the Template library and choose a block.
– Use the quick actions menu to duplicate elements or to copy/paste style. - Ask for help:
If you fail at a specific action like setting a background color to a container, adding an Email to a form, or changing a text’s size, search the internet.
You’ll find others who’ve asked and answered your questions.
Forms
Learn about this topic
- Forms are an essential tool that allow you to collect data from your users.
- One of your kit’s pages contains a form. In the Editor, the form is created with the Form widget. Click the form to open its settings.
How to do it
- Edit the form’s fields according to the data you want your users to send.
- You can also style the form, add steps, and set which actions are taken (automatically) after the user sends the form.
- Next, connect an email to the form. All responses are sent to this email.
- You can also view the form submissions in WP. Go to Elementor → Submissions.
More Resources
Playlist
1 Videos

3:38
Page settings
How to do it
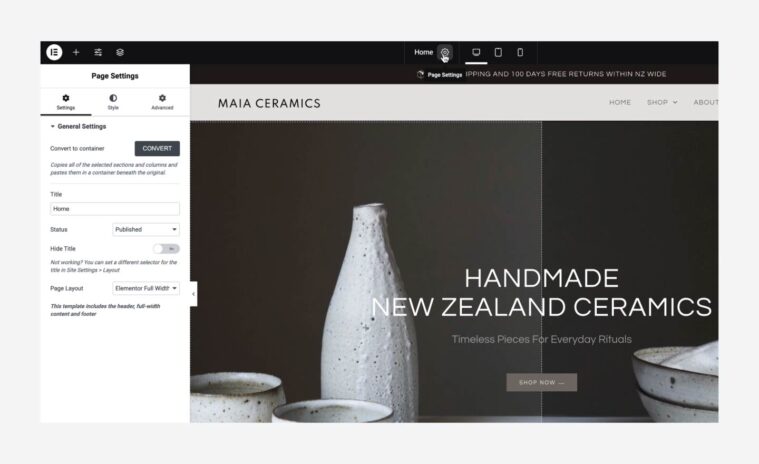
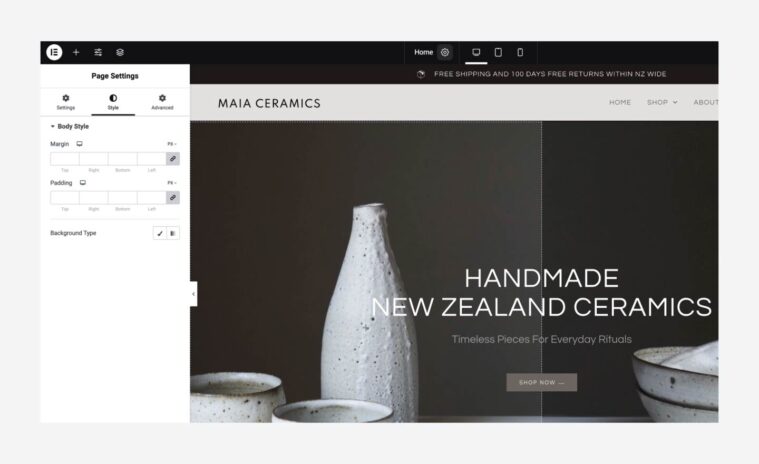
- The cog icon located in the middle of the top bar provides access to the Page Settings, which contain settings specifically related to the page.
- Under the Settings tab, you can set your page’s title, status, featured image, and where its layout is inherited from.

[simple_note] Read more about these settings before changing them.e [/simple_note] - Under the Style tab, you can change your page’s background, margins, and paddings.


