To configure background images in Elementor, select your container or section and navigate to the Style tab. Under the Background section, click the Classic icon to upload an image from the Media Library. Use the Cover setting to fill the container or Contain to ensure the entire image remains visible without cropping.
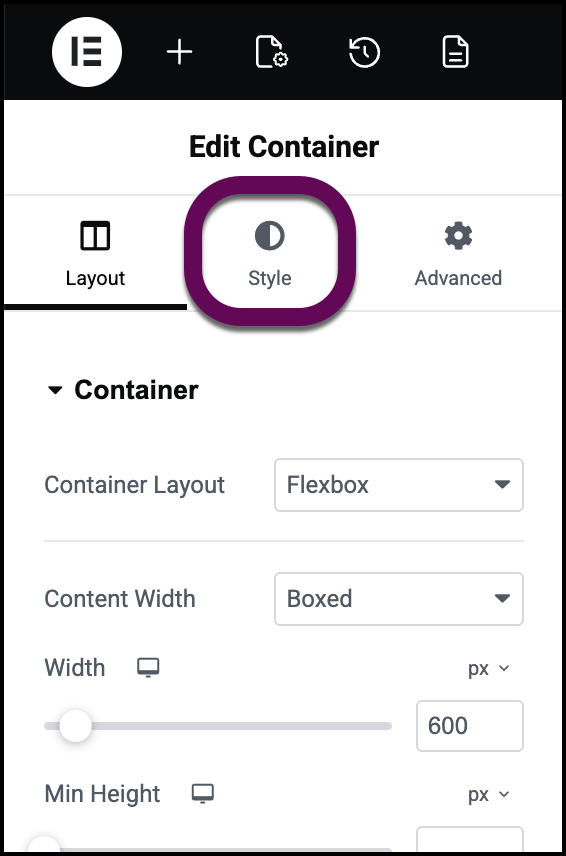
How do I access background settings in Elementor?
To begin editing your background visuals, follow these steps:
- Click the handle of the specific container, you wish to edit.
- Click the Style tab within the left-hand panel.
 Adding backgrounds to widgets is done using the Background section of the Advanced tab.
 - Locate the Background section and click the Classic (paintbrush) icon.
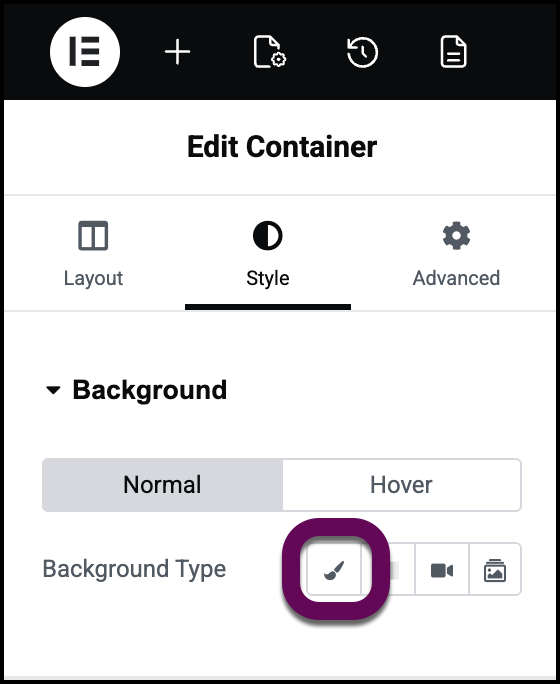
- Click the image placeholder to launch the Media Library and select your desired file.=
What is the difference between cover and contain display sizes?
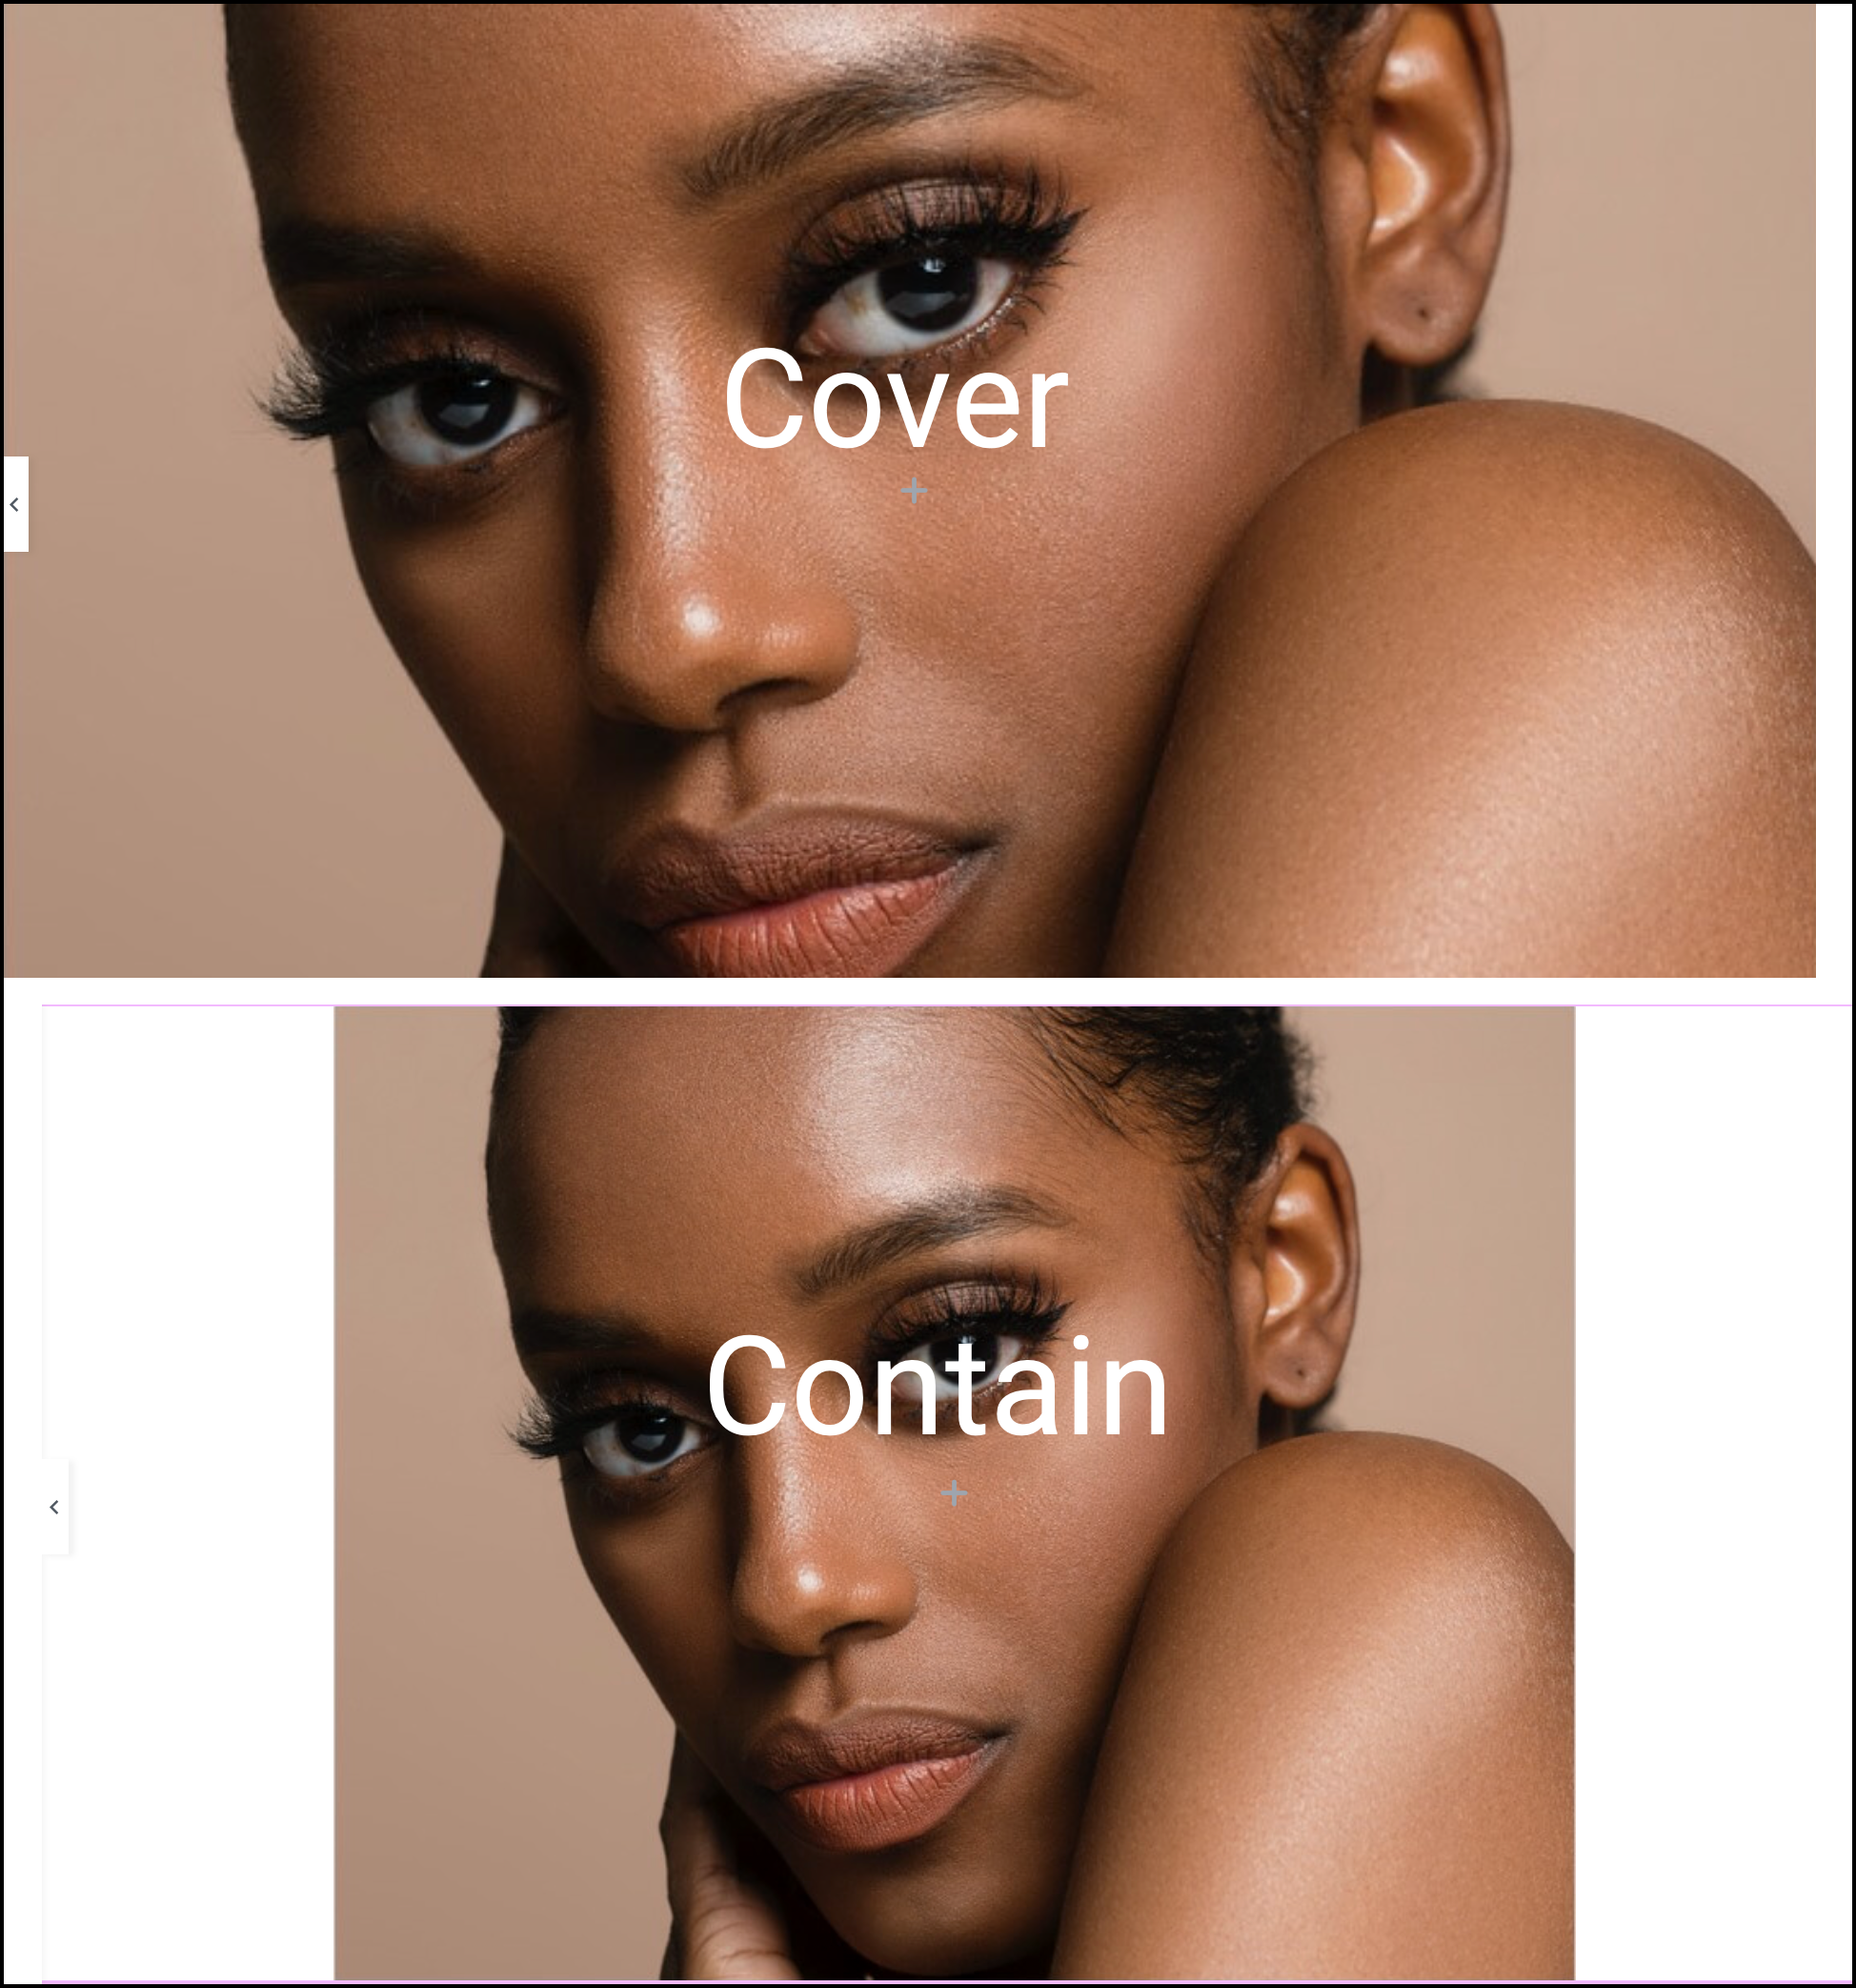
The Display Size setting controls how the image interacts with the container’s boundaries:
- Cover: This scales the image to fill the entire container area. If aspect ratios differ, Elementor will crop the edges to ensure no empty space is visible. It is most suitable for: Full-width backgrounds, hero banners, and decorative sections where complete coverage is more important than showing every detail of the image.
- Contain: This scales the image so the entire file is visible within the container. This prevents cropping but may result in “letterboxing” or empty space around the image. It is most suitable for: Logos, specific graphics, or patterns where you need the full image to be visible without any cropping.
How do I adjust the background position and attachment?
You can refine the focal point and behavior of your image using these settings:
- Position: This dictates from which point the image scales. For “Cover” images, Center Center is usually the safest bet to keep the subject visible. If your subject is at the top of the photo, choose Top Center.
- Attachment:
- Scroll: The background moves with the page as the user scrolls (default behavior).
- Fixed: The background stays in place while the content scrolls over it, creating a parallax-like effect. Note: Fixed backgrounds may be disabled on some mobile devices to prevent performance issues.

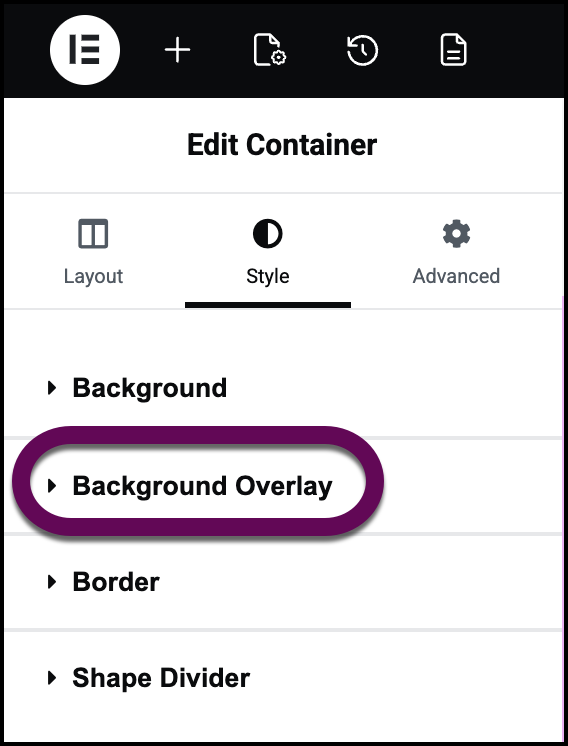
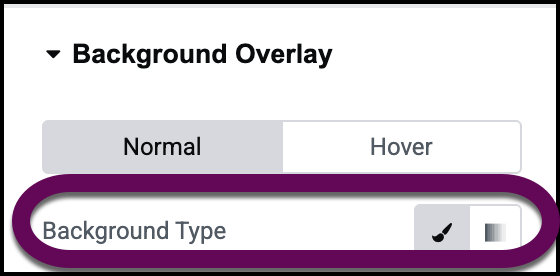
How do I configure a background overlay in Elementor?
A Background Overlay sits between your image and your widgets to improve text contrast. To add an overlay, open the Background Overlay section and select a type of overlay.
There are two main reasons to use an overlay:
- Readability: Dark overlays make white text legible against complex photographic backgrounds.
- Branding: Use the Color Picker to apply brand-specific tints without modifying the original image file.
To add an overlay:
- In the Style tab, open the Background Overlay section.
- Choose Type: Select Classic (for a solid color or second image) or Gradient (to fade between colors).
You can choose either an image or a color for the background. For details, see Use the color picker. - Set Color and Opacity:
- Pick a color (e.g., black #000000).
- Adjust the Opacity slider. A value between 0.3 and 0.5 is typically perfect for making text pop without obscuring the image.
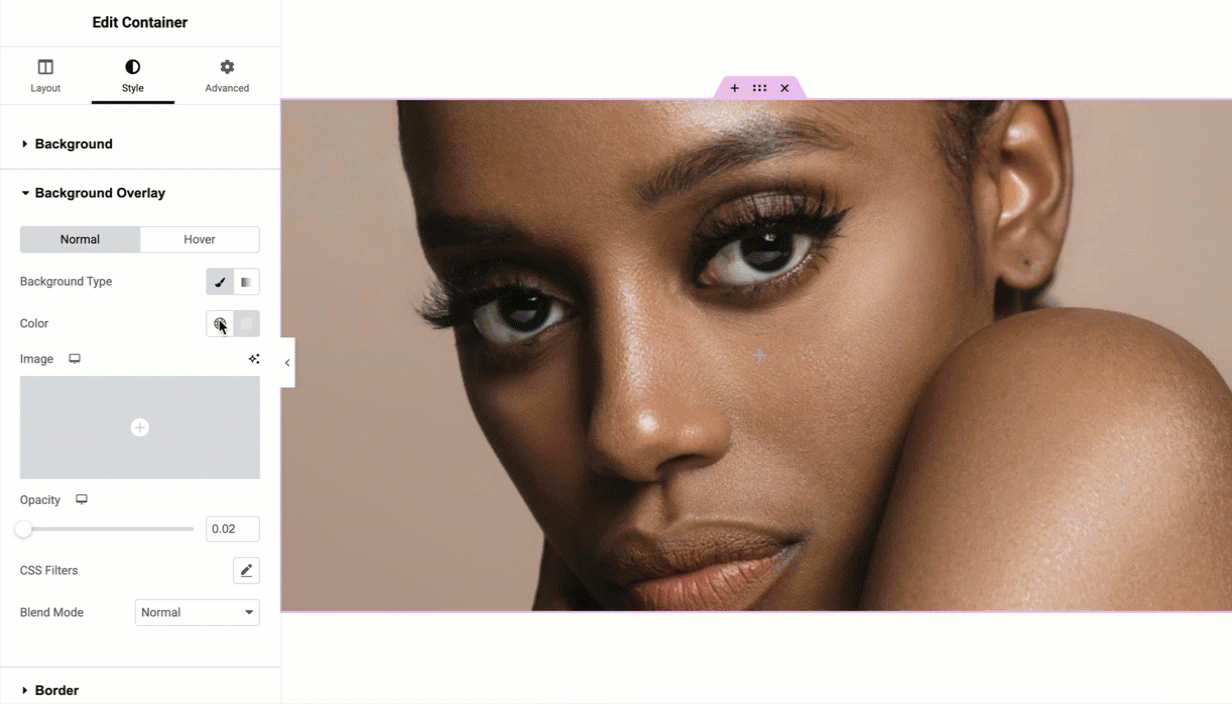
- Blend Modes: For advanced styling, experiment with Blend Modes (like Multiply, Screen, or Overlay) to change how the overlay color interacts with the image pixels. For details, see Blend Mode and CSS Filters.
What are the best practices for background performance?
To maintain fast loading speeds, follow these optimization standards:
- Compress Files: Always use image compression tools before uploading to reduce total page weight.
- WebP Format: Utilize the modern WebP format to achieve high visual quality at significantly smaller file sizes.
- Clean Media Library: Delete any unused background variations from the Media Library to save server storage.
How do I troubleshoot background display issues?
If your background does not appear correctly, follow these troubleshooting steps:
- Clear your browser and site cache. See here for clearing your browser cache. Clearing the site cache is done from WP Admin.
- Check Responsive Mode to make sure you’re optimizing the background for different screen sizes. For details, see Responsive editing for tablets and mobiles.
- Verify that the Z-index of the container is not being overlapped by other elements.

