Managing visitor data on your WordPress site looks different than it did a couple of years ago. Browser privacy protections, like Apple’s ITP and Mozilla’s Enhanced Tracking Prevention, have made standard browser cookies unreliable. If you still use client-side JavaScript for tracking, you’ve probably watched your analytics degrade fast, with cookies disappearing after a few days or hours.
The good news: it’s easier to fix than it looks. Moving to server-side cookie management hands you back control of your data, speeds up your pages, and keeps your analytics accurate long-term. Here’s how to build a privacy-compliant, server-side cookie setup on WordPress in 2026.
Key Takeaways
- Server-side cookies dodge browser restrictions by setting HTTP headers straight from your domain, so they don’t get wiped early by systems like Safari ITP.
- Privacy compliance still applies even with a server-side setup, so you need explicit consent before any tracking cookie gets set.
- A reverse proxy or Cloudflare Worker is one of the most reliable ways to set secure first-party cookies on WordPress.
- Page performance improves once you move tracking scripts off the browser and onto a server or cloud container.
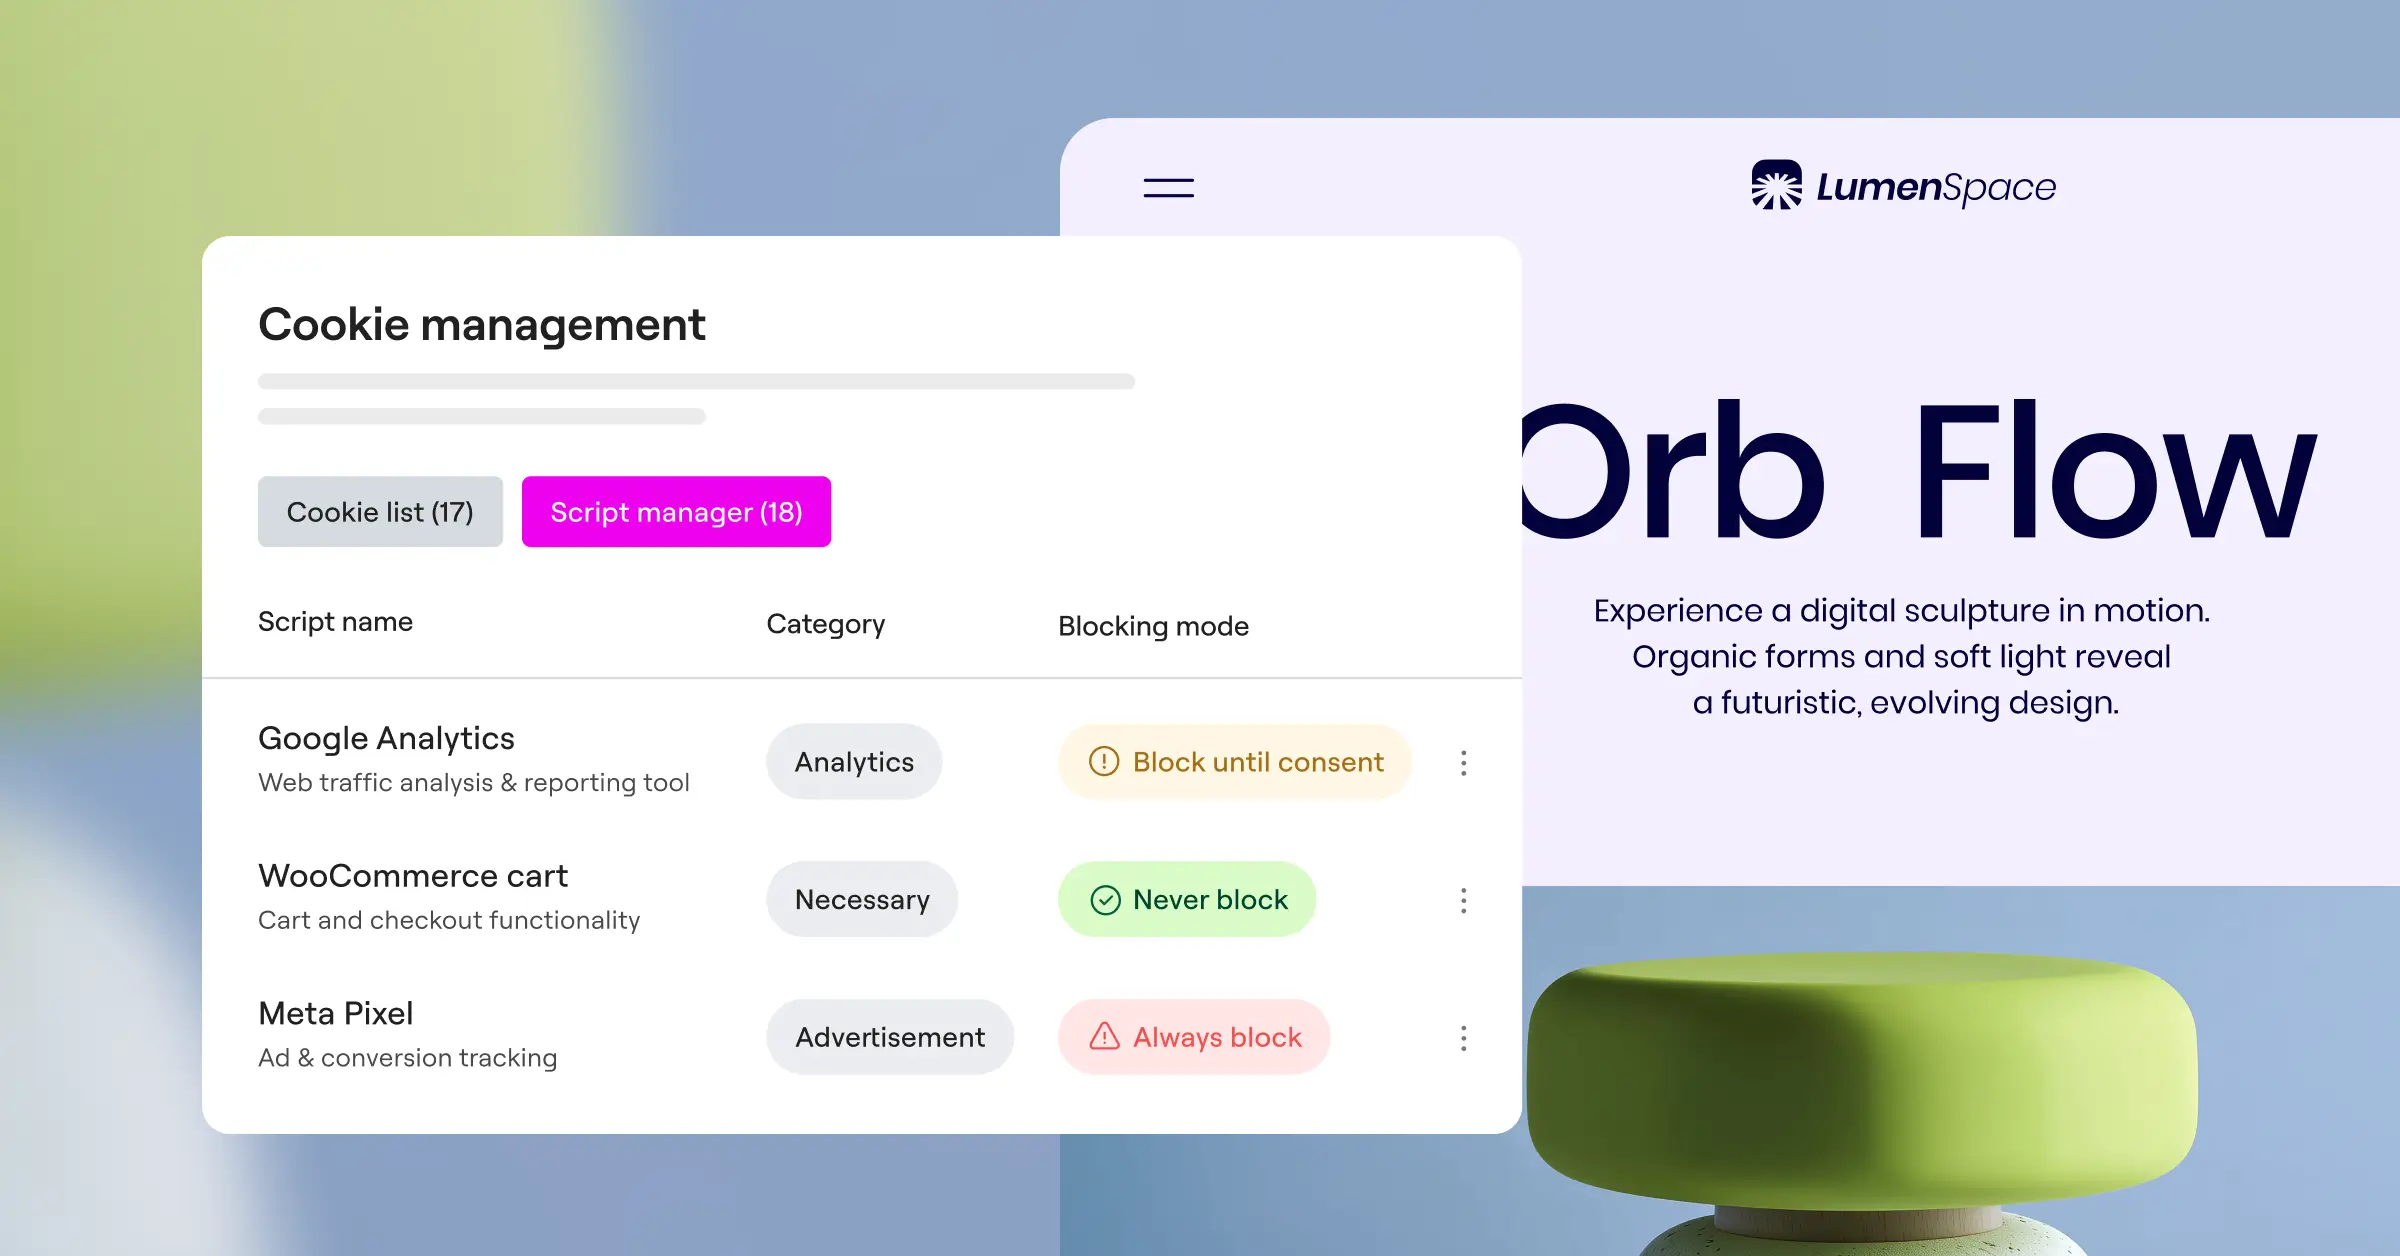
- Cookie Consent lets you manage tracking scripts and consent policies right from your dashboard, no external platform needed.
What Is Server-Side Cookie Management?
To see why this matters, look at how cookies traditionally worked. For years, third-party tools, like analytics platforms and ad networks, used client-side JavaScript to write cookies into a visitor’s browser. Those are client-side cookies.
Server-side cookie management shifts that job to your web server or a cloud proxy. When someone requests a page, your server answers with an HTTP header called Set-Cookie. Since it comes from your primary domain, browsers treat it as a trusted, first-party cookie.
That distinction matters, and it trips people up, since not every first-party cookie gets treated equally. One set via JavaScript is often capped to just 1 to 7 days on Apple devices. One set via a server-side HTTP header can run for its full intended duration, giving you far more reliable attribution over time.
Why You Need This Setup in 2026
The privacy landscape has moved fast, and old ways of tracking visitor behavior don’t hold up anymore. For a professional WordPress site, server-side data management is turning from an advanced option into a practical necessity. Here’s why.
1. The End of Third-Party Cookies
Major browsers now block third-party cookies by default. If an ad network’s script tries to set a cookie from its own domain while someone’s on your site, the browser blocks it. To keep attribution working, you need first-party strategies where your own domain manages the identifiers.
2. Strict Limits on Client-Side First-Party Cookies
Browsers didn’t stop at third-party cookies. To stop ad tech from using client-side scripts to fake first-party cookies, Safari’s ITP caps any cookie set by a document.cookie call to a 7-day expiry. Arrive via an ad click with parameters like gclid or fbclid, and that window drops to a single day. Moving your cookie logic to the server side skips these limits entirely.
3. Real Speed and Performance Gains
Every tracking script loaded in a visitor’s browser slows their experience down. With a server-side setup, you run one lightweight data stream to your server container, which distributes it to Google Analytics, Meta, and your other marketing platforms. That lightens the load on the visitor’s device, improves Core Web Vitals, and can help your search rankings too.
4. Better Security and Control over Data
Client-side tracking scripts can see everything happening on your page, which occasionally leads to accidental leaks of personally identifiable information (PII). With server-side management, you become the gatekeeper, filtering and anonymizing user data before it ever reaches a third-party endpoint.
Step-by-Step Setup: Cloudflare Workers for Server-Side Cookies
One of the most efficient ways to set first-party, server-side cookies on WordPress is a reverse proxy or edge worker. Cloudflare Workers run at the network edge, modifying HTTP requests and responses before they reach your host. Don’t worry, it’s simpler than it sounds, and we’ll walk through the code together.
To use this method, your WordPress domain needs to be managed by Cloudflare. Here’s how to set up your edge-based cookie engine:

Step 1: Create a Cloudflare Worker
Log into your Cloudflare dashboard, go to “Workers & Pages,” and click “Create Application.” Choose “Create Worker” and name it something like wordpress-cookie-manager.
Step 2: Add the Custom Cookie Script
Replace the default worker code with the JavaScript below. It checks incoming requests, generates a unique, secure user ID, and sends it back through an HTTP header.
addEventListener('fetch', event => { event.respondWith(handleRequest(event.request))})async function handleRequest(request) { // Pass the request through to your WordPress origin server let response = await fetch(request) // Clone the response so we can modify the headers let newResponse = new Response(response.body, response) // Check if a tracking cookie already exists const cookies = request.headers.get('Cookie') || '' if (!cookies.includes('wp_ss_user_id=')) { // Generate a secure, unique identifier const uniqueId = crypto.randomUUID() // Set cookie parameters for maximum security in 2026 // Secure: only over HTTPS, HttpOnly: hidden from JS, SameSite: prevent cross-site leaks const cookieValue = `wp_ss_user_id=${uniqueId}; Path=/; Max-Age=31536000; Secure; HttpOnly; SameSite=Lax` // Append the Set-Cookie header to our response newResponse.headers.append('Set-Cookie', cookieValue) } return newResponse}Step 3: Route the Worker to Your WordPress Domain
Once you deploy your worker, map it to your site. In Cloudflare, open your domain’s “Websites” settings, click “Workers Routes,” then “Add Route.” Set the pattern to example.com/* (swap in your own domain) and select your worker. Every page request now runs through this script, setting your tracking identifier securely via an HTTP response header.
Alternate Path: Google Tag Manager (GTM) Server-Side
If you’d rather use a visual interface for your marketing tags, Google Tag Manager Server-Side is a popular pick. Instead of sending data straight to Google Analytics from the browser, the browser sends it to a tagging server you control, which sets your first-party cookies.
Setting this up on WordPress takes a structured approach to keep your data flowing accurately:
- Create a Server Container in GTM – In your GTM account, click “Admin,” pick your account, and create a new container, selecting the “Server” type.
- Provision Your Tagging Server – Set this up through Google Cloud Platform (GCP) automatically, or use a host like Stape to manage the instance for you.
- Configure a Custom Domain – This step matters most. Your tagging server needs a subdomain of your main site (like
sst.yourdomain.com), telling the browser it belongs to the same site so it can write first-party cookies. - Install a WordPress GTM Integrator – Use a trusted integration to add your standard GTM container code to your pages, routing data streams to your new subdomain.
- Set Your Cookie Writing Rules – Inside your Server Container, use the built-in Client templates to parse incoming requests and set first-party cookies in the response automatically.
Comparing Client-Side vs. Server-Side Cookie Management
Here’s how the two stack up on the factors that matter most.
| Metric / Feature | Client-Side Cookie Management | Server-Side Cookie Management |
|---|---|---|
| Cookie Longevity (Safari ITP) | Capped at 1 to 7 days, sometimes just 24 hours. | Full set duration (e.g., up to 1 year), as a true first-party asset. |
| Browser Performance Impact | High. Heavy JavaScript execution can delay page interactions. | Minimal. Execution moves to your server or edge proxy. |
| Security of Data Streams | Lower. API keys and customer data are fully visible in the browser source. | High. Data cleaning, filtering, and secure keys stay hidden on the server. |
| Resistance to Ad Blockers | Poor. Common scripts are easily spotted and blocked by browser extensions. | Strong. Requests run through your own custom subdomain. |
| Setup Complexity | Very easy. Usually just pasting a basic script tag. | Moderate to high. Needs DNS changes, edge rules, or cloud servers. |
The Role of Consent in Server-Side Tracking
A common mistake developers make is assuming server-side cookies, set via HTTP headers, are somehow invisible to privacy law. That’s not how it works. GDPR in Europe and CCPA in California apply to any technology that stores or retrieves data on a user’s device, whether that’s client-side JavaScript or a server-side proxy.
You still need explicit consent from users before writing any tracking cookie or sending data to an external server. To make this smooth on WordPress, you can use Elementor’s Cookie Consent capability, built right into your dashboard. It handles the front-end experience: customizable consent banners, automatic cookie scanning, and consent logging, without leaving the dashboard you already use.
“Server-side tracking isn’t a legal loophole to bypass user consent. In fact, privacy regulators view server-side data collection with the same scrutiny as client-side scripts. You must still collect explicit user consent before any server-side tags fire.”
– Itamar Haim, Web Compliance Specialist
When you use Cookie Consent on your site, you can link your consent flags to your server-side setup. Once a user accepts, the banner sets a consent cookie (such as cookie_consent_accepted=true). Your Cloudflare Worker or GTM Server-Side container checks this cookie before running requests or writing tracking identifiers. If it’s missing or false, your proxy drops the tracking data, keeping you compliant. It’s a clean handoff between the consent layer visitors see and the infrastructure behind it.
Troubleshooting Common Server-Side Cookie Issues
Moving your data pipeline from the browser to the server brings new variables. If something’s not working, check these pain points first.
Are Your Cookie Flags Set Correctly?
Modern browsers quietly ignore cookies that lack the right security attributes. Make sure your scripts write cookies with the Secure and HttpOnly flags active. Secure keeps cookies on HTTPS-only connections. HttpOnly stops malicious scripts from reaching your tracking IDs, a small detail that’s easy to miss and surprisingly important.
Does Your Server Subdomain Match Your Main Domain?
With Google Tag Manager Server-Side, your server container needs to live on a subdomain of your main site (like tracking.yourdomain.com). Host it on a different domain, and browsers will treat your cookies as third-party, triggering automatic blocks and undoing the point of the migration.
Is Your Caching Layer Stripping Cookie Headers?
Many WordPress hosts lean on caching tools like Varnish, Nginx rules, or CDN edge caches to speed up pages. Sometimes these layers strip the Set-Cookie header to keep pages static. Fix it with bypass rules in your caching config so pages handling sessions or analytics payloads keep their headers intact.
Run through this checklist whenever you launch or update your server-side setup:
- Verify your custom tracking subdomain has a valid, working SSL certificate.
- Open Developer Tools, check the Network tab, and confirm the
Set-Cookieheader is present. - Confirm your cookie consent feature blocks cookie creation until the user clicks “Accept.”
- Test across multiple browsers, especially Safari and Chrome, to see how each handles cookie expirations.
- Check your server logs to confirm visitor IPs get anonymized before they’re sent to analytics networks.
- Review your Google Analytics Real-Time reports to confirm data flows correctly from your server container.
Advanced Strategies for Technical Marketers
Once your core setup is running well, you can unlock things that aren’t possible with traditional browser tracking. This is where the investment in modern infrastructure starts to pay off.
Building First-Party Data Pipelines
Instead of relying on third-party pixels to record transactions, you can send purchase data straight from your WordPress database to advertising networks through server-to-server APIs (like Meta’s Conversions API). Since this doesn’t depend on the browser, network drops, or ad blockers, your attribution stays remarkably accurate.
Enriching User Profiles Safely
Since your server handles the tracking payloads, you can enrich the data stream with details from your database before passing it to your CRM or marketing tools. For example, calculate a user’s lifetime value (LTV) on your server and add that to your analytics events without exposing transactional data to the public browser.
Managing Consent Mode v2 on the Server
If you serve visitors in Europe, Google Consent Mode v2 requires your tagging setup to pass explicit consent signals (like ad_storage and analytics_storage) with every request. A server-side container lets you translate cookie consent choices into standardized Consent Mode signals on the server, so even cookieless pings to Google stay marked with the user’s exact choice.

If you want one dashboard tying your consent layer to all of these strategies, Elementor’s Cookie Consent is built for exactly that. It’s included as part of Elementor One, so you get native Google Consent Mode v2 support, geo-targeting, multilingual banners, and consent logs, all from the dashboard you already use. No separate platforms, no extra accounts to juggle.
Frequently Asked Questions
Is server-side cookie management legal under GDPR?
Yes, but only if you collect proper consent first. GDPR regulates personal data, including unique identifiers stored in server-side cookies. You still need a compliance tool to get explicit permission before your server sets tracking identifiers or forwards analytics data.
Will server-side cookies completely replace client-side tracking?
Not entirely. Most modern setups use a hybrid approach. A lightweight client-side script still captures interactions, like clicks and scrolls, packaged into one data stream that goes to your server-side container, which manages cookies and distributes events to third-party endpoints.
Does a server-side setup slow down my WordPress host?
If you route server-side tracking through a proxy like Cloudflare Workers or a standalone GTM container on Google Cloud, there’s no impact on your WordPress server. These services run on their own global networks, keeping your host light and fast.
Can I set server-side cookies for free?
Yes. Cloudflare’s entry-level plan runs basic edge workers that set secure cookies for your site. With GTM Server-Side, you can run your container on GCP’s entry-level plan too, though high-traffic sites may eventually see minor usage costs.
How do I test if my server-side cookies are actually working?
Open your site, right-click, and select “Inspect” to open Developer Tools. Go to the “Application” or “Storage” tab, click “Cookies,” and look for your tracking cookie. If “HttpOnly” shows a checkmark and the expiration date matches your intended lifespan, rather than 7 days, it’s working as expected.
Do ad blockers prevent server-side cookies from being set?
Most ad blockers target popular third-party tracking domains and client-side scripts. Because your setup routes requests through your own custom subdomain (like sst.yourdomain.com), ad blockers generally leave it alone, meaning cleaner, more reliable data.
How does Elementor’s Cookie Consent tool integrate with server-side setups?
The Cookie Consent capability runs inside your WordPress site, showing the consent banner and recording user choices. When a visitor accepts or declines, that choice gets written to a local first-party cookie. Your server-side scripts or GTM Server container read that instantly to decide whether they can process and send tracking events, a straightforward handoff that keeps consent governing every layer of your setup.


