Managing user privacy can feel like a moving target. If you run a WordPress site, you already know that asking for consent is only half the job. To stay compliant with privacy laws like GDPR and CCPA, you also need to prove your visitors actually gave that consent, which means keeping clear, secure consent logs. It sounds like a technical chore, but setting up a reliable logging system is simpler than it looks.
Key Takeaways
- Legal Necessity – Privacy regulators want documented proof of user consent, and skipping this can mean heavy fines.
- Native Integration – Using WordPress-native tools keeps your database light and skips the need for slow external dashboards.
- Data Minimization – Your consent logs must record choices without storing sensitive personal data like full IP addresses.
- Automation is Key – Setting up automated cookie scanning and logging saves time and keeps your records accurate.
- Modern Standards – Supporting Google Consent Mode v2 and Global Privacy Control keeps your marketing and privacy aligned.
Why Consent Logging Matters in 2026
Privacy regulators everywhere have made one thing clear: if you can’t prove consent, you don’t have it. Under the General Data Protection Regulation (GDPR) in Europe and various state laws across the United States, the burden of proof sits with you, the website owner. If a regulatory authority audits your business, pointing to a banner on your homepage won’t cut it. You need an audit trail showing when and how a specific visitor agreed to your tracking terms.
This is where consent logging comes in. A consent log is a secure registry documenting the choices your visitors make on your cookie banner. It’s your digital paper trail, ready to protect your business if an inquiry or complaint ever comes up.
What is a cookie consent log?
A cookie consent log is a set of technical records showing that a user agreed to specific tracking categories. When a visitor picks their preferences on your banner, your system creates a record. It doesn’t track the user around the web, it documents their privacy decision. These records need to be carefully anonymized, so you’re not collecting unnecessary personal details while proving compliance.
The shift to zero-trust compliance in 2026
Privacy has moved well past passive consent. You can no longer assume a user agrees to tracking just because they scrolled your page or clicked a link. Consent has to be freely given, specific, informed, and unambiguous. And because browser engines keep phasing out third-party cookies, your self-hosted first-party consent data is your most valuable asset. Keeping it secure and well-documented protects your reputation and keeps your visitor relationships built on real trust.
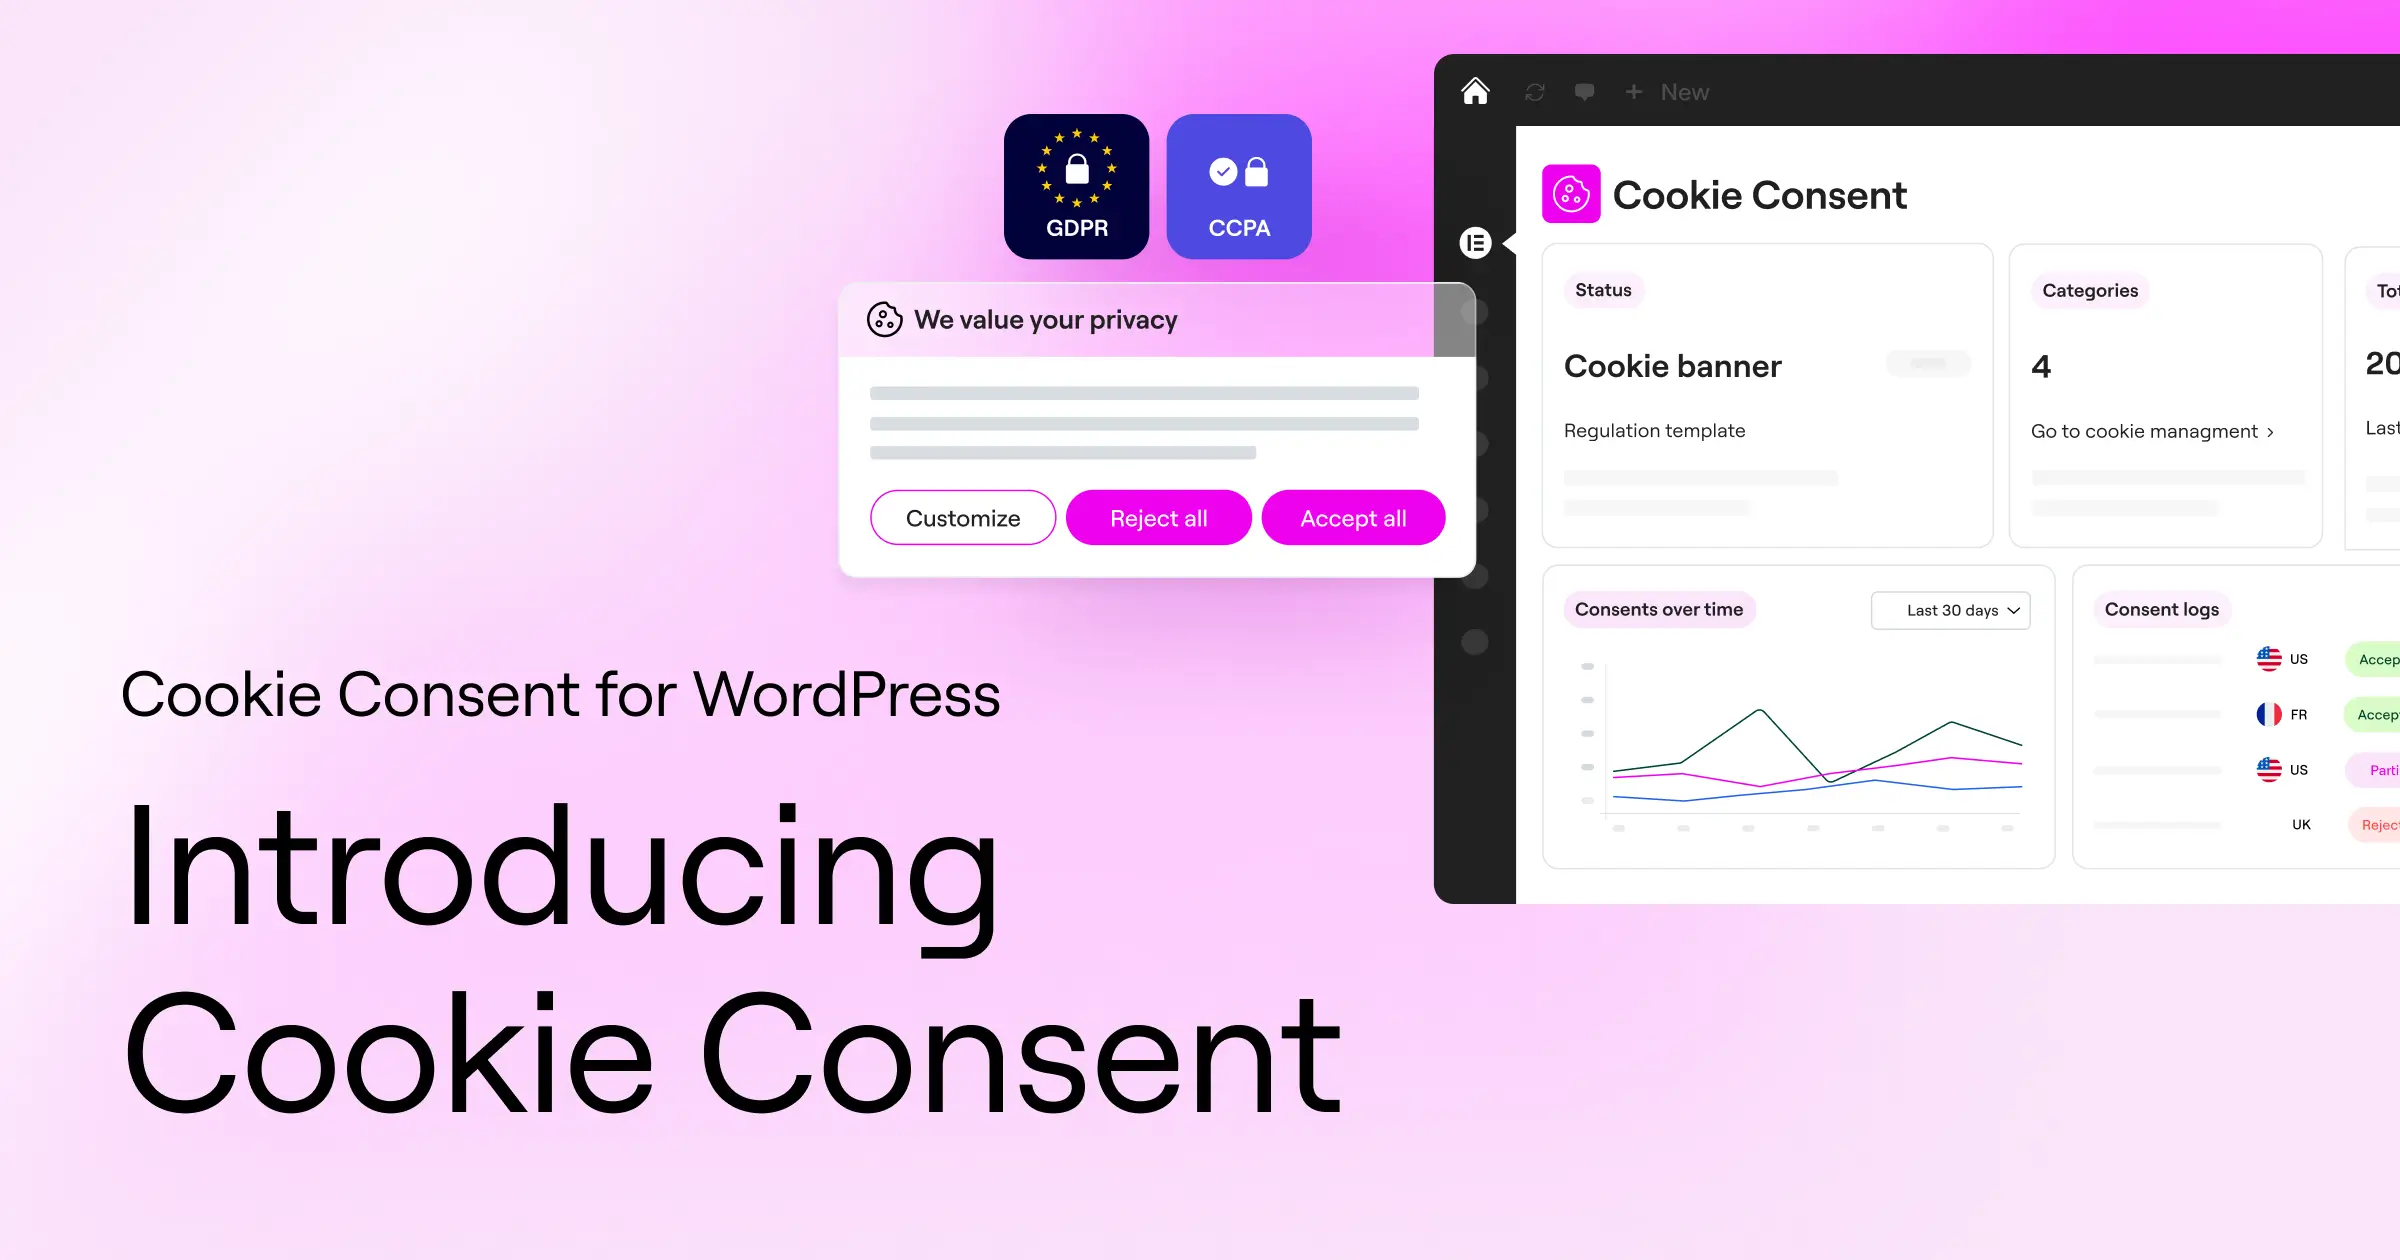
Introducing Cookie Consent: The WordPress-Native Solution
For WordPress site owners, managing compliance has historically meant juggling slow third-party scripts and paying for expensive external SaaS dashboards. The native Cookie Consent tool built directly for WordPress changes this. It lets you manage your banners, cookie scans, and consent logs right from your WordPress dashboard, keeping your workflow unified and simple.
It’s part of Elementor‘s broader compliance toolkit, which also includes Web Accessibility to help you build a fully compliant, good-looking site. Because it integrates natively with your site, you don’t have to copy and paste complex scripts or worry about external database connections slowing your page load speeds.
Why a native dashboard changes everything
When you use an external compliance service, your visitors’ consent choices sit on third-party servers. If those servers go down, or their scripts load slowly, your whole site performance can suffer (this one trips up a lot of site owners). A WordPress-native tool keeps consent management in-house, so you keep full ownership of your data and manage compliance in the same place you build your content.
Key compliance features you’ll love
Using the native Cookie Consent tool gives you a set of features designed to make legal compliance straightforward:
- Scans your website automatically to find and categorize active cookies and scripts.
- Builds clear, beautiful consent banners that match your brand identity.
- Records consent choices in secure, organized consent logs for easy audit trails.
- Supports Google Consent Mode v2 to keep your analytics running smoothly without breaking privacy rules.
- Translates your privacy banners easily with full multilingual support.
- Detects visitor locations to show geo-targeted banners based on local regional laws.
What Information Must Your Cookie Consent Logs Contain?
To hold up under regulatory scrutiny, your logs need specific technical data points, but you have to strike a careful balance. Storing too much information breaks the principle of data minimization, while storing too little makes your logs legally useless. Here’s what you actually need to document.
Every time a visitor saves their privacy preferences, your logging system should capture the essential details of that event. This lets you reconstruct the consent moment if a regulator ever requests proof.
Essential data points to record
A legally compliant consent log must include these five components:
- The Consent ID – A randomized, unique cryptographic identifier assigned to the user’s session. This lets you match a user to their consent state without knowing their real identity.
- The Timestamp – The exact date and time the visitor made their choice, recorded in a standardized format like UTC.
- The Consent State – A clear breakdown of what the user accepted and declined (for example: Marketing: Accepted, Analytics: Declined, Necessary: Accepted).
- The Banner Version – The specific design and text layout of the banner shown to the visitor, proving what information they saw before consenting.
- The Connection Details – Minimized technical info, such as an anonymized IP address and the user agent (browser and operating system), to verify the request’s origin.
What you should never store in a log
To protect visitor privacy, never record full, unmasked IP addresses, actual physical locations, names, email addresses, or any other personally identifiable information (PII) in your consent database. Your goal is to prove that a user consented, not to track which specific individual they are in the real world. Keeping your data collection minimal and focused is the safest way to avoid compliance issues.
“Documenting consent isn’t about tracking your users. It’s about creating an unalterable, anonymous record that proves you respected their choices at a specific point in time. Keep your logs clean, keep them secure, and focus on data minimization.”
– Itamar Haim, Web Compliance Specialist
How to Document and Log Cookie Consent: A Step-by-Step Guide
Setting up your cookie logging process doesn’t have to be a headache. Follow these steps, and you’ll have your WordPress site secure with audit-ready tracking records.
Step 1: Choose a compliant consent management system
Your first step is setting up a dedicated consent management tool on your WordPress site. Rather than installing heavy third-party code that can hurt your search engine rankings and user experience, use the native Cookie Consent tool available inside Elementor One. It sets up in minutes and keeps all privacy configurations inside your familiar admin dashboard.

Step 2: Run an automated cookie scan
Before you can ask for consent, you need to know exactly what scripts are running on your site. Use the automated scanning tool to review your active plugins, themes, and external marketing pixels. This scan flags what cookies are being placed in your visitors’ browsers and groups them into logical categories like Necessary, Preferences, Analytics, and Marketing.

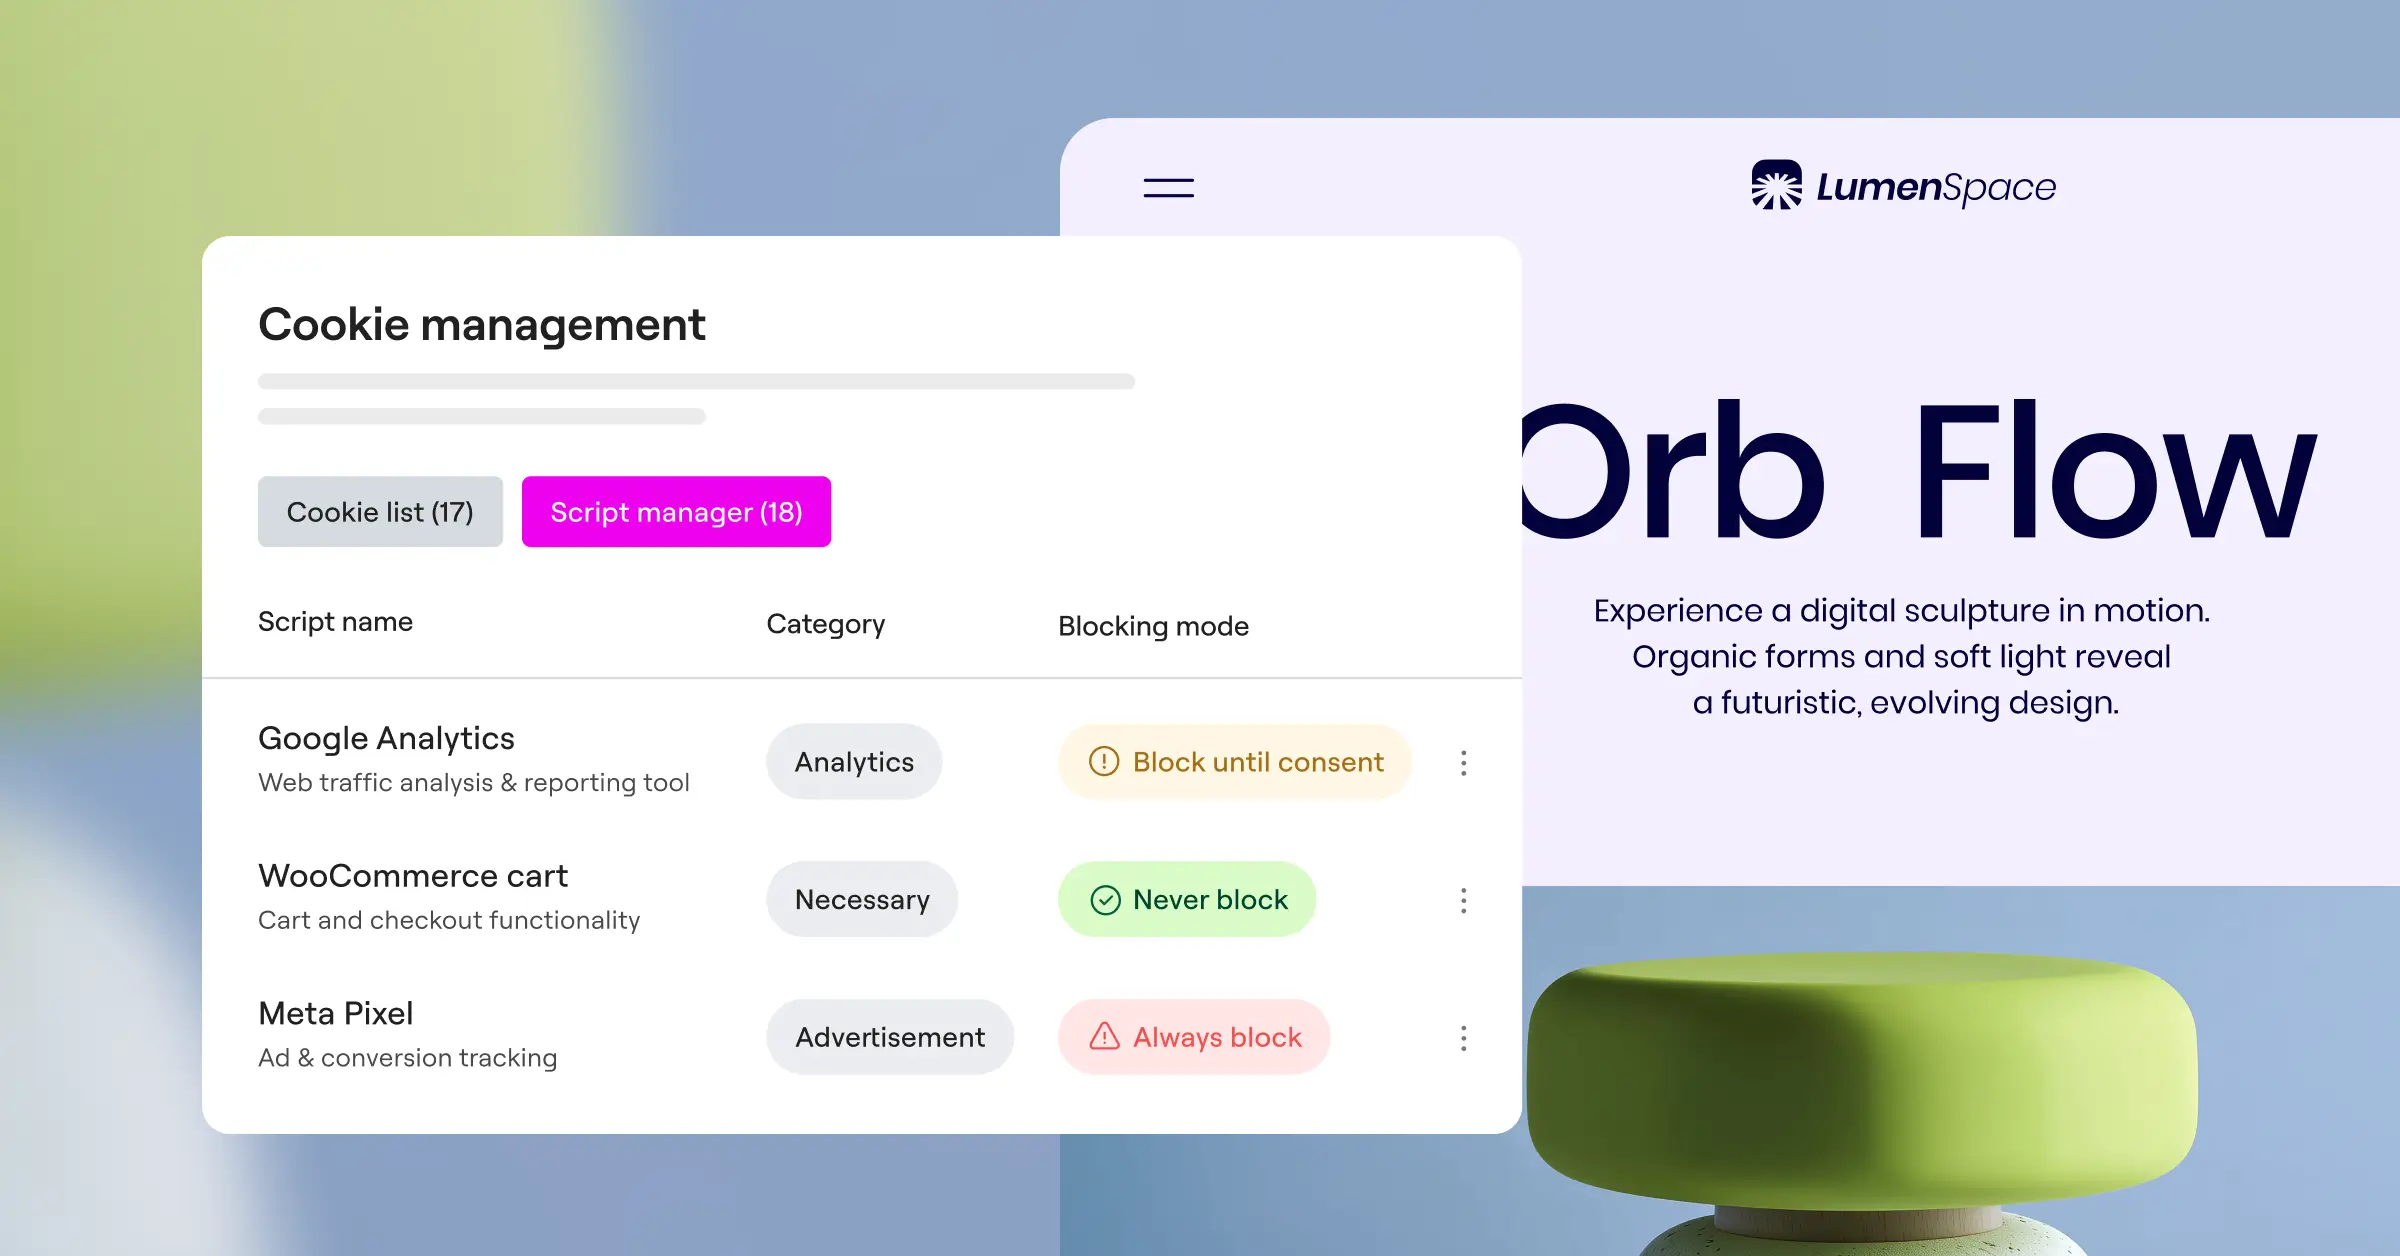
Step 3: Categorize your cookies and scripts
Once your scan is complete, review the categorized list. Some cookies, like those WooCommerce uses to remember what’s in a shopping cart, count as “strictly necessary” and don’t require user consent to run. Others, such as Google Analytics or Meta advertising tracking codes, need to stay blocked until your visitor explicitly clicks “Accept” on your banner.
Step 4: Enable consent logging and audit trails
With your banner designed and your cookies categorized, turn on the logging capability. Your system now starts recording every choice your visitors make. It saves these events securely, giving you a clear audit trail you can search or export whenever you need to show a data protection authority you’re compliant.

Step 5: Configure Google Consent Mode v2 and GPC
To keep your marketing working correctly, turn on Google Consent Mode v2. This framework tells your Google tags how to behave based on the consent choices stored in your logs. If a user rejects analytics cookies, Google services run in a privacy-safe, cookie-less state. Make sure your banner also respects Global Privacy Control (GPC) signals sent automatically by modern privacy-focused browsers.
Step 6: Regularly audit your documented logs
Compliance isn’t a one-time task. Make it a habit to check your logs and run fresh cookie scans every month, especially after installing new WordPress plugins. This keeps your records accurate and stops rogue scripts from tracking your visitors without proper documentation.
Comparing Consent Documentation Tools in 2026
Choosing the right tool depends on your budget, your technical comfort, and how much control you want over your data. Here’s a factual, neutral comparison of the native Cookie Consent tool alongside other popular alternatives.
| Compliance Tool | WordPress Native Integration | Setup Time | Logging Capability | Primary Target Audience |
|---|---|---|---|---|
| Cookie Consent (Elementor) | Yes (Built directly in WordPress) | Under 5 minutes | Local secure logs with easy dashboard access | WordPress site owners and design agencies |
| Cookiebot | No (External cloud service) | Moderate (Requires script tags) | Cloud-hosted consent storage | Mid-to-large scale businesses |
| CookieYes | No (Cloud dashboard with connector) | Moderate | Cloud-based audit logs | Multi-platform website owners |
| Complianz | Yes (Dedicated local interface) | Moderate to high | Local WordPress database logs | Privacy-focused developer teams |
| iubenda | No (External legal generator) | High (Complex options) | Remote cloud logs | Legal teams and enterprise clients |
| OneTrust | No (Corporate SaaS platform) | Very high | Enterprise-level audit logs | Large corporations and legal divisions |
External platforms such as Cookiebot and CookieYes work well for multi-site setups outside of WordPress, and manage their settings through separate interfaces. For WordPress users, a native option like Cookie Consent keeps your design controls and privacy settings under one roof, which makes your daily workflow noticeably smoother.
Technical Best Practices for Safe Consent Logging
Keeping consent logs is a legal requirement, but doing it incorrectly can introduce new privacy and performance risks to your website. Following industry-standard technical practices keeps your site fast, secure, and fully compliant.
When you implement logging, your main goal should be protecting your database while still keeping clear records. Here’s how you can optimize your setup for long-term success.
Keep user data private and secure
To avoid security issues, keep your consent logs in a secure database table with restricted access. Use automated queries to hash or strip out IP addresses before they’re written to disk. Storing only a randomized Consent ID token in the user’s browser cookie, matched to a minimized database entry, protects visitor identity even if your site ever has a breach.
Preventing database bloat over time
If your WordPress site gets thousands of daily visitors, your consent log database can grow fast, and millions of log rows can slow backups and hurt performance. Set up an automatic cleanup routine to prevent this. Most privacy regulations only require holding consent logs for 12 to 24 months, so purging older, expired records automatically keeps your database light and fast.
Handle multi-regional compliance with ease
Different regions have very different privacy rules. Visitors from California expect opt-out settings under the CCPA, while European visitors need strict opt-in choices under the GDPR. Geo-targeting features let your site dynamically show the correct banner version to each user based on their location, while your logging system automatically records which regional framework applied to their session.
Common Consent Logging Mistakes to Avoid
Even well-meaning site owners can make simple mistakes setting up cookie tracking. Knowing what to watch for helps you sidestep issues during a privacy audit.
Watch for these pitfalls:
- Logging personal data – Writing full IP addresses or email addresses into your logs, which violates data minimization rules.
- Failing to block scripts – Letting advertising tags run before a visitor actually clicks the “Accept” button.
- Ignoring GPC signals – Forgetting to configure your system to recognize automated Global Privacy Control opt-out requests.
- Letting logs pile up – Never cleaning up old consent records, leading to slow database queries and high hosting costs.
- Skipping banner updates – Changing your privacy policy without updating your logged banner version, leaving you without proof of what visitors actually agreed to.
The native Cookie Consent tool from Elementor helps you avoid these common mistakes by handling the technical heavy lifting, so you can focus on growing your business and giving your audience a good experience.
Frequently Asked Questions
Do I really need to keep cookie consent logs?
Yes. Under the GDPR and other major privacy laws, the burden of proof is on you as the website owner. If a regulatory authority receives a complaint or decides to audit your business, you need to be able to produce documented, timestamped proof that your visitors chose to opt in to your tracking cookies.
How long should I keep my consent logs?
Most legal experts suggest holding onto your consent logs for at least 12 to 24 months. This duration generally covers the typical period during which a user can file a regulatory complaint. Check your local laws or consult with a legal professional to decide on the best retention policy for your business.
Can consent logs slow down my WordPress site?
They can, if you use poorly coded scripts or store heavy records in your primary database. Using a lightweight, native tool like Cookie Consent keeps your logging queries fast and optimized, so your site speed stays high and your database stays healthy.
What is Google Consent Mode v2 and do I need it?
Google Consent Mode v2 is a framework required by Google for any website using tools like Google Ads or Google Analytics to track visitors in the European Economic Area. It passes your user’s consent status from your banner directly to Google’s services, keeping your ads and analytics running in a compliant way.
Is the IP address of a visitor considered personal data?
Yes, European regulators view full IP addresses as personally identifiable information (PII). When documenting cookie consent, your logging system needs to anonymize or mask these IP addresses (for example, by removing the final octet) before saving them to your database.
How does a native cookie tool differ from a cloud solution?
External cloud systems require you to load third-party scripts, which can slow down your site and push you to manage settings on another platform. A native WordPress tool runs directly inside your dashboard, giving you complete control over your data, faster page loads, and a unified design experience.
Can I customize the look of my consent banner?
Absolutely. The native Cookie Consent tool lets you fully customize your banner’s layout, colors, typography, and buttons to match your branding. That means your compliance elements look like a natural part of your site design rather than an afterthought.


