Setting up tracking on your website used to be pretty straightforward, but privacy regulations have changed the game entirely. If you use Google Analytics or Google Ads and you’re serving visitors in the European Economic Area (EEA) or the UK, Google Consent Mode V2 isn’t optional anymore. It’s a firm requirement for keeping your tracking accurate and your site compliant. Don’t worry if this sounds highly technical. We’ll walk through the whole process together, step by step, so it’s easy to understand and easy to put into place on your WordPress site. By the end, you’ll have a compliant, fully functional setup running smoothly.
Key Takeaways
- Google Consent Mode V2 is mandatory for any WordPress website using Google services to target audiences in the EEA and UK.
- The setup requires two new consent signals: ad_user_data and ad_personalization, alongside traditional analytics signals.
- You can choose between Basic and Advanced implementation models depending on how you want to handle cookieless pings.
- Using a native tool like Cookie Consent simplifies the process by managing everything inside your WordPress dashboard.
- Testing your installation with Google Tag Assistant is essential to verify that tags fire only after proper user consent is given.
What is Google Consent Mode V2 and Why Is It Mandatory?
Google Consent Mode V2 is an updated communication framework designed by Google to help websites comply with strict privacy laws like the EU’s General Data Protection Regulation (GDPR) and the Digital Markets Act (DMA). Historically, when a user declined cookies on your website, your tracking tags stopped firing entirely. That left a massive gap in your data, making it incredibly difficult to measure conversion rates or understand user behavior accurately. Consent Mode was created to solve this problem by passing your users’ cookie choices directly to Google’s tags.
The system was updated to version two to address stricter enforcement rules under the DMA. Under this framework, Google requires websites to pass specific, detailed consent signals before they can use data for advertising or audience building. If your site doesn’t send these signals, Google won’t be able to track conversions from EU and UK visitors, and you won’t be able to build personalized audience lists for remarketing campaigns. Every business using Google Ads, GA4, or Floodlight tags on their WordPress site is affected.
To understand how this works, it helps to look at the specific parameters that Google Consent Mode V2 uses to read consent. There are four primary signals sent from your website to Google’s servers:
- ad_storage: Controls whether Google is allowed to store advertising-related cookies on the user’s device.
- analytics_storage: Controls whether Google can store analytics cookies to measure site traffic and user behavior.
- ad_user_data: Determines whether personal data can be sent to Google to assist with advertising profiles and conversion tracking.
- ad_personalization: Determines whether the user’s data can be used for personalized advertising, such as remarketing campaigns.
The addition of those last two signals is what makes version two unique. (This one trips a lot of people up, because many assume that managing basic cookie storage is enough. Google now requires explicit permission to use that data for ad targeting.) If your cookie consent banner doesn’t support these parameters, your advertising performance in European regions will drop significantly because Google will treat all unflagged traffic as non-consenting.
Basic vs. Advanced Consent Mode: The Core Differences
Before you configure anything on your WordPress dashboard, you’ll want to decide which implementation model fits your business goals and compliance needs. Google offers two distinct ways to run Consent Mode V2: the Basic model and the Advanced model. Both are valid, but they handle tracking and compliance differently.
In the Basic Consent Mode model, Google tags are completely blocked from loading until the user interacts with your consent banner and grants permission. If the user declines consent, no cookies are set and no data is sent to Google at all. It’s the most conservative approach to privacy, but it means you’ll have a complete blind spot for any visitor who clicks “No” on your banner. You’ll have to rely on rough statistical estimates to understand how your ads are performing for those visitors.
In the Advanced Consent Mode model, Google tags load as soon as a visitor lands on your site, even before they interact with the consent banner. If the user declines consent, the tags don’t store cookies. Instead, they send secure, anonymous signals called “cookieless pings” to Google’s servers. These pings contain basic, non-identifying information like device type, browser model, time of day, and country. Google uses this anonymous data with machine learning to model conversions and user behavior, helping you recover a meaningful portion of the lost data in your reports while still respecting user privacy choices.
| Feature | Basic Consent Mode | Advanced Consent Mode |
|---|---|---|
| Tag Loading | Tags only load after explicit consent is given. | Tags load immediately and adjust behavior based on consent. |
| Data Sent (Consent Denied) | No data or pings are sent to Google. | Anonymous, cookieless pings are sent to Google. |
| Conversion Modeling | Very basic modeling based on overall trends. | Detailed machine learning conversion modeling in Google Ads and GA4. |
| Compliance Risk | Extremely low, as no scripts run without consent. | Low, but requires a transparent privacy policy explaining cookieless pings. |
| Setup Complexity | Moderate, requires strict tag blocking triggers. | Slightly higher, requires tags to adapt dynamically. |
Choosing between these two models really comes down to your legal team’s interpretation of privacy guidelines and your tracking needs. Many site owners prefer the Basic model because it’s straightforward, while digital marketers often lean toward the Advanced model to keep advertising attribution accurate. Whichever path you choose, you can set it up successfully on WordPress with the right tools.
Prerequisites for a Successful Setup
Before we jump into the configuration steps, let’s make sure you have everything ready. Having these pieces in place beforehand will prevent configuration errors and save you plenty of time. (It’s simpler than it sounds, so don’t feel overwhelmed.)
To follow this guide, you’ll need the following prerequisites:
- WordPress Admin Access: You must have administrator privileges on your WordPress site to install or modify settings.
- A Google Tag Manager Container: A functioning Google Tag Manager account connected to your site is highly recommended for managing tags easily.
- An Active Google Analytics 4 Property: Your GA4 measurement ID must be active and ready to receive data.
- A Google Ads Account: If you run ads, have your conversion tracking IDs handy.
- A Compliant Consent Tool: You need a tool capable of reading and dispatching Consent Mode V2 signals.
When selecting a consent management tool, choosing a WordPress-native option like Cookie Consent from Elementor is a smart move. It lets you handle banners, cookie scanning, and consent logs directly from your WordPress dashboard without jumping between external web portals. That keeps your administrative work consolidated and your page speeds fast. Also worth checking: make sure your active Google tags are updated to the latest gtag.js version, because older legacy analytics scripts don’t support these modern consent signals.
Implementing Google Consent Mode V2 is no longer just a technical recommendation; it’s the baseline for modern digital marketing in privacy-conscious regions. Sites that fail to adapt will find themselves operating with blind spots in their analytics and advertising campaigns.
Itamar Haim, Web Compliance Specialist
Step-by-Step Guide: Configuring Google Consent Mode V2 on WordPress
Now that your prerequisites are ready, let’s walk through the steps to get Google Consent Mode V2 running on your WordPress site. We’ll cover the most efficient method, using a combination of a native cookie consent tool and Google Tag Manager. Follow these steps closely to make sure nothing gets missed.
Step 1: Run an Automatic Cookie Scan
Before you can ask visitors for consent, you need to know what cookies your website is actually setting. Many WordPress plugins install silent trackers for analytics, security, or social media integration, so the list might surprise you. Running an automatic scan categorizes these cookies into essential, analytical, and marketing buckets. Inside your WordPress-native Cookie Consent tool, locate the scanning feature and run a full audit of your site. Once the scan is complete, review the classified cookies and make sure they’re assigned to the correct categories.

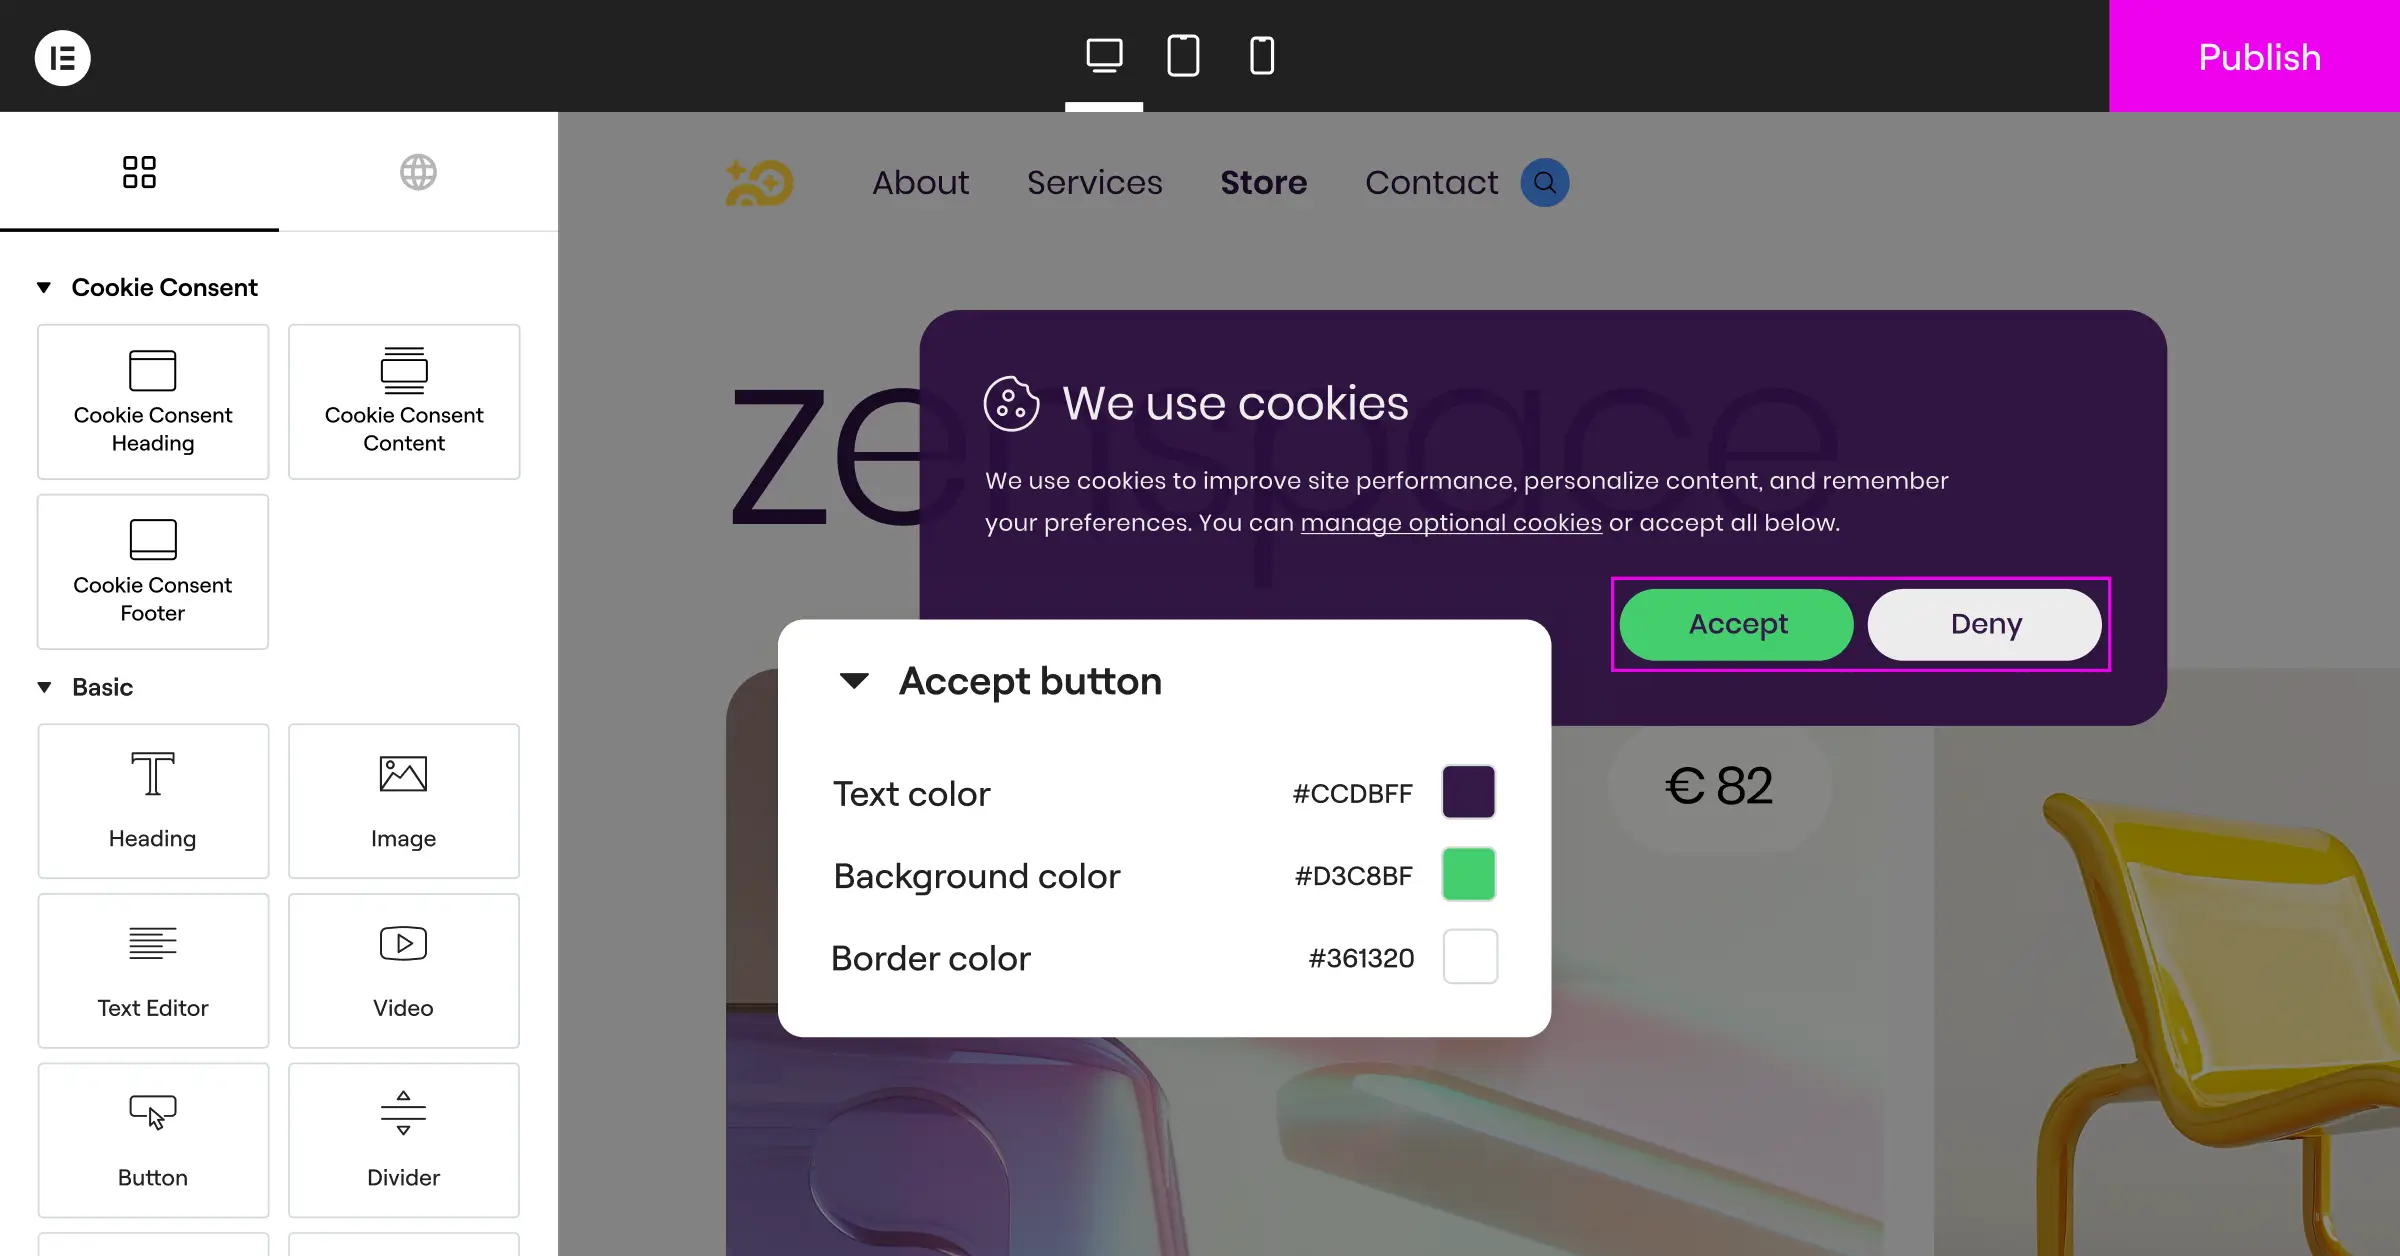
Step 2: Create and Design Your Consent Banner
Next, you’ll design a clear, user-friendly consent banner that matches your website’s branding. Your banner should give visitors a genuine choice: accept all cookies, reject all, or customize their preferences. To build visitor trust, steer away from deceptive design practices like making the “Reject” button tiny or hard to find. Both options should be equally visible and accessible. Within the Cookie Consent interface, use the design settings to match your site’s color schemes, typography, and button styles. Keep the layout responsive so it looks great on mobile and desktop alike.
When writing the banner copy, keep it clear and friendly. Here’s a solid example of standard, compliant banner text:
“We use cookies to improve your browsing experience, analyze site traffic, and serve personalized ads. By clicking ‘Accept All’, you consent to our use of cookies. You can manage your preferences or change your settings at any time.”
Step 3: Define Your Default Consent States
To comply with privacy laws like GDPR, your website must block non-essential tracking by default until the visitor actively opts in. That means your default state needs to be set to “denied” for all marketing and analytics parameters. When you use a modern cookie consent tool, you can define these default states in the settings. The tool automatically injects a script before your Google tags load, telling Google’s servers that consent is denied by default. As soon as the user clicks “Accept”, the tool updates those states to “granted”, allowing Google to begin its normal tracking sequence.
Step 4: Enable Consent Mode V2 Integration
This is where things come together nicely. In your Cookie Consent settings dashboard, find the toggle labeled “Google Consent Mode V2” and switch it on. When enabled, this feature automatically writes the required JavaScript to your site’s header. It translates user selections from your banner into the specific ad_user_data, ad_personalization, analytics_storage, and ad_storage signals that Google requires. You won’t need to write custom code or wrestle with complex JavaScript APIs manually.
Step 5: Configure Google Tag Manager Settings
If you use Google Tag Manager to handle your scripts, you’ll want to make sure GTM is configured to respect the incoming consent signals. Here’s a simple process to follow inside your GTM container:
- Navigate to your GTM Container Settings, check the box labeled Enable consent overview, and save your changes.
- Open your Google Analytics 4 configuration tag or your Google Ads conversion tag.
- Scroll down to the Advanced Settings dropdown menu and open the Consent Settings section.
- Select Require additional consent for tag to fire, and specify which consent types (such as
analytics_storageorad_storage) are required for that specific tag. - Save your tag and get ready to test your changes.
This setting acts as an internal gatekeeper inside GTM. Even if a trigger tells a tag to fire, Tag Manager will block it if the corresponding consent parameter is set to “denied”. It’s a solid safety net that prevents compliance leaks from slipping through.
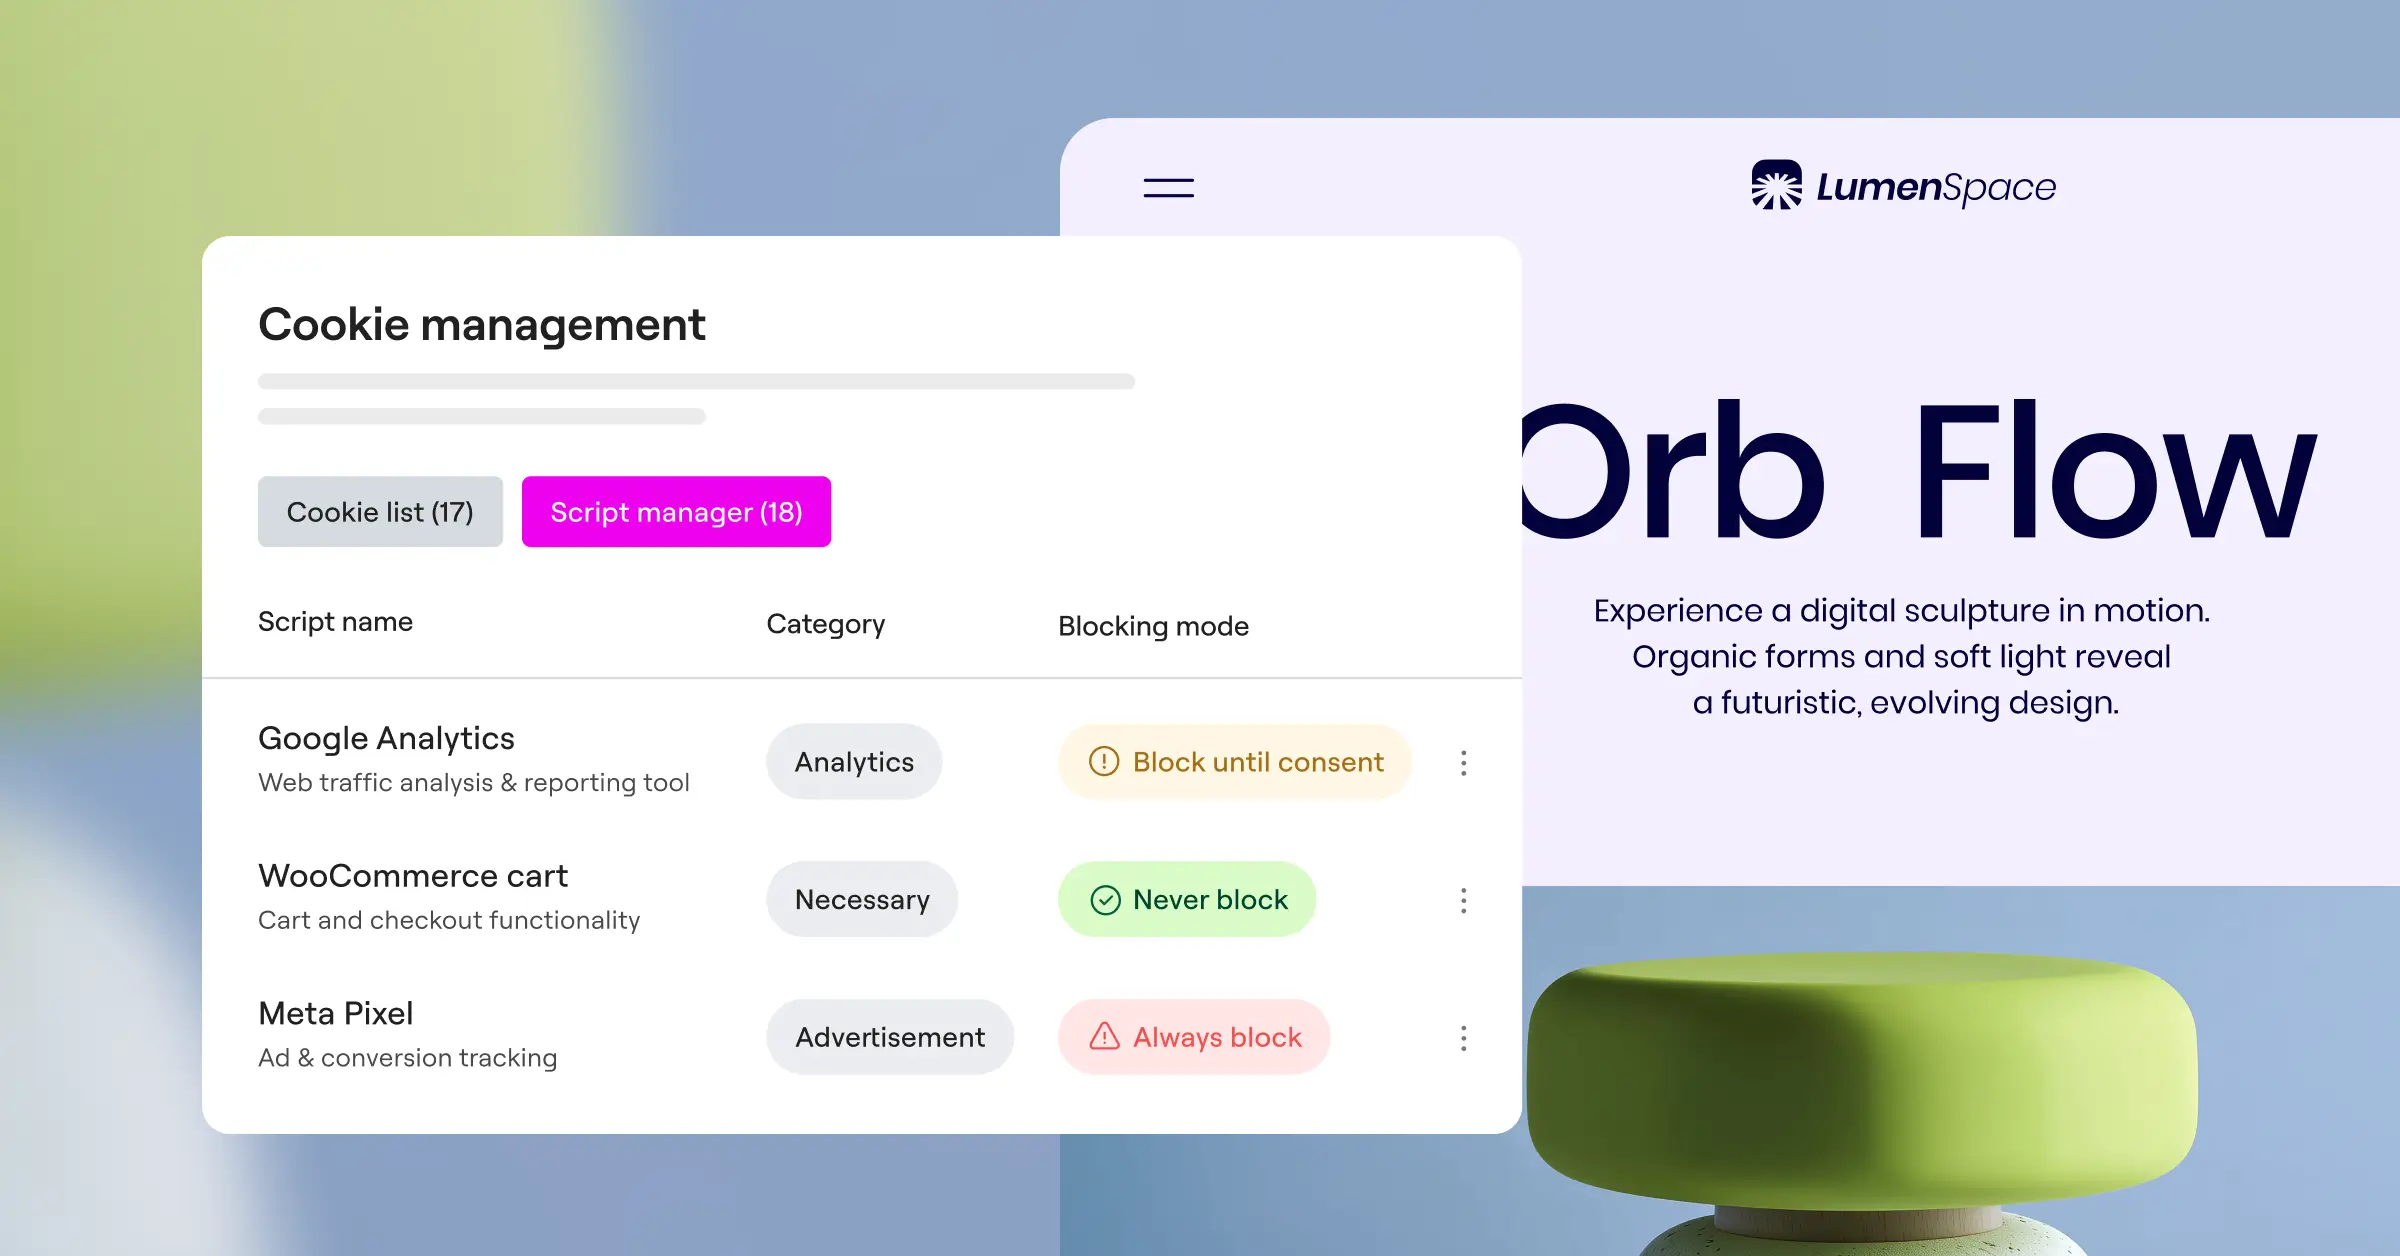
Step 6: Handle Third-Party Script Blocking
While Google tags are the primary focus of Consent Mode V2, your site likely uses other scripts too, like the Meta Pixel, Pinterest tags, or Hotjar tracking. You’ll want to tie these third-party scripts to your consent banner as well. Most quality WordPress consent tools let you wrap these scripts in simple helper functions or assign them to categories like “Marketing” or “Analytics” directly from your dashboard. This brings all your trackers under one compliant system, so nothing fires outside the visitor’s chosen preferences.
Testing and Verifying Your Consent Mode V2 Setup
Once you’ve configured Consent Mode, you’ll want to verify it actually works before publishing your changes live. Skipped testing is one of the biggest reasons sites fail privacy audits (and it’s an easy step to skip when you feel like you’re almost done). Fortunately, Google provides excellent debugging tools to check your work.
To verify your setup, we’ll use Google Tag Assistant. Here’s how:
- Go to Google Tag Assistant and enter your website’s URL to start a debugging session.
- A new window will open displaying your site with your cookie consent banner visible. Don’t interact with the banner yet.
- Return to the Tag Assistant tab and select the first Consent Initialization or Page View event in the left-hand menu.
- Click the Consent tab at the top of the interface. You should see all parameters listed with their On-page Default set to “Denied”.
- Now return to your website window and click “Accept All” on your banner.
- Go back to Tag Assistant, select the most recent event, and check the Consent tab again. The On-page Update column should now show “Granted” for all tracking categories.
If you see those values shift correctly from denied to granted, your setup is working exactly as it should. Run a second test where you select “Reject All” to confirm that the parameters stay denied and no cookies appear in your browser’s developer tools under the Application tab. Once everything is behaving as expected, go ahead and publish your Google Tag Manager container and save your final WordPress settings.
Managing Regional Rules and Consent Logs
Privacy regulations aren’t the same everywhere. The European Union enforces strict “opt-in” rules where tracking must be blocked by default, but regions like the United States lean more toward “opt-out” models where tracking is allowed until a visitor explicitly requests otherwise. Showing a highly restrictive European banner to a visitor from Texas can hurt your user experience and lower your marketing data collection unnecessarily.
A good cookie consent tool should offer geo-targeting capabilities to handle this gracefully. The tool detects the visitor’s geographic location based on their IP address and serves the right version of the banner for their region. Visitors from the EU see a strict GDPR-compliant banner with all cookies off by default, while visitors from other regions may see a simplified notification or nothing at all. This keeps your compliance strong where it matters most while letting you collect good data elsewhere.
Beyond displaying the banner, you also need to be ready to prove you’re respecting user choices if you’re ever audited by a data protection authority. That means keeping secure, anonymous consent logs. A consent log should record:
- Anonymized IP Address: Verifies the general location without storing personal identifying data.
- Timestamp: The exact date and time the user made their choice.
- Consent State: Records which categories the user accepted or rejected.
- Consent ID: A unique, randomized identification number assigned to that specific user session.

Using the Cookie Consent capability built into the Elementor ecosystem simplifies this completely. Because it’s WordPress-native, consent logs save directly inside your own WordPress database. You don’t need an expensive external cloud logging service, and you don’t have to worry about third-party data leaks. It keeps your compliance safe, local, and easy to manage.
Comparing WordPress Methods for Consent Mode V2
When it comes to implementing Consent Mode V2 on WordPress, you’ve got several paths to choose from. Here’s a straightforward comparison of the three main implementation methods to help you pick the right fit for your skill level and site needs.
| Method | Implementation Effort | Speed Performance | Features Included | Best For |
|---|---|---|---|---|
| WordPress-Native Tools (e.g. Cookie Consent) | Low (Under 5 minutes) | Excellent (No external cloud script bloat) | Auto-scanning, styling, GTM bridge, local logs, geo-targeting. | Site owners and agencies wanting a fast, simple, and self-hosted setup. |
| External Cloud SaaS Widgets | Moderate (Requires external scripts) | Variable (Can slow down page load times) | High compliance features, but settings are split across different sites. | Large enterprises managing compliance across dozens of different platforms. |
| Custom Theme Coding (Gtag.js) | High (Requires developer skills) | Excellent (Minimal clean code) | None, you must write all banner designs and tracking variables yourself. | Advanced developers who want complete control and have hours to code. |
For most WordPress site owners, using a native tool like Cookie Consent strikes the right balance. It avoids the page-load penalties that come with heavy external cloud widgets, and it spares you from writing hundreds of lines of complex custom code in your theme’s functions.php file. It’s built to work smoothly with your existing setup and makes the path to full compliance genuinely stress-free.
Frequently Asked Questions
What happens if I don’t configure Google Consent Mode V2 on my WordPress site?
If you skip Google Consent Mode V2, Google will disable your ability to track conversions and build remarketing lists for audiences in the EEA and UK. Over time, your Google Ads campaigns will underperform because the algorithms won’t have the data they need to optimize your targeting. Your Google Analytics 4 reports will also show inaccurate visitor numbers and conversion rates for European traffic.
Do I need Google Tag Manager to use Google Consent Mode V2?
No, you don’t strictly need Google Tag Manager, but it makes the whole management process much easier. If you’re not using GTM, your cookie consent tool can inject the required gtag.js code directly into your WordPress site header. If you’re using a native cookie consent capability, it can write these signals directly to your hardcoded Google Analytics tracking script without any GTM configuration needed.
What is the difference between ad_user_data and ad_personalization?
These two parameters manage different aspects of Google’s advertising features. The ad_user_data parameter determines whether you have permission to send user-specific data (like an email address or phone number) to Google for conversion tracking. The ad_personalization parameter determines whether that user’s data can be used to serve them targeted ads later, which matters a lot for remarketing campaigns.
Is Google Consent Mode V2 required for US-only websites?
If your site only targets visitors in the United States and blocks traffic from the EEA and UK, Consent Mode V2 isn’t strictly required by Google yet. But US states are passing their own privacy laws at a steady pace, including the CCPA/CPRA in California. Setting things up now keeps your site ready for future compliance shifts and builds stronger trust with your visitors regardless of where they are.
How does Advanced Consent Mode model missing data?
When a user declines consent in Advanced Consent Mode, your tags send anonymous cookieless pings instead of storing tracking cookies. Google collects these basic signals and compares them with historical data from users who did consent. Using machine learning, Google then models the missing visitor behavior and conversions, restoring valuable reporting insights in your GA4 and Google Ads accounts.
Will implementing Consent Mode V2 slow down my WordPress site?
It depends on the tools you use. If you go with a heavy external SaaS widget, the extra cloud API calls can cause noticeable script delay and hurt your PageSpeed scores. But if you use a WordPress-native capability like Cookie Consent from Elementor, the scripts run locally from your server. That keeps your site fast, lightweight, and responsive.
What are the primary indicators of a broken Consent Mode setup?
The most common sign of a broken setup is seeing “consent not detected” warnings inside your Google Ads diagnostic panel or your GA4 stream status. You can also spot problems during testing if Tag Assistant shows default consent states as “granted” before any visitor interacts with your banner. That means cookies are being dropped before consent is given, which creates real compliance risk.
Do I still need a privacy policy page if I set this up?
Yes, absolutely. Google Consent Mode V2 is a technical mechanism for passing user choices to Google, but it doesn’t replace your legal obligations. You still need a detailed privacy policy and cookie policy page on your WordPress site. Your policies should clearly explain how you collect data, what cookies are used, what cookieless pings are sent, and how visitors can manage or revoke their consent at any time.
How often should I scan my WordPress site for new cookies?
You should run a cookie scan at least once a month, or whenever you install a new WordPress plugin. Many plugins quietly add trackers to your site without making it obvious, like social sharing buttons or spam prevention tools. Regular scans keep your cookie banner categorizations accurate and your compliance solid year-round.


