If you design websites for a living, you already know that privacy compliance isn’t optional anymore. Visitors expect clear choices, and global privacy laws require them. But finding a balance between a gorgeous design and strict legal requirements can feel genuinely daunting. You don’t want a clunky, generic popup ruining the beautiful layout you’ve built in Elementor. The good news is you don’t have to choose between beauty and compliance. We’ll walk through the best tools to keep your site compliant while keeping your design looking exactly right, with options for every kind of site and budget.
Key Takeaways
- Native tools win on speed – Using a native compliance tool keeps your site fast by avoiding heavy external JavaScript.
- Google Consent Mode v2 is essential – If you use Google Ads or Analytics for European visitors, your banner must support this standard.
- Design control matters – Your consent banner is the very first thing visitors see, so it needs to match your brand style.
- Keep compliance inside WordPress – Managing consent logs and cookie lists directly in your dashboard saves hours of admin work.
Why Privacy Banners Are Critical in 2026
The rules of the web have changed significantly over the last few years. Privacy regulators around the globe are taking user consent seriously, and the days of a simple “we use cookies” notice are long gone. Today, visitors need granular control over exactly which trackers they allow on their browsers. Whether you run an e-commerce store, a client site, or even a personal blog, you need a system that actively blocks scripts until the user gives the go-ahead.
To help you get your head around the modern requirements, here are three essential steps when setting up your site’s privacy system:
- Audit your tracking scripts – Identify every cookie your site drops, from Facebook Pixels to Google Analytics.
- Adopt Google Consent Mode v2 – Link your banner directly to Google tag systems so data is handled correctly based on visitor choices.
- Maintain a secure consent log – Keep a record of visitor choices to prove compliance if a regulatory authority ever asks.
This sounds like a lot of work, but modern tools simplify the process considerably. The ideal setup integrates cleanly with your builder so you don’t have to jump between different platforms just to change a button color.
“True web compliance isn’t about slapping a generic banner on your footer and hoping for the best. It’s about respecting user choice with a clear, accessible interface that works smoothly alongside your site’s technical architecture.”
– Itamar Haim, Web Compliance Specialist
How the Leading Tools Compare
Before we look at the detailed reviews, here’s a quick comparison of how these top solutions stack up. Whether you prefer everything managed inside your WordPress dashboard or need an enterprise-grade cloud solution, this table gives you a solid starting point.
| Tool Name | WordPress Native Dashboard? | Google Consent Mode v2? | Design Customization | Best For |
|---|---|---|---|---|
| Cookie Consent (by Elementor) | Yes (Fully Native) | Yes | Excellent (Native Editor) | Elementor users wanting a unified setup |
| Cookiebot | No (External Cloud) | Yes | Moderate (Requires CSS) | Large corporate websites with multi-site networks |
| CookieYes | Hybrid (Cloud Sync) | Yes | Good | Users looking for a quick cloud dashboard setup |
| Complianz | Yes | Yes | Good | Websites needing a wizard-style setup assistant |
| iubenda | No (External Cloud) | Yes | Moderate | Teams needing complete legal policy generation |
| Termly | No (External Cloud) | Yes | Basic | Small business owners needing legal templates |
| OneTrust | No (Enterprise Cloud) | Yes | Advanced (Complex) | Enterprise teams with dedicated compliance officers |
| Osano | No (External Cloud) | Yes | Moderate | Organizations focused on vendor monitoring |
| GDPR Cookie Consent | Yes | Yes | Basic | Sites looking for a straightforward, simple banner |
| Real Cookie Banner | Yes | Yes | Advanced | Developers looking for deep technical customizations |
The 10 Best Cookie Banner Options Reviewed
Let’s look closely at the top options on the market. We’ll focus first on native performance and smooth workflows, since those keep your site light and fast.
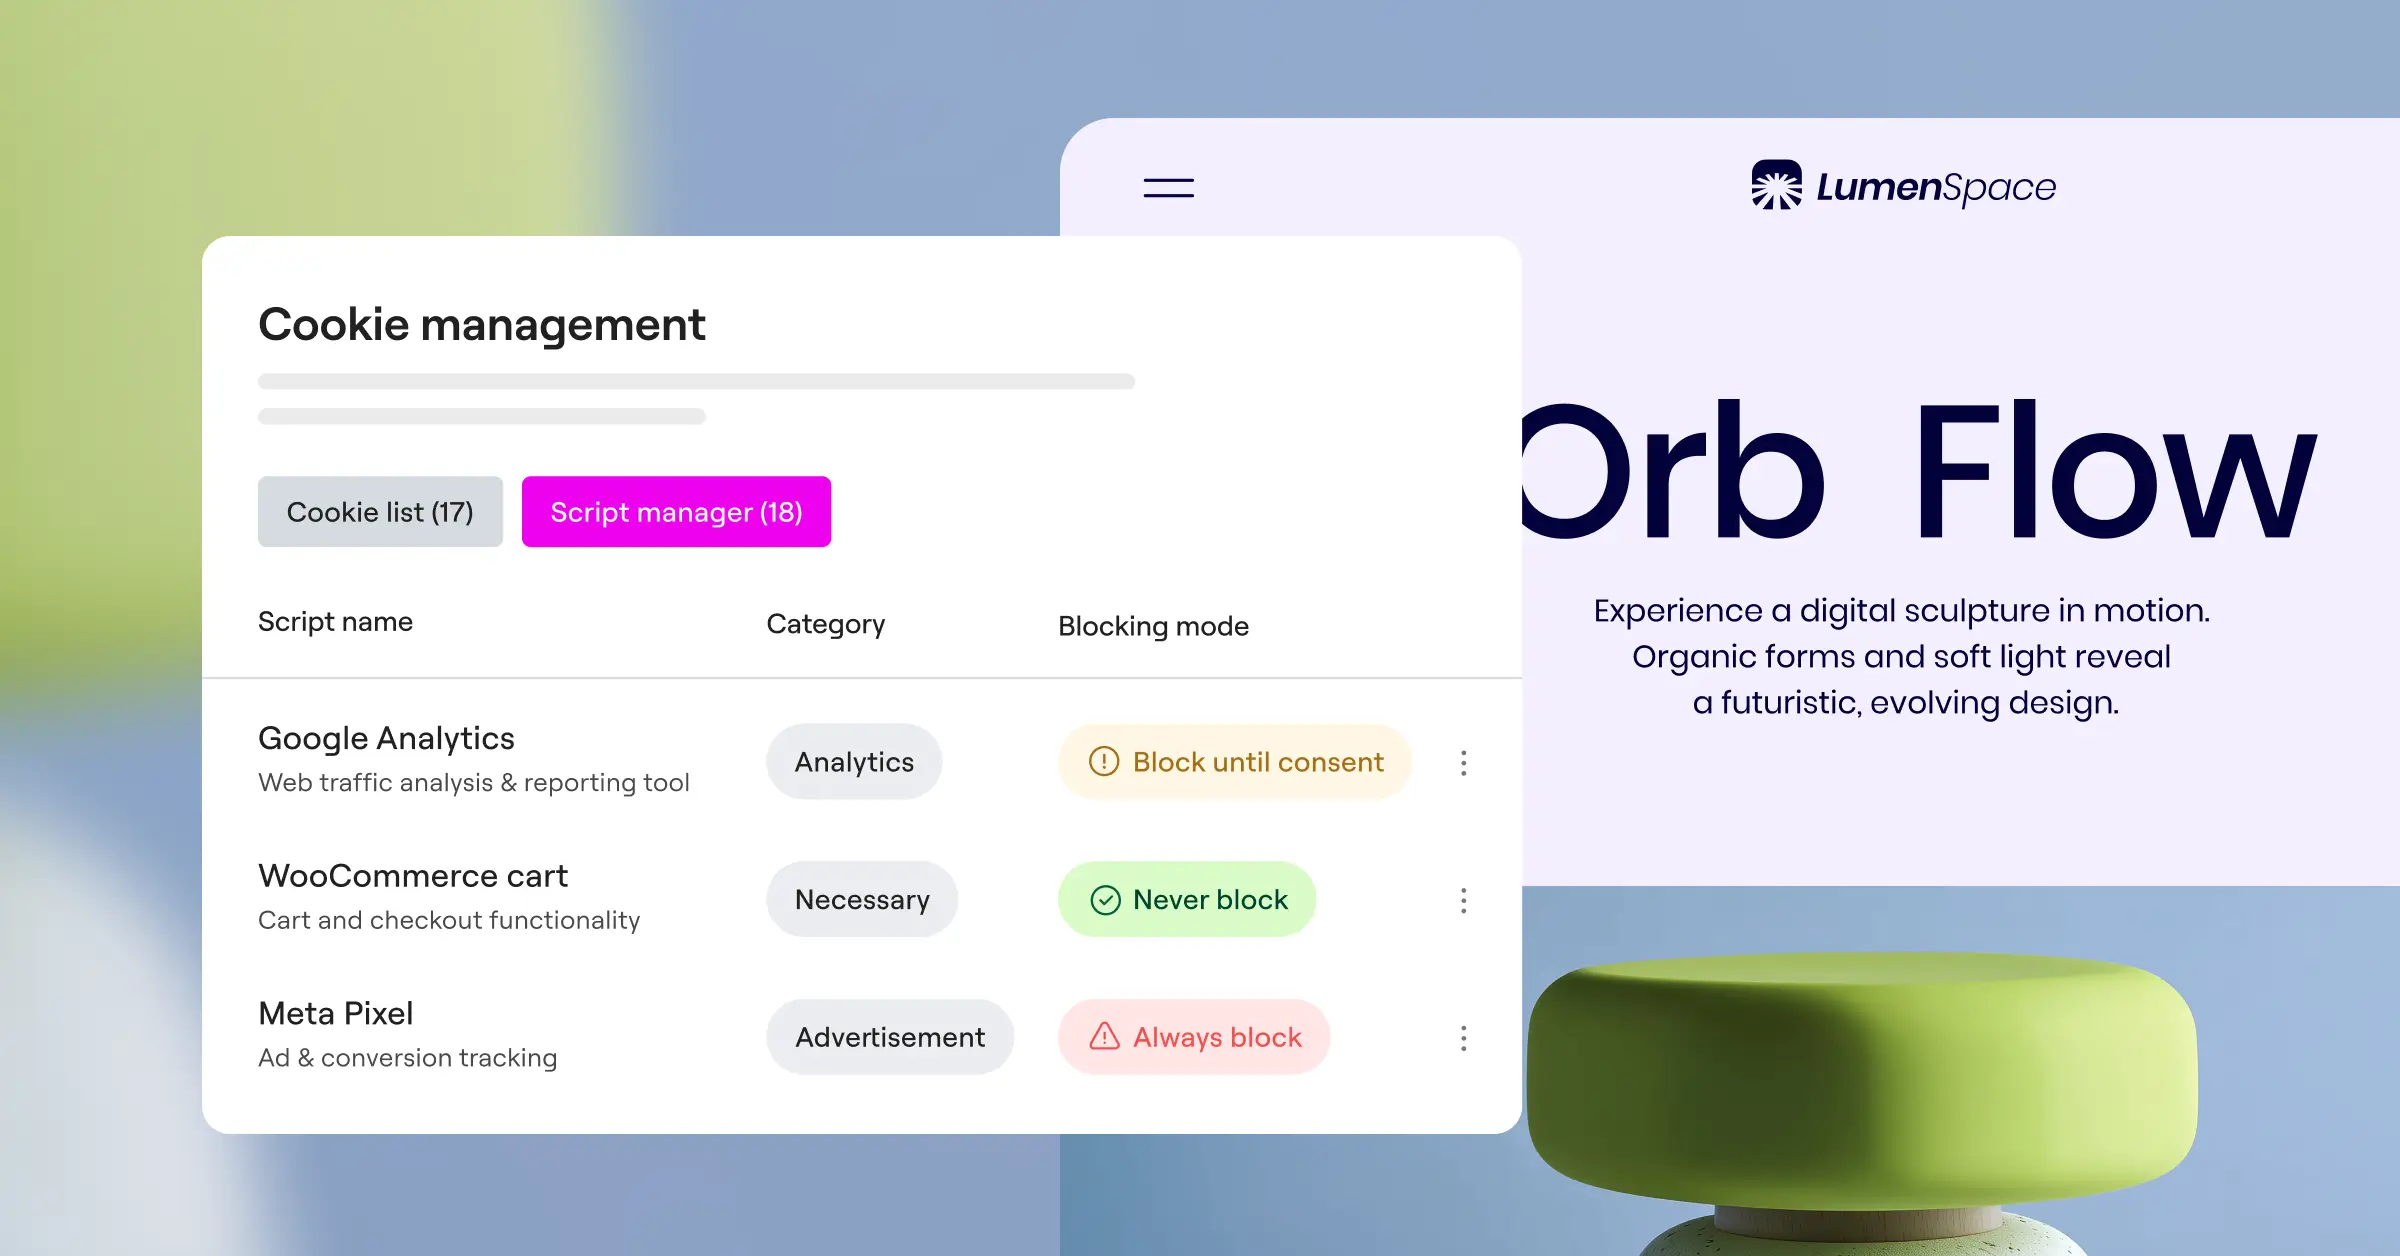
1. Cookie Consent (by Elementor)
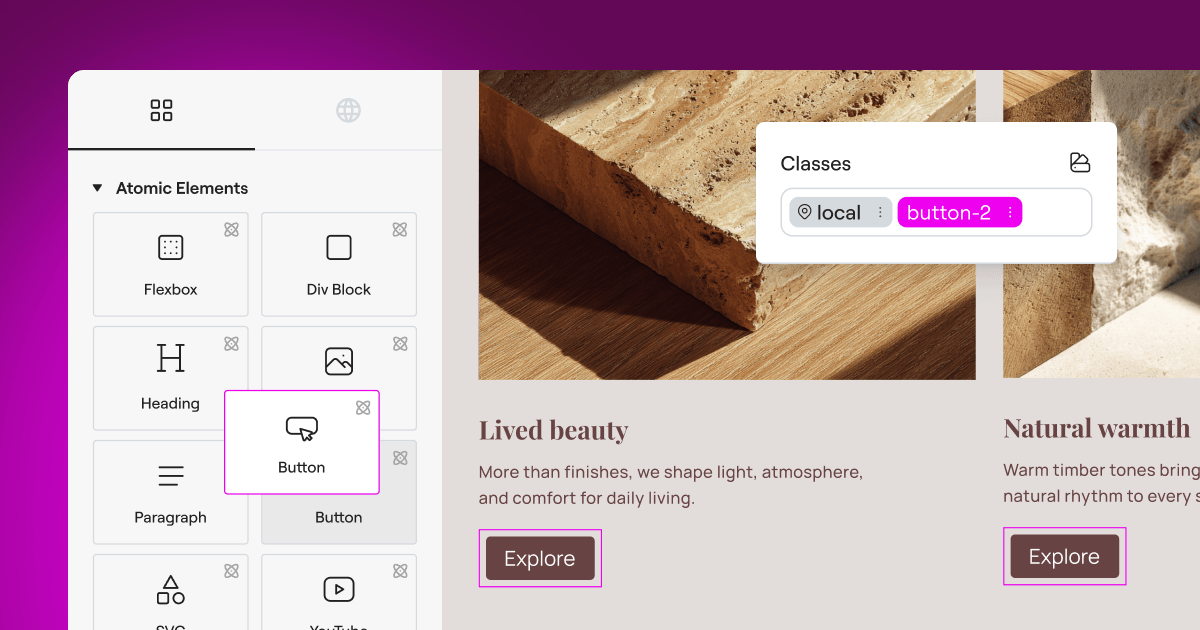
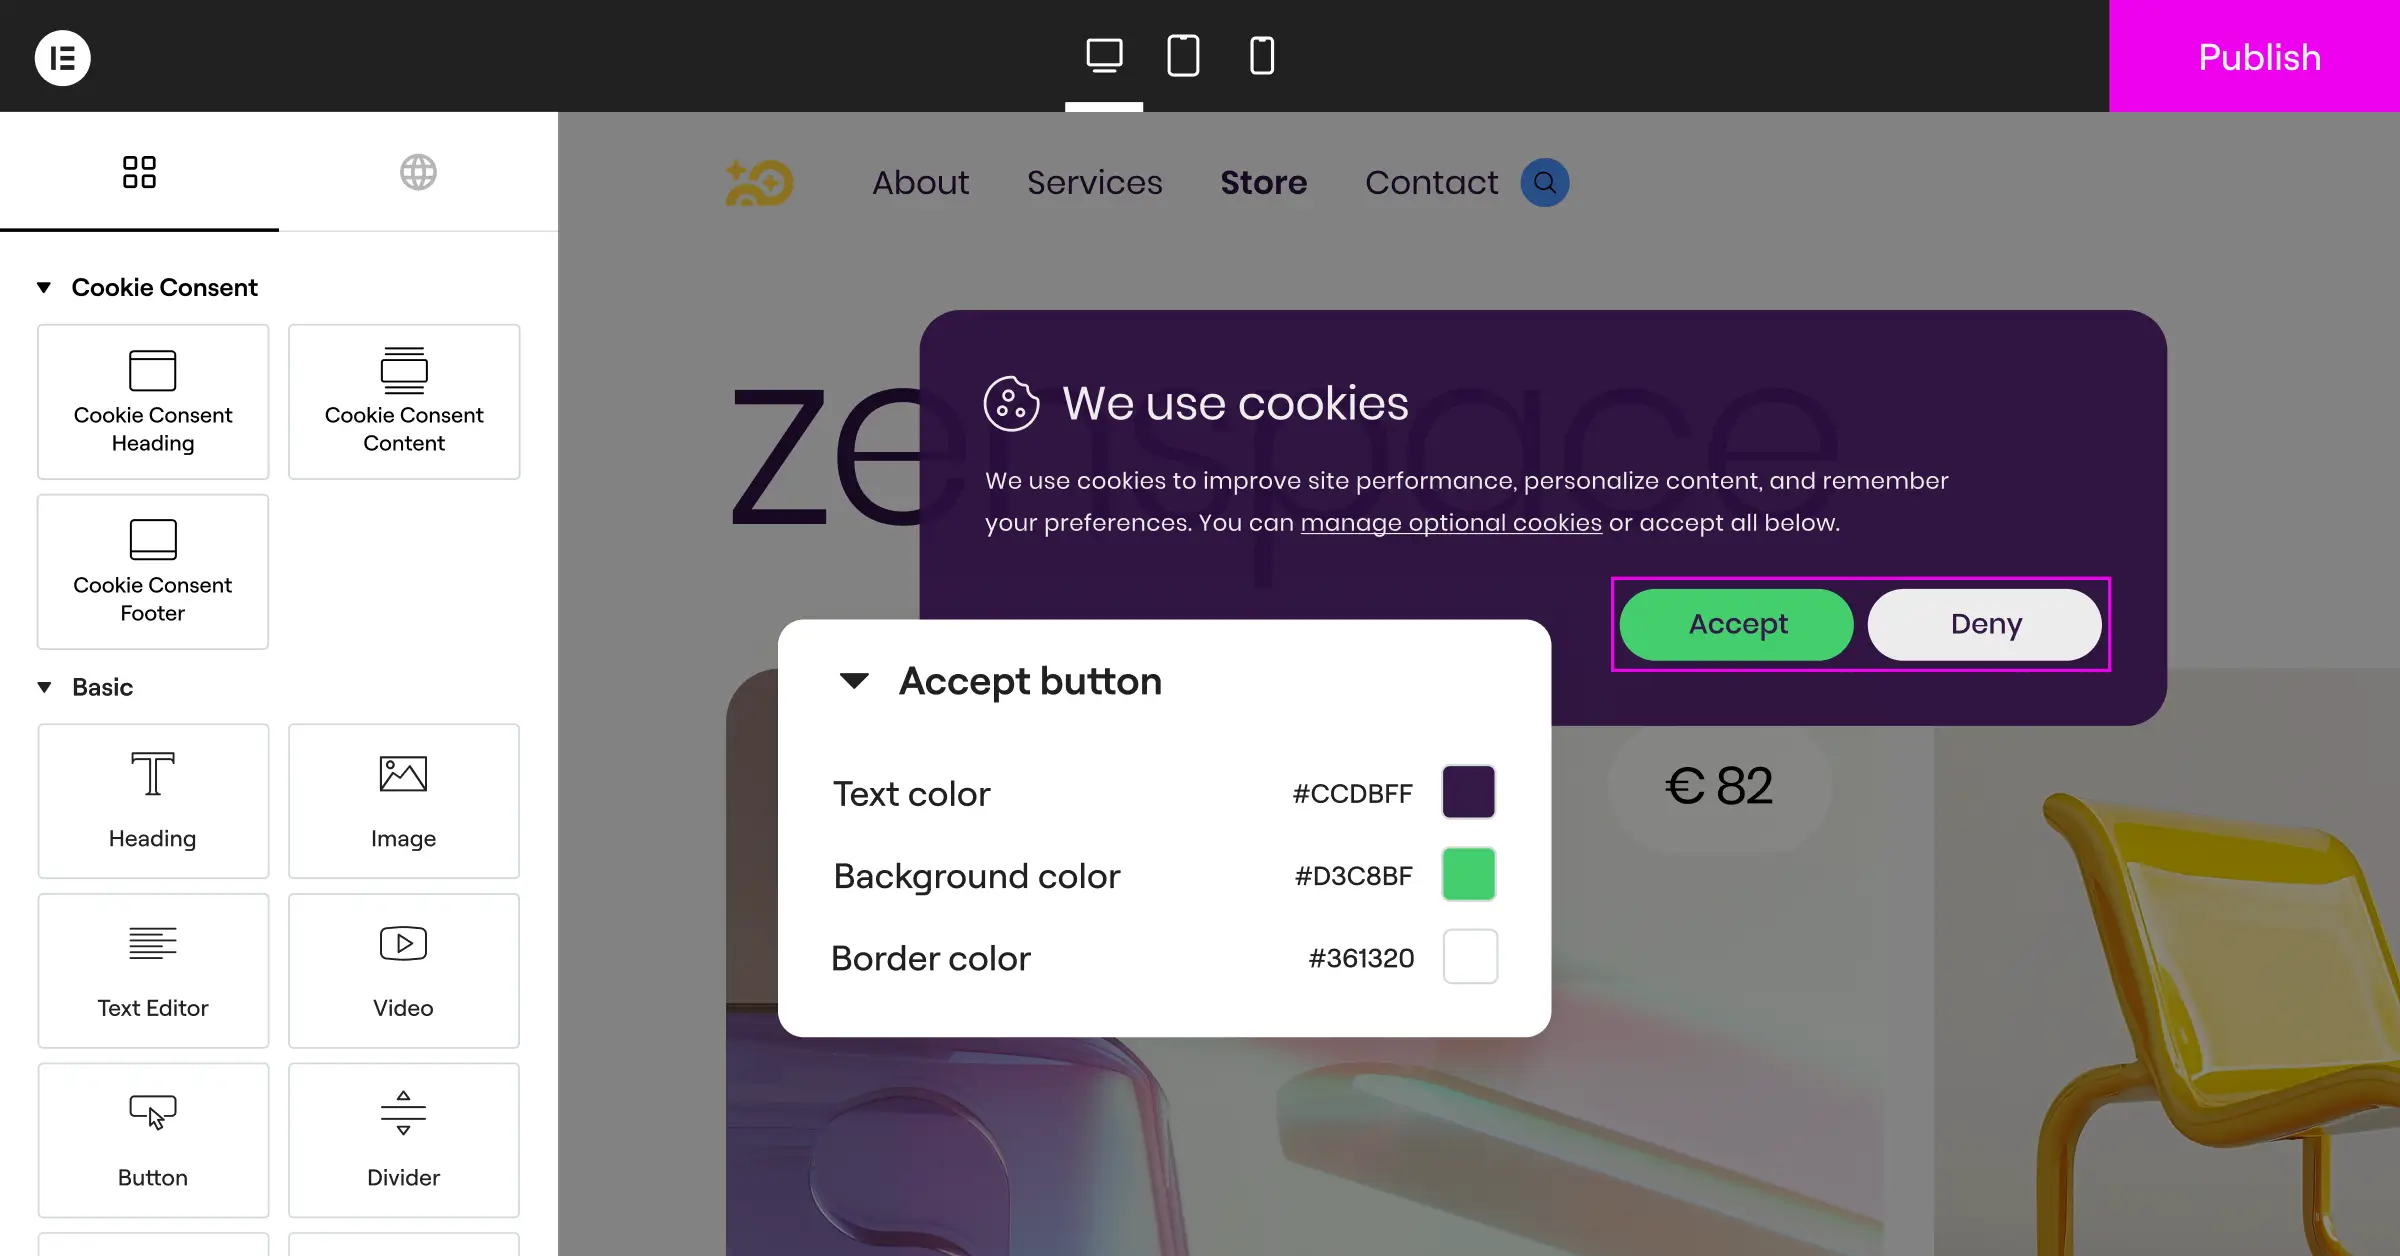
If you’re already building sites with Elementor, the easiest way to handle user privacy is with Cookie Consent. It’s not a separate tool that clutters your backend, but a built-in capability designed to manage GDPR and CCPA compliance directly from your WordPress dashboard. You can say goodbye to jumping between external platforms, copy-pasting API keys, or dealing with broken designs.
The appeal of this built-in feature lies in its simplicity. You can set up your entire consent experience in under five minutes. Because it’s deeply integrated into the Elementor ecosystem, your banner inherits your theme styles naturally, so you won’t need to write a single line of custom CSS to get the buttons matching your brand typography. It keeps your site legal and your design exactly as you intended.

- Manages compliance options straight from your native WordPress dashboard.
- Builds beautiful banners using your existing brand design styles.
- Saves historical records to maintain reliable audit trails.
- Supports Google Consent Mode v2 automatically for marketing tags.
- Blocks unrecognized scripts from executing until visitor consent is given.
- Provides geo-targeting options to display banners only where needed.
For agencies and professional designers, this built-in capability offers real value without extra subscriptions for every client site.
Pros & Cons
- Pro – Zero dashboard bloat, since everything runs inside WordPress.
- Pro – Fast loading times because there are no heavy external cloud dependencies.
- Pro – Intuitive interface that matches the editing experience you already know.
- Con – Best suited for sites actively using Elementor rather than generic HTML sites.
Our Verdict: This is the top choice for web designers on WordPress. It removes the friction of compliance by keeping your whole workflow under one roof. You can learn more about Cookie Consent on the Elementor features page.
2. Cookiebot
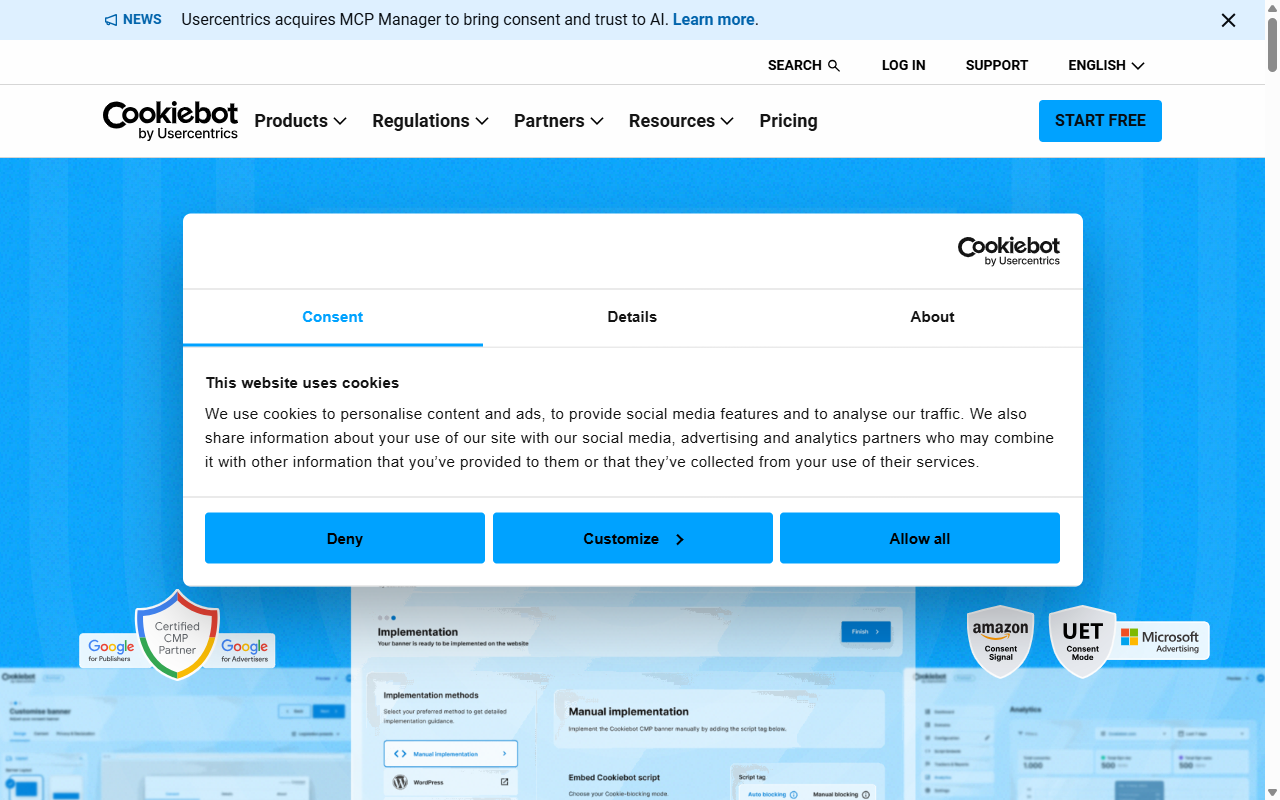
Cookiebot is a widely recognized cloud-based platform designed to handle cookie compliance across multiple websites. It uses an automated scanner to crawl your site every month, identifying and cataloging every tracker it finds. That makes it a practical choice for site owners who want a hands-off approach to keeping their privacy disclosures current.
The main setup happens outside of WordPress on the Cookiebot website. Once configured, you copy a script or use their integration tool to render the banner on your site. It works reliably, though customizing the layout can be a bit tricky if you aren’t comfortable editing CSS directly.
- Scans your entire website every month to discover new cookies.
- Generates automatic reports for your cookie policy page.
- Stores consent choices securely in a protected cloud database.
- Adapts to different regions using global IP address detection.
- Shares consent preferences across multiple domain names smoothly.
Pros & Cons
- Pro – Highly automated scanning saves time on large, dynamic websites.
- Pro – Reliable compliance standards maintained by privacy legal experts.
- Con – The external dashboard can make quick design tweaks a slower process.
- Con – Monthly costs can grow quickly if your site has hundreds of pages.
Our Verdict: A solid, automated option for large multi-site setups and corporate portals that need hands-free monthly audits.
3. CookieYes
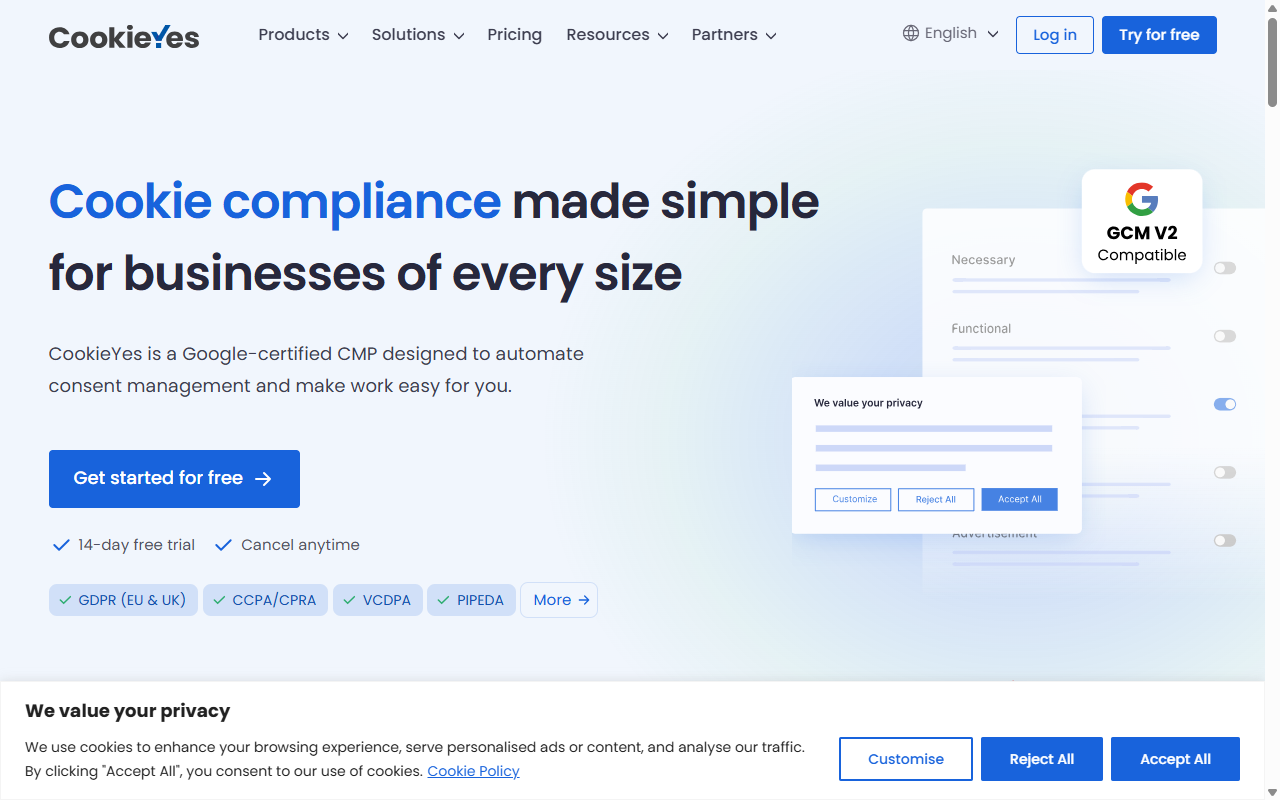
CookieYes is a hybrid consent platform that combines a WordPress plugin with a powerful cloud dashboard. It’s gained a large following because it supports almost every major compliance standard out of the box, including GDPR, CCPA, and LGPD. The user interface is clean, making it straightforward to manage cookie categories like functional, analytical, and advertisement trackers.
Setting up CookieYes is relatively quick. You can pick from pre-built banner templates and adjust colors to fit your site. It also handles script blocking efficiently, preventing third-party code from running until the visitor interacts with your banner.
- Categorizes scripts automatically using an extensive online database.
- Displays clean, responsive banners optimized for mobile viewports.
- Tracks user consent actions with an analytics dashboard.
- Allows visitors to adjust their preferences at any time.
- Integrates cleanly with popular tag management systems.
Premium plans add custom branding options, geo-targeting, and expanded scanning limits.
Pros & Cons
- Pro – Intuitive setup process with modern, clean templates.
- Pro – Good automatic categorization of common web trackers.
- Con – Connecting to an external cloud database is required for full analytics.
- Con – The entry-level plan displays a badge that some designers may find distracting.
Our Verdict: A solid middle-ground option if you want a simple setup with a dedicated dashboard for reviewing user consent rates.
4. Complianz

Complianz is a privacy suite built for the WordPress ecosystem. Rather than just showing a banner, it guides you through a detailed questionnaire about your business, site, and data handling. Based on your answers, it generates legal documents and configures your banner settings automatically.
This localized approach means all your compliance data stays inside your own database. It handles regional privacy laws well, showing different settings to visitors from California versus those from Germany.
- Generates customized legal documents based on your local business model.
- Configures targeted banners based on specific geographic requirements.
- Detects localized tracking scripts dynamically in your code.
- Syncs smoothly with major translation tools for multilingual setups.
- Provides native integrations with many popular WordPress contact forms.
A free version is available at WordPress.org. The premium version unlocks advanced legal documents, regular cookie scans, and specialized country-specific settings.
Pros & Cons
- Pro – Completely native to WordPress, keeping your data private and local.
- Pro – Step-by-step wizard approach is thorough and reassuring to work through.
- Con – The interface can feel overwhelming given the volume of legal questions involved.
- Con – Banner customization tools require some practice to master.
Our Verdict: A great pick for WordPress users who want deep legal guidance and local data storage without depending on external cloud APIs.
5. iubenda
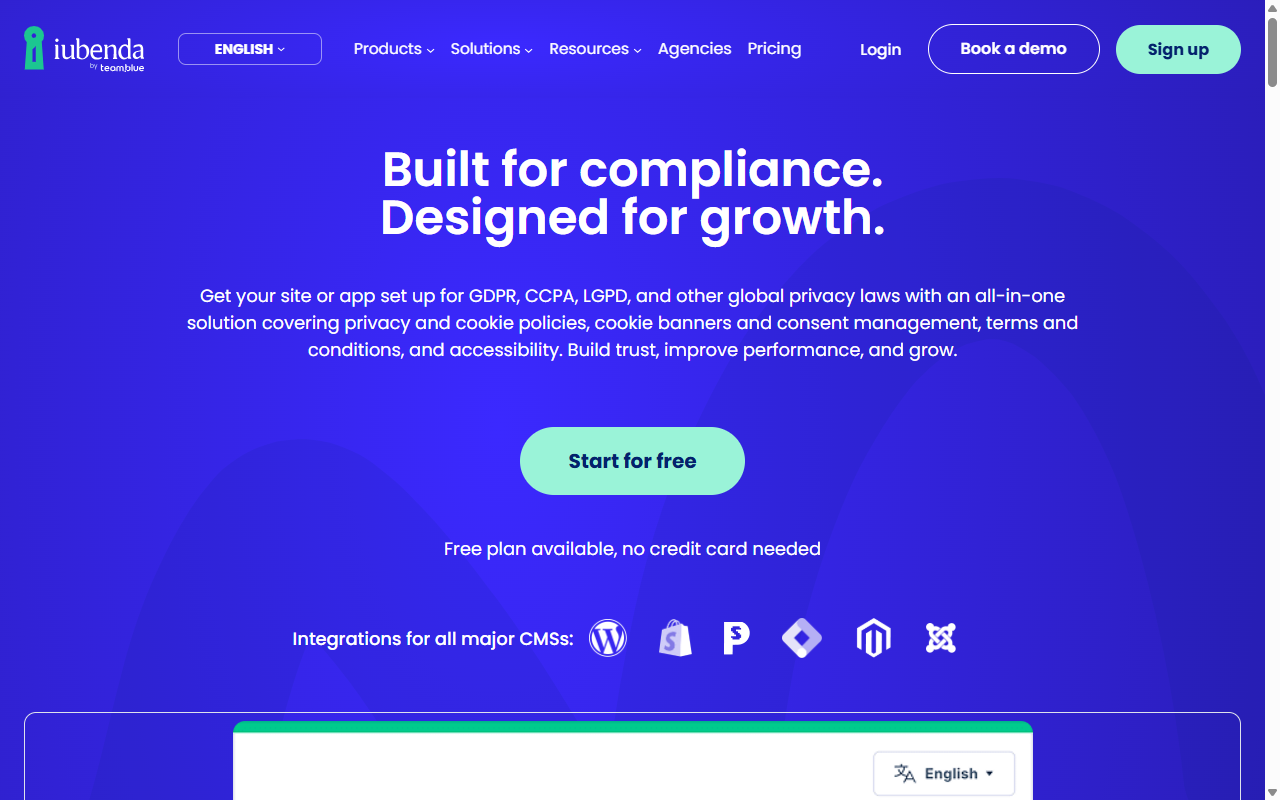
iubenda is a compliance platform covering cookie consent, privacy policies, terms of service, and data consent mapping. It’s designed as a complete solution for websites of all sizes, managed by privacy professionals who update terms as global laws shift.
Because it’s a cloud service, you design your banner inside the iubenda portal and copy a small embed code to go live. When a privacy law changes, iubenda updates the banner and policy content automatically.
- Auto-updates policies whenever international regulations change.
- Generates legal documents that connect directly with your banner.
- Handles consent tracking for mobile apps alongside your website.
- Blocks scripts dynamically before user consent is confirmed.
- Saves digital records of all user consent actions.
Pricing uses license slots based on your site’s complexity, page views, and the legal documents you need.
Pros & Cons
- Pro – Thorough legal protection that updates automatically as laws change.
- Pro – Dynamic legal document generation alongside the banner.
- Con – Pricing tiers may feel complex for sites with variable traffic.
- Con – The design editor is somewhat rigid compared to native WordPress tools.
Our Verdict: A dependable tool for agencies that build complex international sites and want auto-updating legal terms built right in.
6. Termly
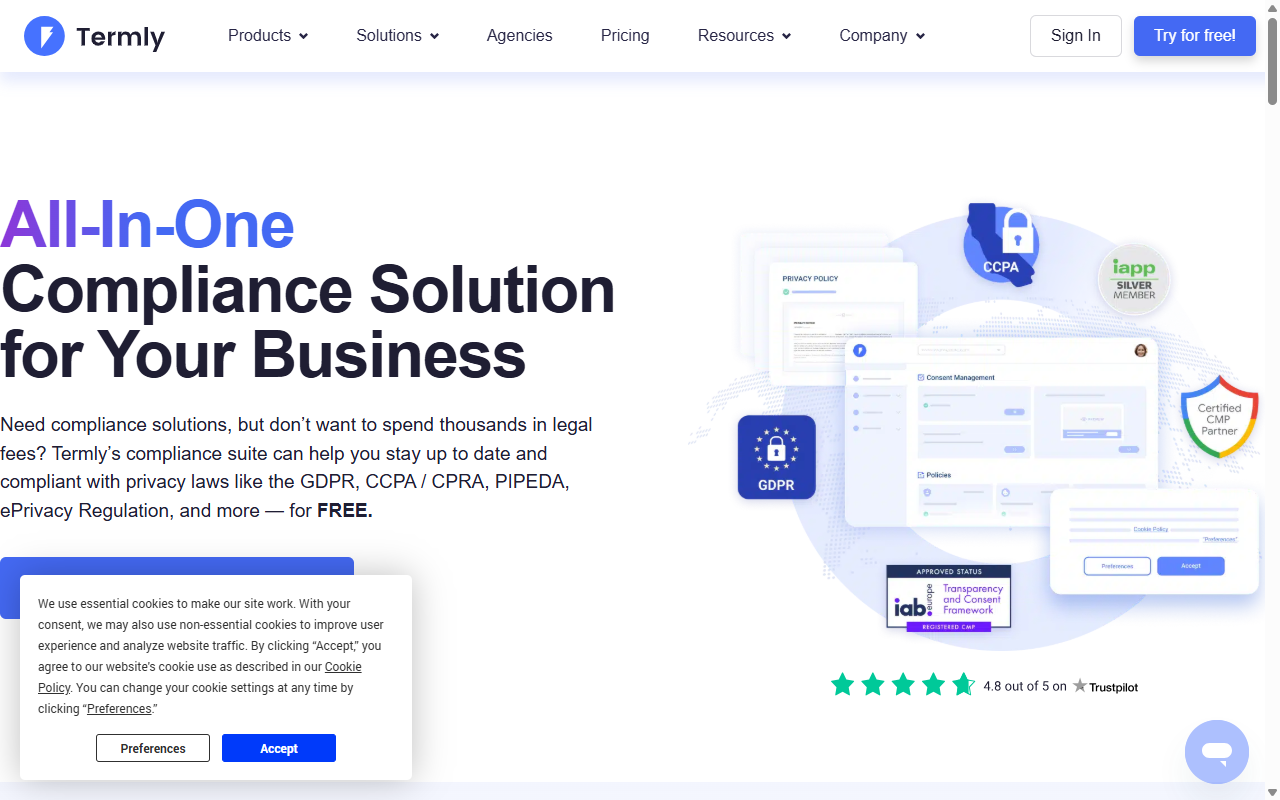
Termly is built for small businesses that need a straightforward, cost-effective way to handle legal compliance. It provides a policy generator, a terms and conditions builder, and a fully functional consent banner. The setup process is clean and guides you step by step through designing your consent layout.
While it’s an external cloud service, Termly is friendly and accessible for beginners. Its interface doesn’t drown you in technical jargon, which makes it a practical choice if you’re setting up a site for a client who’ll want to manage their own basic privacy settings going forward.
- Simplifies compliance with an easy, jargon-free setup wizard.
- Builds custom privacy policies alongside your cookie banner.
- Categorizes common tracking pixels automatically.
- Offers mobile-responsive designs that hold up well on smartphones.
- Updates legal terms automatically as regulations change over time.
Paid tiers add custom branding, unlimited scans, and multiple policies.
Pros & Cons
- Pro – Accessible interface that works well for non-technical users.
- Pro – All-in-one approach gives you policies and a banner in one package.
- Con – The entry-level plan is quite restrictive on high-traffic sites.
- Con – Styling options are limited compared to custom builders.
Our Verdict: A friendly, approachable option for small local business sites that need compliance and legal policies without a steep learning curve.
7. OneTrust
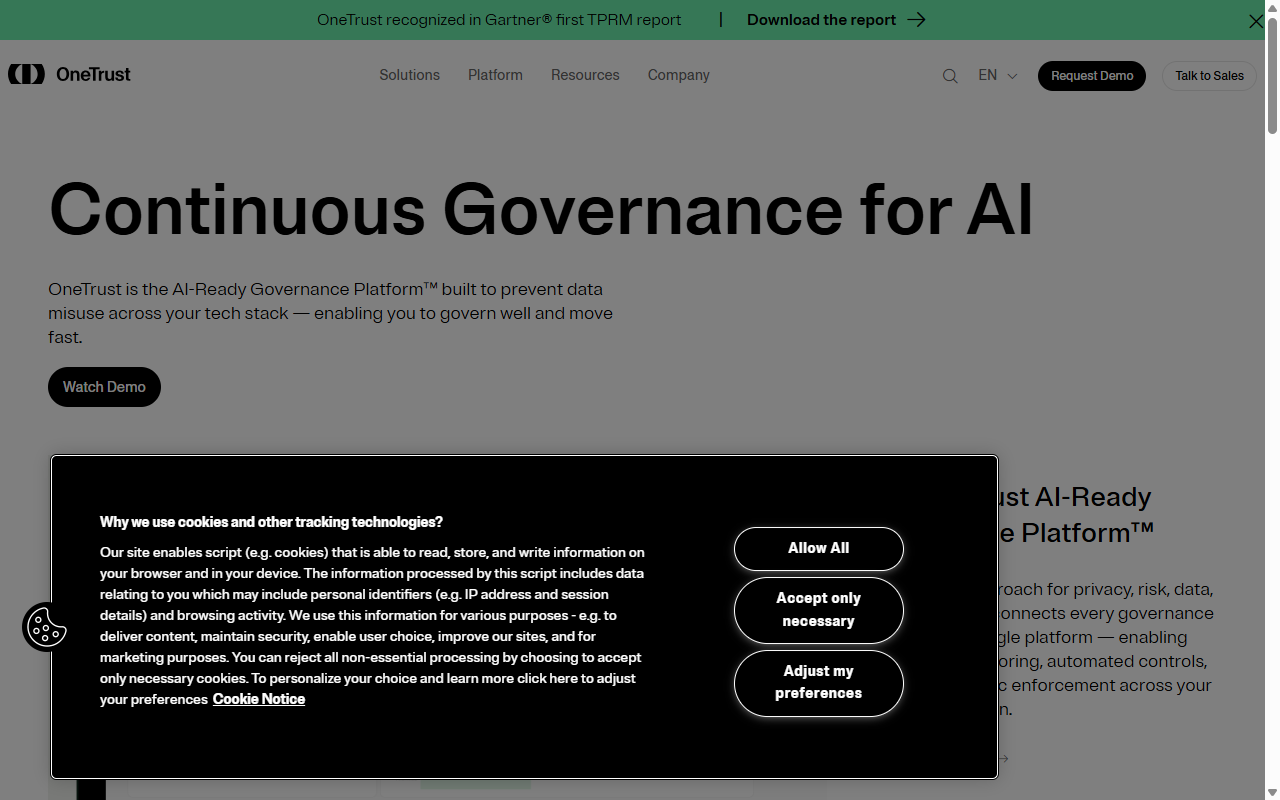
OneTrust is an enterprise-grade compliance platform used by many large organizations worldwide. If you’re building for a major financial institution, an international brand, or a highly regulated enterprise client, OneTrust is a common choice in those environments.
The platform features large cookie databases, advanced reporting, and customizable user experience rules. Because of its enterprise focus, setup is technically involved and typically requires a dedicated administrator.
- Manages enterprise-level compliance across thousands of global domains.
- Offers detailed reporting and consent metrics dashboards.
- Permits complex, conditional logic for different global regions.
- Integrates with customer relationship management (CRM) systems.
- Provides audit-ready documentation for corporate compliance teams.
Pricing is typically arranged with their sales team, and plans are structured for enterprise use rather than standard WordPress compliance needs.
Pros & Cons
- Pro – Well-established standard for enterprise-level legal compliance.
- Pro – Detailed control over every tracking element at scale.
- Con – Setup complexity is overkill for typical small to medium sites.
- Con – Pricing is structured for enterprise budgets.
Our Verdict: The natural fit for enterprise websites that need advanced corporate reporting and have the resources to support a complex legal platform.
8. Osano
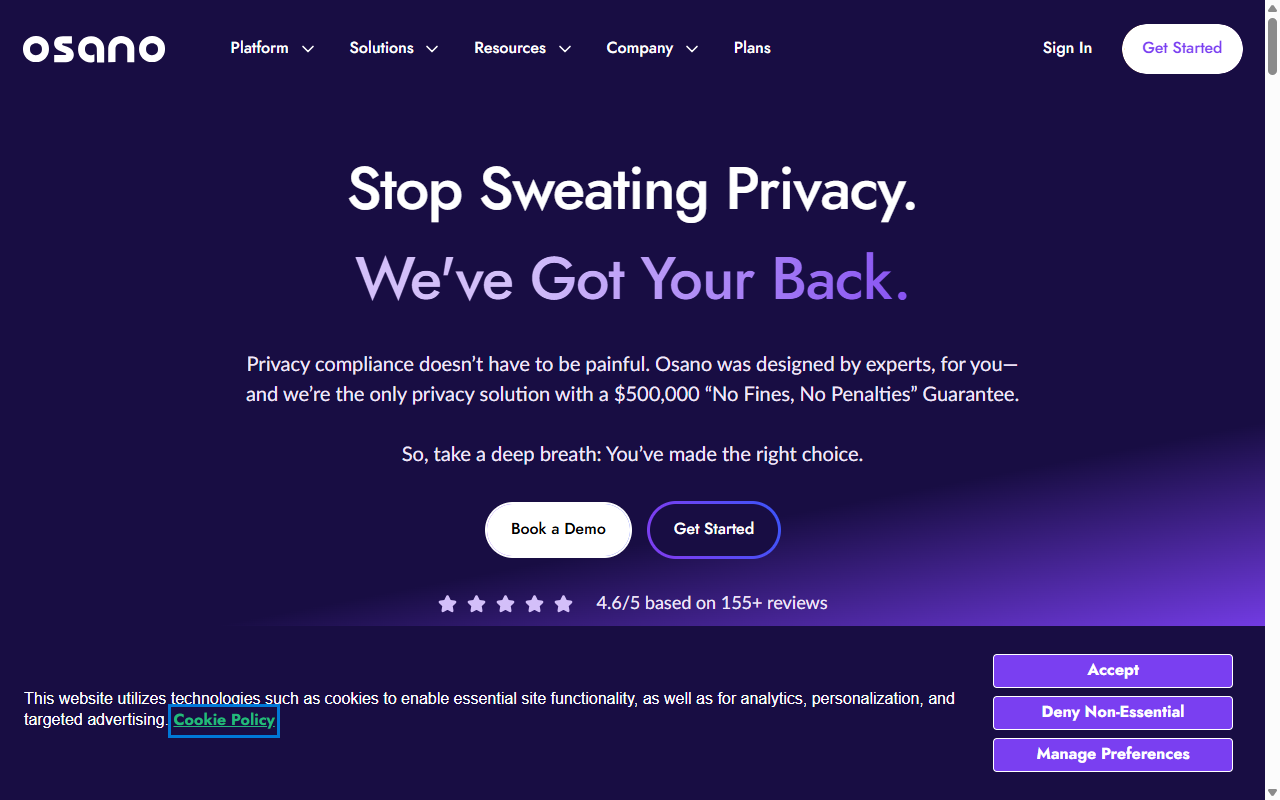
Osano is a cloud-first data privacy platform focused on transparency and simplicity. It includes a proprietary rating database that analyzes the privacy practices of thousands of popular online vendors, so you can see if a script you’re running is linked to questionable data handling.
The consent banner is lightweight and quick to load. It connects to Elementor sites via a simple script integration and handles geo-targeting, script blocking, and consent logging without heavy ongoing maintenance.
- Monitors vendor tracking practices to flag potential data risks.
- Translates banners into dozens of languages based on browser settings.
- Saves encrypted logs of all user consent decisions.
- Prevents heavy scripts from adding to your site’s initial loading time.
- Adapts layout positions dynamically for different screen sizes.
Plans are designed for growing businesses and mid-market organizations.
Pros & Cons
- Pro – Vendor safety rating feature adds useful visibility into third-party risk.
- Pro – Reliable script-blocking that rarely breaks site layouts.
- Con – Customizing fonts and colors requires entering values in a cloud panel.
- Con – Monthly costs can be significant for smaller agencies.
Our Verdict: A practical choice for growing tech companies and mid-sized organizations that care about vendor transparency alongside standard compliance.
9. GDPR Cookie Consent (by WebToffee)
This is a classic WordPress option that’s been around for years with millions of downloads. Developed by WebToffee, it’s a straightforward plugin that does exactly what it says. It helps you build a basic cookie compliance banner and manages which scripts run on your site based on user choices.
The interface is simple and clean. While it doesn’t have the deep design features of native page builders, it gives you a solid foundation with standard options like colors, positions, and button styles. It’s a reliable, lightweight choice for sites that want a standard banner without extra complexity.
- Categorizes cookies manually or automatically based on your preferences.
- Displays clean banners as headers, footers, or center popups.
- Blocks specific script categories until the user clicks accept.
- Allows visitors to toggle individual script categories on or off.
- Generates a shortcode to display your list of active cookies anywhere on the page.
The premium version unlocks automatic cookie scanning, geo-location, and advanced script-blocking controls.
Pros & Cons
- Pro – Straightforward and easy to understand, even for beginners.
- Pro – Good localized control over your banner layout.
- Con – The design can look a bit dated without custom styling.
- Con – Requires installing an extra single-purpose plugin on your WordPress site.
Our Verdict: A reliable workhorse for simple sites that need a basic, dependable banner without complex integrations.
10. Real Cookie Banner
Real Cookie Banner is a developer-focused, deep-integration option for WordPress. It’s technically thorough and includes templates for hundreds of popular services, meaning it knows exactly how to block embedded Google Maps, YouTube videos, and social media feeds until a user agrees.
The builder interface lives entirely in your WordPress Customizer, making it easy to preview styling changes in real time. It’s a strong option if you run a complex media site with lots of embedded content that simpler banners struggle to handle correctly.

- Blocks specific content embeds like videos and maps automatically.
- Provides visual preview rendering directly within the native WordPress Customizer.
- Includes templates for over 150 popular third-party services.
- Tracks cookie changes dynamically to keep your policies current.
- Displays accessibility-focused designs suitable for screen readers.
A free version is available at WordPress.org. The Pro version is sold as an annual license.
Pros & Cons
- Pro – Excellent handling of complex embedded content.
- Pro – Built-in visual editor lets you see changes in real time.
- Con – The technical options can feel overwhelming for non-developers.
- Con – Setup takes longer than simpler, automated cloud alternatives.
Our Verdict: The technical choice for developers who build media-heavy sites with complex, interactive content embeds.
The Step-by-Step Compliance Checklist for Web Designers
Setting up your compliance banner doesn’t have to be a stressful chore. If you approach it systematically, you’ll be done before you know it. Use this checklist to make sure your site is secure, compliant, and properly integrated with your design.
- Decide on native vs. cloud – For most Elementor sites, a native tool like the built-in Cookie Consent capability keeps your site fast and easy to manage.
- Set your legal regions – Turn on geo-targeting if you only want to show detailed banners to users in regions with strict laws, like the EU or California.
- Configure script blocking – Make sure tracking pixels are actively blocked until the visitor clicks “Accept” on your banner.
- Set up Google Consent Mode v2 – Connect your banner to your Google Tags so your advertising analytics run within compliance guidelines.
- Style the banner – Match your typography, button shapes, and color scheme to your overall site identity.
- Test the experience – Open your site in an incognito window and confirm that scripts are blocked until you give permission.
Frequently Asked Questions
Is a cookie consent banner required for all websites in 2026?
Yes, if your website attracts visitors from regions with active privacy laws, like Europe (GDPR) or California (CCPA). Because the internet is global, almost every business site needs some level of compliance to protect itself from potential fines and maintain visitor trust.
What is Google Consent Mode v2 and why should I care?
Google Consent Mode v2 is a system that lets your website communicate visitor consent choices directly to Google services like Ads and Analytics. If you use these tracking services for European traffic, Google requires this integration to measure campaign performance accurately while respecting user privacy.
Will using a cookie banner slow down my WordPress site?
It depends on the tool you choose. Cloud-based solutions that load external JavaScript can sometimes add to your loading times. Using a native WordPress capability like Elementor’s built-in cookie consent feature keeps your site code clean and fast because it doesn’t rely on third-party cloud lookups.
Can I customize the look of my banner to match my brand?
Absolutely. Some cloud tools limit customization to basic color pickers, but native solutions let you style every element using the design controls you’re already familiar with. You can adjust fonts, padding, border radii, and entry animations.
Do I need to keep a record of who accepted cookies?
Yes, keeping consent logs is a key part of GDPR compliance. If a regulatory body ever conducts an audit on your website, you need to show a clear trail proving that visitors gave active consent before trackers were placed on their devices.
Can I hide the banner for visitors who live in regions without strict laws?
Yes, many tools offer geo-targeting features. The system checks the visitor’s IP address and displays the cookie banner only to users from the EU, UK, California, or other areas with strict data privacy laws, leaving a clean, uninterrupted experience for everyone else.
What happens if I don’t use a compliance banner on my site?
Failing to offer proper consent choices can lead to significant financial penalties from privacy regulators. Advertising networks like Google can also limit or suspend your tracking accounts if they detect you’re collecting marketing data without proper user consent.


