
Protecting visitor privacy on your WordPress site isn’t just good manners now. It’s the law. If your site gets visitors from California, you need to meet the California Consumer Privacy Act (CCPA) and its update, the California Privacy Rights Act (CPRA). “Statutory fines” sounds scary, but getting compliant is easier than it looks.
Key Takeaways
- CCPA applies to any business collecting data from California residents, regardless of where your offices sit.
- A clear opt-out link, like “Do Not Sell or Share My Personal Info,” is core to CCPA compliance.
- A native WordPress tool keeps your consent dashboard and settings in one place.
- Google Consent Mode v2 support keeps ad tracking accurate while respecting visitor choices.
- Automated cookie scanning keeps your site audit-ready by sorting tracking scripts automatically.
Understanding CCPA Requirements for WordPress Sites
Before you dive into tools, here’s what the California Consumer Privacy Act asks of your site. The law gives California residents more say over their personal data, covering things like IP addresses, email addresses, tracking cookies, and search history.
Staying compliant means telling visitors what you collect, giving them an easy way to opt out of data sales or sharing, keeping a plain-language privacy policy, and holding onto consent records for regulators. Skip these and you risk real fines, but WordPress tools now make meeting them simple.
The Core Elements of WordPress CCPA Setup
Getting ready for California’s privacy rules means putting a few pieces in place, one at a time, so nothing important slips through.
- An Interactive Consent Banner, alerts visitors about cookies and data collection.
- A “Do Not Sell My Info” Link, easy to find in your footer or banner.
- An Updated Privacy Policy Page, spells out how residents can access, delete, or limit use of their data.
- Global Privacy Control Support, recognizes automated browser privacy signals from visitors.
- A Script Blocker, stops tracking and marketing cookies from loading until permission is given.
Now, here are the ten best methods and tools for getting compliant.
The 10 Best Methods and Tools for WordPress CCPA Compliance
1. Cookie Consent by Elementor
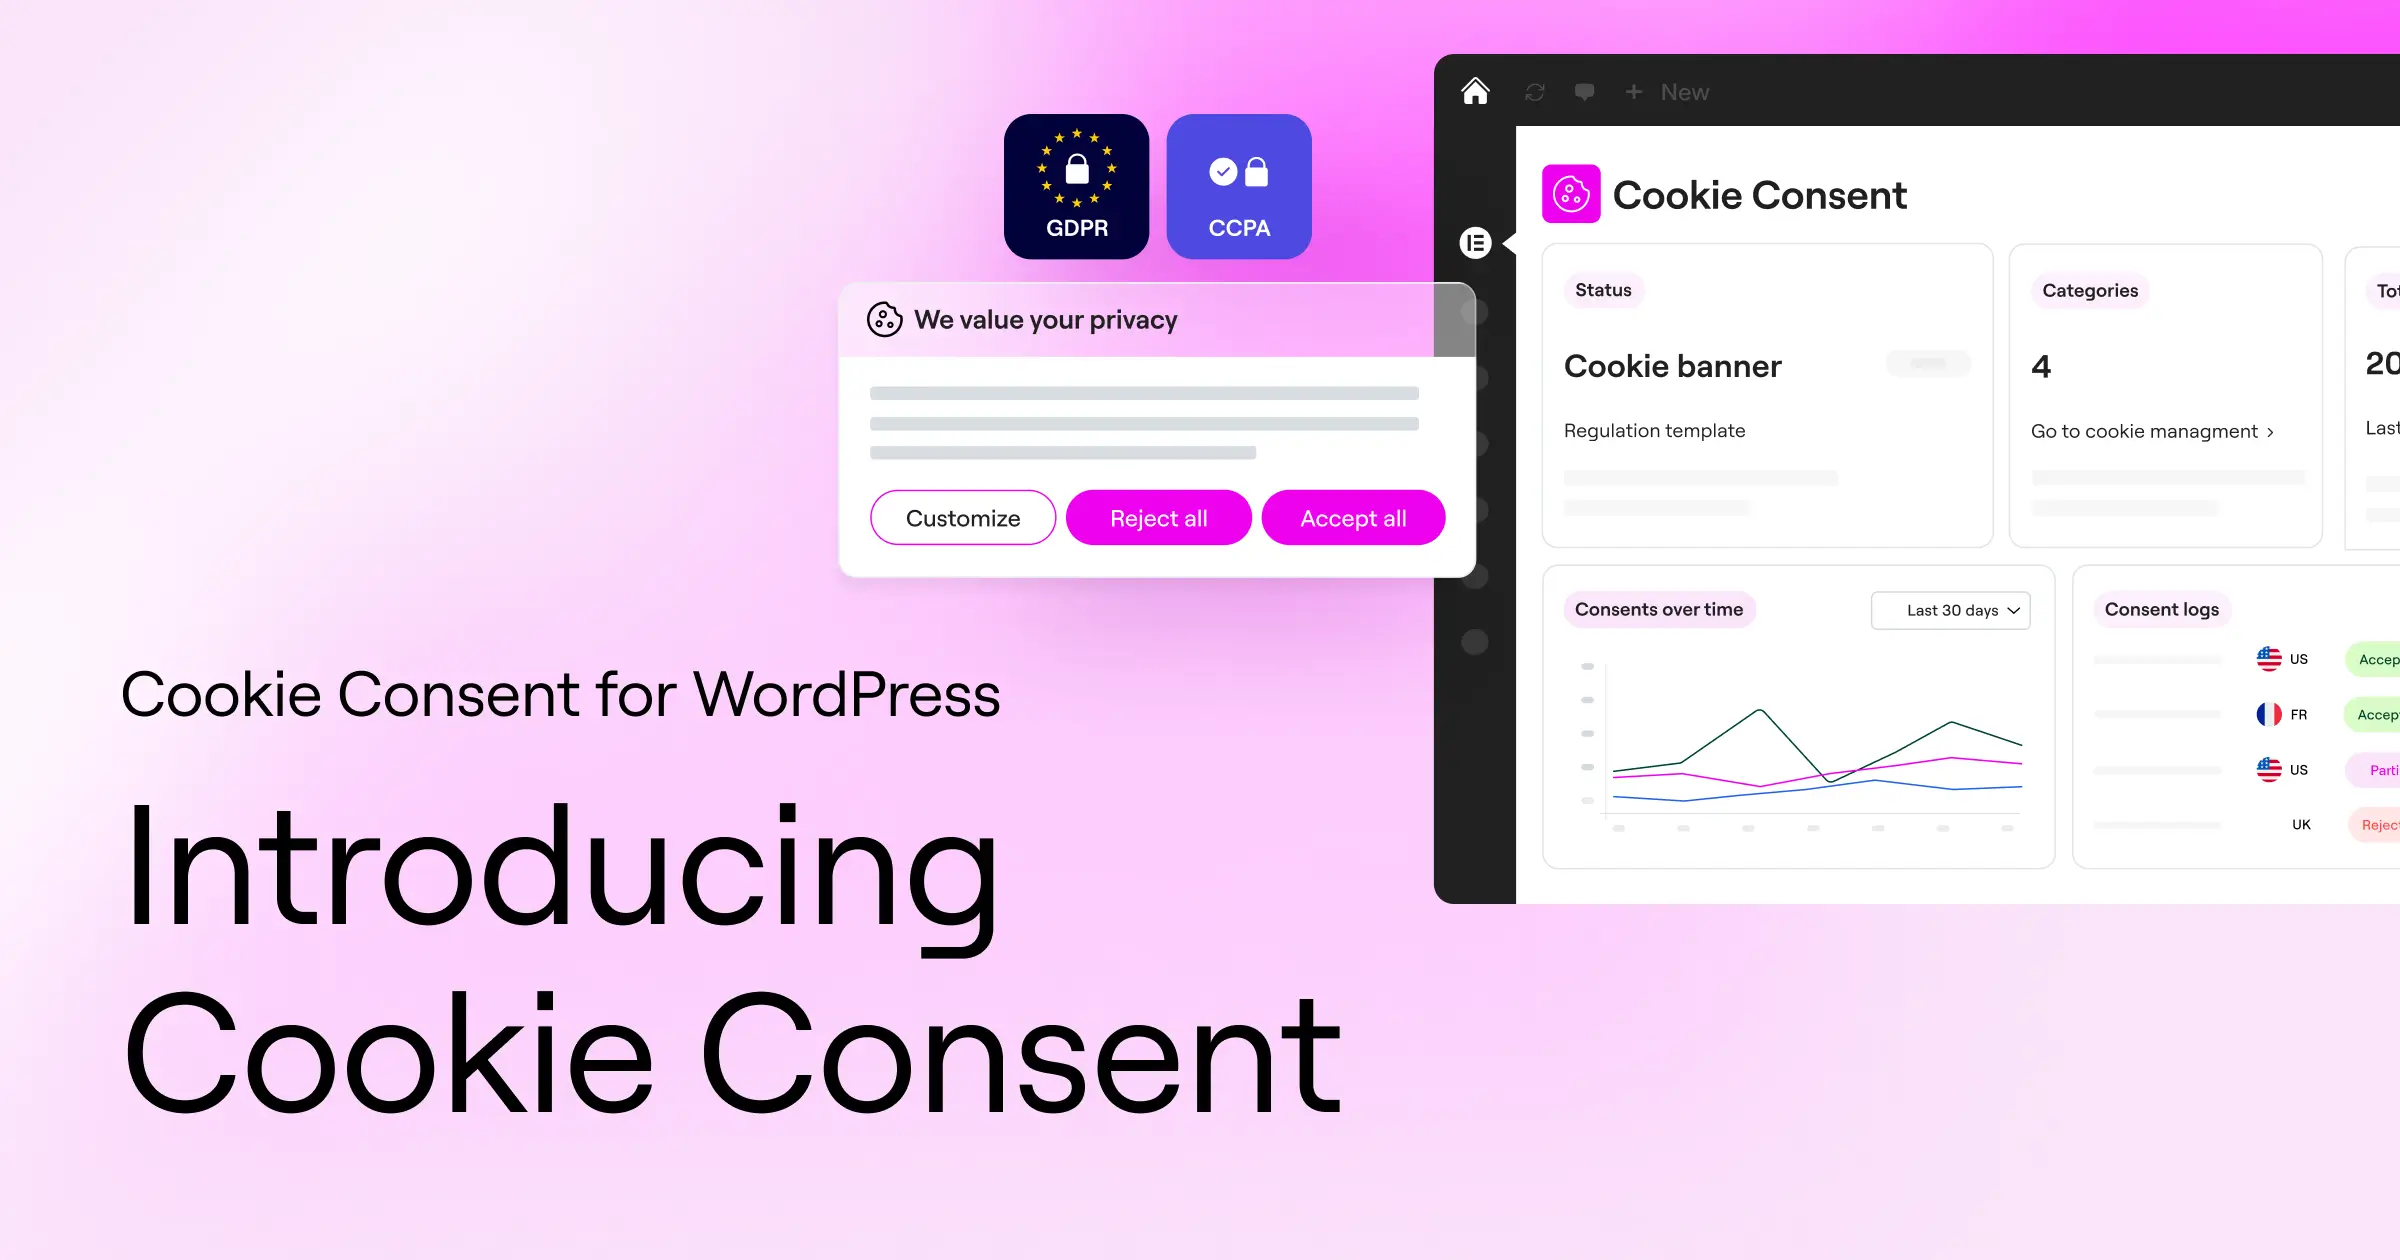
Cookie Consent is a great place to start for a straightforward, built-in way to manage visitor privacy. Built natively for WordPress, it runs your compliance from your dashboard in three guided steps, live in under five minutes. It covers European and Californian law, including Google Consent Mode v2, with no external scripts slowing your pages. It’s included with Elementor One, plus an entry-level plan for growing sites.
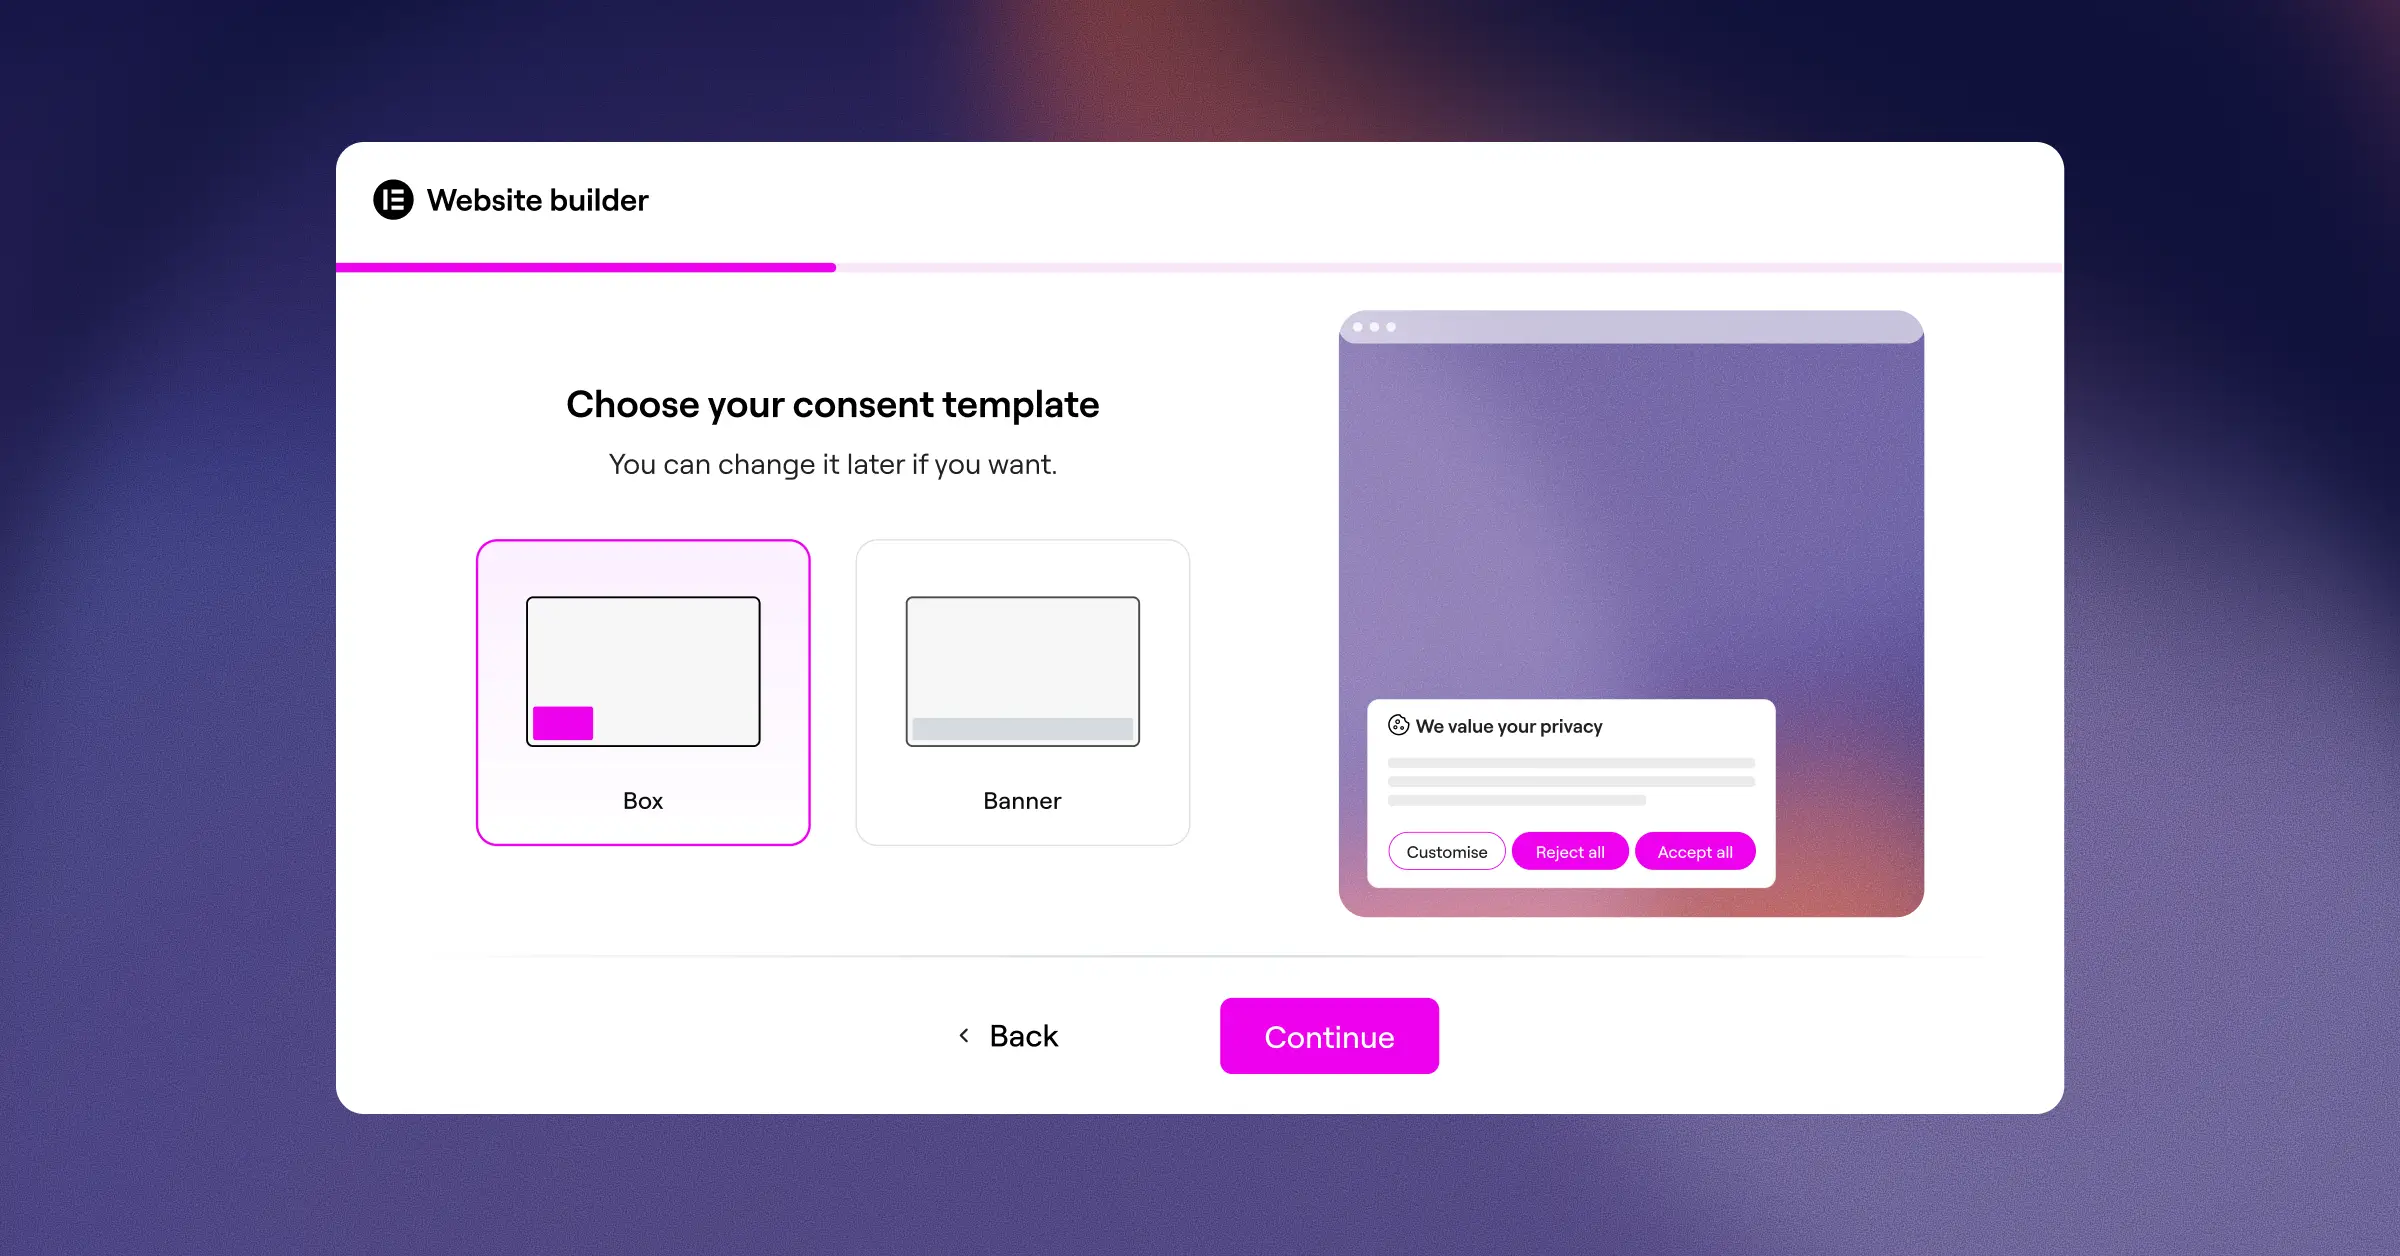
- Scans your site to identify and categorize tracking cookies.
- Customizes banner designs to match your branding.
- Tracks consent decisions with secure, built-in logs.
- Targets banners by location: CCPA for California, GDPR for Europe.
- Builds compliant policies with an integrated policy generator.
- Recognizes Global Privacy Control signals from visitor browsers.
Pros & Cons
- Pro, Keeps privacy settings and consent logs inside your WordPress dashboard.
- Pro, Sets up in under five minutes with a simple three-step flow.
- Pro, Supports Google Consent Mode v2 and Global Privacy Control.
- Con, Requires an active WordPress environment to run.
Verdict
The top pick for a clean, dashboard-native tool with no external accounts. See Cookie Consent and how it fits into Elementor One.
2. Cookiebot
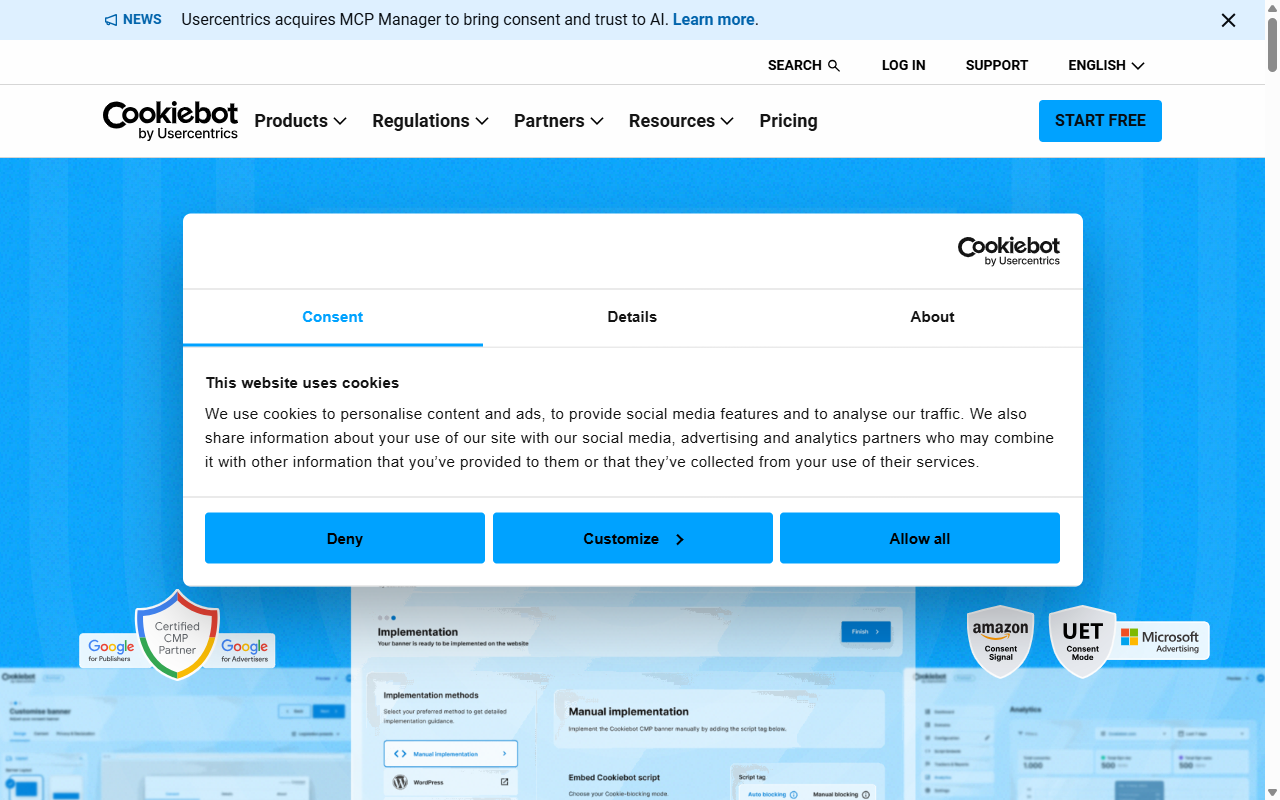
Cookiebot is an established compliance tool on an external cloud platform, connecting to WordPress through a helper interface. Its scanner crawls your site monthly, catching new tracking scripts, then updates your cookie policy.
- Scans site pages monthly to catalog tracking cookies.
- Stores consent data on secure cloud servers.
- Generates cookie declarations for your privacy page.
- Blocks tracking scripts until visitors choose.
Pros & Cons
- Pro, Cloud scanning keeps cookie lists updated automatically.
- Pro, Supports CCPA, GDPR, and other frameworks in one banner.
- Con, Entry-level plan limited to sites under 50 pages.
- Con, Requires an external dashboard for configuration.
Verdict
A reliable pick for larger sites and agencies that like automated crawling and a cloud storage fee.
3. CookieYes
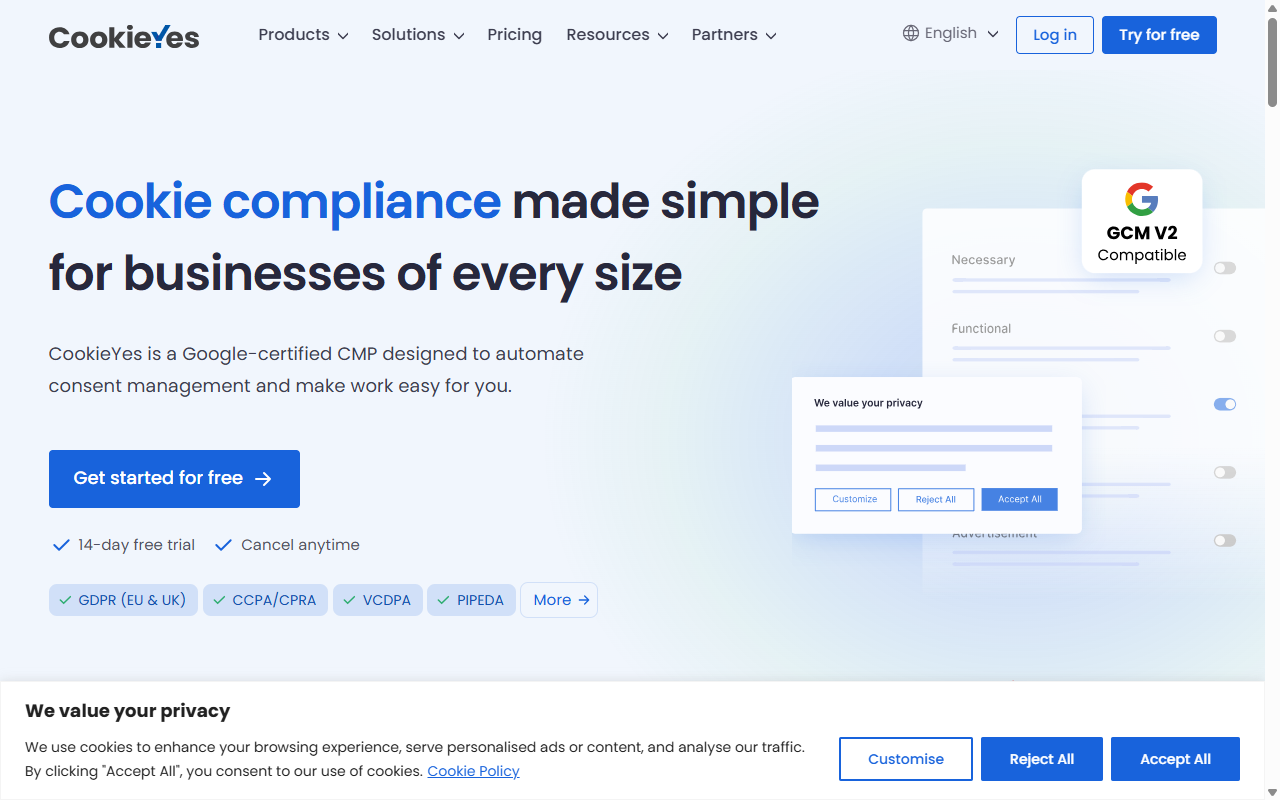
CookieYes is a widely used privacy tool with a straightforward approach to consent, bridging a web dashboard with your WordPress site through visual templates. It displays a custom banner meeting California guidelines with an opt-out toggle.
- Builds responsive cookie banners for mobile and desktop.
- Categorizes scripts into necessary, functional, and marketing groups.
- Displays a floating opt-out widget visitors can adjust.
- Translates your banners into dozens of languages.
Pros & Cons
- Pro, User-friendly design that’s easy for beginners.
- Pro, Supports major consent standards, including Google Consent Mode.
- Con, Some premium features sit behind higher tiers.
- Con, Complex sites sometimes need manual adjustments.
Verdict
A solid choice for owners who want an attractive banner managed through a cloud platform.
4. Complianz
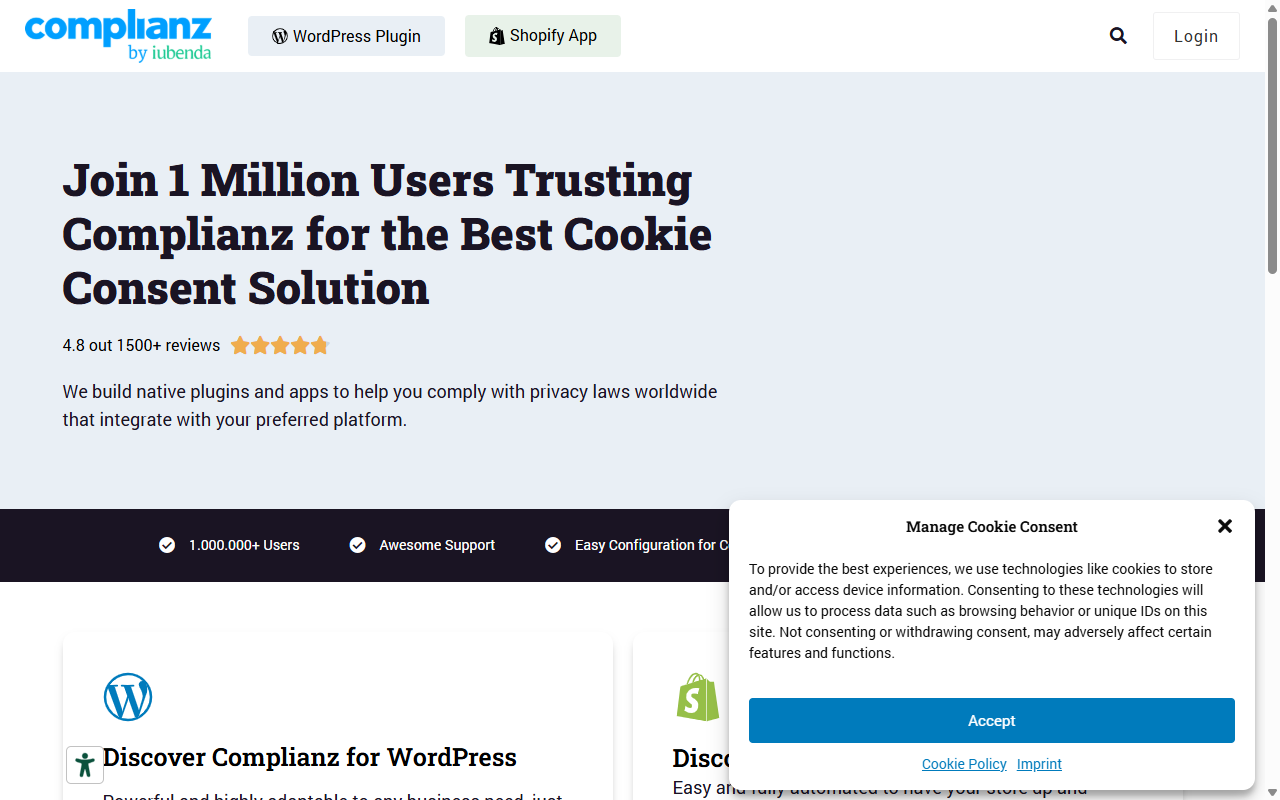
Complianz is a privacy tool built for WordPress, taking a wizard-based approach that walks you through questions about your site and data. Unlike cloud-centric tools, it processes logic on your server, giving you full control without external APIs.
- Configures your privacy banner through a setup questionnaire.
- Generates vetted documents like a cookie policy and CCPA opt-out form.
- Blocks integrations like Google Maps or YouTube until consent is granted.
- Integrates with WordPress translation tools.
Pros & Cons
- Pro, Wizard setup makes it hard to miss compliance questions.
- Pro, Keeps your privacy data on your server for full control.
- Con, The interface can feel busy for non-technical users.
- Con, Advanced geo-targeting sits behind the premium version.
Verdict
Best for DIY owners and developers who like detailed wizards and on-site legal documents.
5. iubenda
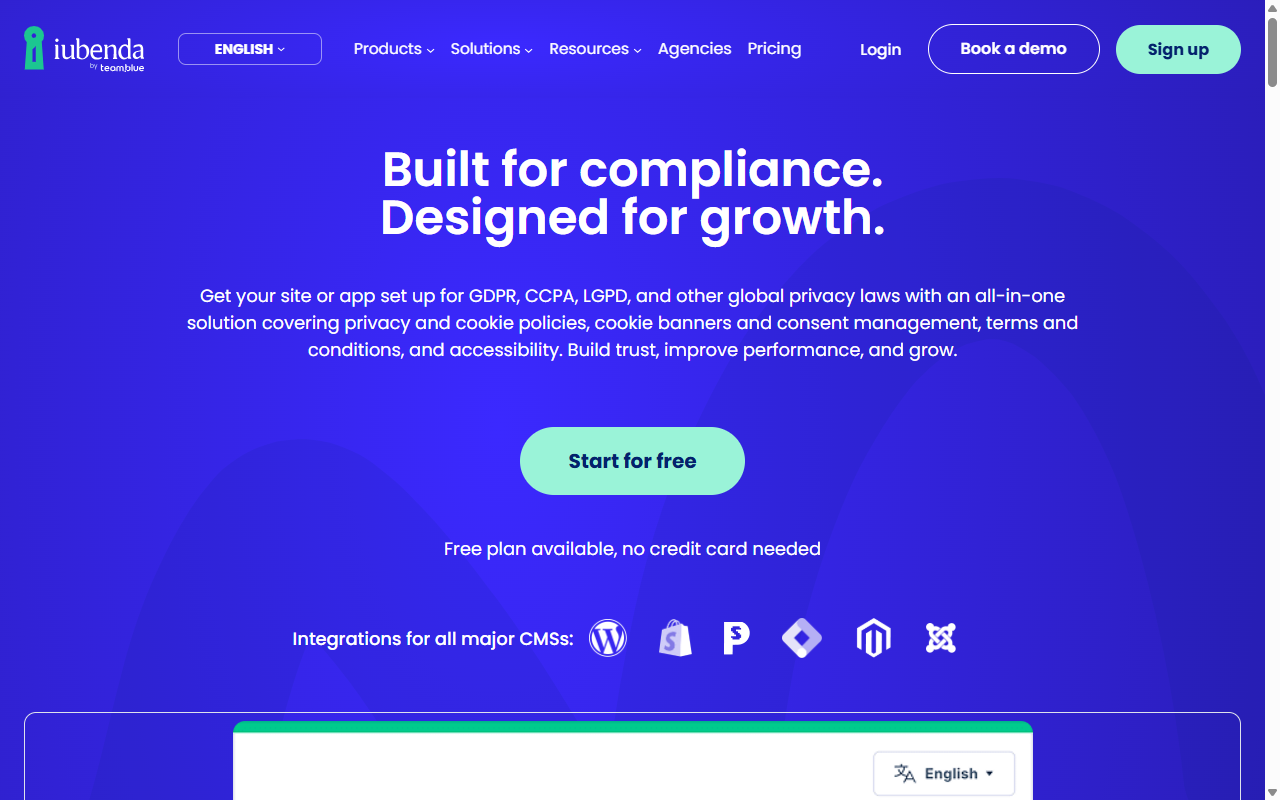
iubenda is a full compliance suite handling cookie banners, terms of service, and privacy policy generation through one dashboard. A team of attorneys keeps the documents updated as laws change.
- Generates auto-updating privacy and cookie policies drafted by attorneys.
- Combines cookie consent management with terms generators.
- Detects browser language and region to show the right notices.
- Customizes banner position, colors, and fonts.
Pros & Cons
- Pro, Legally drafted documents update automatically as laws change.
- Pro, A complete compliance suite beyond simple cookie banners.
- Con, Costs depend on document count and traffic.
- Con, Integration requires adding a script to your header.
Verdict
Ideal for owners who want an all-in-one legal solution and a recurring auto-updating fee.
6. Termly
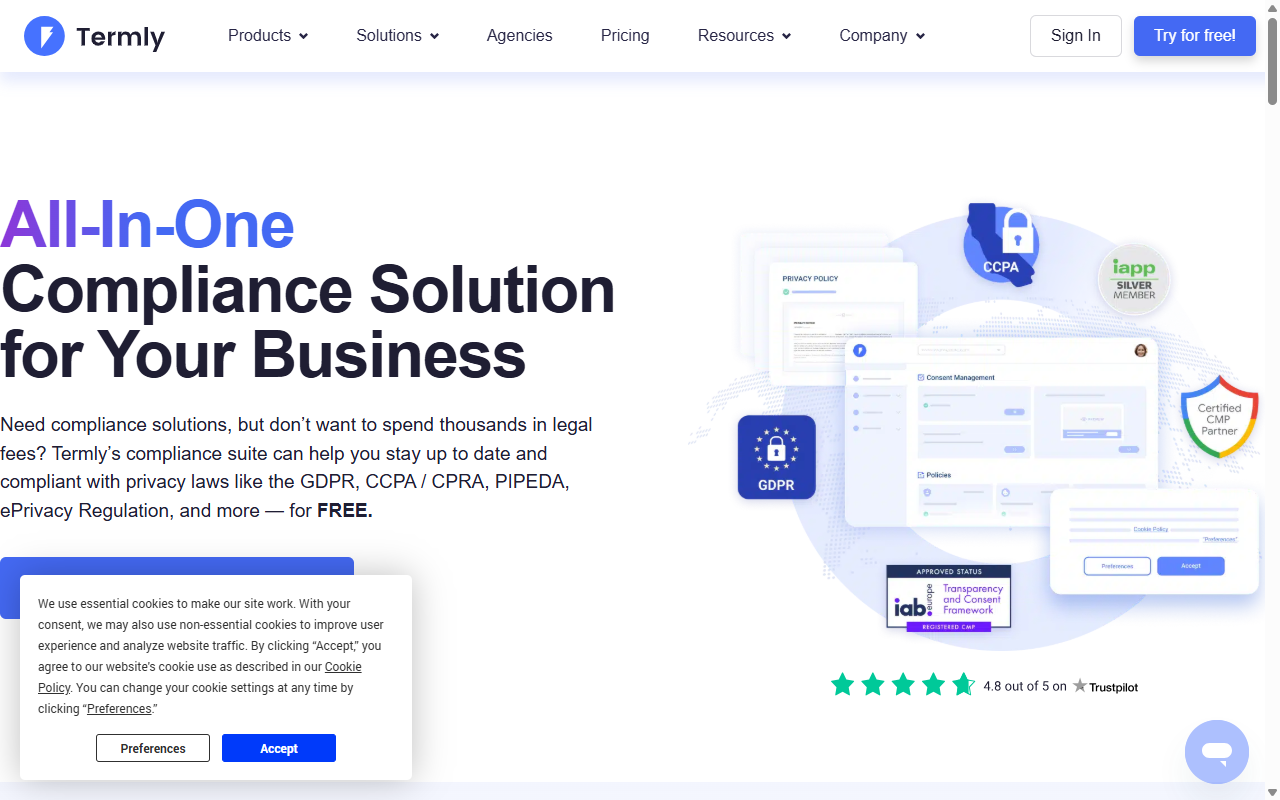
Termly is a privacy compliance tool built for small and mid-sized businesses without a legal team, covering CCPA, GDPR, and other frameworks through a guided setup. It also generates privacy policies, terms, and cookie notices via a script embed.
- Generates privacy policies, cookie notices, and terms from a questionnaire.
- Displays consent banners with customizable colors and layouts.
- Records visitor consent decisions with a built-in audit log.
- Supports Google Consent Mode v2 for accurate tagging.
Pros & Cons
- Pro, Covers consent banners and legal documents in one platform.
- Pro, Easy for non-technical owners to set up.
- Con, Requires embedding an external script on your site.
- Con, Advanced features and higher traffic need paid plans.
Verdict
A practical all-in-one pick for small businesses that need a banner and basic legal documents in one place.
7. OneTrust
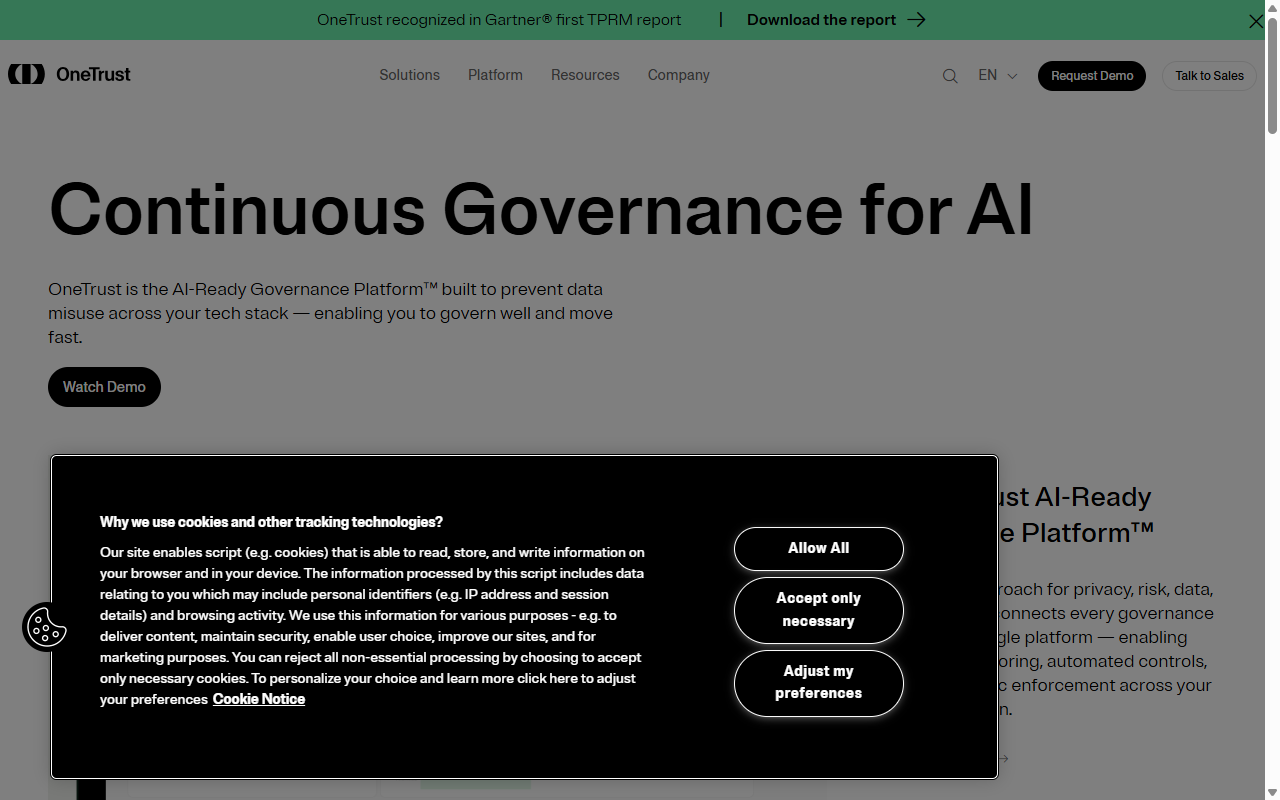
OneTrust is a widely recognized enterprise compliance platform for large websites, global corporations, and e-commerce brands juggling international privacy laws. It offers deep analytics, audit records, and preference centers suited to enterprise teams.
- Saves consent transaction logs for enterprise legal reviews.
- Manages customer preferences across websites, apps, and email.
- Identifies tracker scripts using a proprietary cookie database.
- Coordinates subject access requests through a secure portal.
Pros & Cons
- Pro, Powerful compliance tracking suited to large teams.
- Pro, Highly customizable preference centers for detail-oriented control.
- Con, Setup is complex and usually needs development resources.
- Con, Pricing targets enterprise budgets rather than small sites.
Verdict
The right fit for enterprise organizations needing a high-security risk management suite.
8. Osano
Osano is a data privacy platform built to make compliance approachable for teams without legal staff, covering cookie consent alongside vendor risk monitoring, with a real-time view of third-party services on your site.
- Monitors vendor compliance scores from a central dashboard.
- Displays consent banners that update when new scripts appear.
- Manages data subject requests inside the platform.
- Supports multiple frameworks including CCPA and GDPR.
Pros & Cons
- Pro, Vendor monitoring gives a broader view of privacy risks.
- Pro, Designed to be approachable for non-technical team members.
- Con, The full feature set shines at paid tiers.
- Con, Relies on an external script embed as a dependency.
Verdict
Worth a look if you want consent management paired with vendor visibility.
9. Manual Page Creation (The DIY Opt-Out Route)
If you’d rather skip third-party systems altogether, build your CCPA pages by hand with the default WordPress block editor: a clear “Do Not Sell or Share My Personal Information” page, linked from your footer, explaining how visitors can opt out. It’s free and keeps your site fast with nothing extra to load.
- Controls the layout of your compliance pages using core blocks.
- Saves server resources by skipping extra databases and scripts.
- Connects to your privacy policy page through anchor links.
- Keeps your site free from third-party styling conflicts.
Pros & Cons
- Pro, Maximum site speed with no extra files or scripts running.
- Pro, Total control over your design and layout.
- Con, Doesn’t block cookies automatically, so you manage scripts by hand.
- Con, Requires you to write and maintain your own legal copy.
Verdict
A smart, lightweight option for simple sites that skip complex tracking or retargeting.
10. Automated Consent Logging Solutions
The final piece of a solid CCPA strategy is keeping clean records of when visitors opt in or out of tracking. A clear audit trail shows a regulator you’re acting in good faith. Set this up through your database or a tracking tool, recording date, time, and choice per visitor.
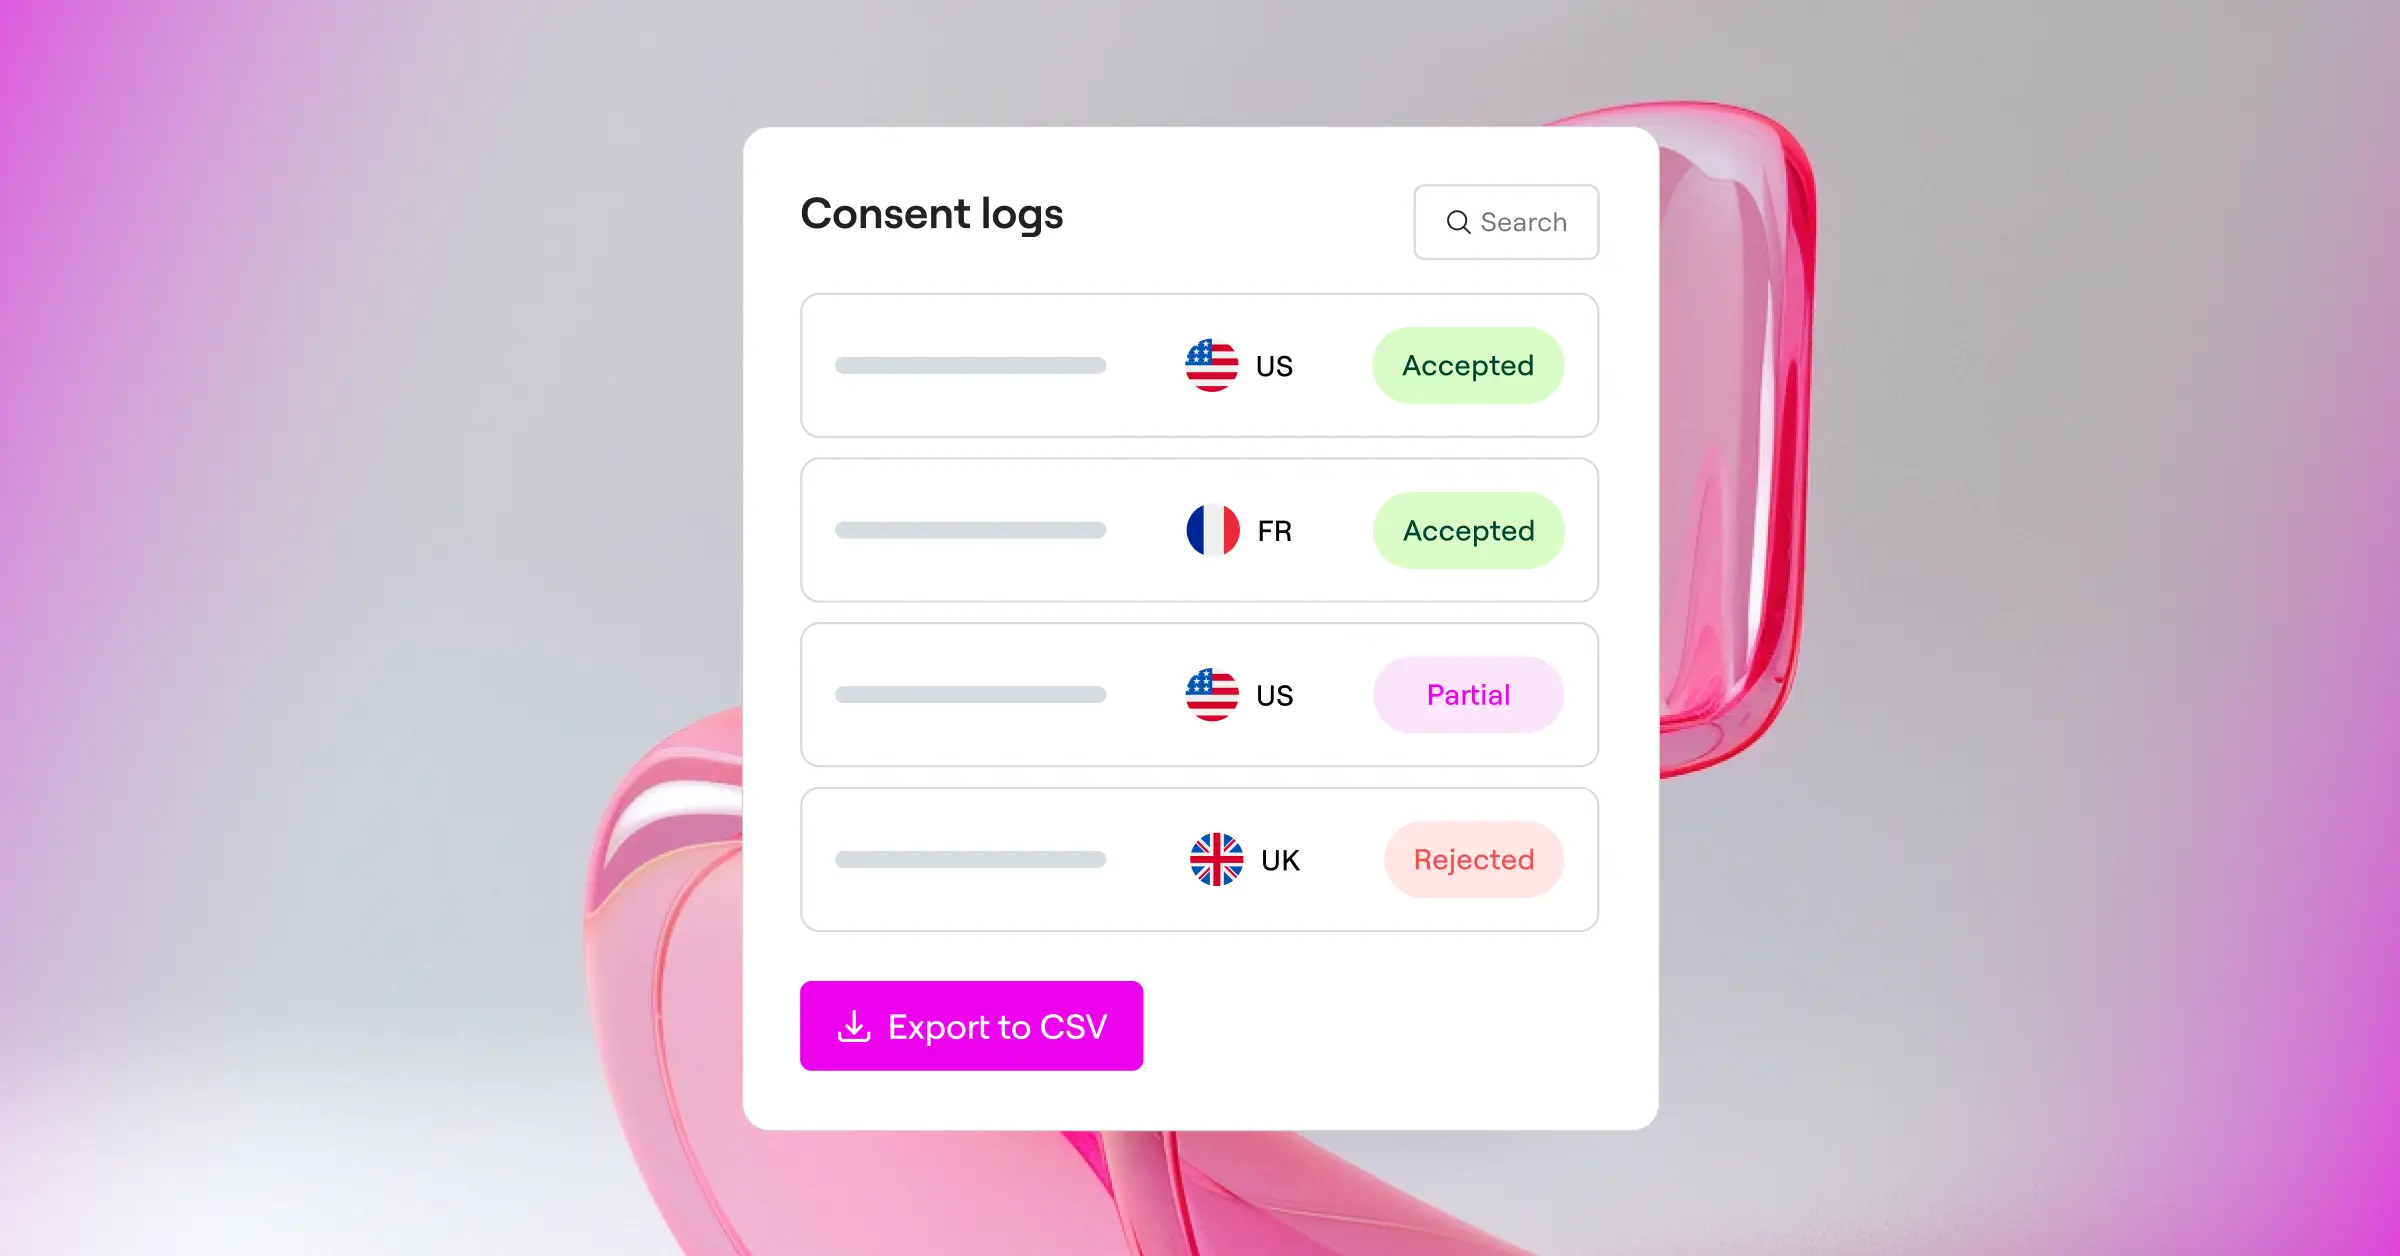
- Records consent events and choice updates in your local database.
- Anonymizes IP addresses to keep your compliance logs private.
- Exports clean CSV files of your logs to demonstrate compliance.
- Verifies that your consent systems keep working over time.
Pros & Cons
- Pro, Solid proof of compliance in a regulatory audit.
- Pro, Helps you spot patterns in visitor privacy choices.
- Con, Can gradually increase your database size over years.
- Con, Needs regular maintenance to clear out old logs.
Verdict
An essential process that gives you peace of mind and proof of compliance.
WordPress CCPA Compliance Tools Comparison Table
Here’s how the top approaches compare on integration, setup time, and features.
| Method / Tool | Integration Style | Setup Time | Google Consent Mode v2 | Primary Benefit |
|---|---|---|---|---|
| Cookie Consent | WordPress-Native | Under 5 Minutes | Yes | No external dashboards; easy from day one. |
| Cookiebot | Cloud-to-WordPress Bridge | 15-20 Minutes | Yes | Automated monthly script scanning and categorization. |
| CookieYes | Cloud-to-WordPress Bridge | 10-15 Minutes | Yes | Customizable floating opt-out widget designs. |
| Complianz | On-Server/Self-Hosted | 20-30 Minutes | Yes | Step-by-step setup questionnaire. |
| iubenda | External Script Code | 15-25 Minutes | Yes | Legally vetted, auto-updating privacy policy documents. |
| Termly | External Script Code | 15-20 Minutes | Yes | Combined consent banner and policy document generator. |
| OneTrust | Enterprise API | 60+ Minutes | Yes | Deep compliance reporting for large corporate teams. |
| Osano | External Script Code | 20-30 Minutes | Yes | Consent management with third-party vendor monitoring. |
“Meeting California’s privacy rules doesn’t have to be a technical headache for WordPress creators. By focusing on simple, native tools that respect user preferences from day one, you build a foundation of trust that helps your business grow safely.”
– Itamar Haim, Web Compliance Specialist
Step-by-Step Guide to Configuring Your CCPA Cookie Banner
Ready to go live? Here’s a walkthrough using a native dashboard setup as the model; these steps apply to most modern tools.
Step 1: Run an Initial Cookie Scan
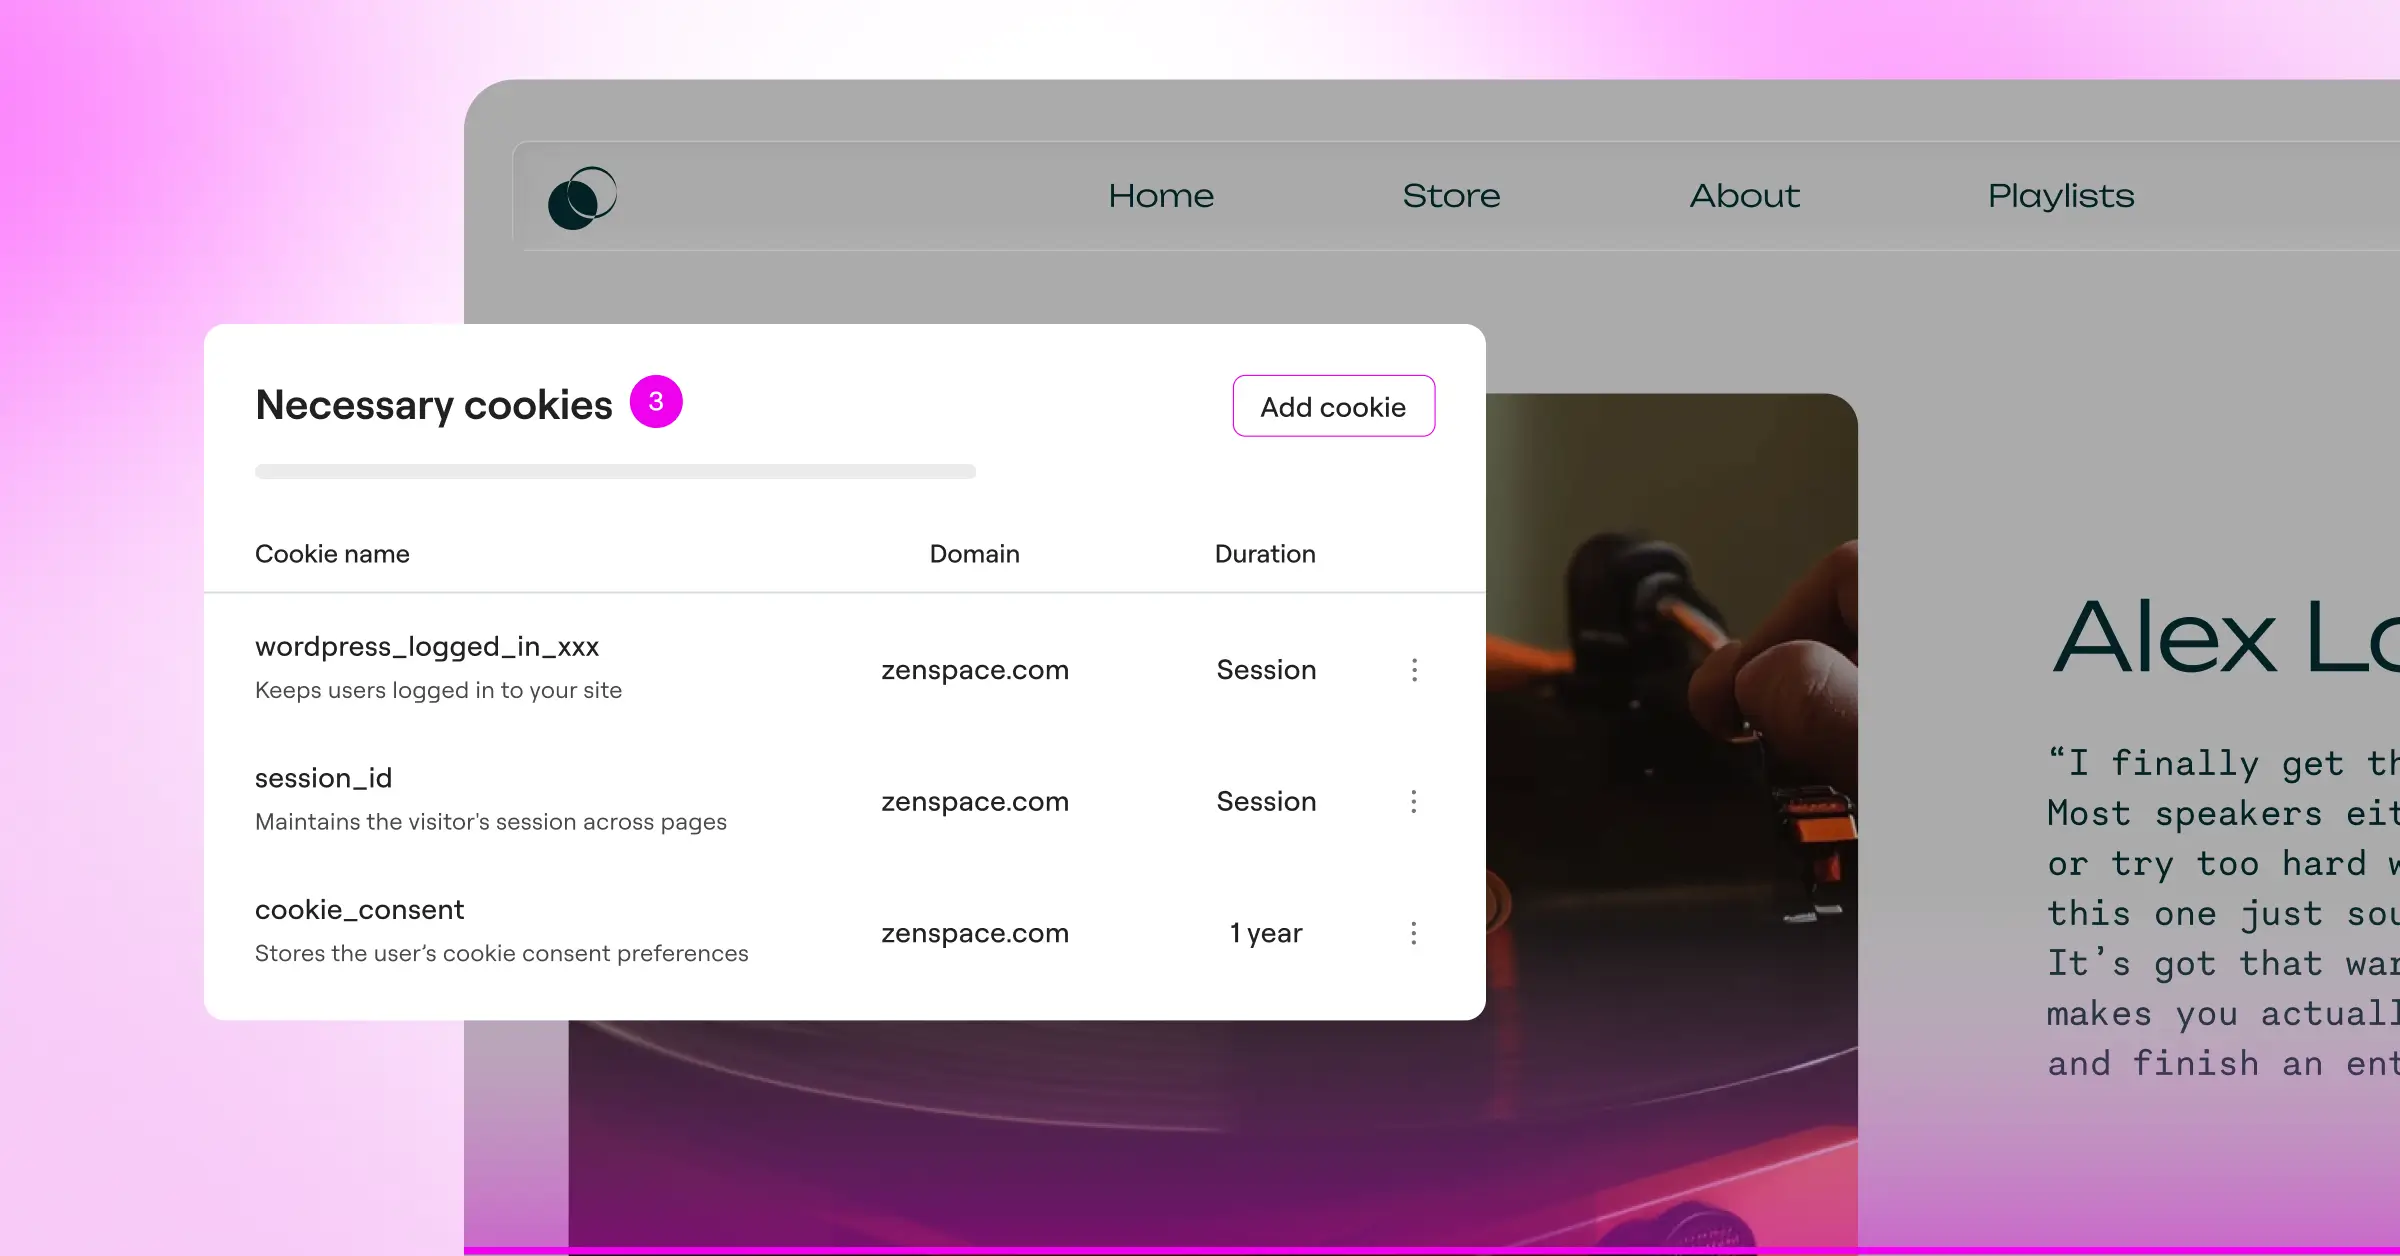
Before you show a banner, know what cookies your site uses. Run a scan in your compliance tool settings: it checks your themes and plugins, then groups tracking scripts into “Necessary,” “Analytics,” and “Marketing.”
Step 2: Design Your Banner and Layout
Keep your banner friendly and clean, sitting at the bottom of the page so it doesn’t block content. Add a clear headline like “We Value Your Privacy,” with buttons: accept, manage preferences, and opt out.
Step 3: Add Your Opt-Out Link
CCPA requires an easy way for visitors to say no to data sharing. Add a text link reading “Do Not Sell or Share My Personal Information” in your banner, and copy it to your footer.
Step 4: Enable Geo-Targeting
You don’t need to show CCPA banners to visitors from regions without these laws. Use geo-targeting so only U.S. or California visitors see it, while you still meet your legal duties.
Step 5: Test and Go Live
Before you wrap up, open your site in an incognito window or a VPN set to California. Check the banner loads, your “Do Not Sell” link works, and no tracking scripts run until you accept. Then go live.
Frequently Asked Questions
Does my small business website really need to follow CCPA?
Yes, if you collect personal data from California residents, these rules apply. That covers any site using tools like Google Analytics, Facebook Pixels, or contact forms reaching California users.
What is the difference between CCPA and GDPR?
The EU’s GDPR requires opt-in consent before you collect data. CCPA uses an opt-out model instead: you can collect data as long as visitors can say “no” to its sale or sharing.
Do I have to display a “Do Not Sell My Info” link on my site?
Yes, a clear link reading “Do Not Sell or Share My Personal Information” is a core CCPA requirement, placed in your footer or cookie banner.
Can I use a free cookie consent tool to stay compliant?
Absolutely. Many tools offer fully compliant entry-level plans for blogs, portfolios, and small businesses, including banner customization and cookie scanning.
What happens if a visitor uses a browser with Global Privacy Control enabled?
If a visitor has Global Privacy Control (GPC) enabled, their browser sends an automated signal your site should recognize as an opt-out request, no click required.
How often should I scan my WordPress website for cookies?
At least once a month. Installing a new plugin or updating your theme can add new cookies. Monthly scans keep your cookie policy current and your script blockers working.
Does a cookie consent banner slow down my WordPress site?
Most modern consent features are lightweight and won’t affect your speed. A native tool like Cookie Consent keeps your code clean, avoiding delays from external cloud scripts.
Where should I save my compliance consent logs?
Keep them in a secure, organized database that’s easy to search. Native tools save records inside your WordPress database, so you can export a CSV to show compliance. Full setup guidance is in the Cookie Consent documentation.

