Layered backgrounds allow you to add depth to elements by adding colors, images and text on top of one another. Using layered backgrounds you can create a variety of interesting effects. In the example below, we’ll use layered effects to create a textured Heading element that incorporates an image and text created in a graphics program.
Create a layered background: Step-by-step
- Open the Elementor Editor.
- Drag a Heading element to the canvas.
The Heading element options open up in the left panel.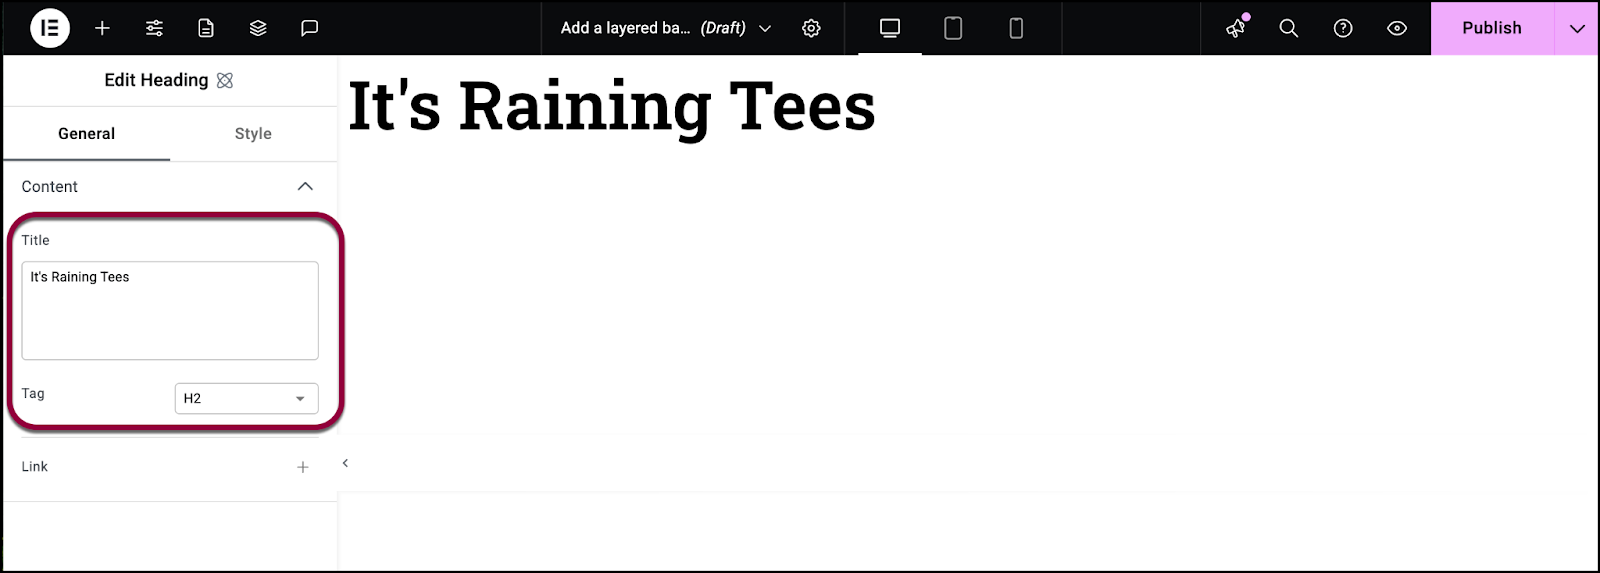
- In the Title box, enter It’s Raining Tees.
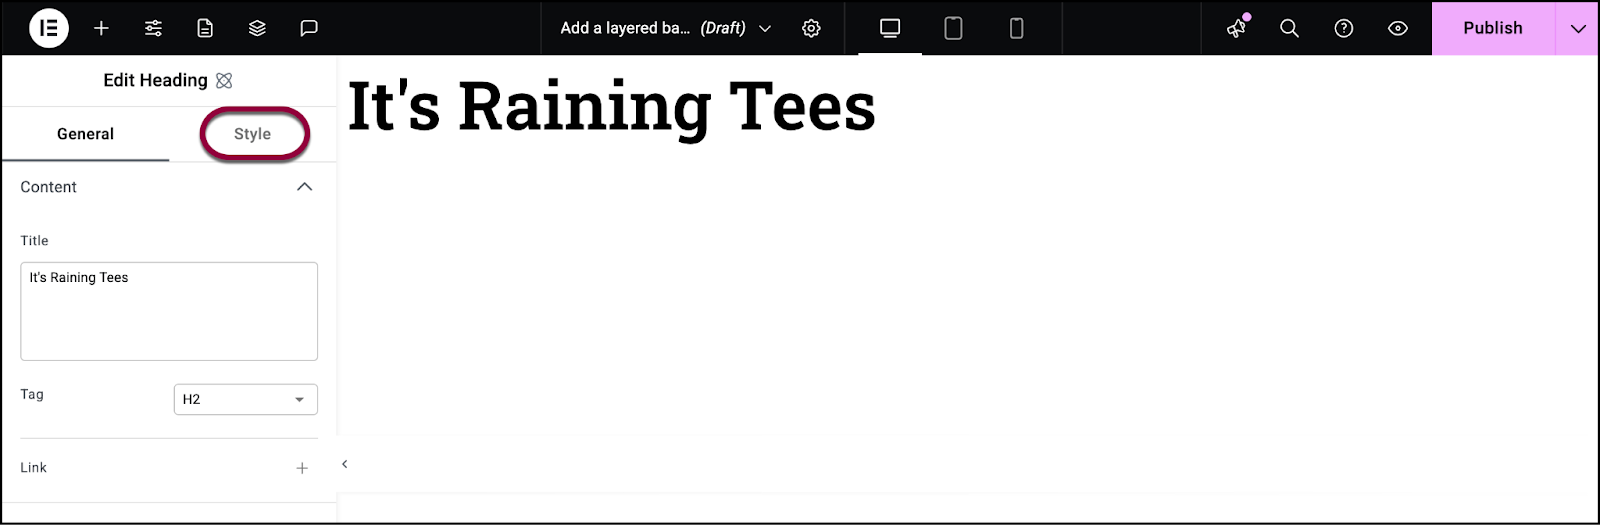
- Click the Style tab.
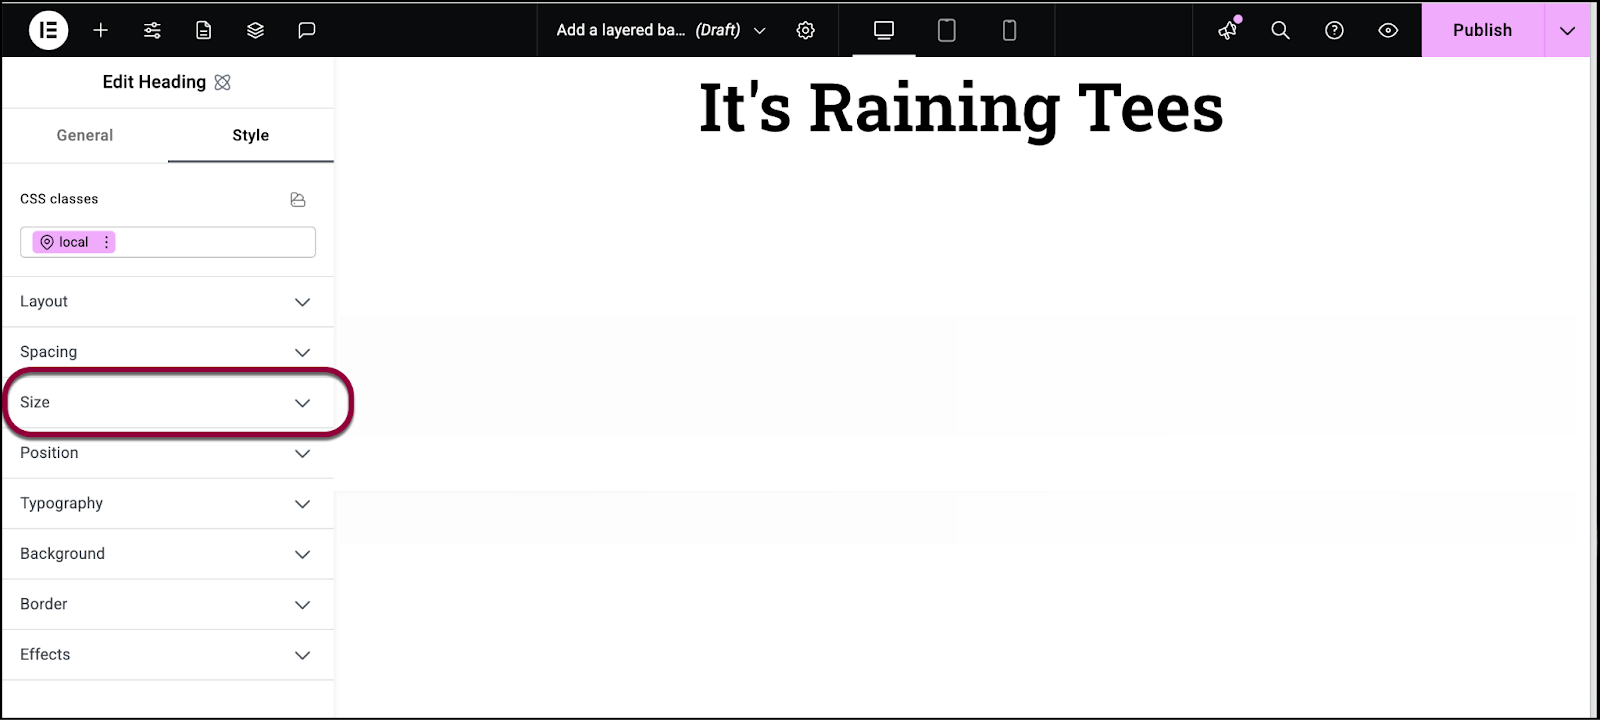
- Open the Size section.
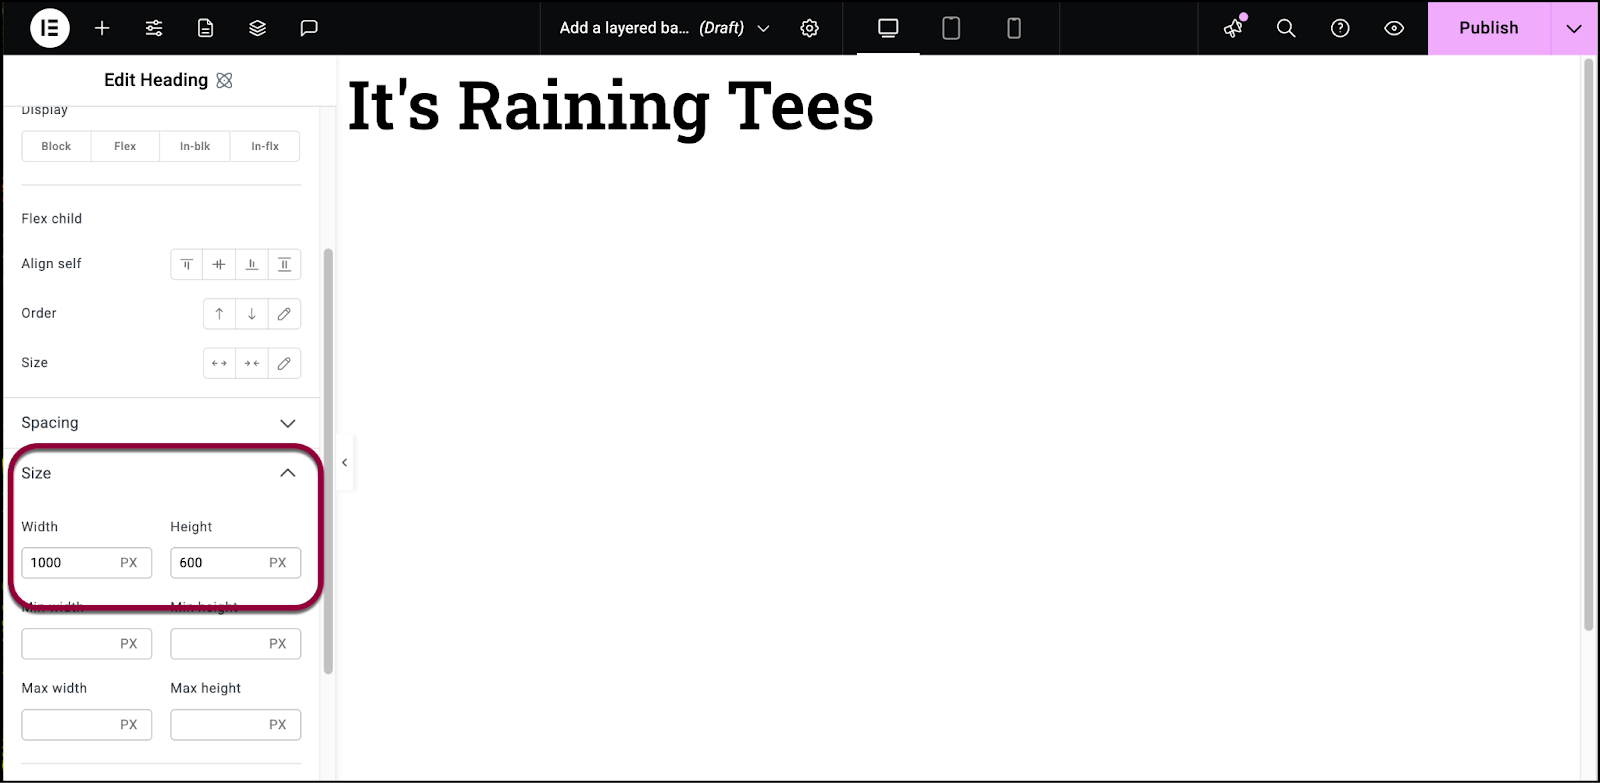
- Set the size to 1000 width and 600 height.
- Open the Background section.
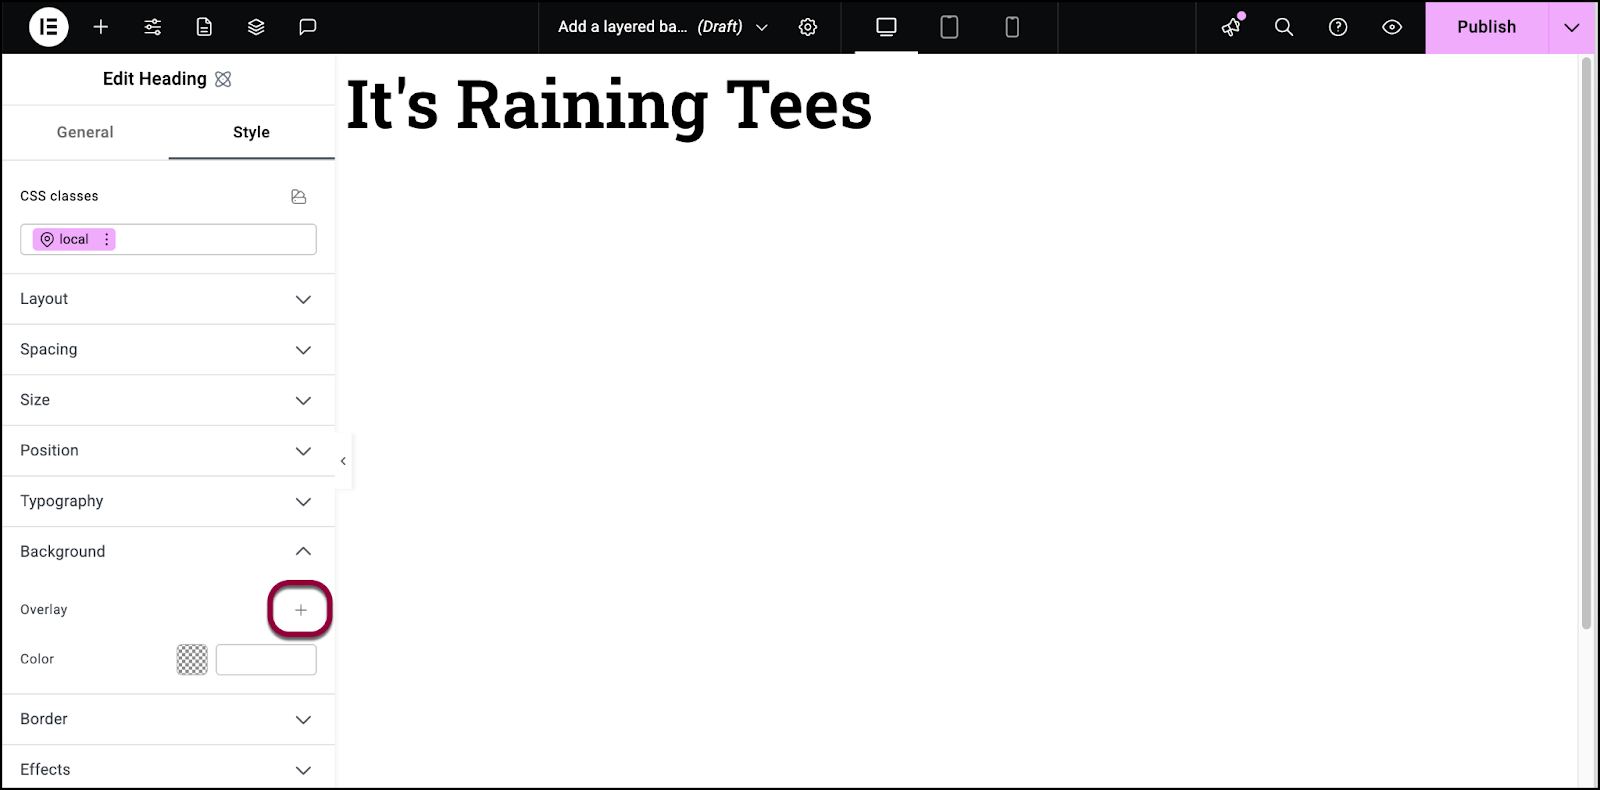
- Click the plus sign to add a background image. For details, see Style tab – Background.
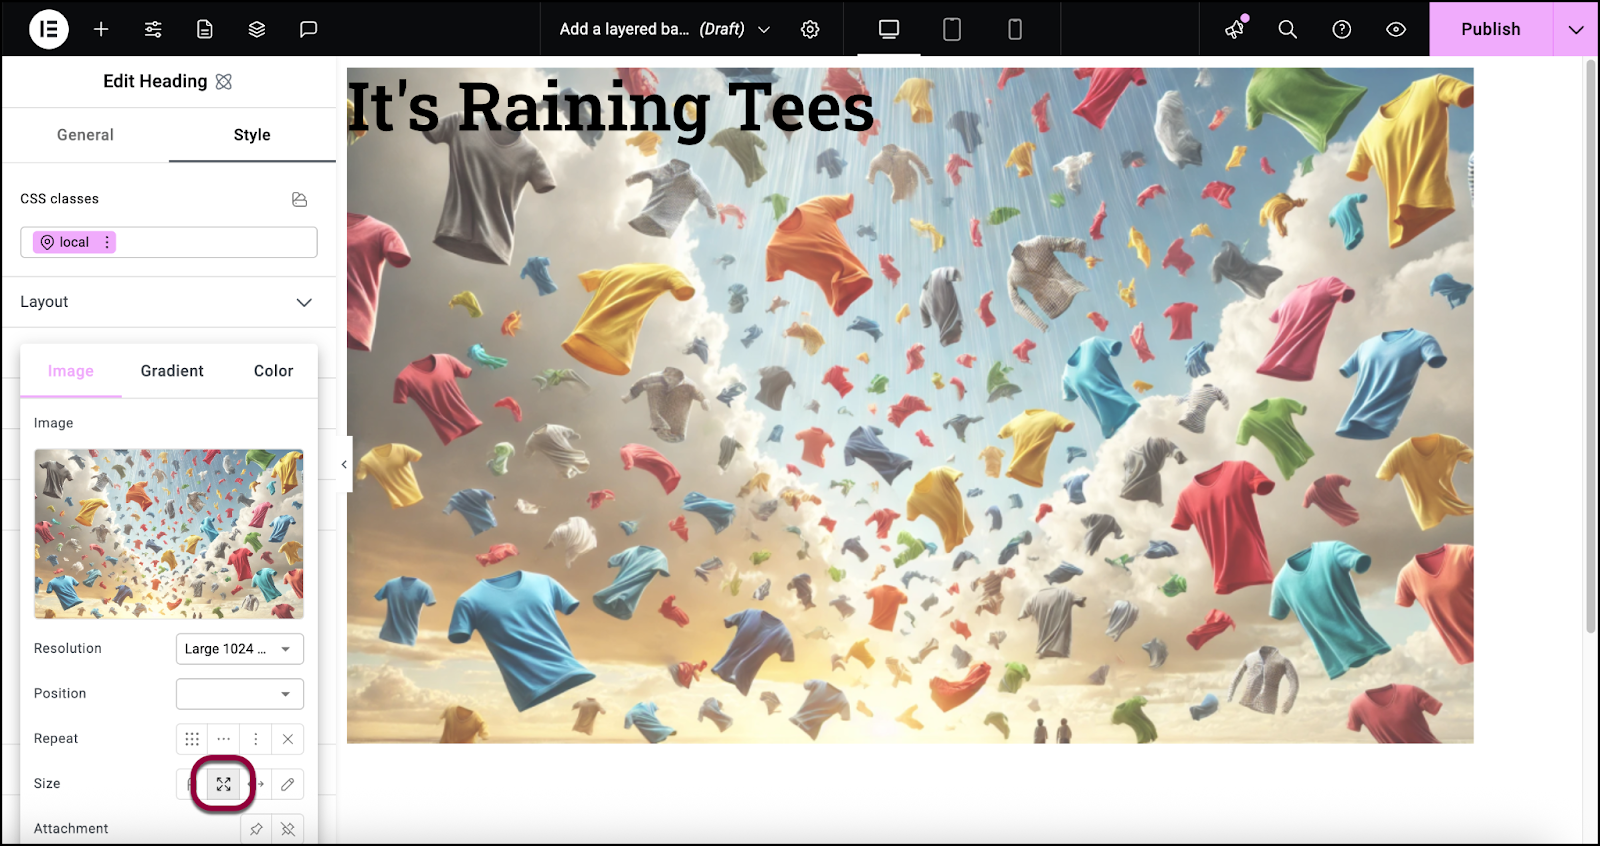
- Add an image to the background. The image should be set to Cover.
- Click outside the background image window to close it.
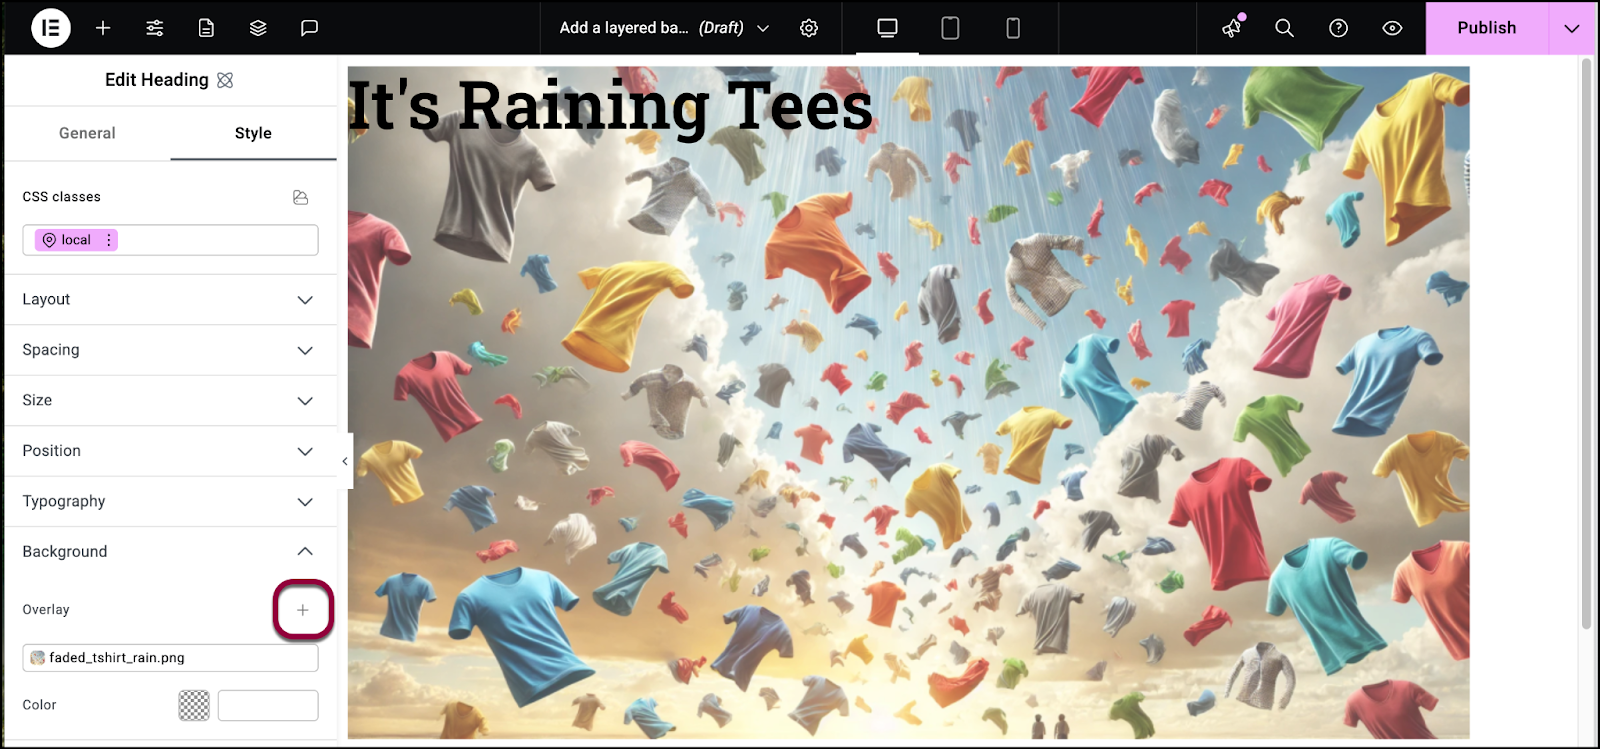
- Click the plus sign to add another layer.
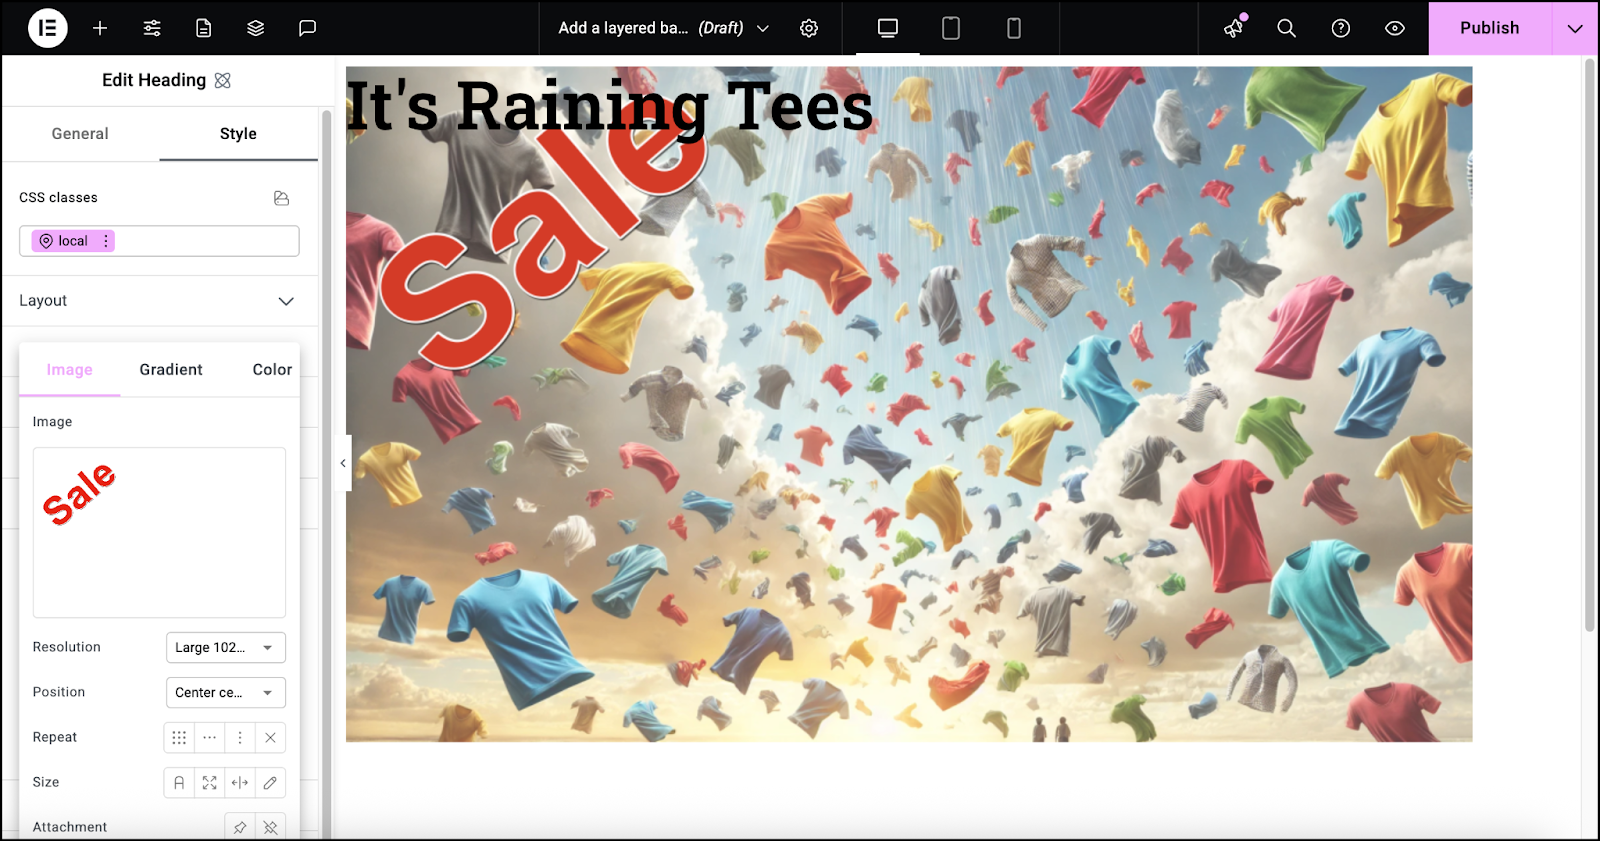
- Add a second image to the background.
Let’s position the image in the upper left corner.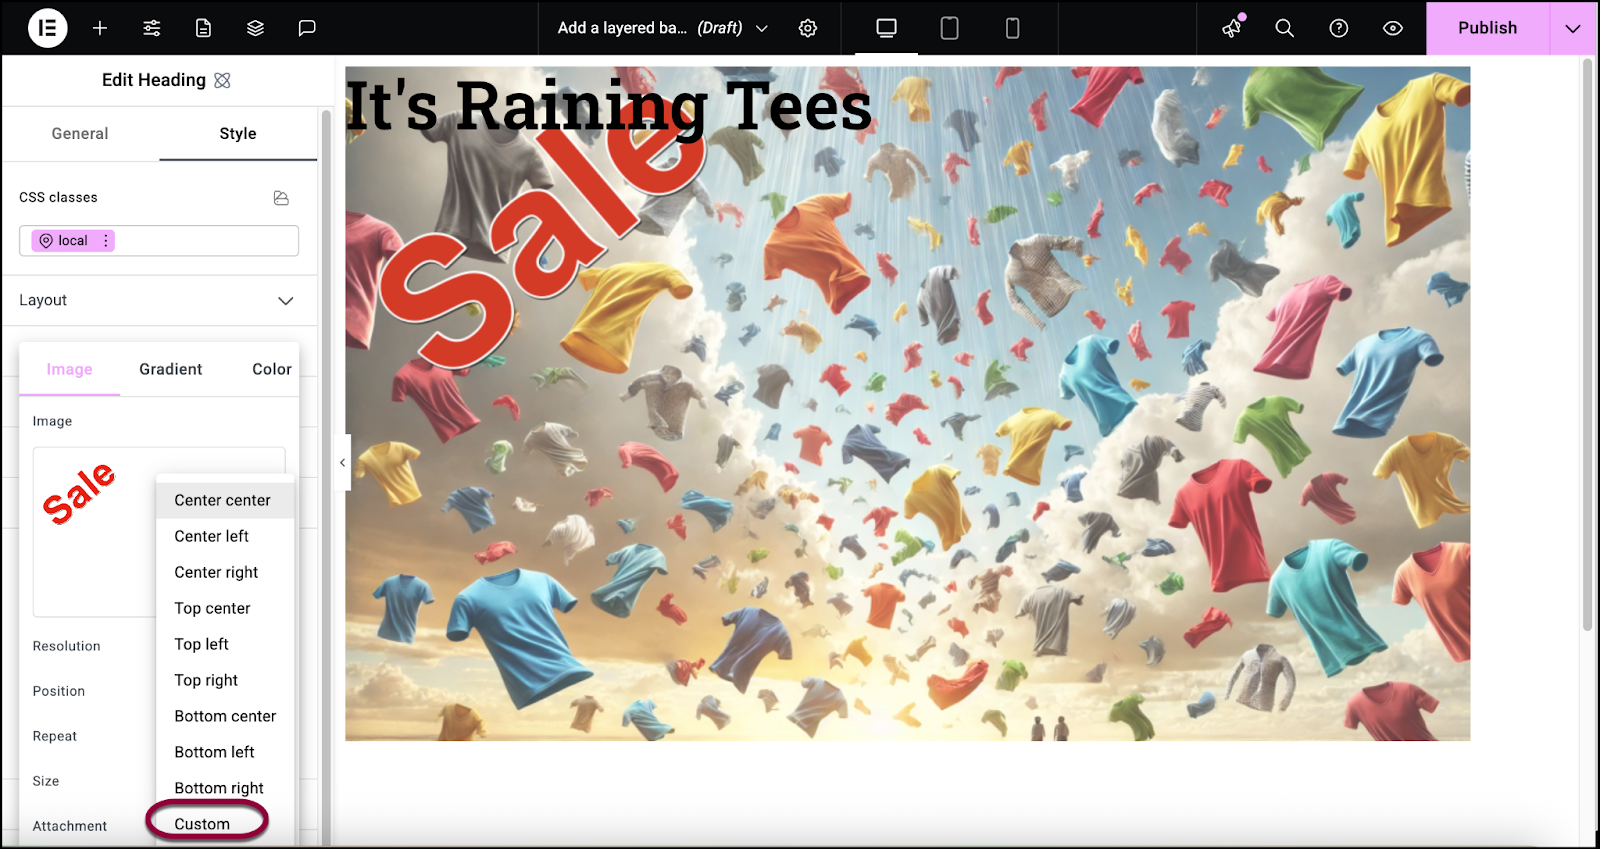
- Use the Position dropdown to select Custom.
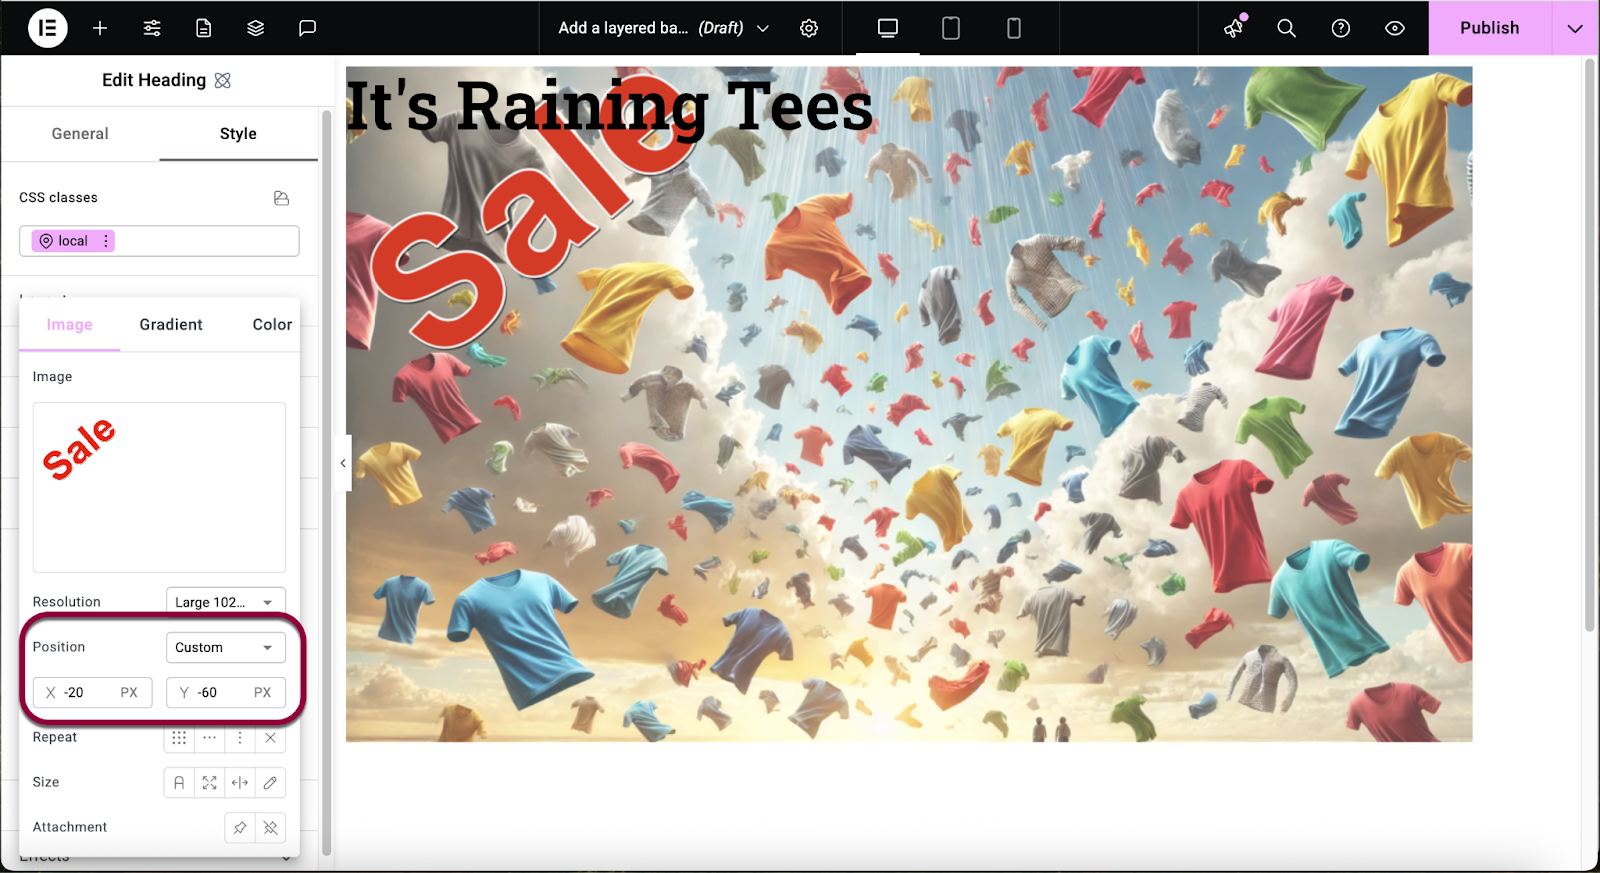
- Set the X value to -20 and Y value to -60.
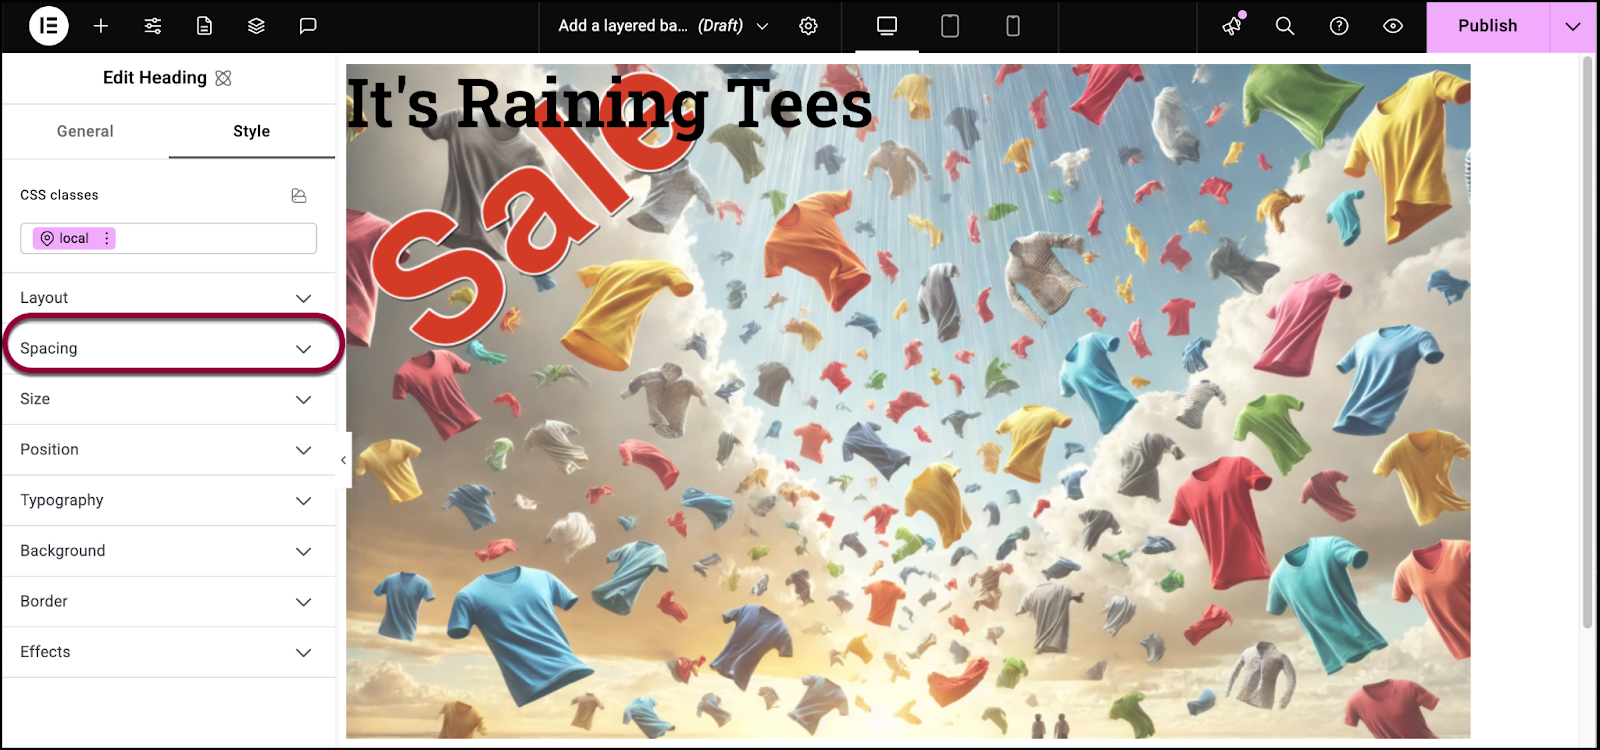
- Open the Spacing section.
Now we’ll center the text using the padding settings.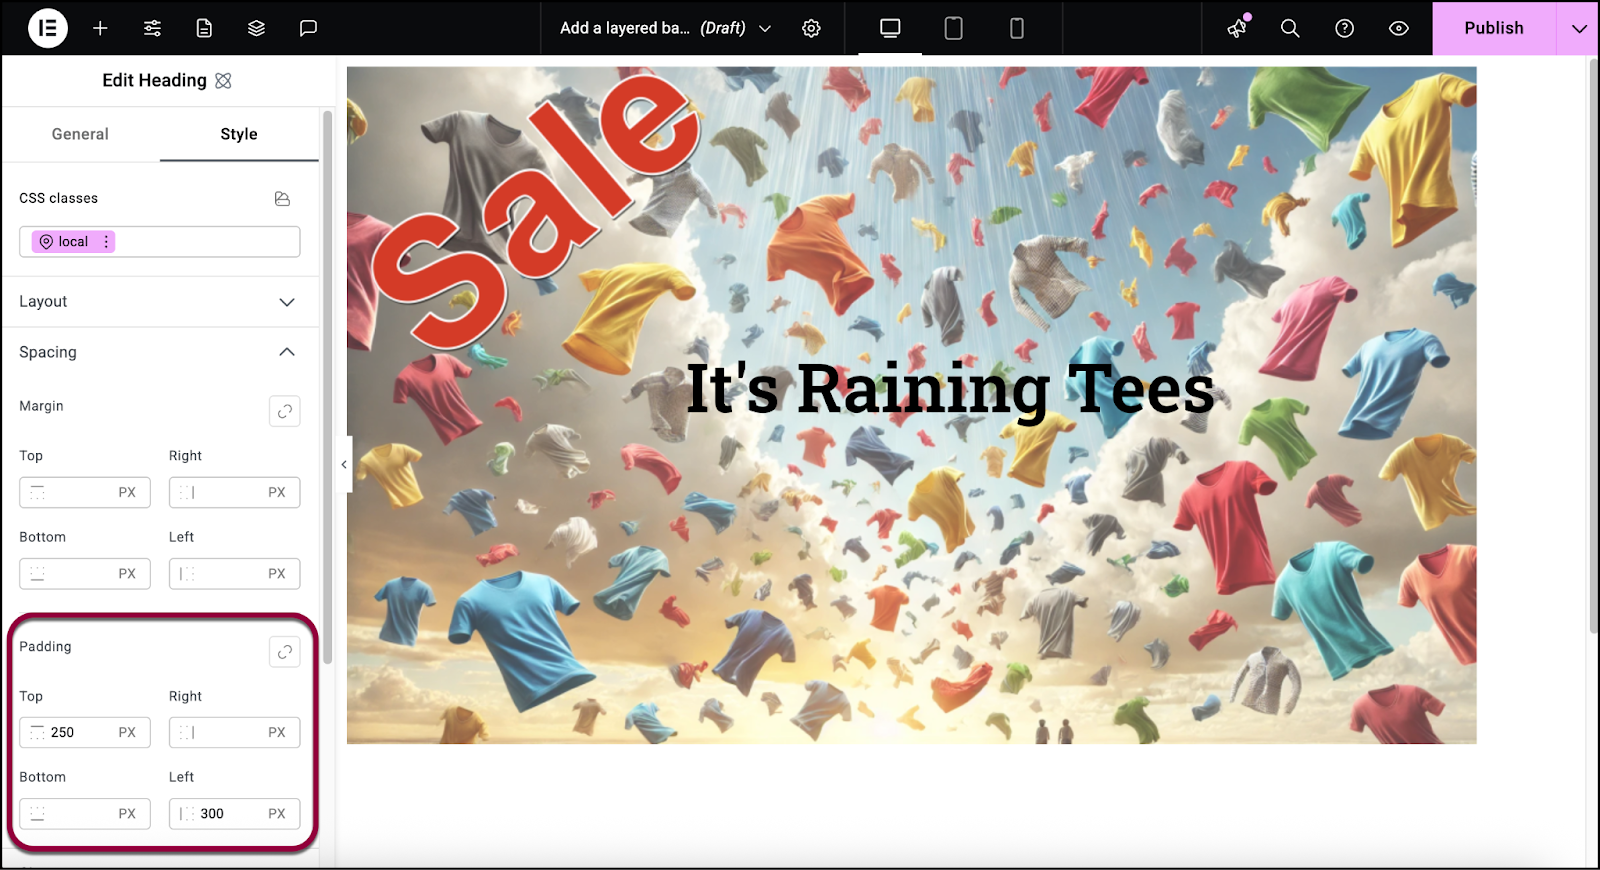
- Set the padding to top 250 and left 300.
The background is complete.