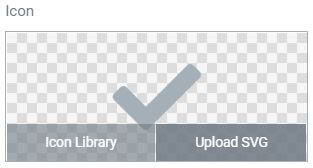
Widget Icon Controls now allow you to choose from an icon in the Icon Library or to upload your own SVG icon. We recommend uploading SVGs without any inline styling, in order to take advantage of the full capabilities of Elementor’s styling controls.
What Is SVG?
Scalable Vector Graphics (SVG) is an XML-based vector image format for two-dimensional graphics with support for interactivity and animation.
SVG files work in a similar manner as icons. You can scale them up or down without any loss of resolution or blurriness. They are extremely lightweight and keep your pages lean.
How To Use
Click on the Upload SVG button that appears on any widget with icon controls top open the WordPress Media Library manager. Upload the SVG you wish to use.
Important Security Notice!
Uploading SVG files from unknown sources may pose a potential security threat. We recommend you upload files only from a trusted source and enable this feature after you understand and accept the security risks involved.
Elementor’s SVG module will do it’s best to sanitize the files uploaded to your site, but it is best to upload SVG files only from known and trusted sources.
Once you upload an SVG file, Elementor sanitizes the file, removes any possible malicious code, and leaves only the skeleton of the required image. After the upload is done, you are able to preview the image and filter it using the native WordPress media library, only showing SVG files. The SVG is inserted into the page as inline code.
One-Time Enable SVG Process
The first time you attempt to upload an SVG icon, you will be presented with a warning message to alert you that uploading any files, including SVG files, may present a potential security risk. If you understand the risks involved and agree to continue, click the Enable button.
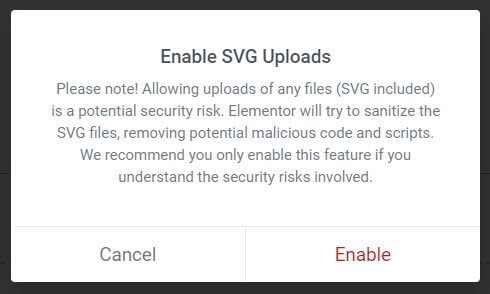
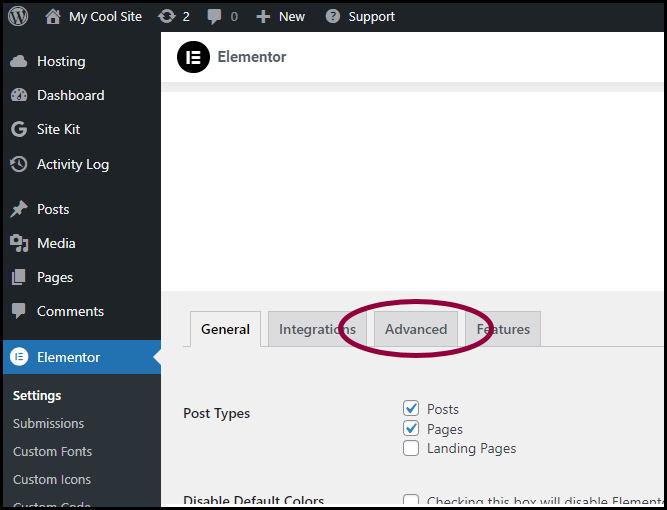
Once the Enable button is clicked, you will be taken to Elementor>Settings page.
- Click the Advanced tab.
A number of options appear, including Enable Unfiltered File Uploads.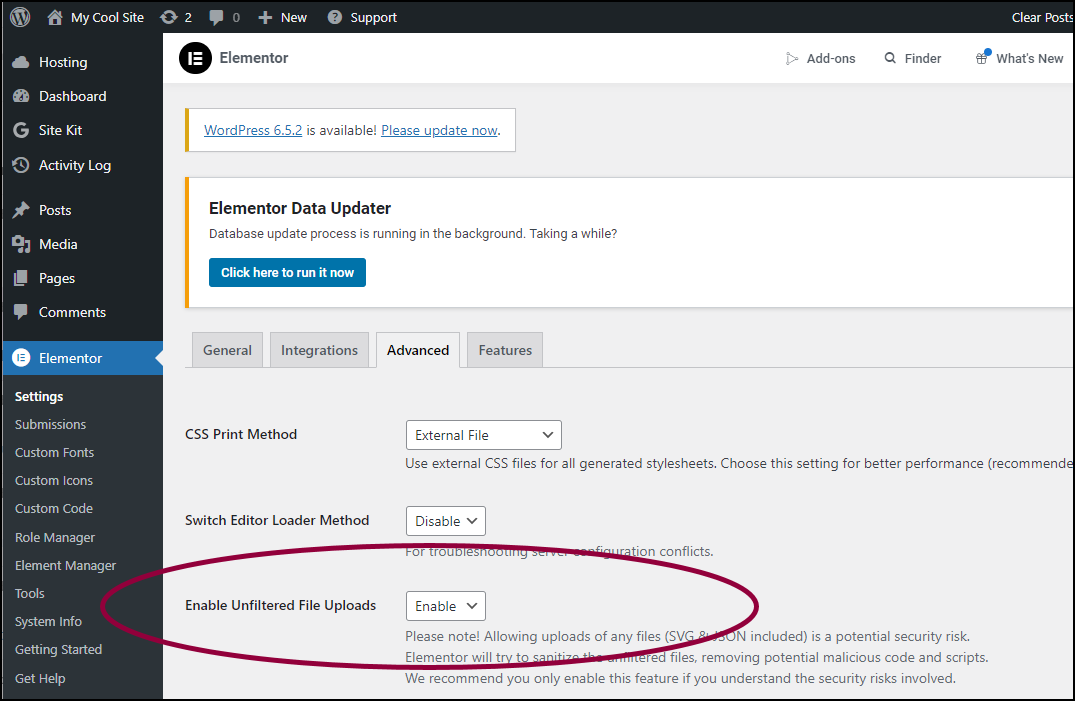
- Use the dropdown menu to Enable these file uploads.
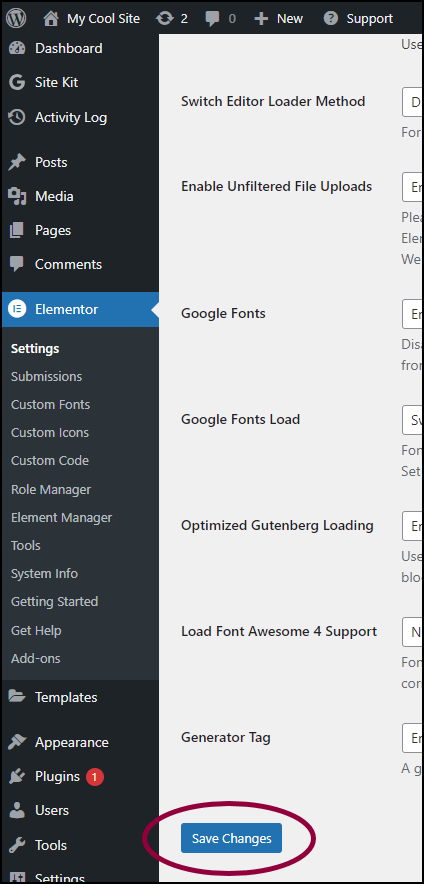
- Scroll down and click Save Changes.
Once you’ve enabled SVG Uploads, return to your page to continue editing.
Override Inline Styling
Ideally, you should export SVG files from applications such as Illustrator without any inline styles, to allow Elementor to style the icon.
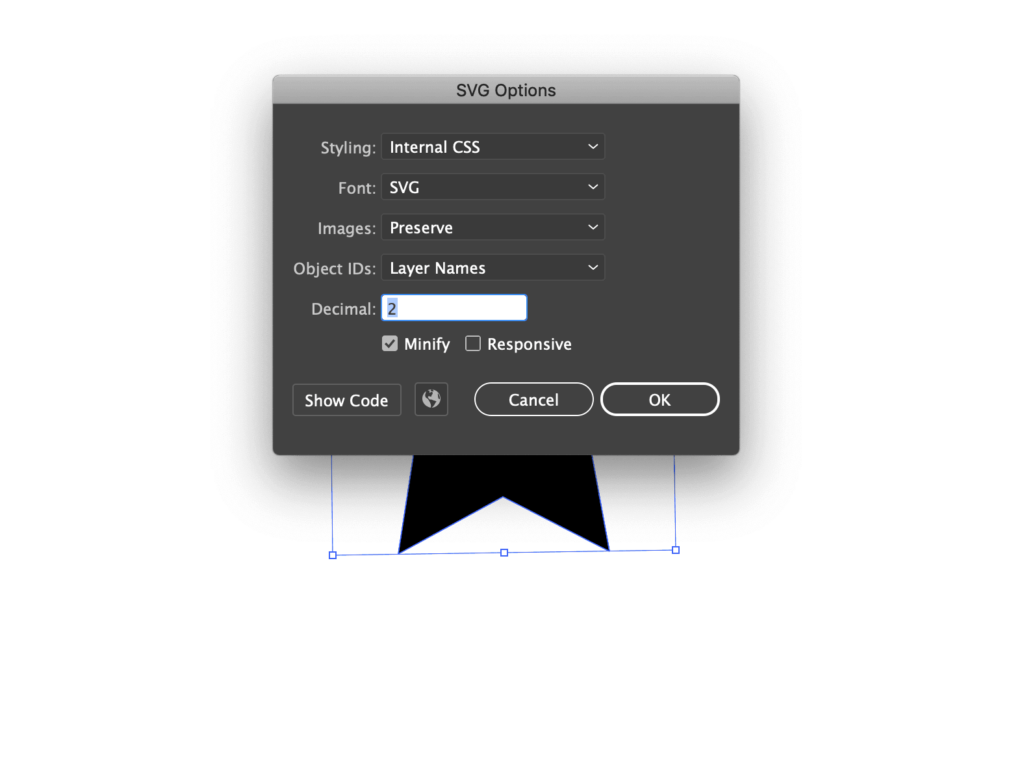
However, if the SVG you’ve uploaded has width or height inline styling on it, you can override that by adding this CSS in the Advanced tab of any widget using the SVG icon:
selector svg { width: 100% !important; height: 100% !important; }This will allow Elementor to control the size of the icon.
Note: When creating or editing SVG’s for uploading, it is important that the fill/stroke color to be set to #000000 in order for the color picker controls to function in the Editor.

