After purchasing the Advanced Shop plan, you’ll need to install and activate the following using the guides below:
After purchasing a Cloud Sell XL or XXL plan, you’ll have the option of downloading a zip file. You’ll need this zip file to install Elementor Pro and Shoptimizer. If you don’t download it at this point, you can download it later from the My Elementor dashboard as described below.
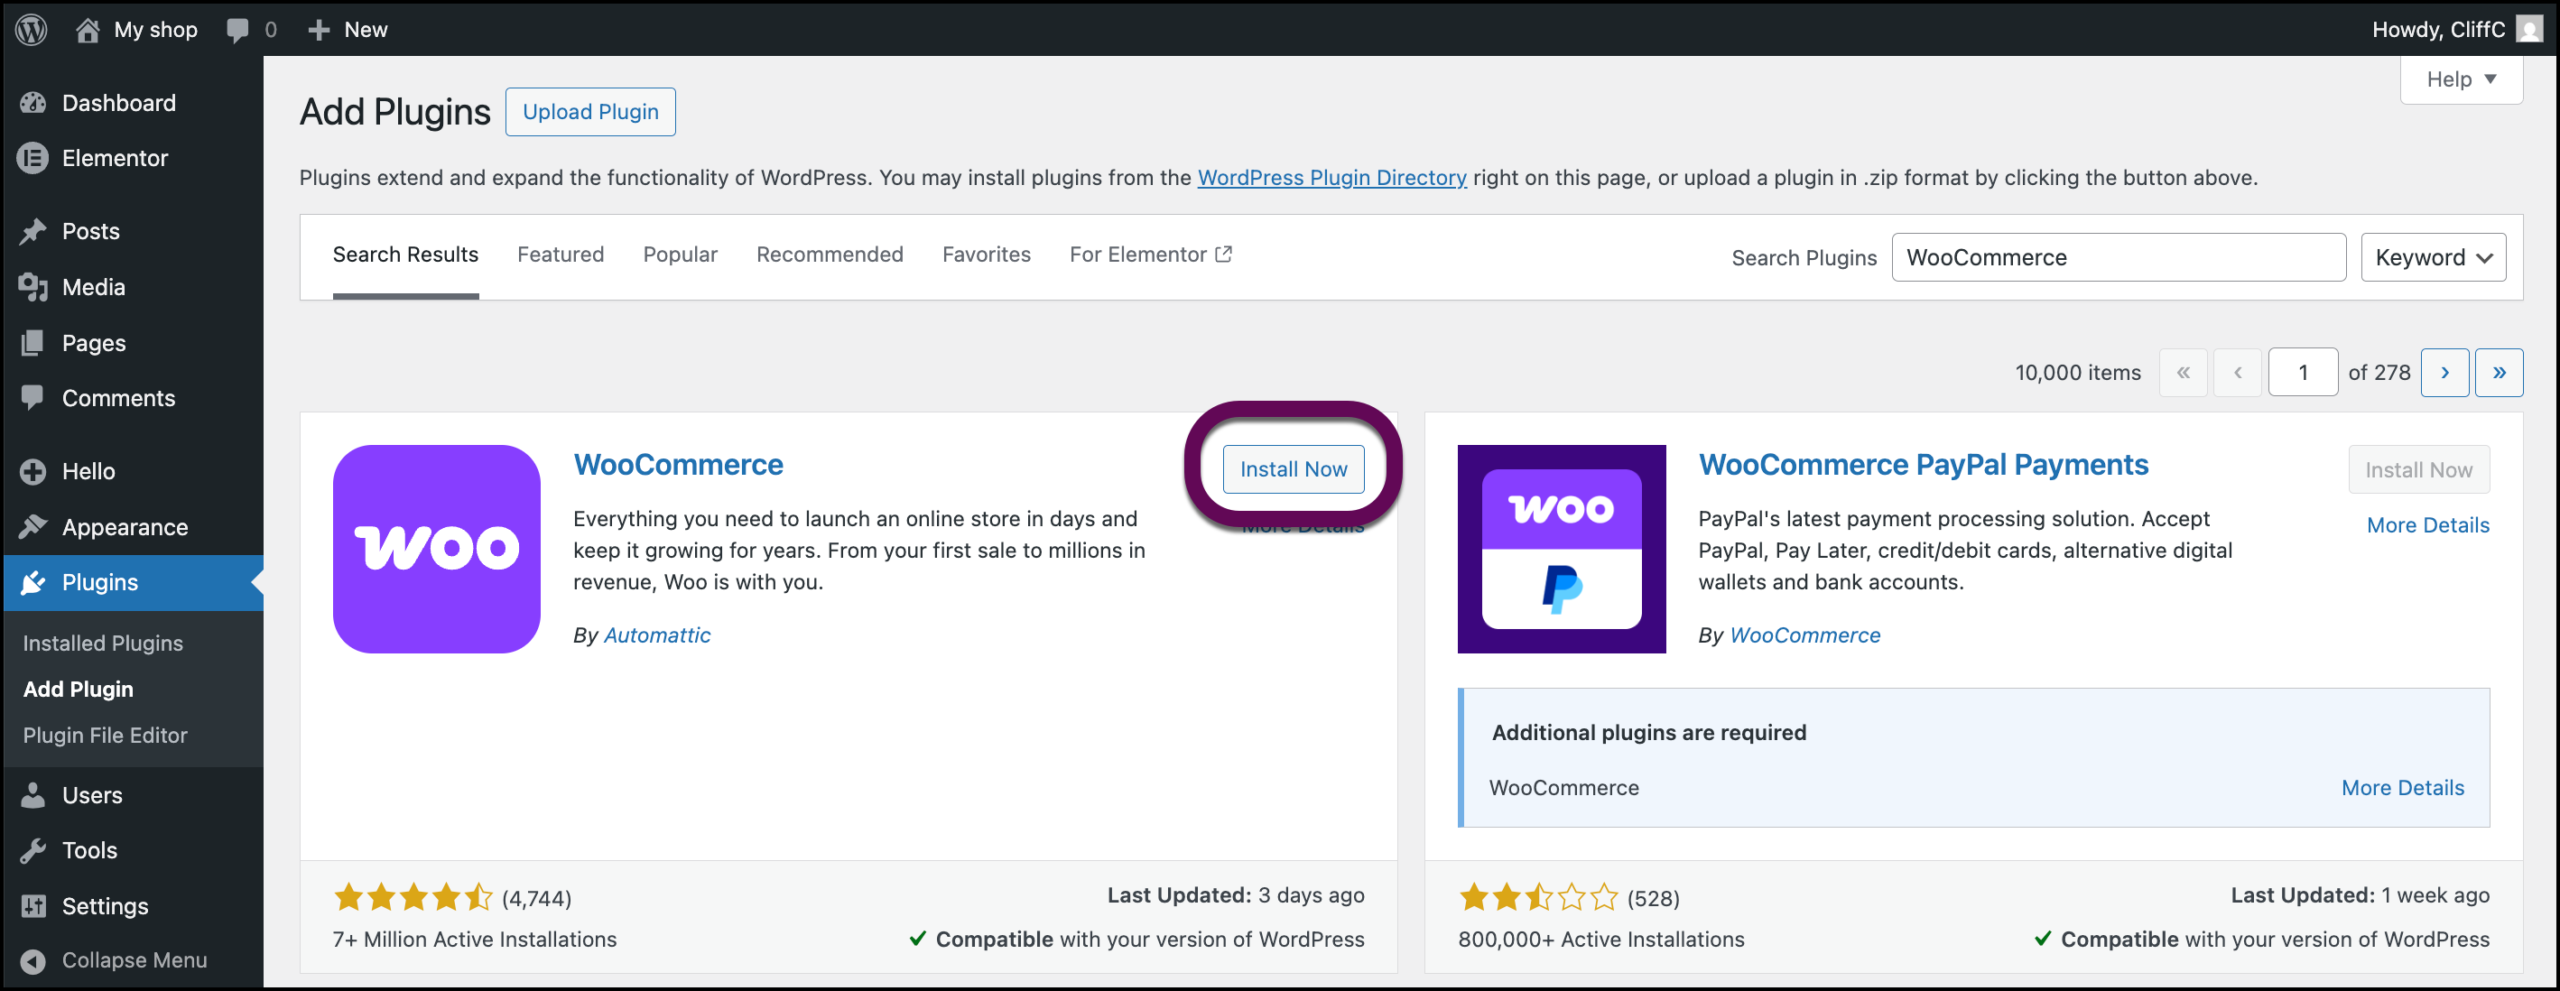
1. Install & Activate Elementor
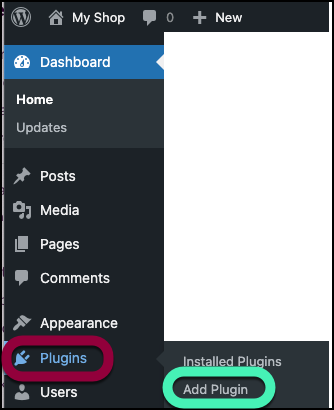
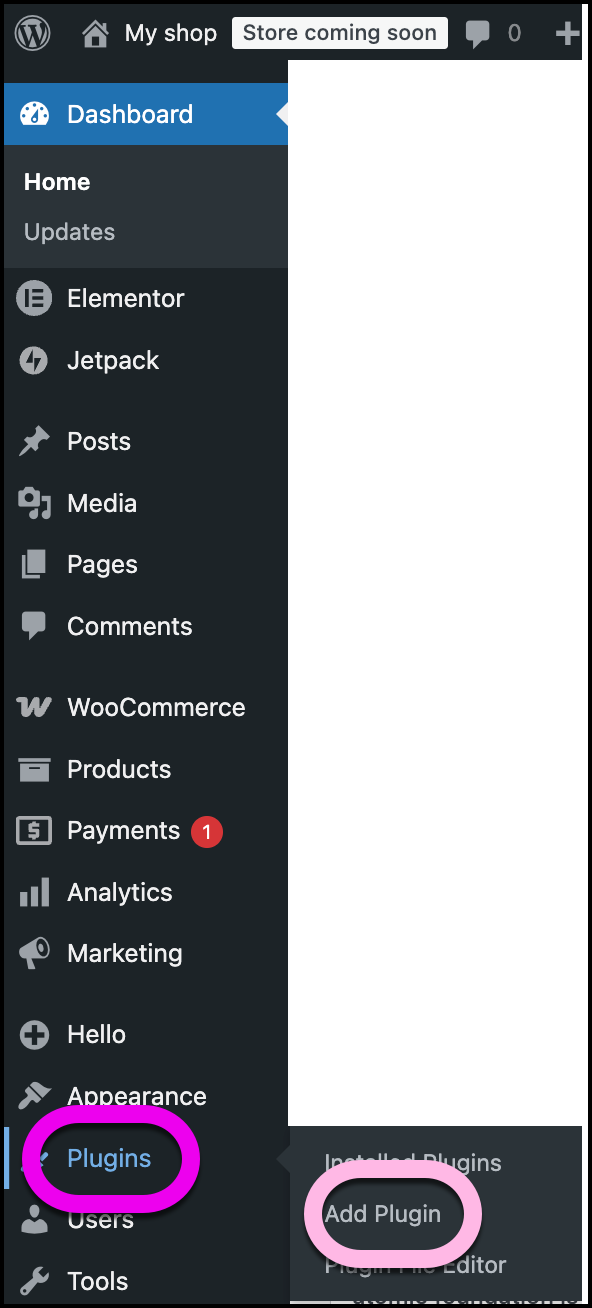
- Go to WP Admin and navigate to Plugins > Add New Plugin.
- In the search bar, enter Elementor Website Builder.
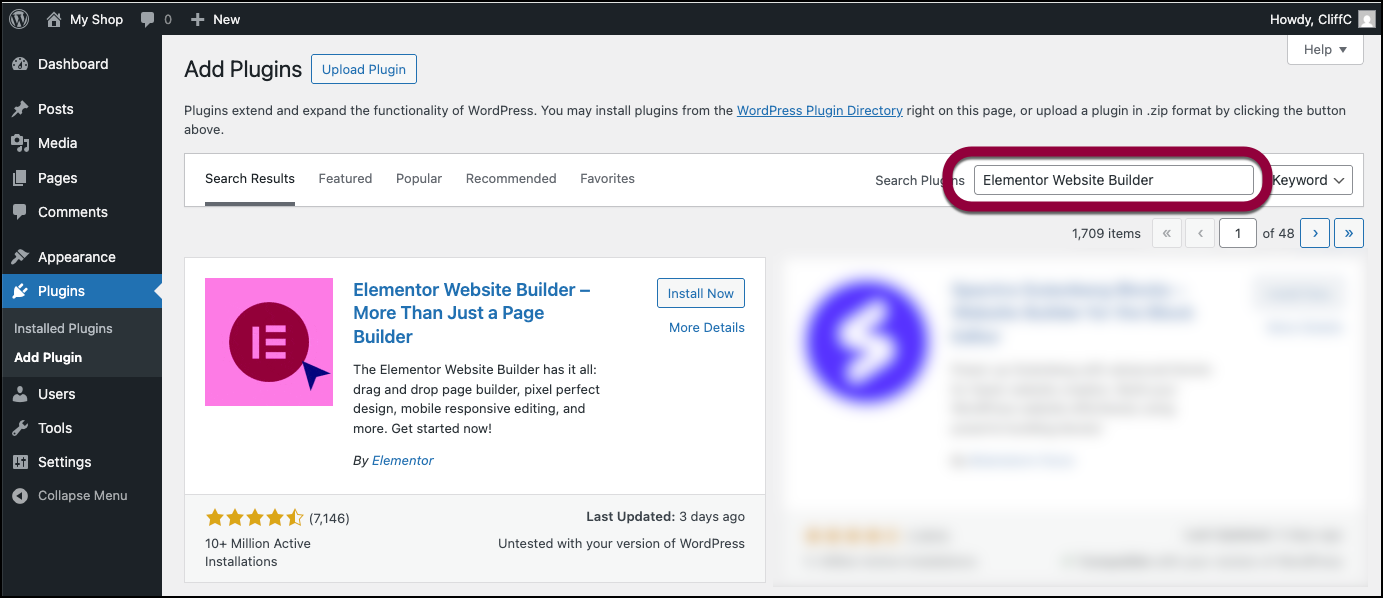
- Click Install Now next to Elementor Website Builder.
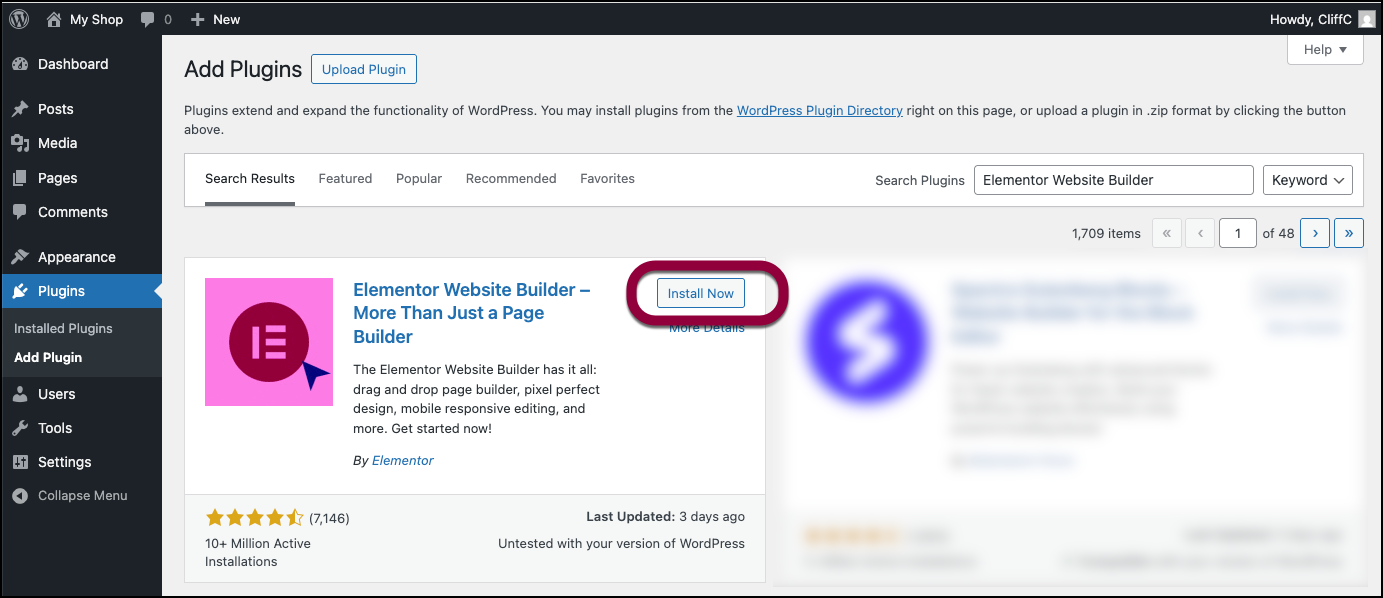
- After a few seconds, the text on the button Install Now is replaced with the word Activate.
- Click the Activate button to activate Elementor Core.

2. Install & Activate WooCommerce
Completing this step is essential to see the Commercegurus section in your WordPress Admin, even if you’ve installed it before.
- In WordPress Admin, go to Plugins>Add New.
- In the search bar, enter WooCommerce.
- Click Install Now next to WooCommerce.
- After a few seconds, the text on the button Install Now is replaced with the word Activate.
- Click Activate.
- Follow the setup wizard.
3. Download your Elementor Shop zip
Note
If you downloaded the zip file after purchasing your plan, you just need to extract the file you downlaoded.
- Go to my.elementor.com and login to your account.
- Navigate to the Subscriptions page, found under the profile icon on the top-right.
- Find your Shop subscription and click the “Download zip” button to download the zip file to your desktop.
- After downloading, extract the zip.
4. Install & Activate Elementor Pro
- In the WordPress dashboard and to Plugins > Add new plugin
- Choose the `elementor-pro’ zip file you extracted, install and activate.
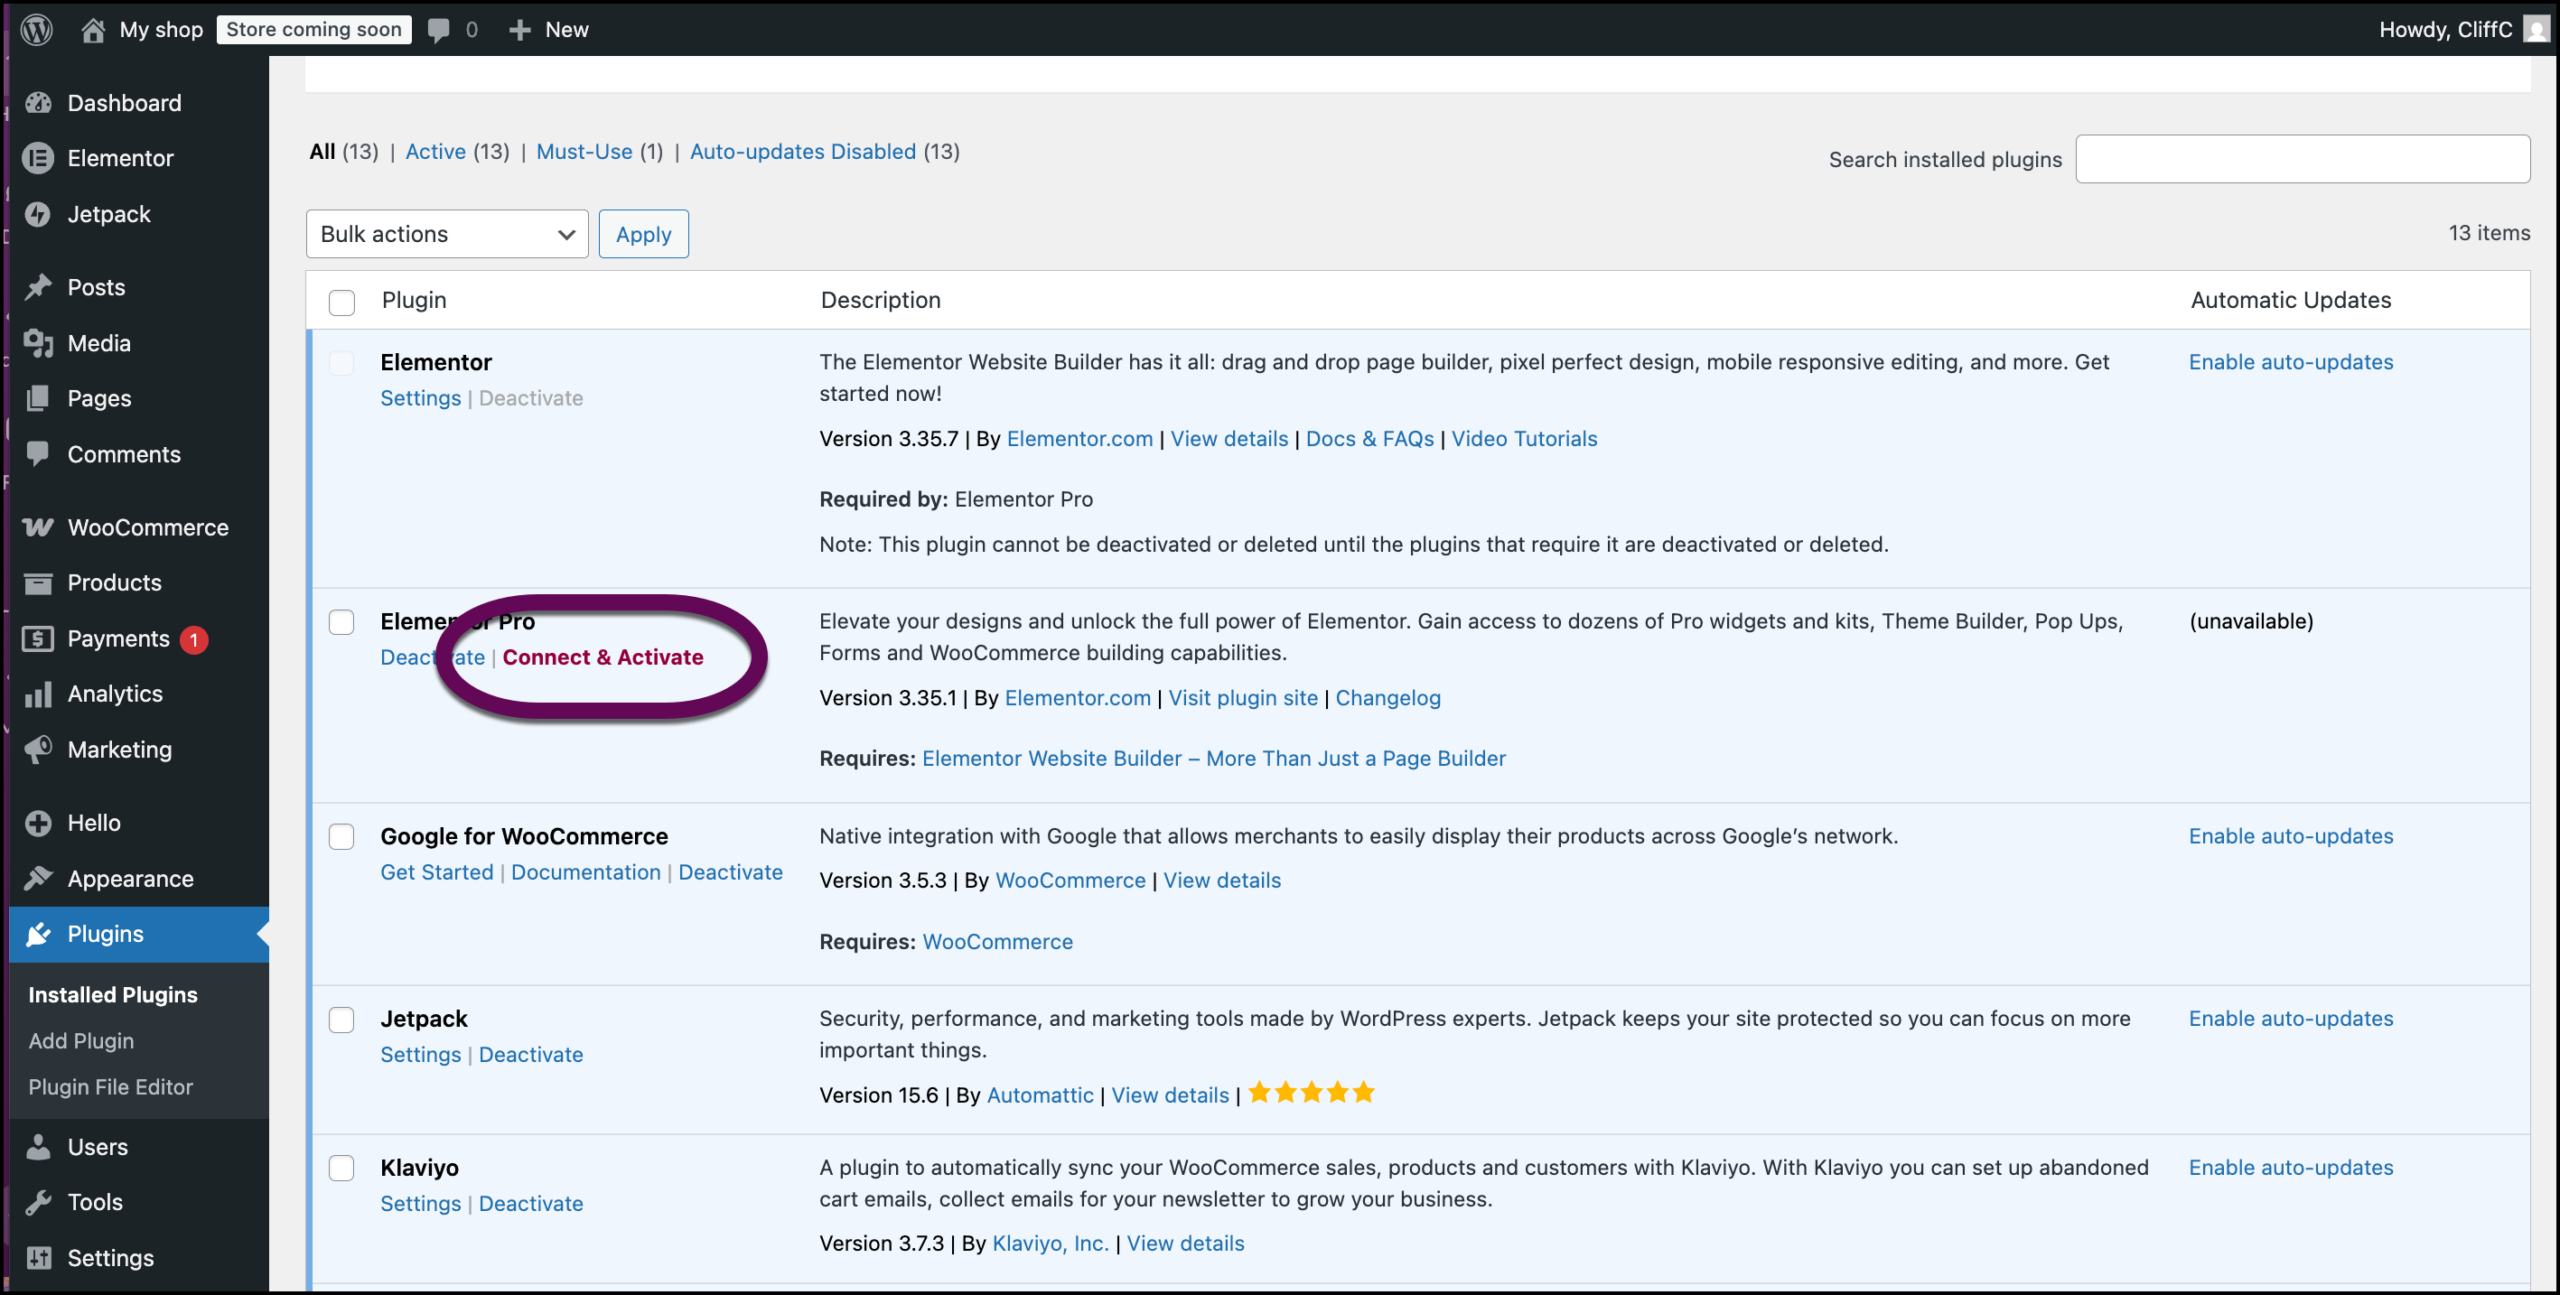
- In WP Admin, navigate to Plugins>Installed Plugins.
- Under Elementor Pro, click Connect & Activate.
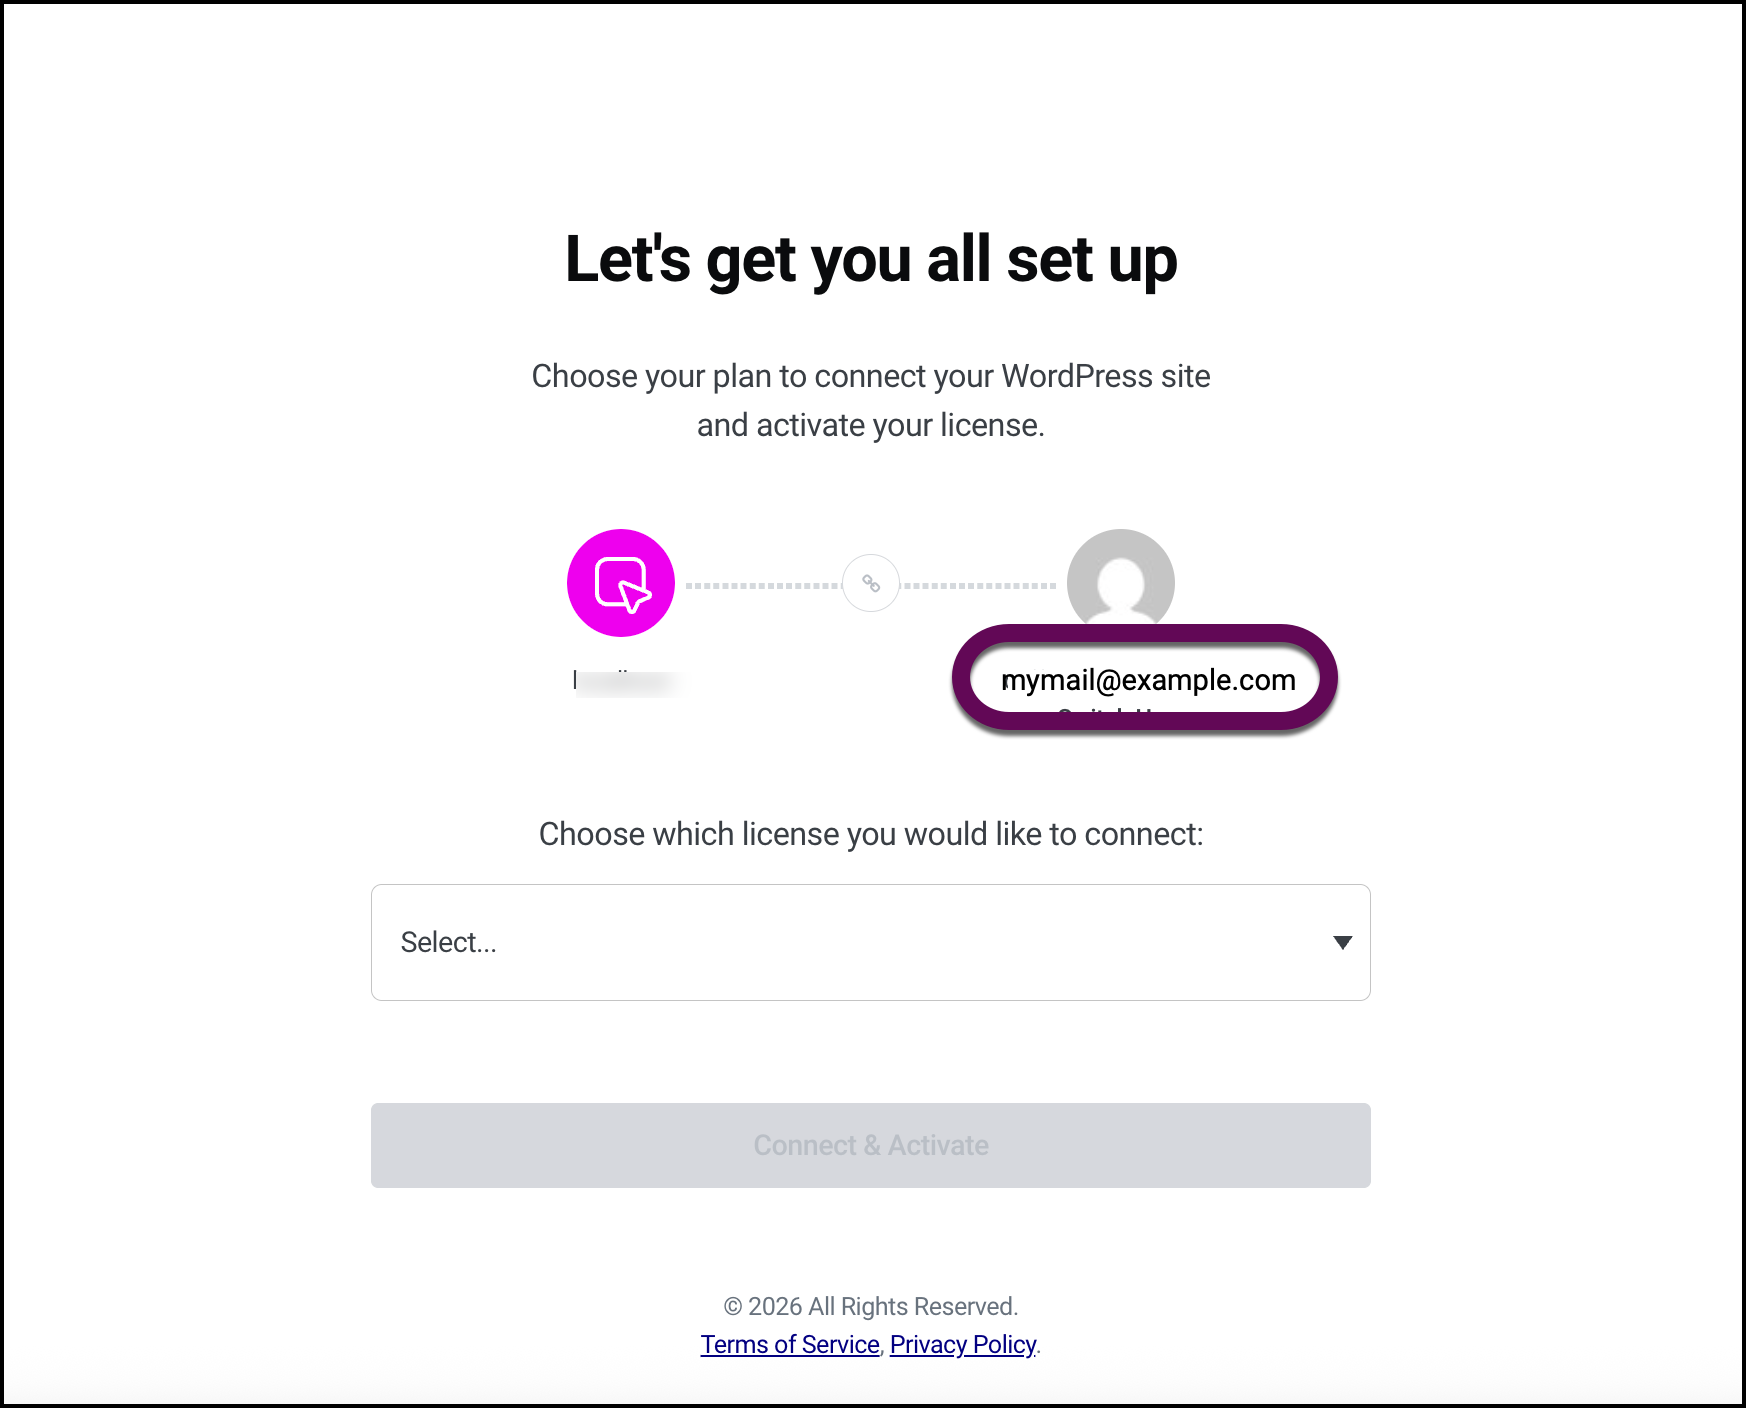
 WarningMake sure you’re using the same account that you used to purchase your subscription.
 - Connect Elementor Pro to your elementor account. For details, see Connect and activate your Elementor Pro license.
5. Install & Activate the CommerceGurus Plugin
- From WP Admin, go to Plugins>Add New Plugin.
- Click Add New Plugin and then Upload Plugin.
- Select `CommerceGurus.zip` from the downloaded folder.
- Click Install Now and then Activate.
- After activation, the CommerceGurus Setup Wizard will launch. Follow the steps to configure your store.
6. Install & Activate the Shoptimizer Theme
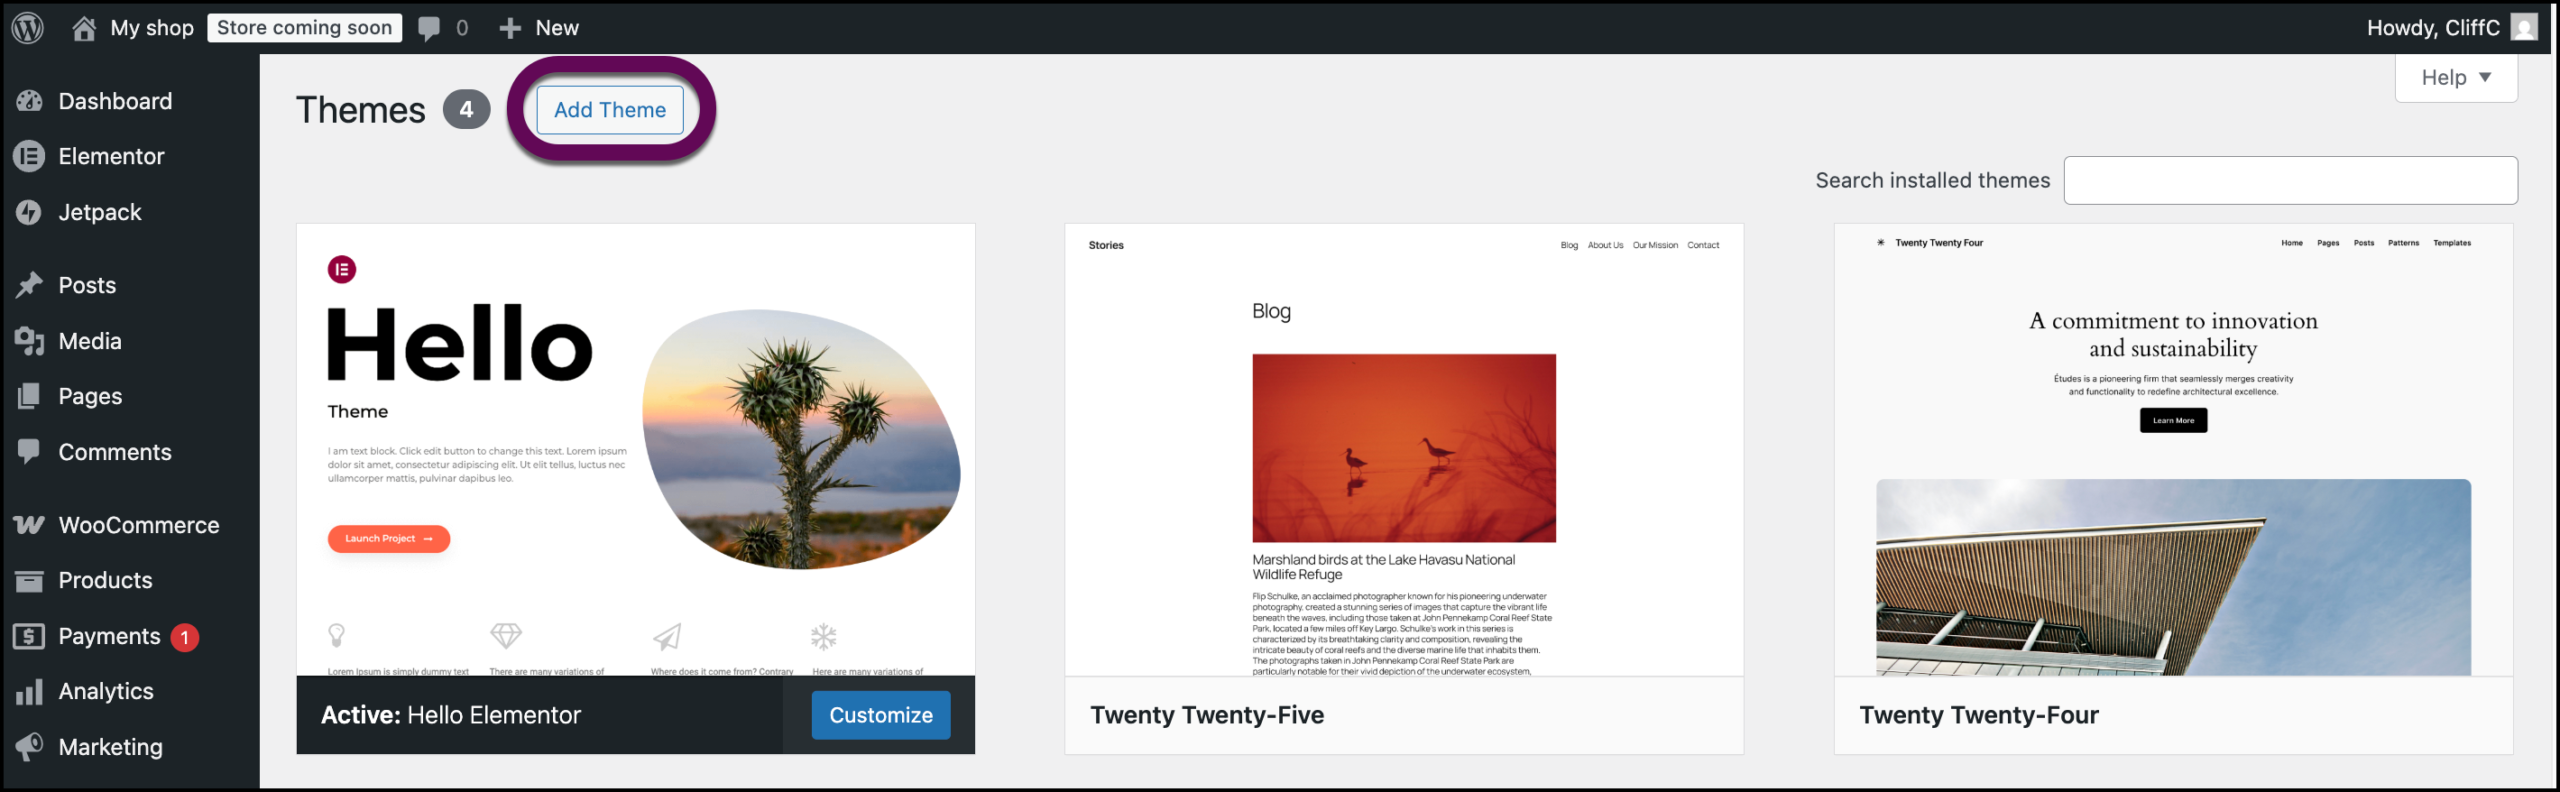
- In WordPress Admin, go to Appearance > Themes.

- Click Add Theme.
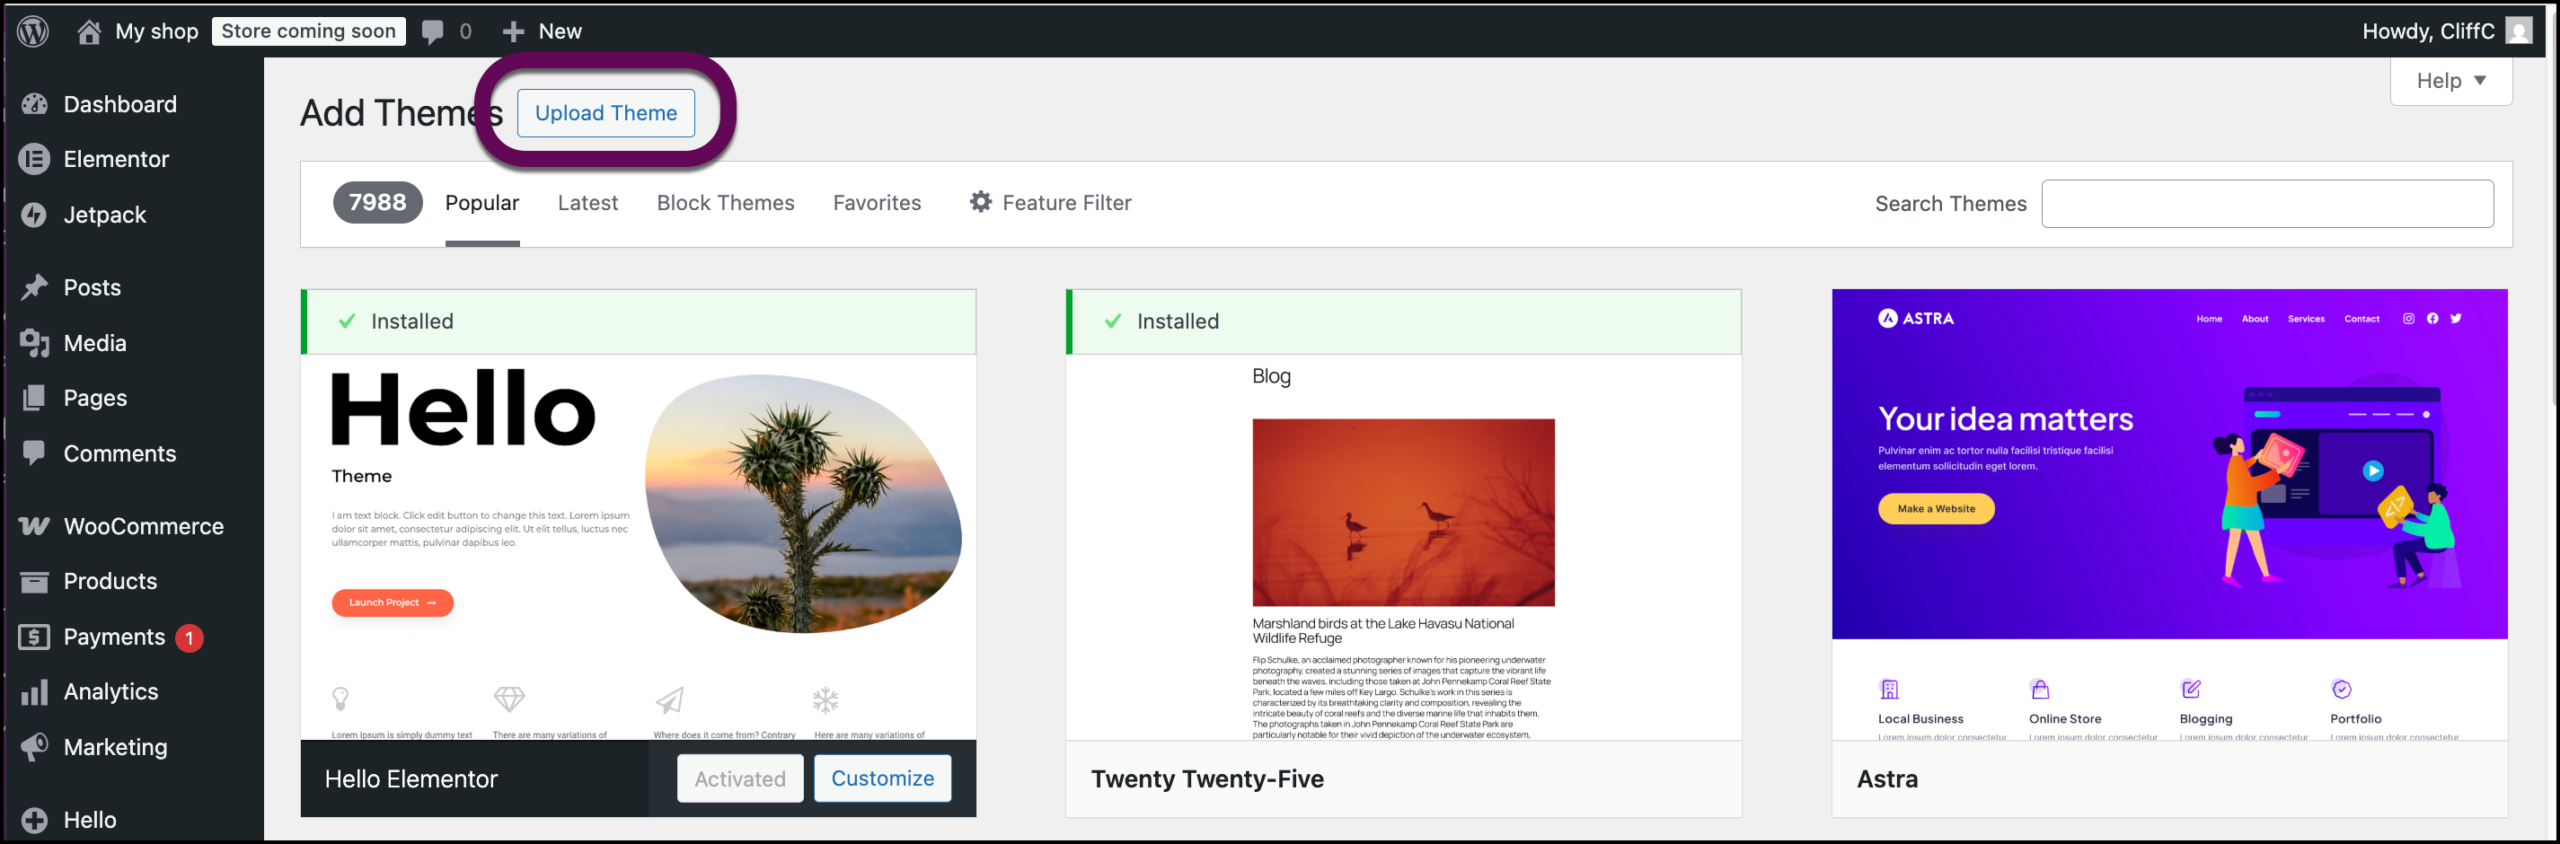
- Click Upload Theme.
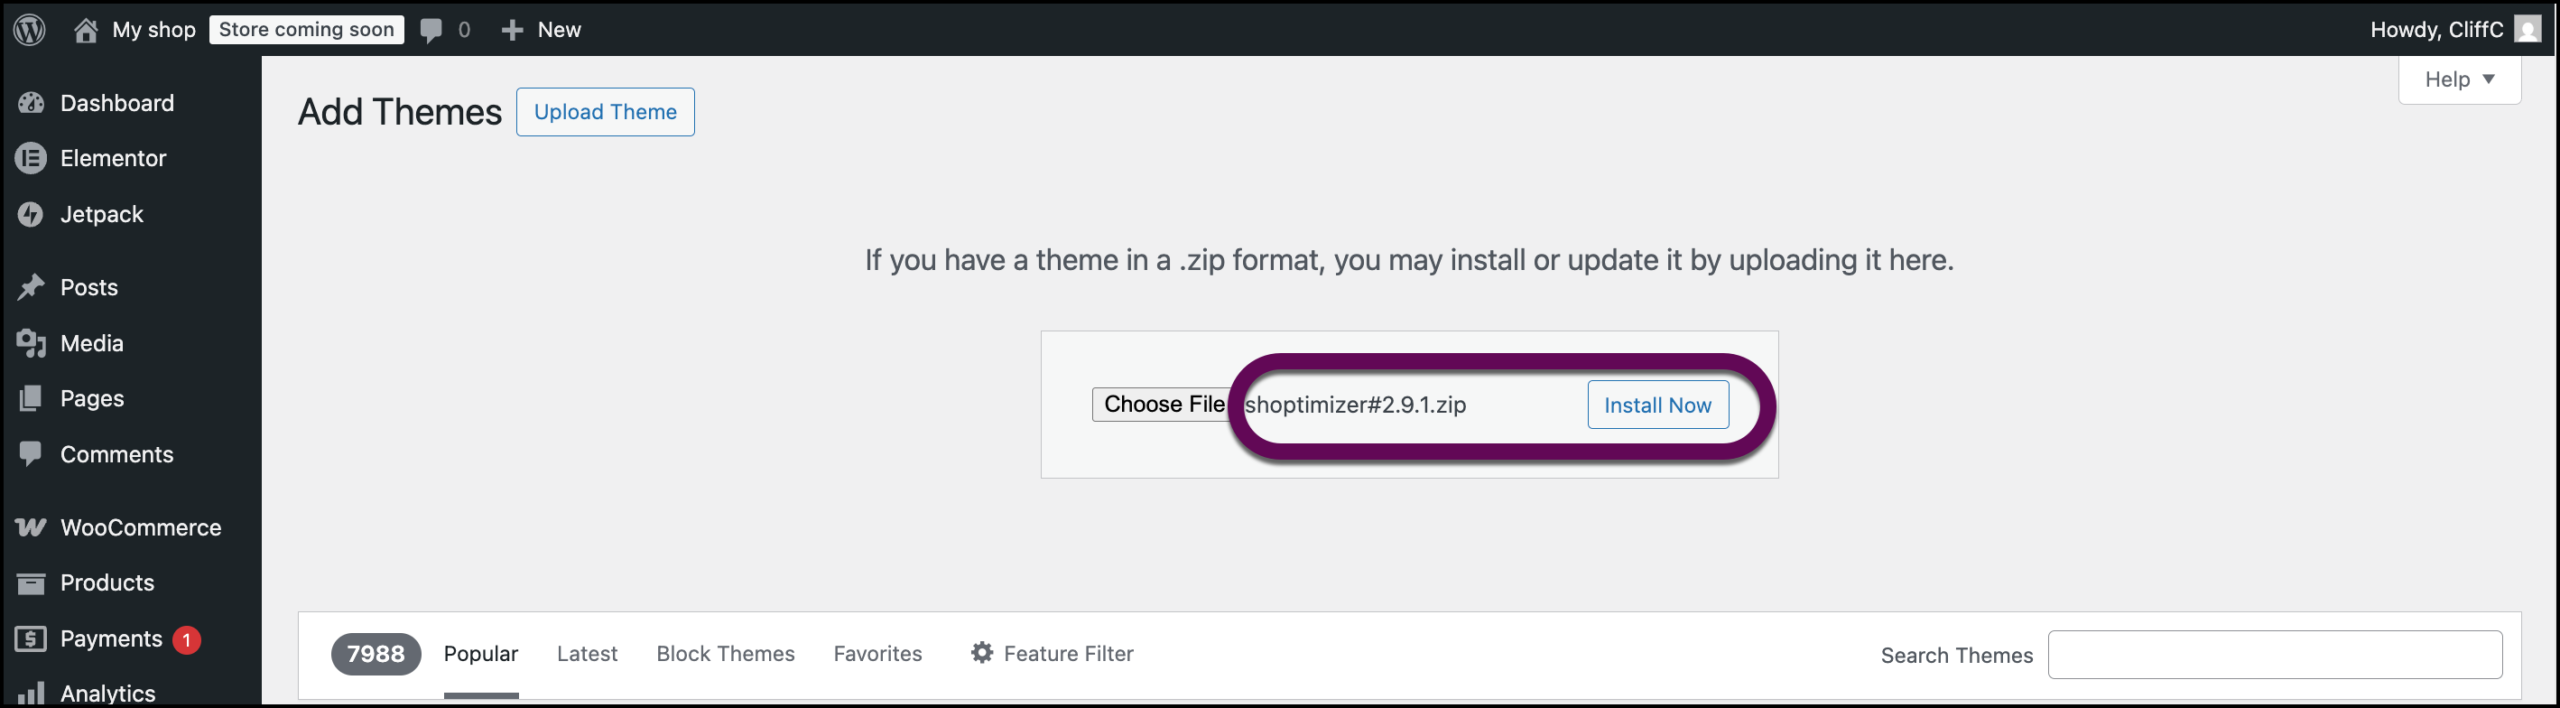
- Select `shoptimizer.zip` from the downloaded folder, and click Install Now.
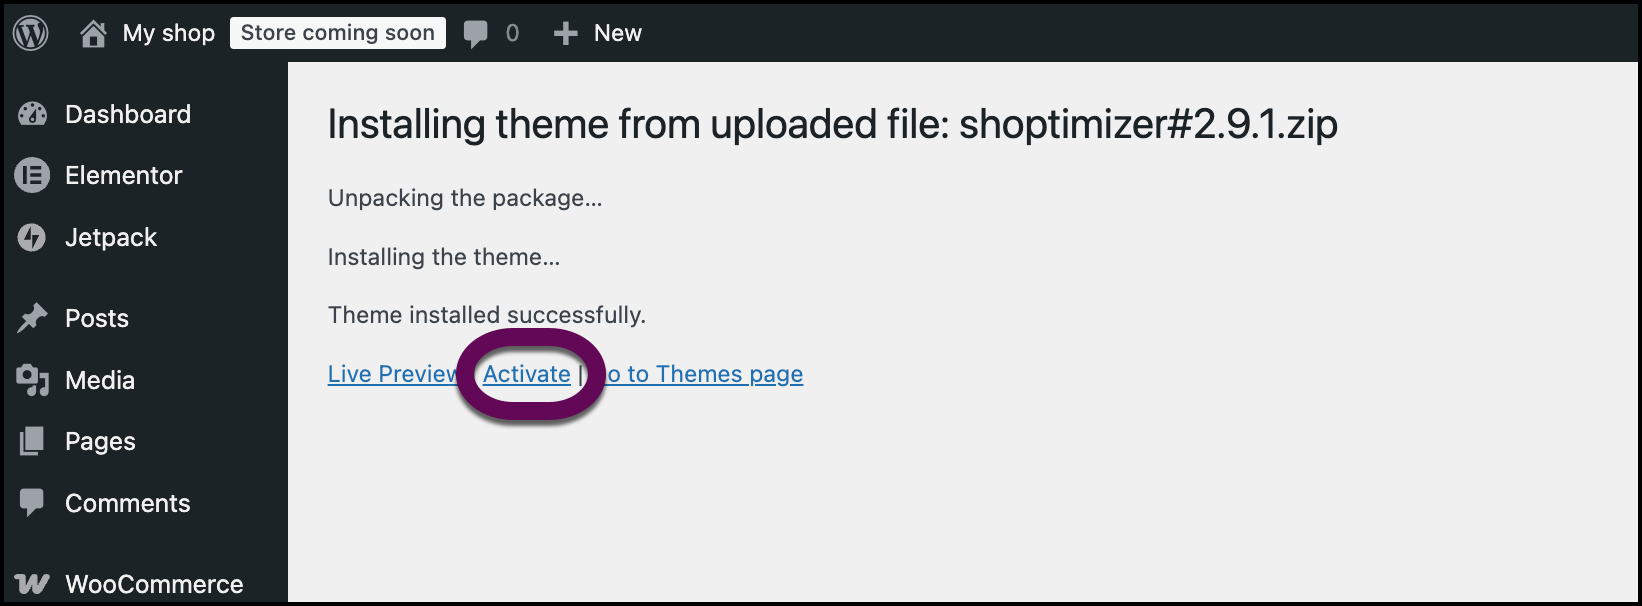
- Once installed, click Activate and follow the on-screen instructions.
 NoteShoptimizer may direct you to install other plugins. You should go ahead and do so. For details about installing WordPress plugins, see Install WordPress plugins.
7. Configure Elementor to Shoptimizer Theme
- From WP Admin, navigate to Appearance>Menus.
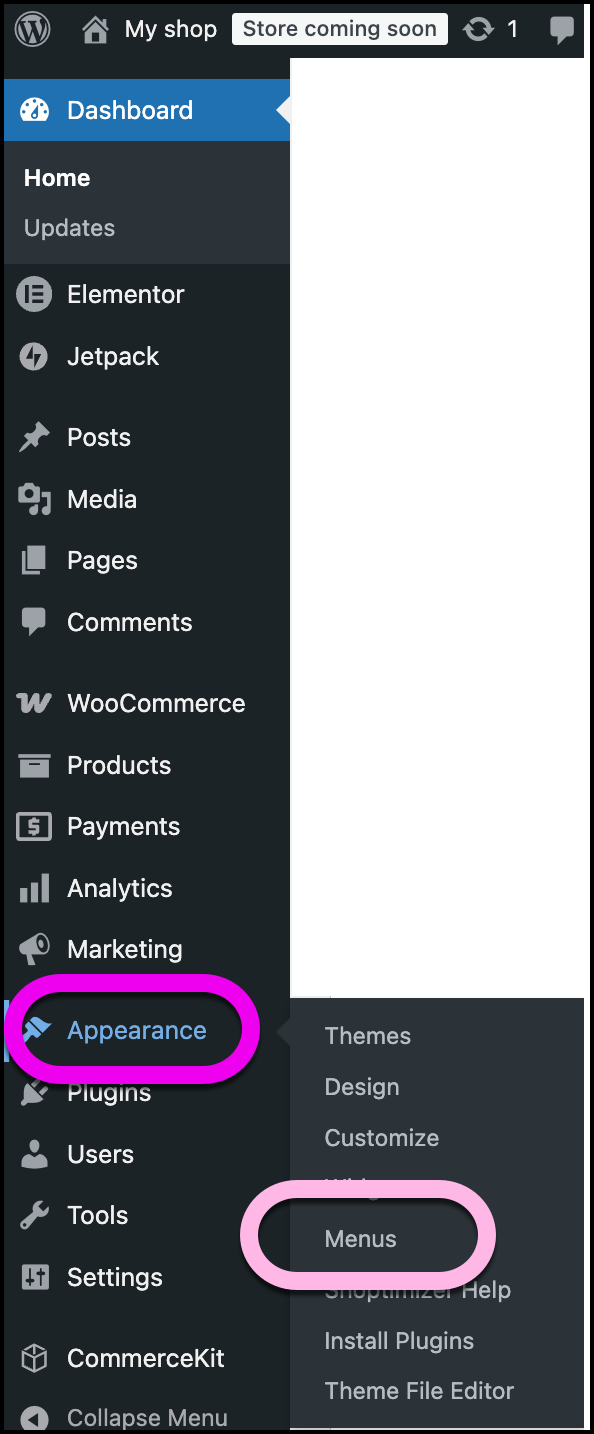
- Click Screen Options in the top right corner.
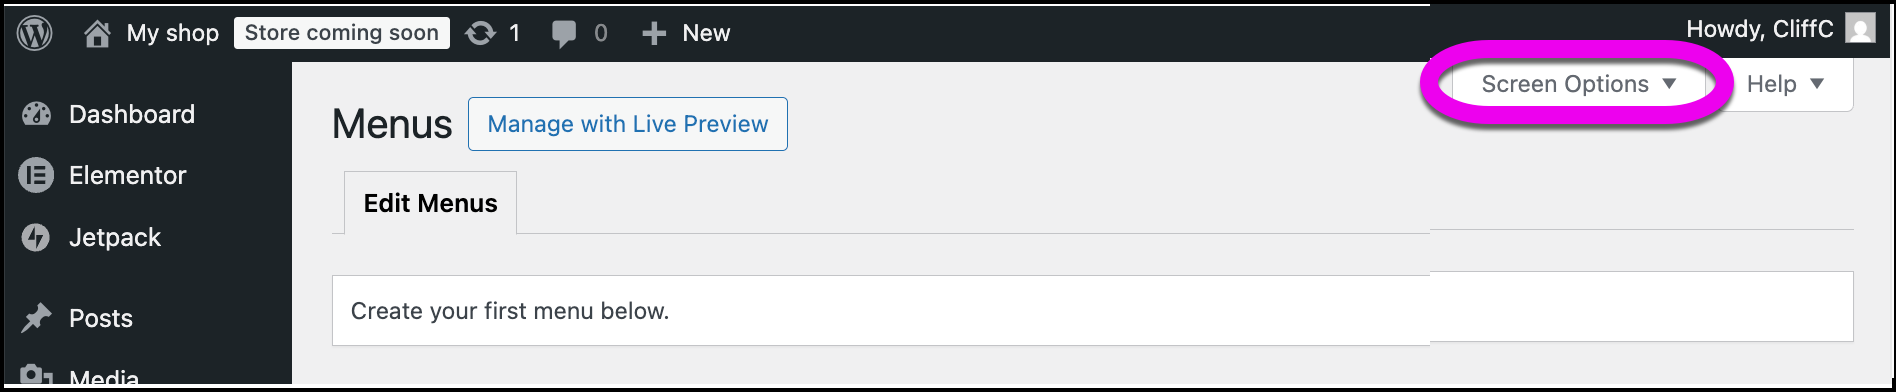
- Tick the boxes for CSS Classes and Description.

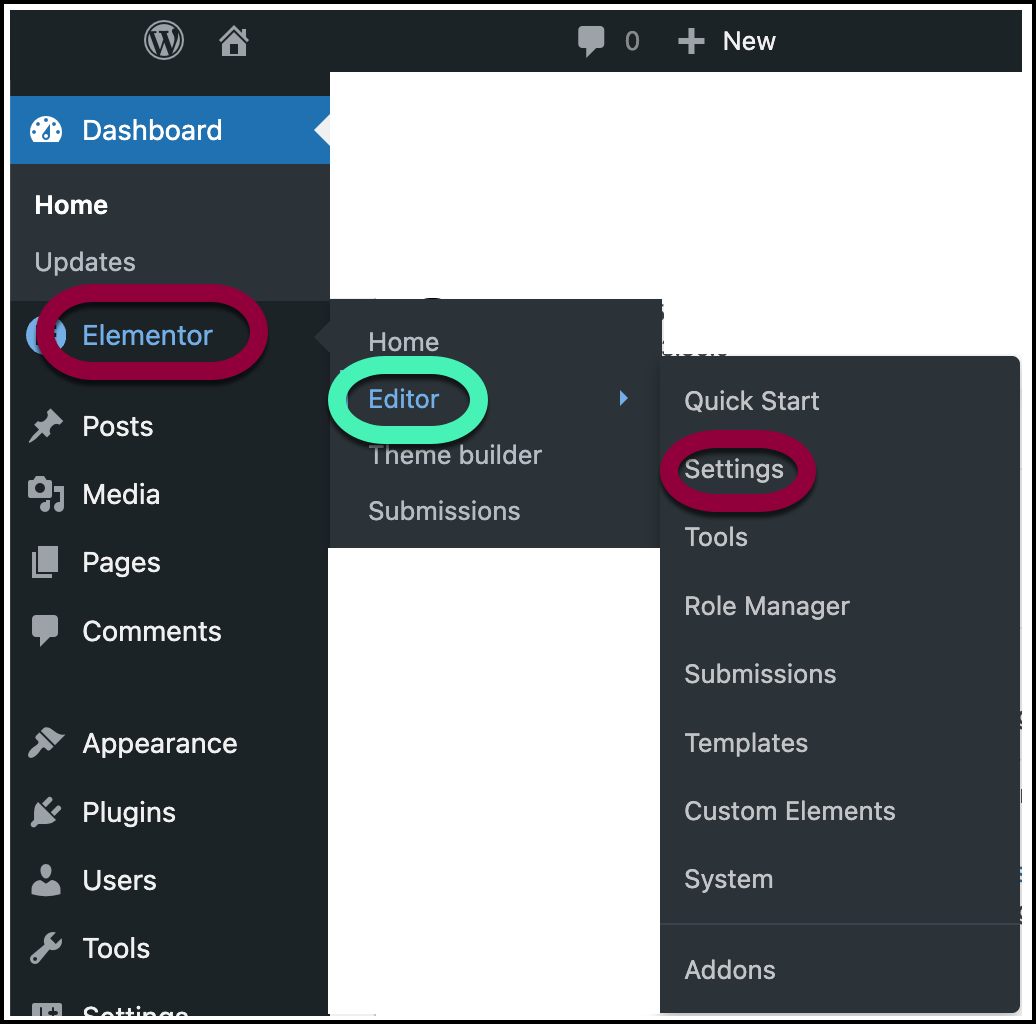
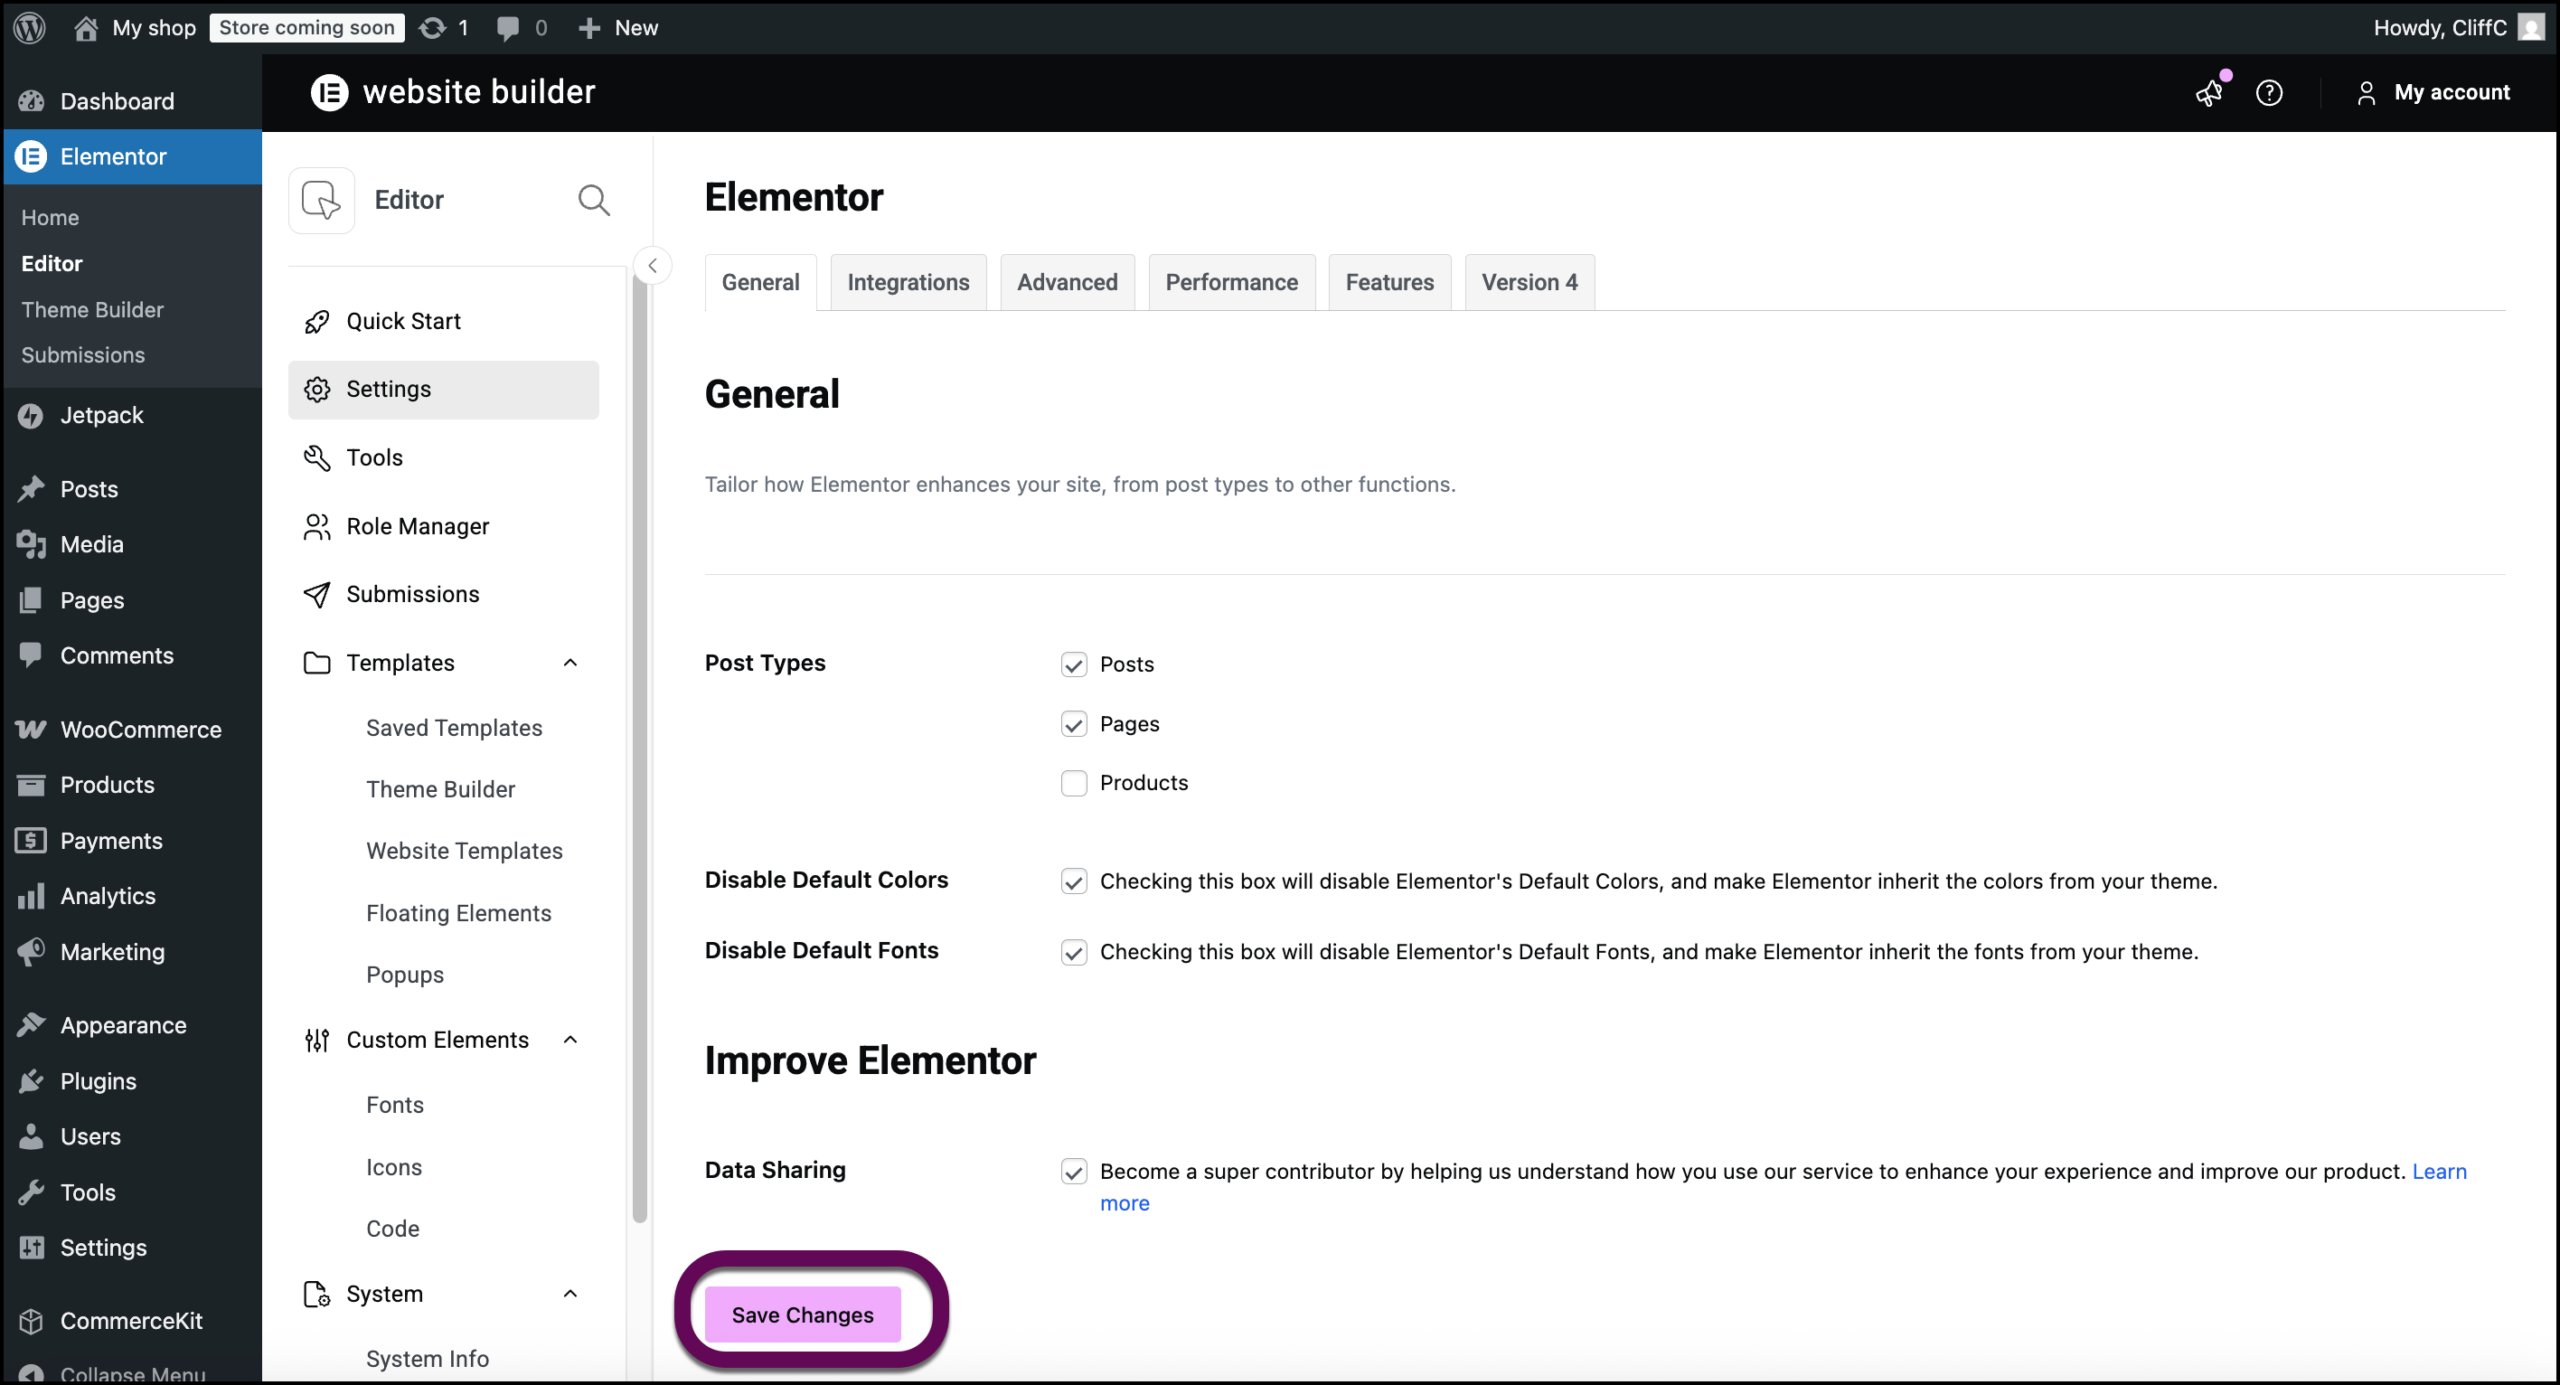
- Go to Elementor>Editor>Settings.
- Disable default fonts and colors by checking the boxes.
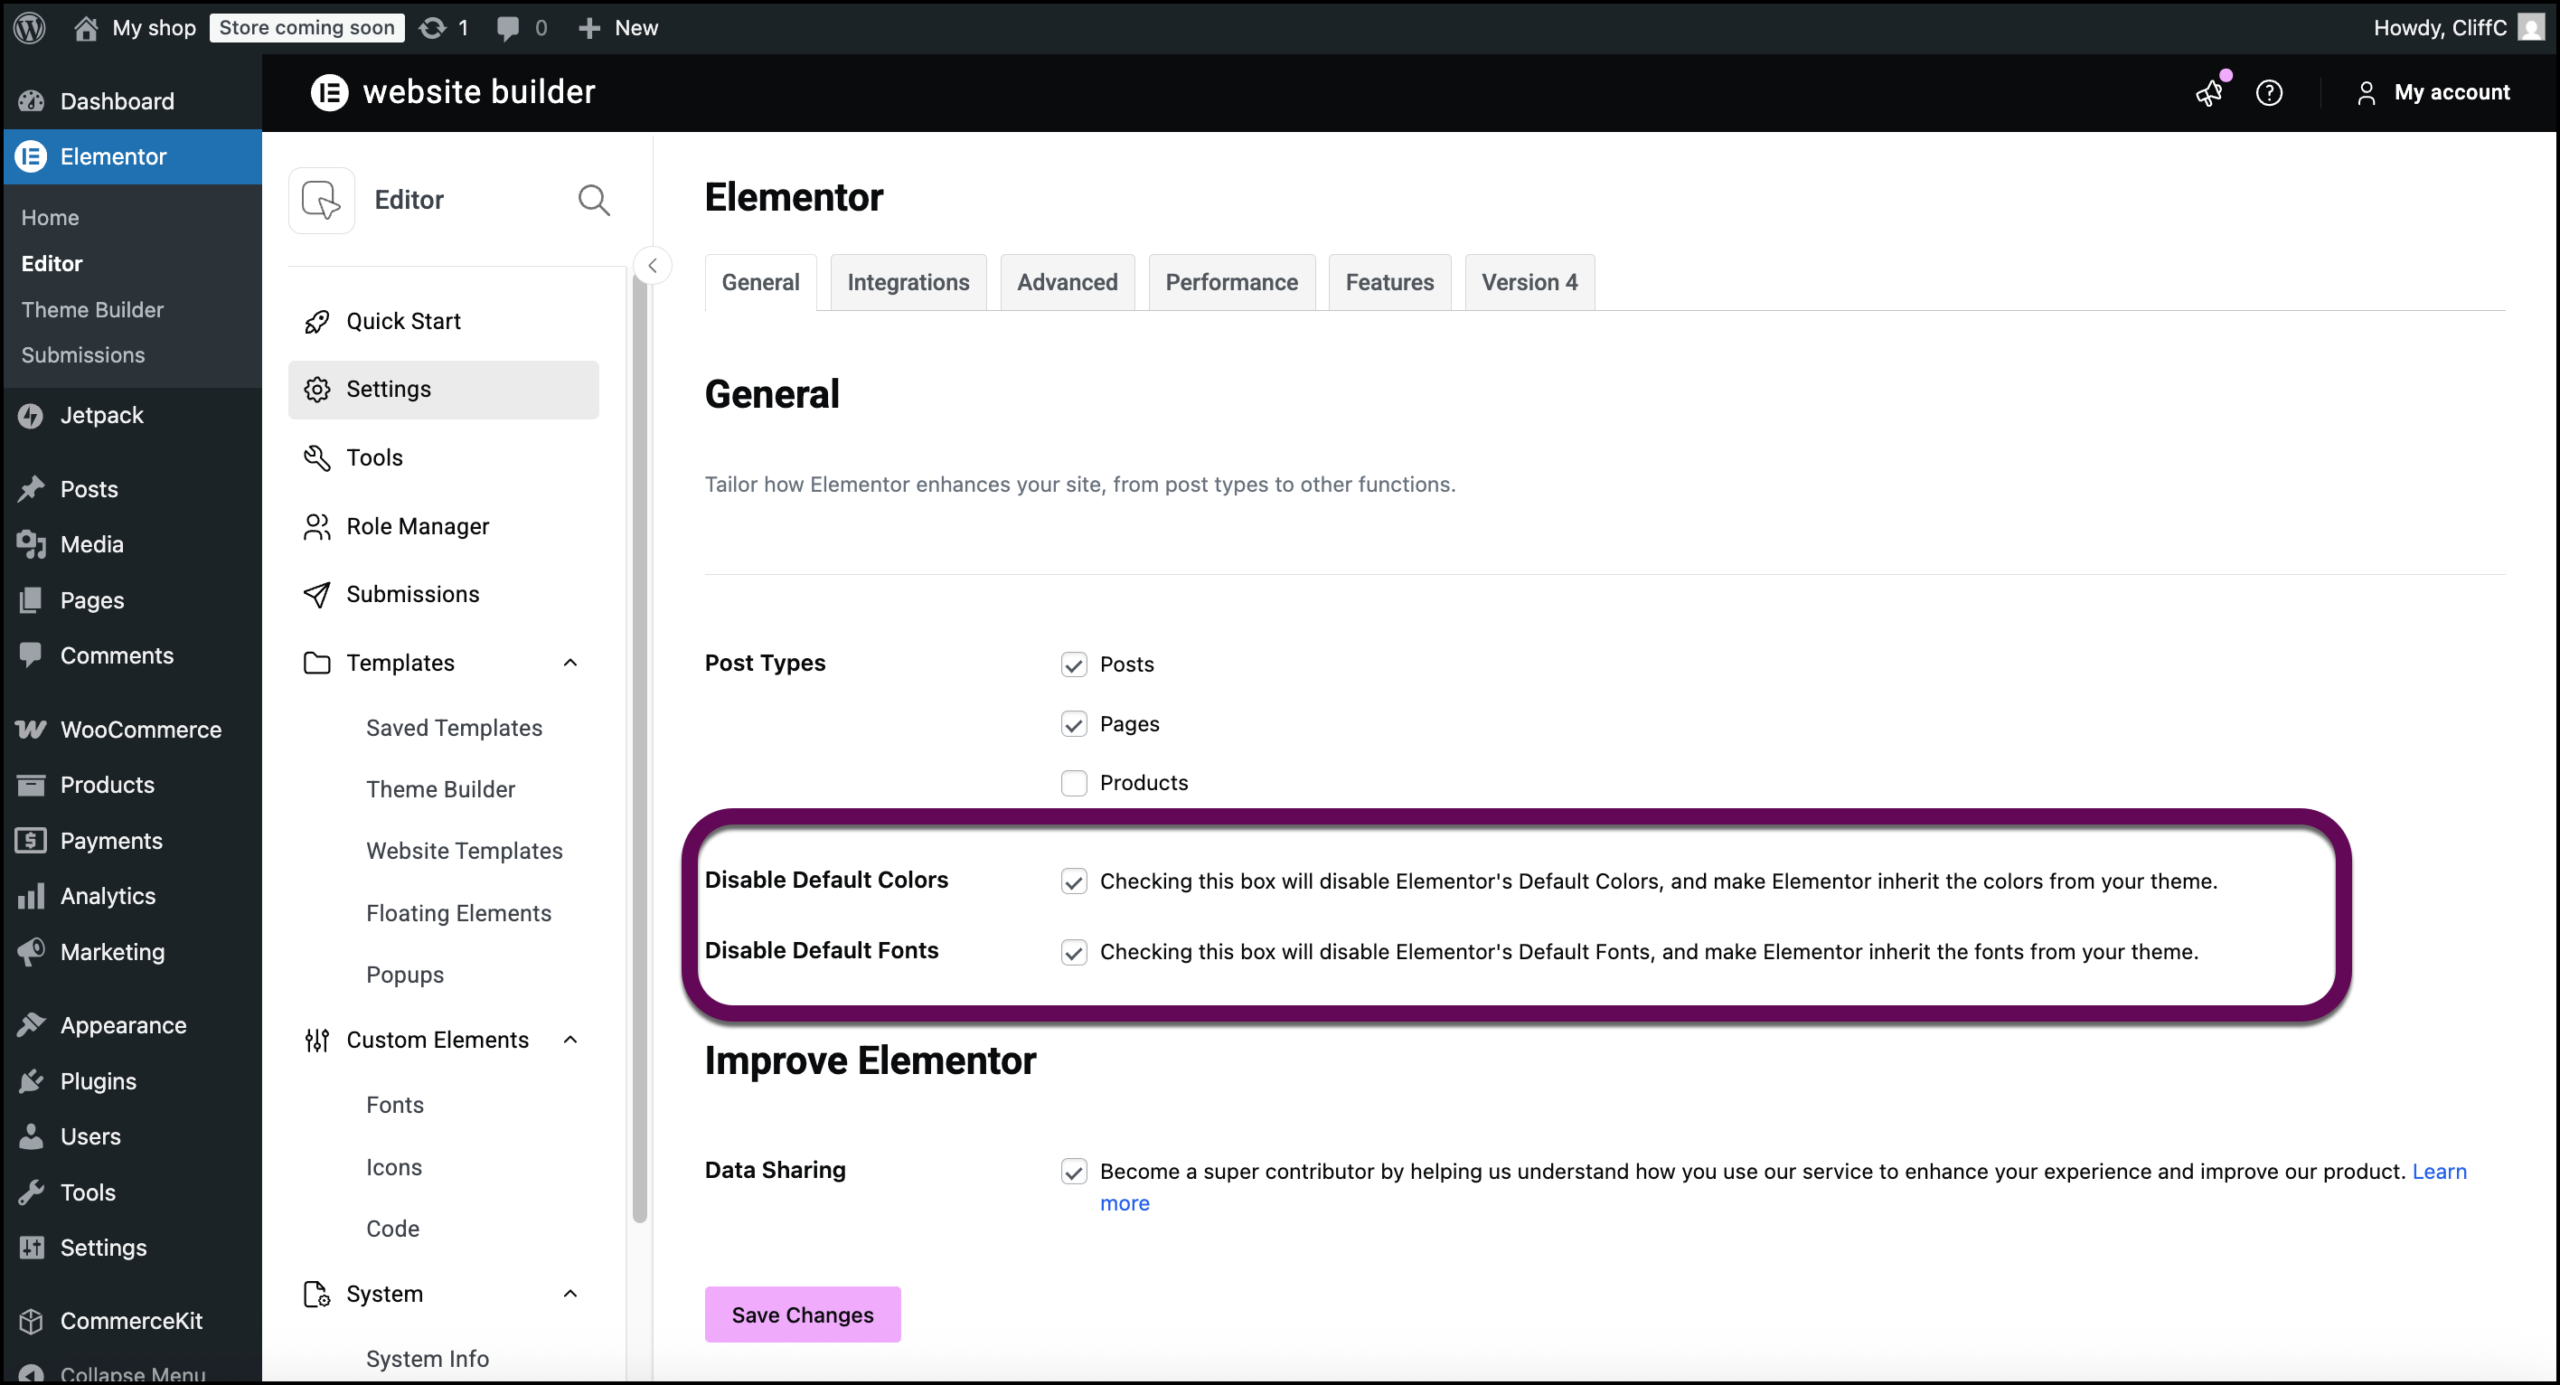
- Click Save Changes.
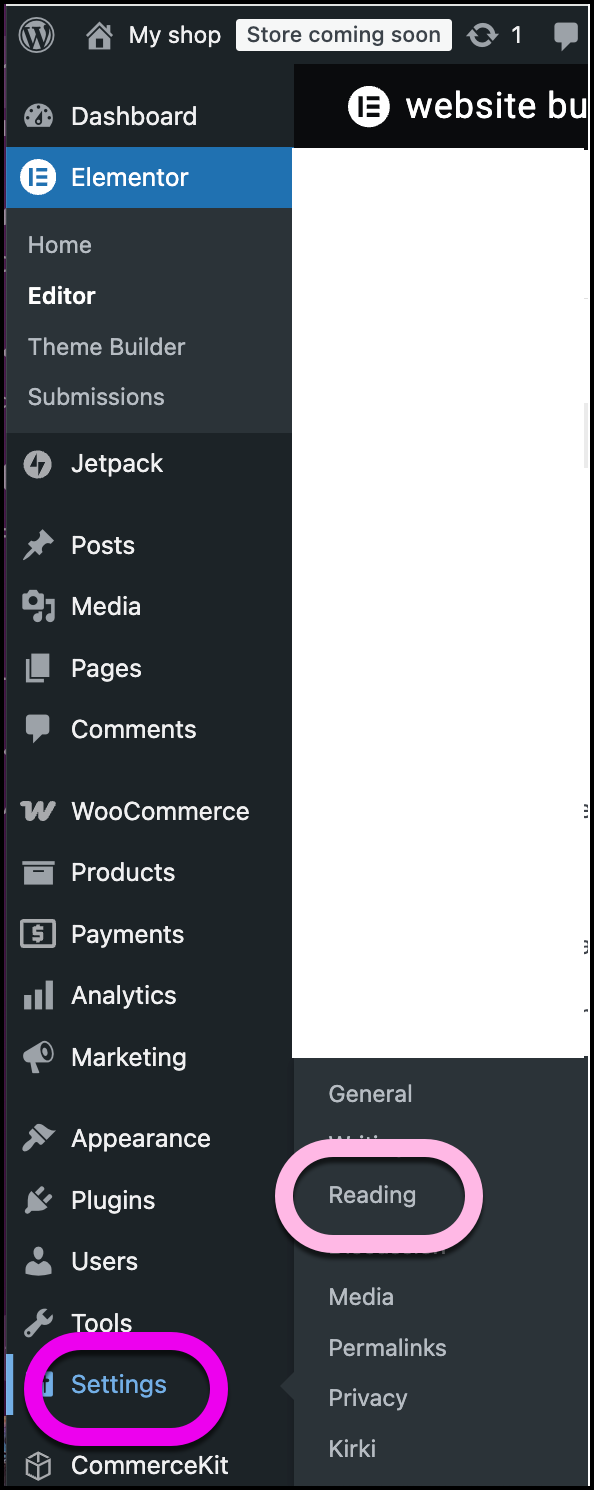
- Go to Settings > Reading.
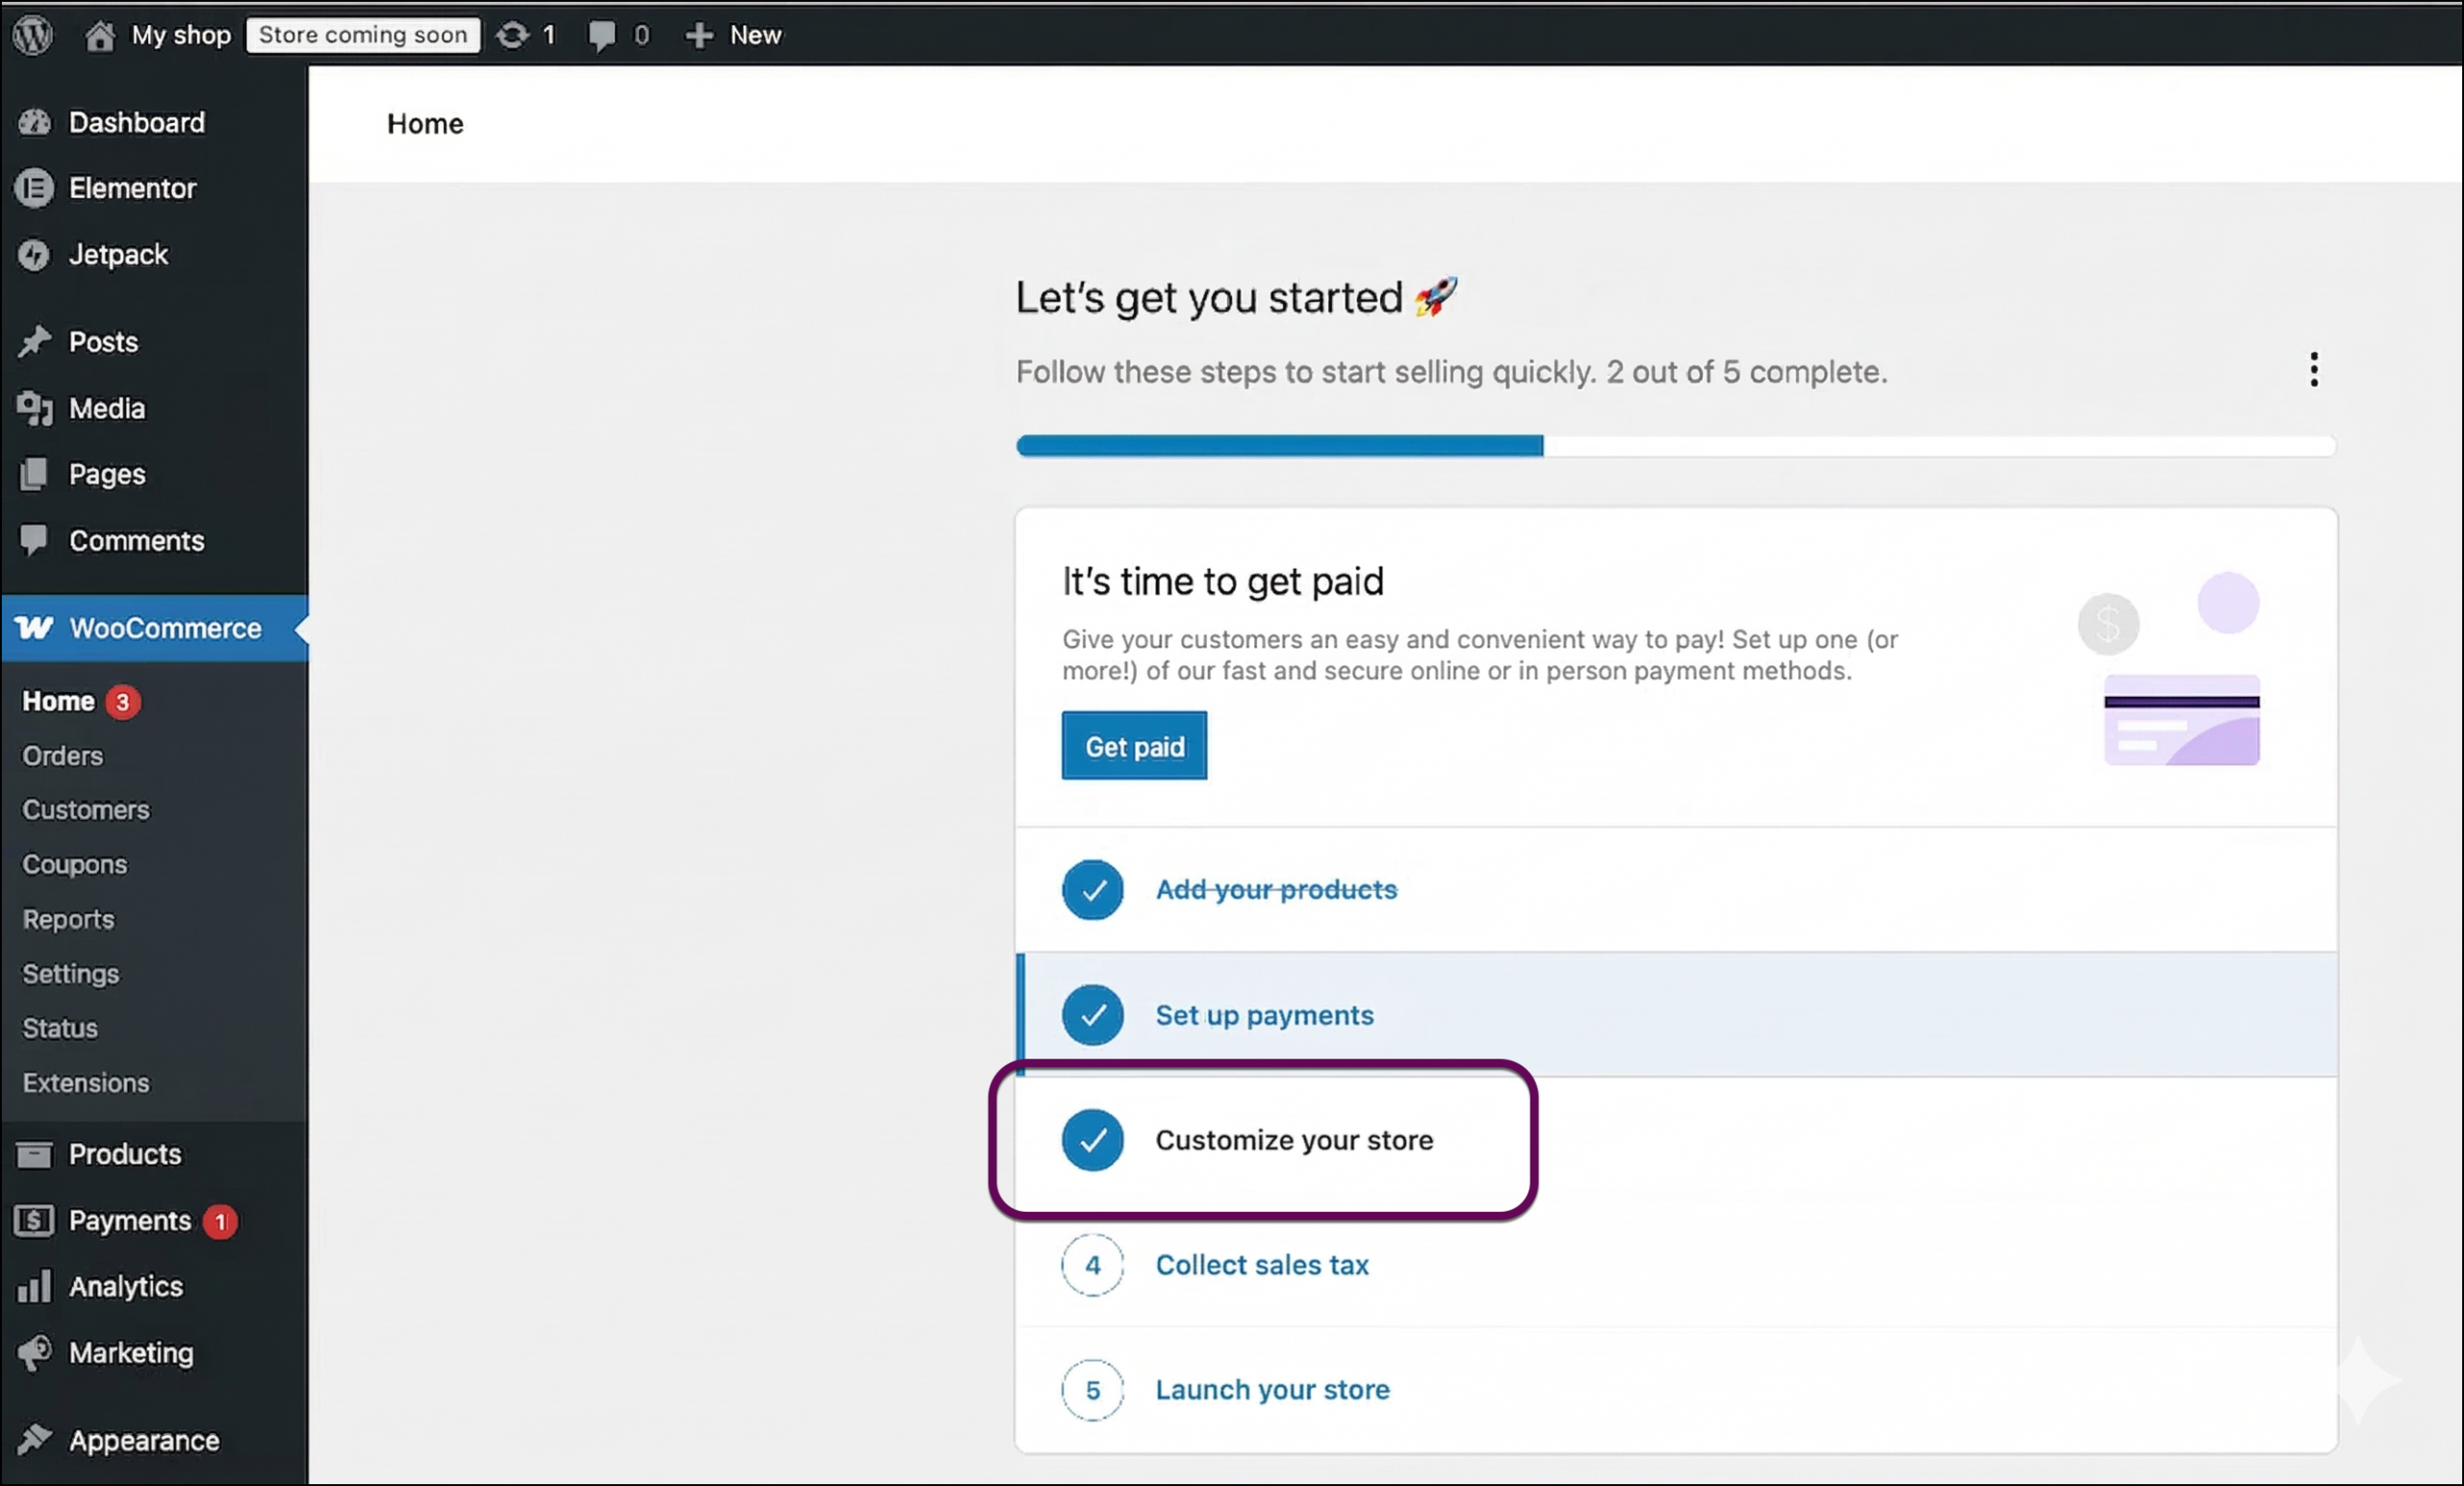
- From WP Admin, navigate WooCommerce.
- Click Customize your store.
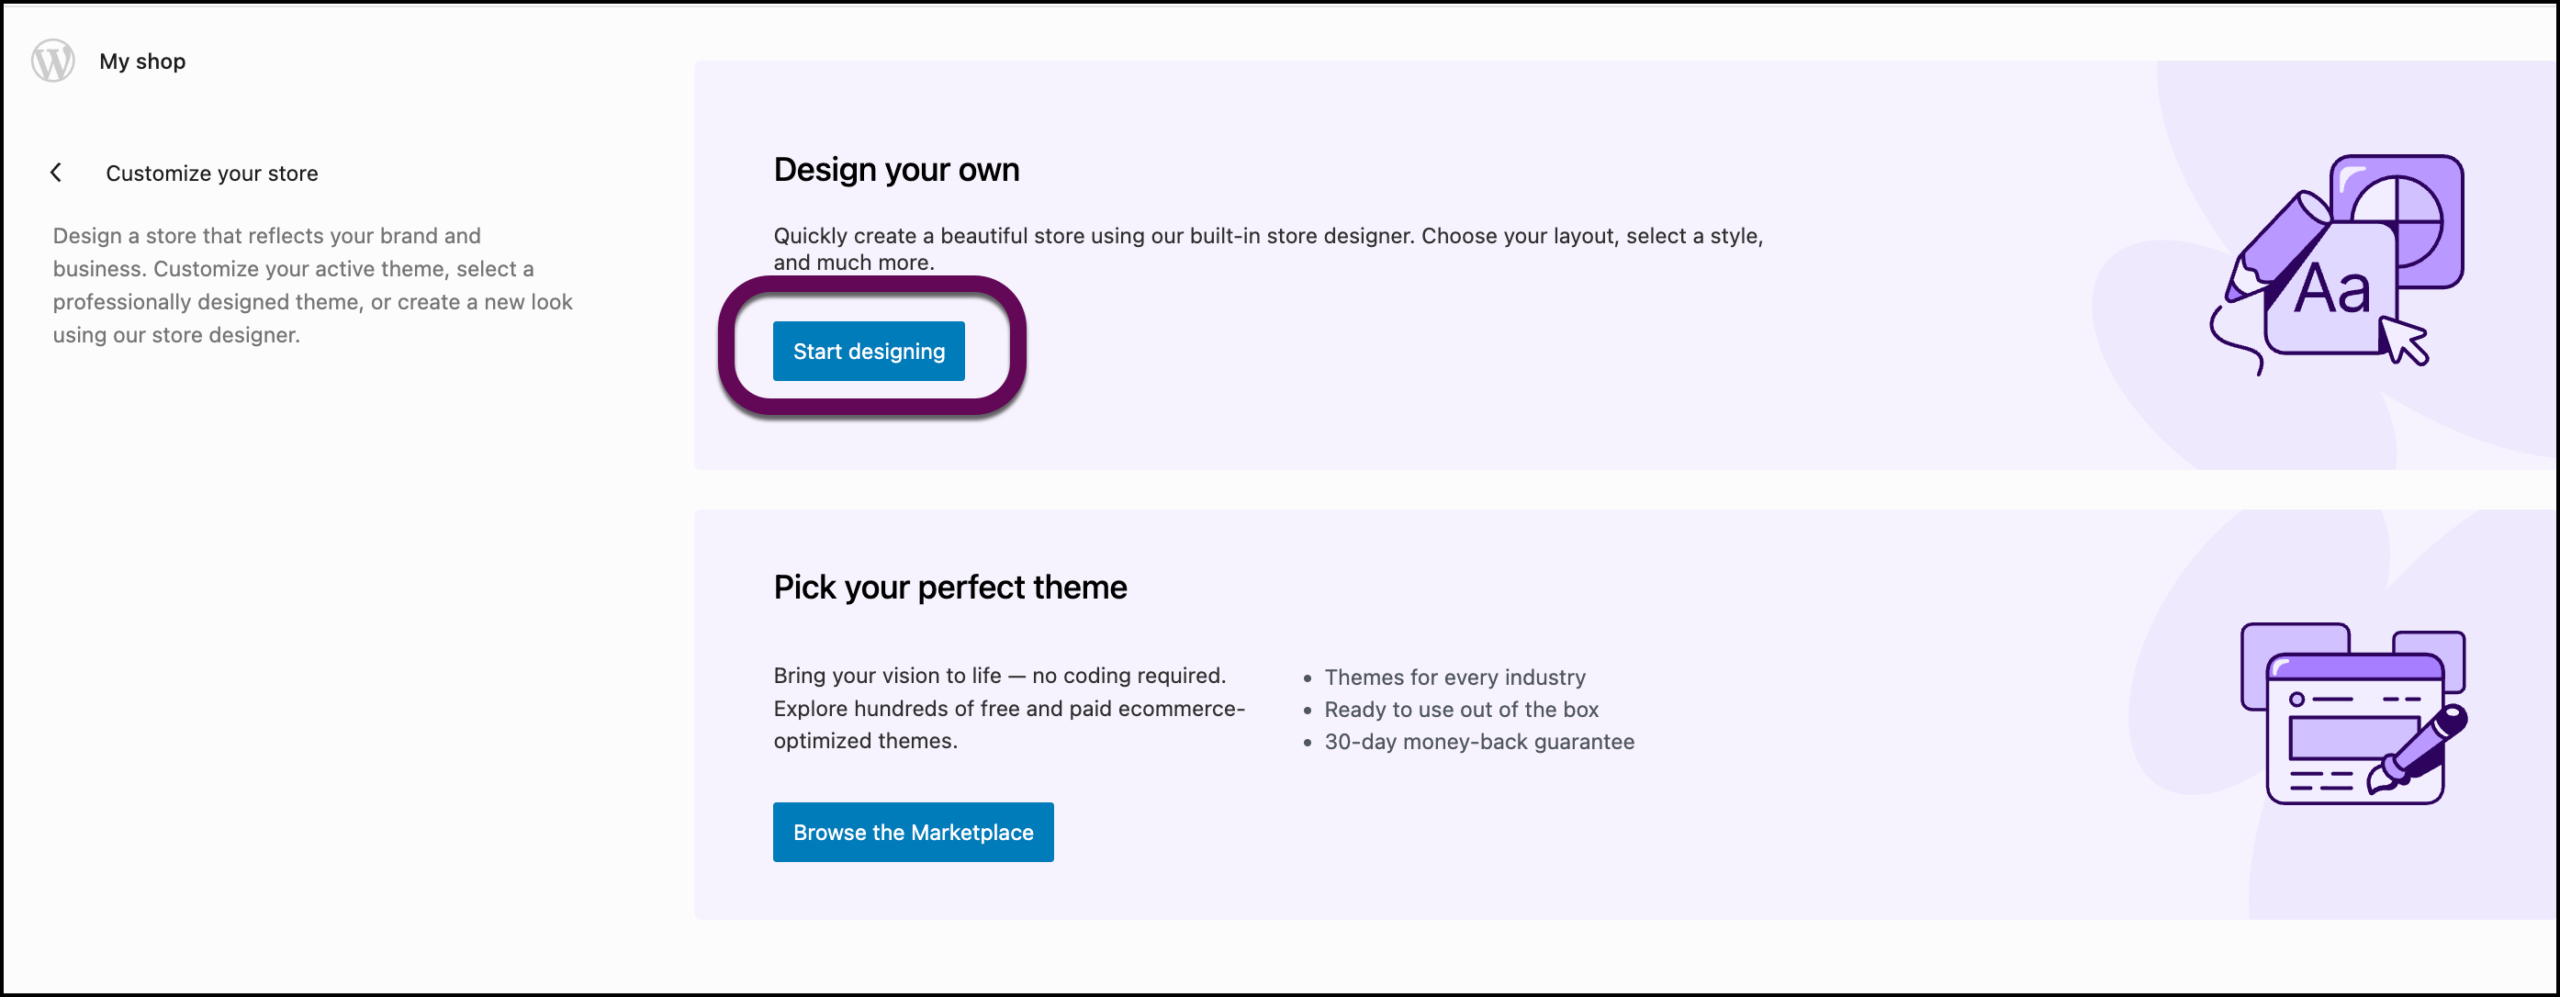
- Click Start designing.
- In the panel, click WooCommerce.
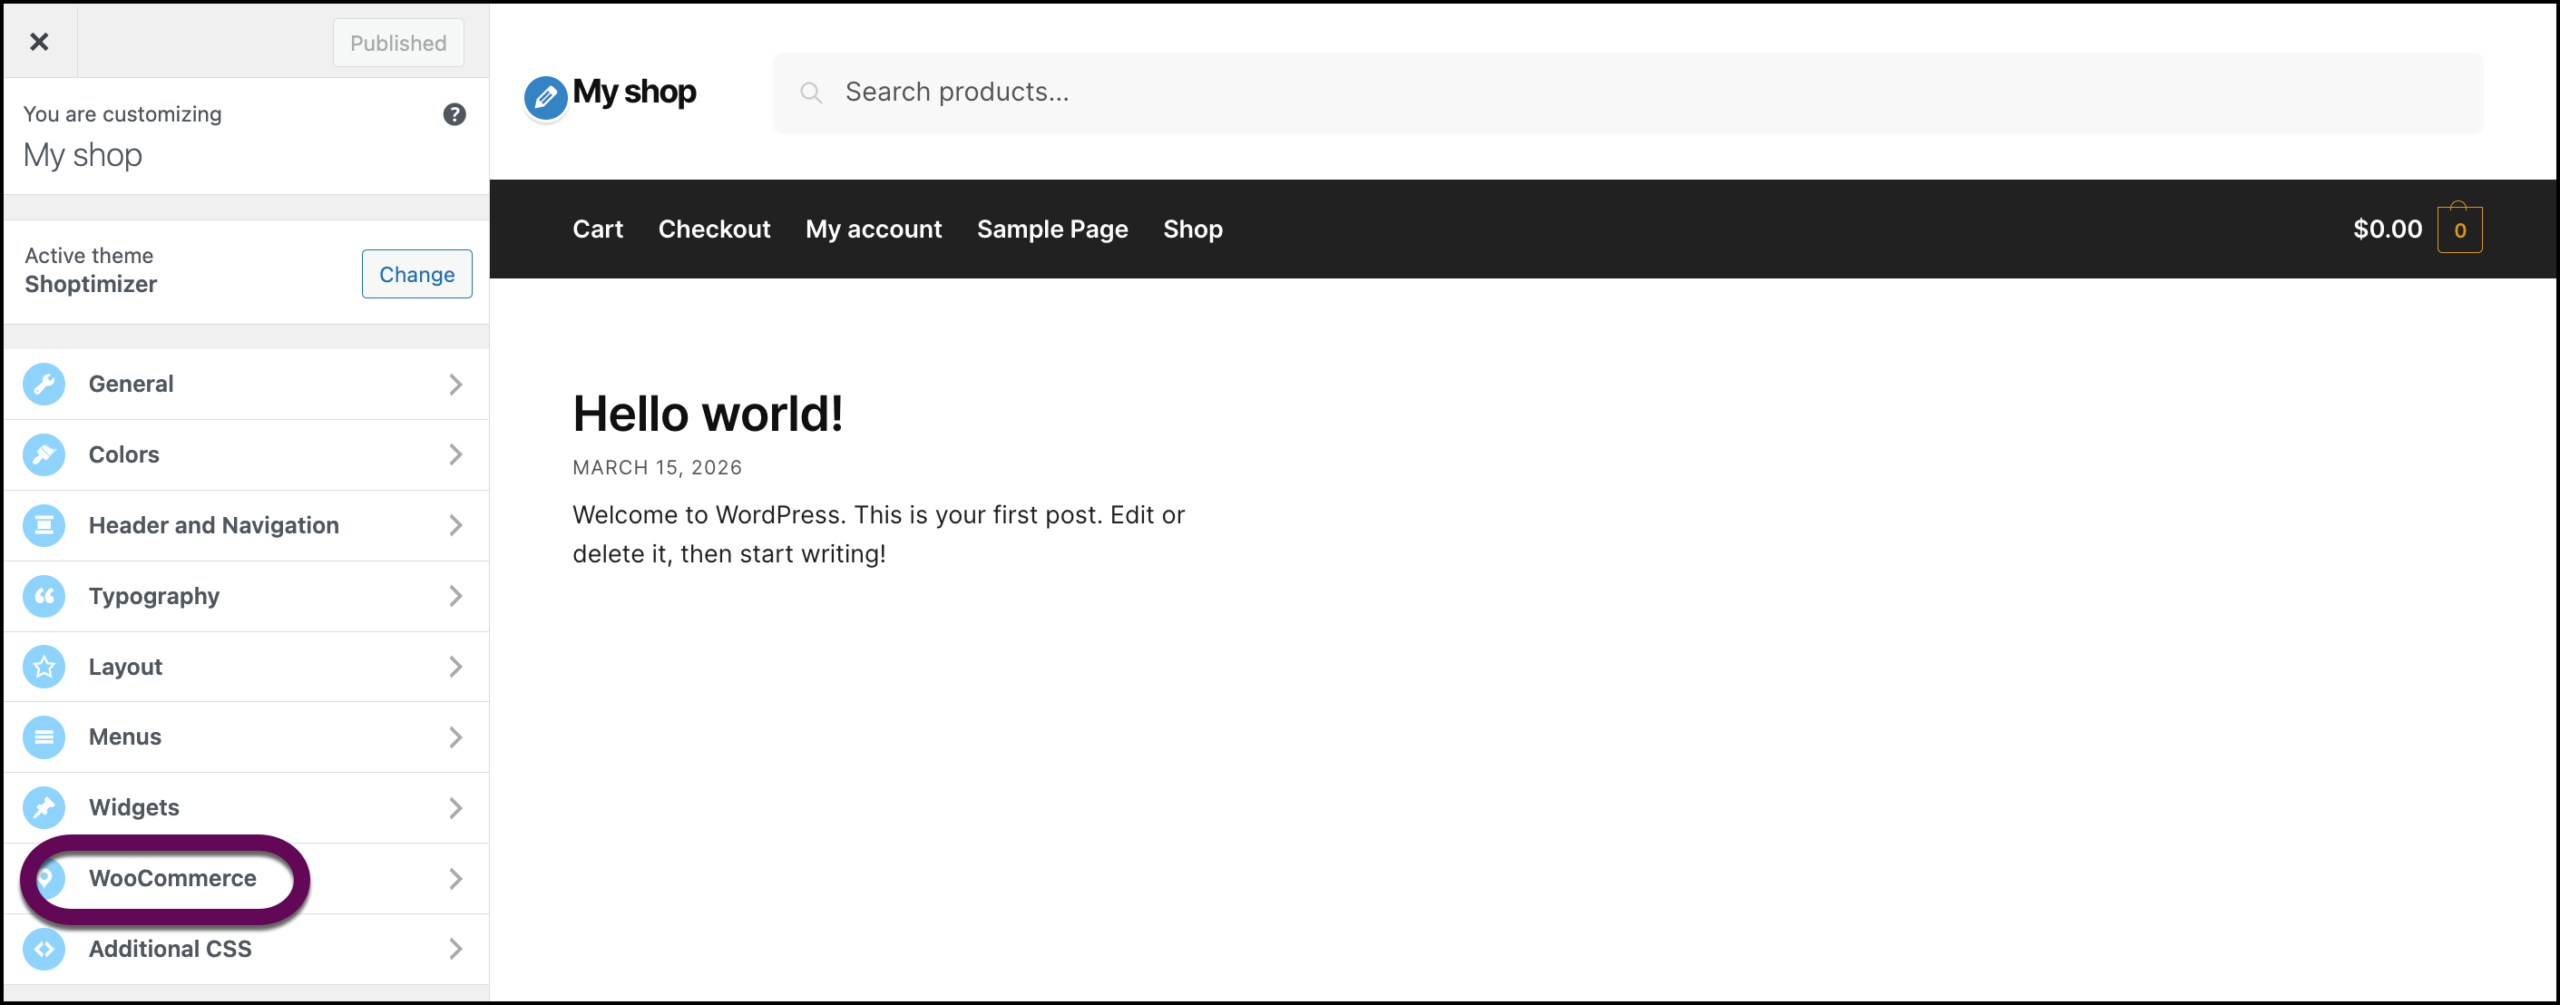
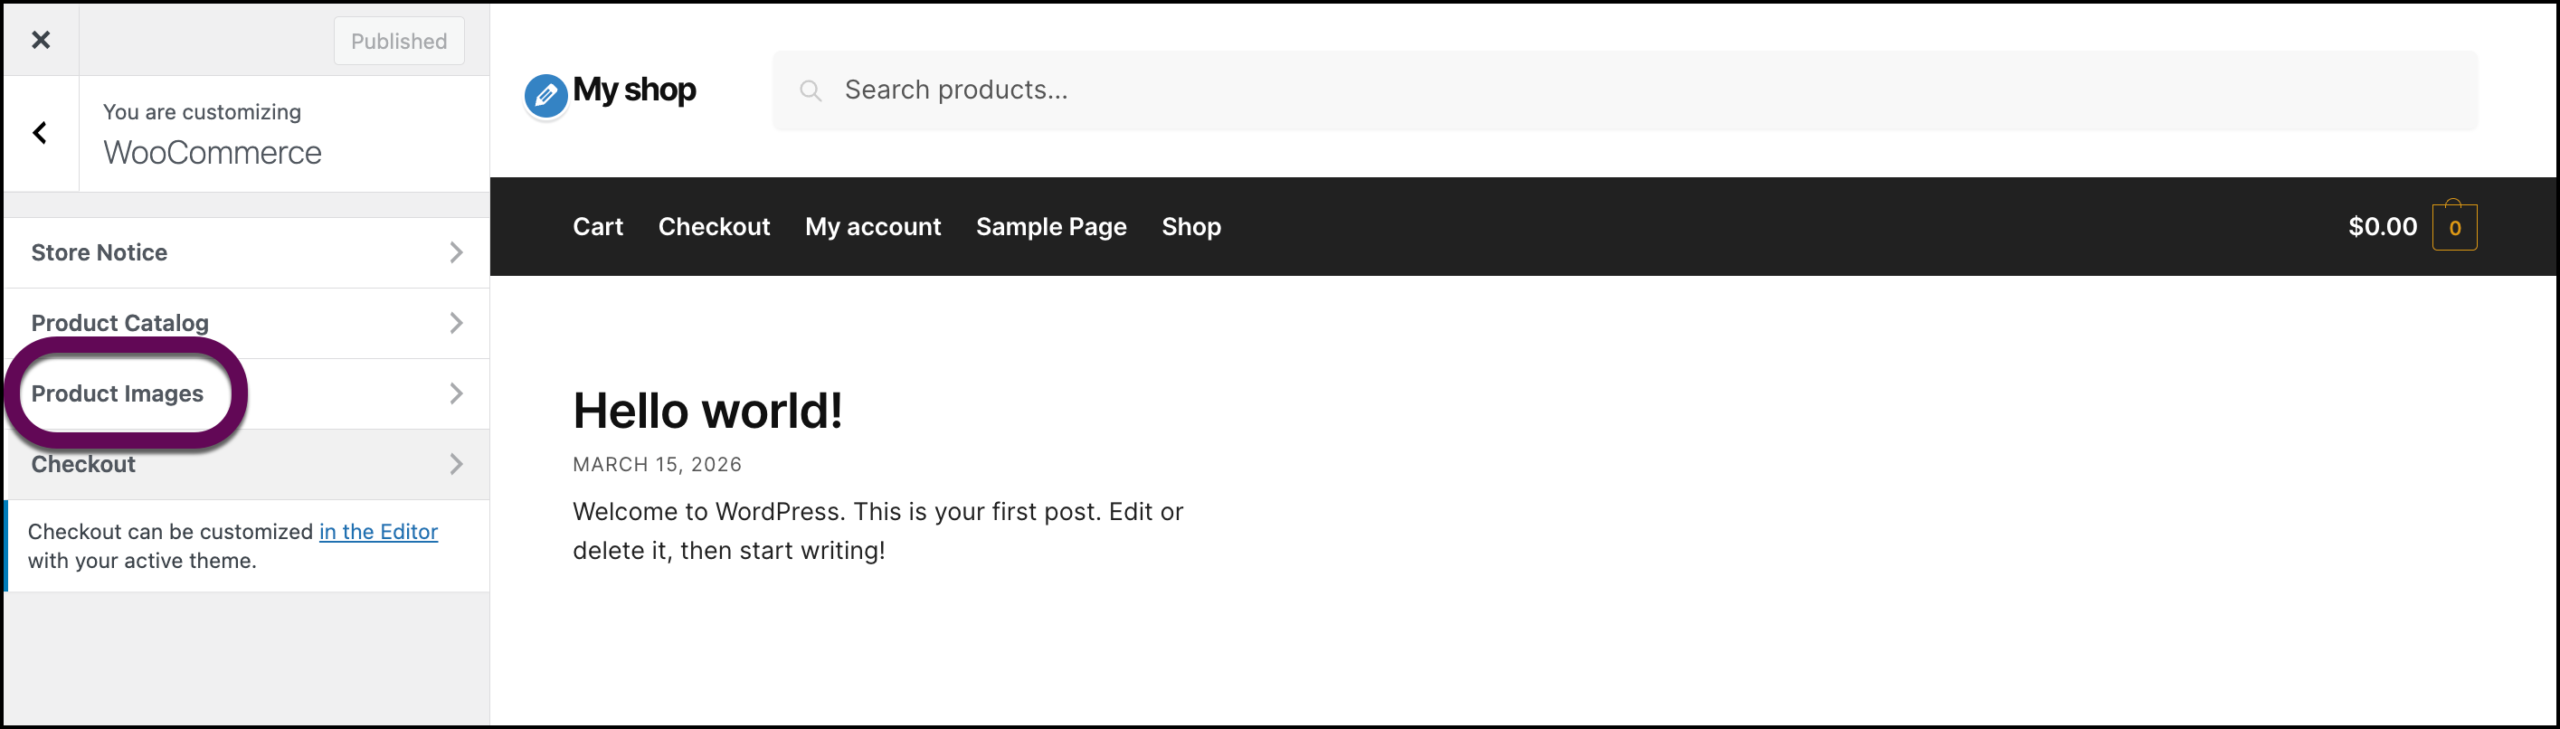
- In the panel, click Product Images.
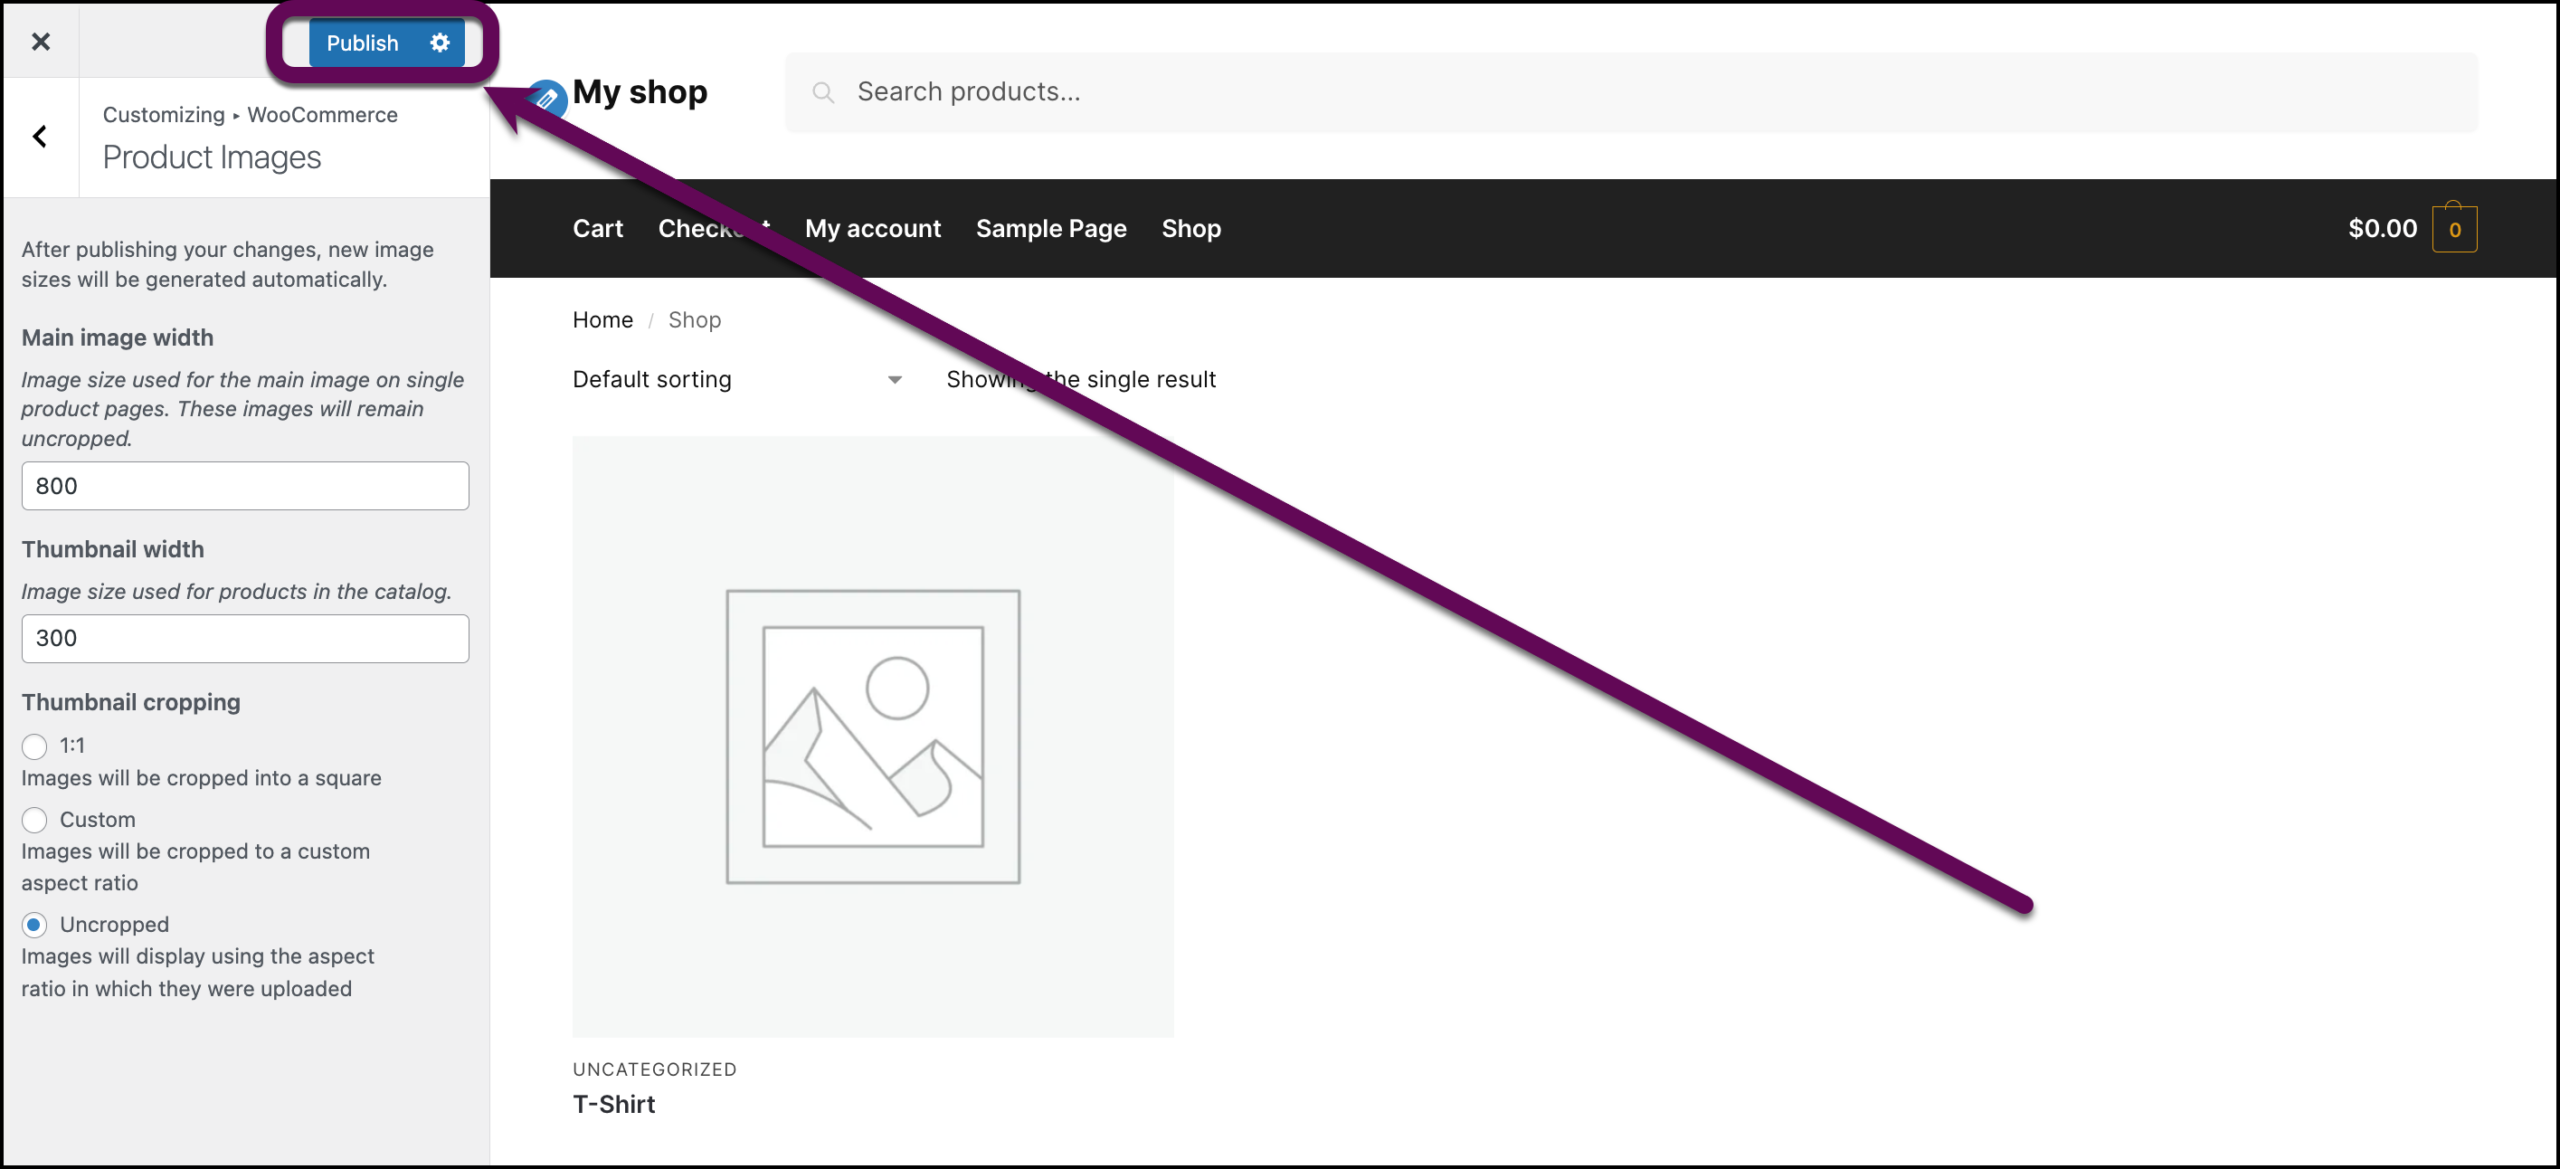
- Set the Main image width to be 800 and the thumbnail width to be 300.
- Check that Uncropped is selected.

- At the top of the panel, click Publish.
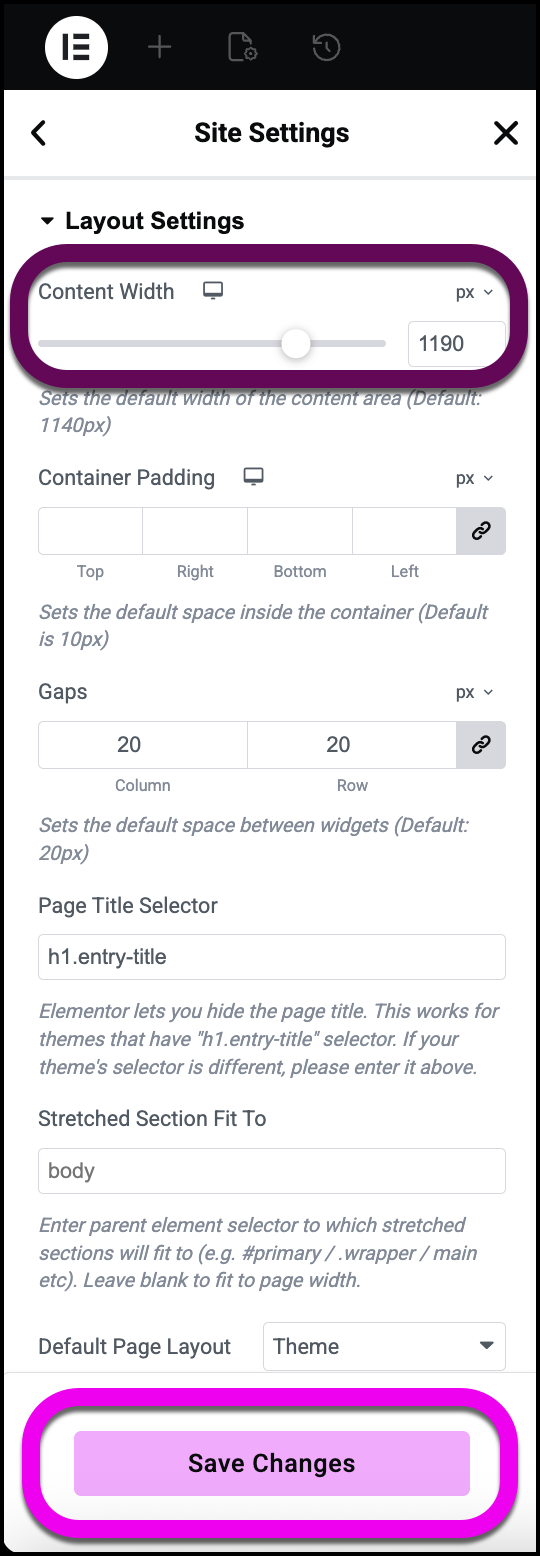
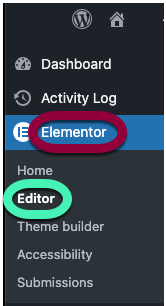
- From WP Admin, navigate to Elementor>Editor.
- Under Site Settings, click Customize.
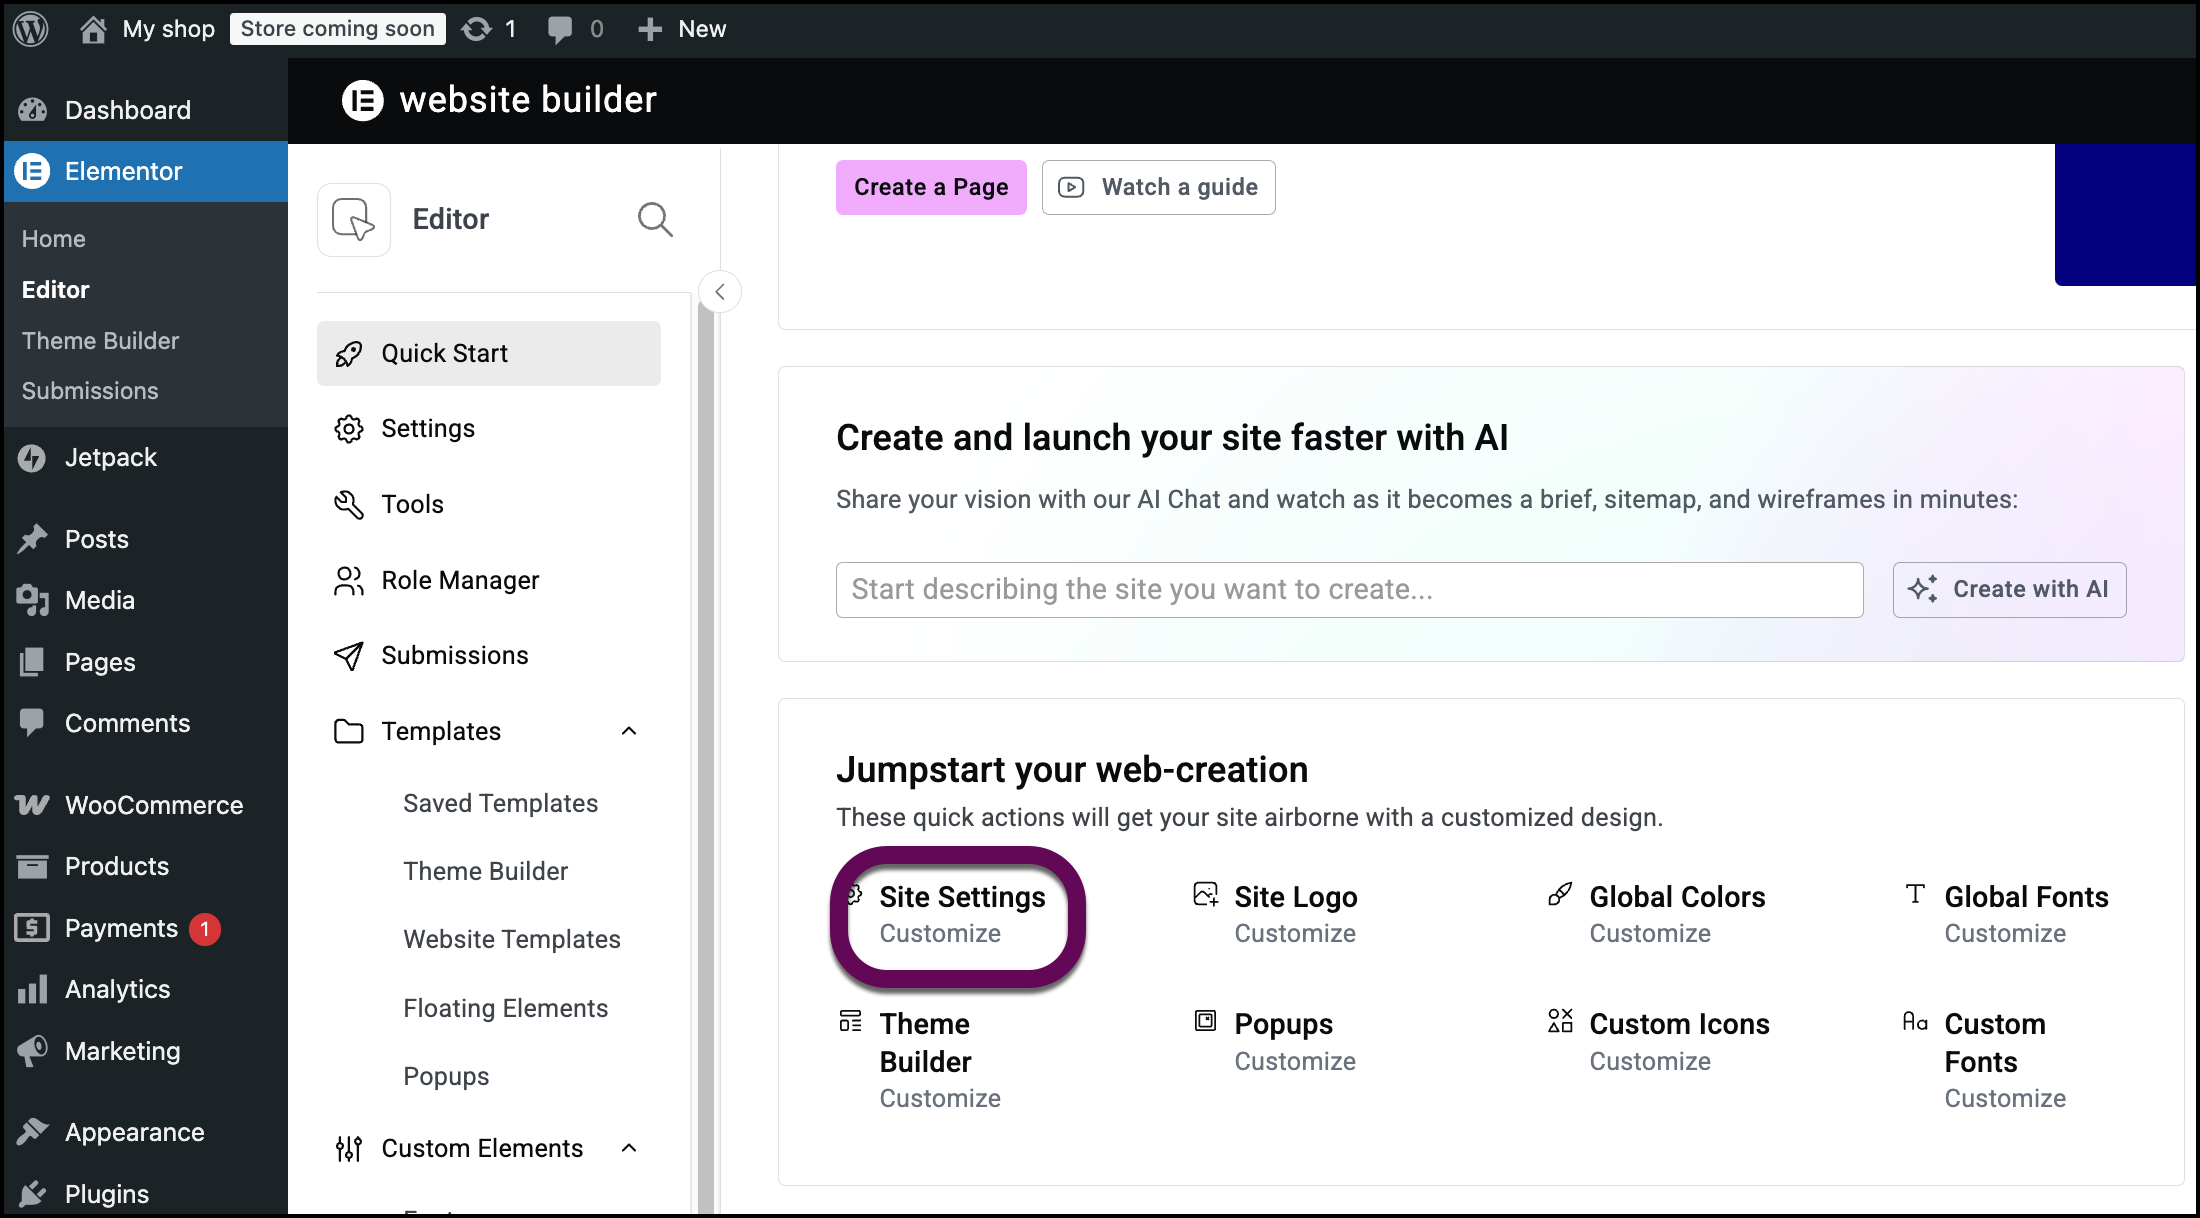
- In the panel, click Layout.
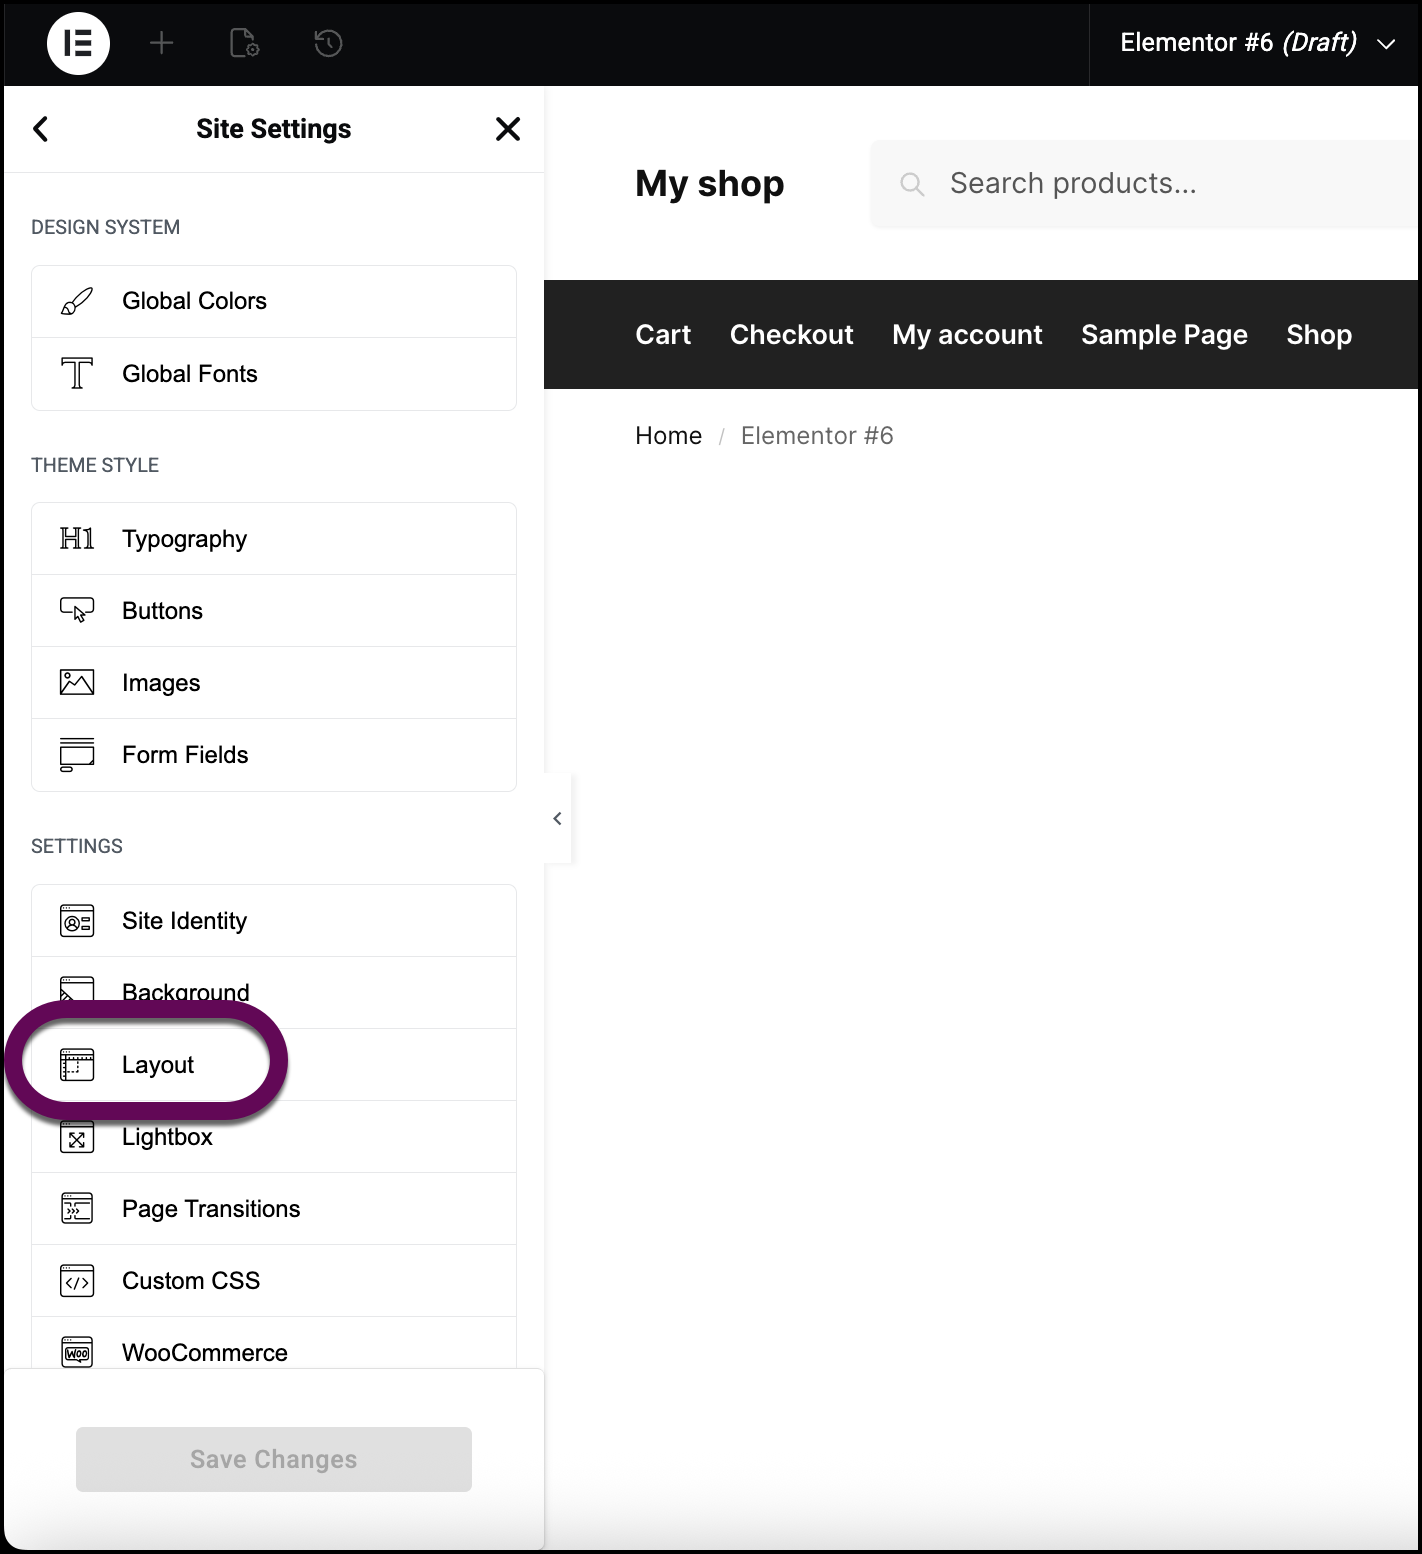
- Set the Content Width to 1190.
- Click Save changes.