
Image Compressor for a Blazing-Fast Website
Running a website in today’s digital landscape is a high-speed race. If your pages take more than a couple of seconds to load, you’re losing visitors, conversions, and search engine rankings. More often than not, the biggest culprit slowing you down isn’t complex code or a slow server—it’s heavy, unoptimized images.
That’s where a good image compressor comes in. It’s the essential tool you need to shrink your image file sizes without turning your beautiful photos into a pixelated mess. Mastering image compression is non-negotiable for anyone serious about web performance, SEO, and providing a top-notch user experience. Let’s dive into how you can make it work for you.
What Is Image Compression, Anyway?
Think of image compression as a smart downsizing process for your visuals. When you take a photo or create a graphic, the file contains a massive amount of data, much of which isn’t noticeable to the human eye. An image compressor analyzes the file and intelligently removes redundant or unnecessary data, repackaging it into a much smaller file.
The goal isn’t just to make files smaller; it’s to find the perfect balance between file size and visual quality. Get it right, and your website loads almost instantly. Get it wrong, and your images will suffer from distracting blemishes known as “compression artifacts.”
The Core of Compression: Lossy vs. Lossless
Every image compressor tool, from online converters to professional software, relies on two fundamental methods of compression: lossy and lossless. Understanding the difference is the first step to making smart optimization choices.
Lossy Compression permanently removes some data from the image. Because our eyes are less sensitive to subtle shifts in color than to changes in brightness, a lossy algorithm can discard a significant amount of color information without a major drop in perceived quality. This method achieves the most dramatic reduction in file size.
Lossless Compression works by identifying and eliminating redundant data without discarding any information. It’s like zipping a text file; when you unzip it, you get the exact same file back, bit for bit. This method preserves 100% of the image quality but results in larger file sizes compared to lossy compression.
Here’s a quick breakdown of when to use each:
| Lossy Compression | Lossless Compression | |
| Best For | Photographs, complex images with many colors. | Logos, icons, graphics with sharp lines or text. |
| File Size | Very Small | Moderately Small |
| Quality | Minor, often imperceptible, quality loss. | No quality loss. |
| Common Format | JPEG | PNG |
Choosing the Right Image Format
Before you even touch a compression slider, make sure you’re starting with the right file type. Using the wrong format is like trying to fit a square peg in a round hole—it just won’t be efficient.
- JPEG (or .jpg): The workhorse for photographs. As of mid-2025, JPEGs are used on about 74% of all websites. Its lossy compression is fantastic for handling the millions of colors and complex gradients found in real-world photos.
- PNG (or .png): The top choice for graphics that require transparency, like logos or icons. PNG uses lossless compression, which keeps sharp lines and solid colors crisp and clean. It’s the most prevalent format online, used by nearly 80% of sites, often alongside JPEGs.
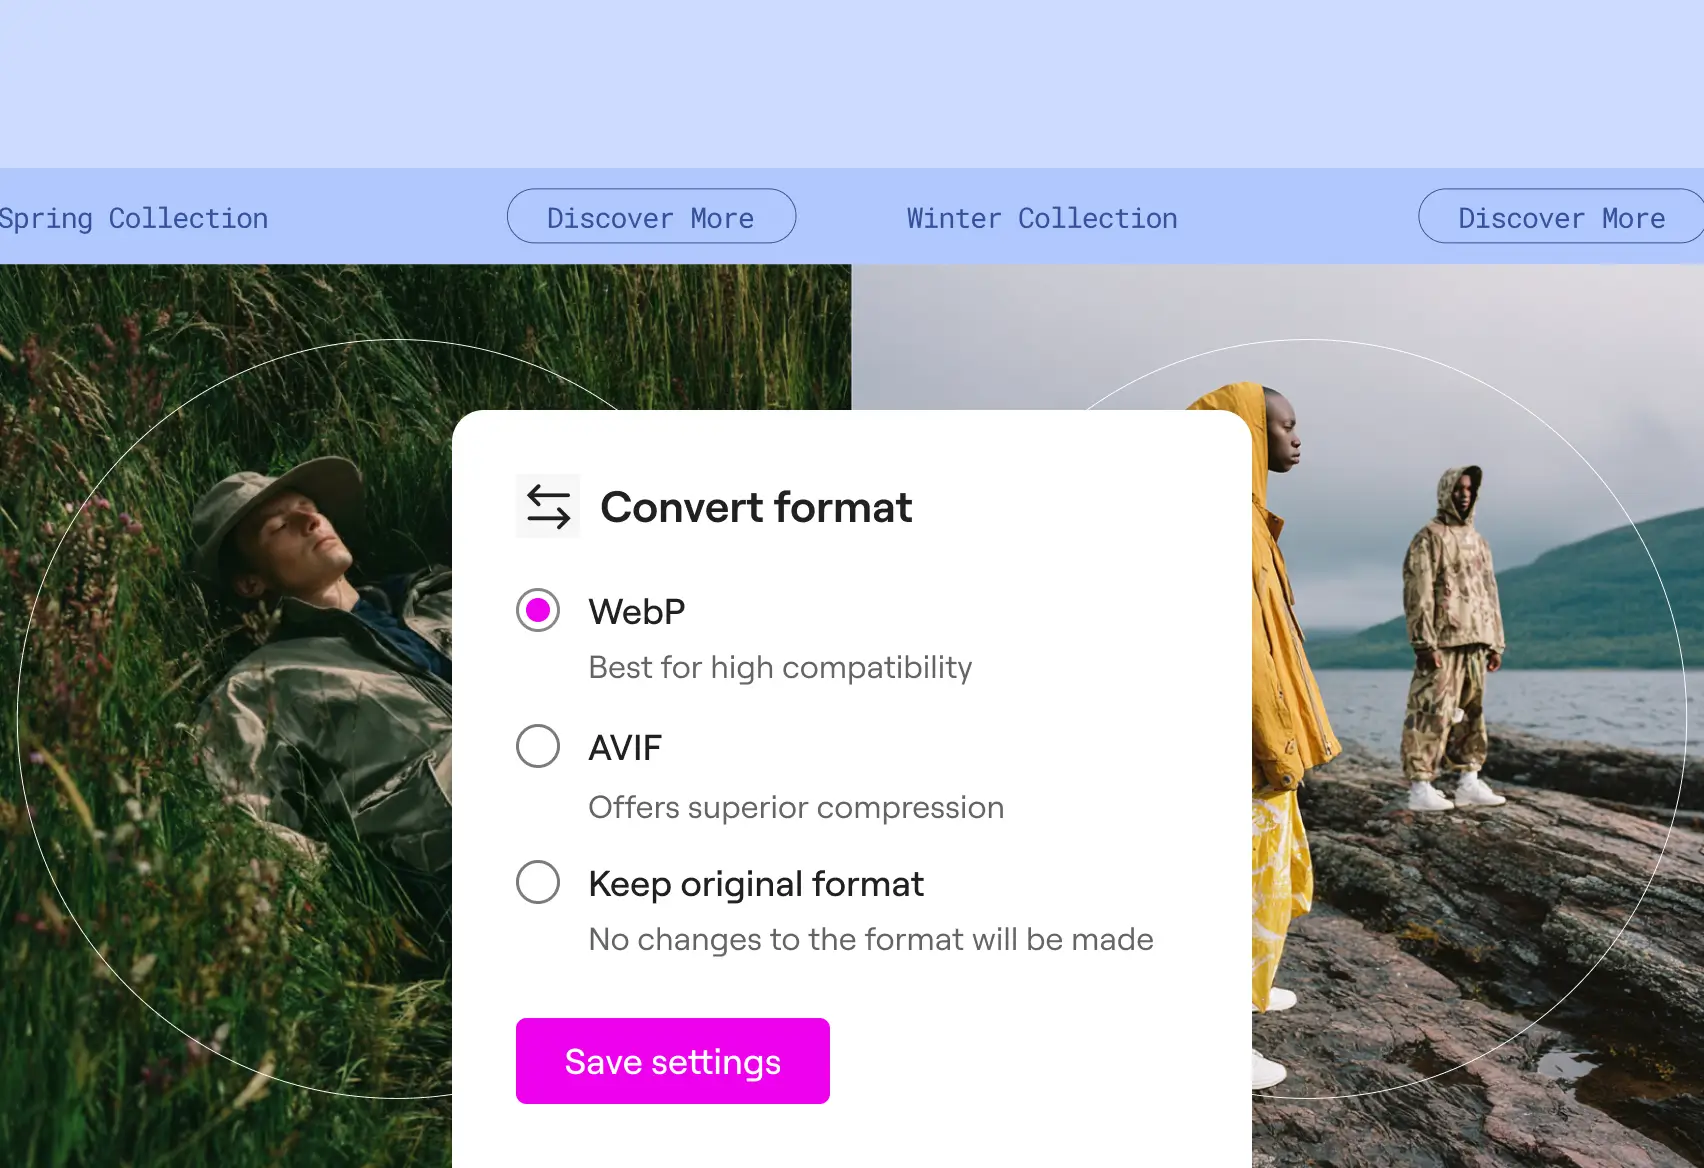
- WebP: The modern contender developed by Google. WebP is incredibly versatile, offering both superior lossy and lossless compression in one package. A WebP image can be significantly smaller than its JPEG or PNG equivalent with the same level of quality. Browser support is now nearly universal, making it a safe and smart choice for modern web development.
- SVG (or .svg): A different beast altogether. SVGs are vector files, meaning they are based on mathematical equations, not pixels. They are perfect for logos, icons, and simple illustrations because they are infinitely scalable without any quality loss and have incredibly small file sizes.
Quick Decision Guide:
- Is it a photograph? Use JPEG or Lossy WebP.
- Does it need a transparent background? Use PNG or Lossless WebP.
- Is it a logo, icon, or simple geometric graphic? Use SVG.
Why Image Compression is Non-Negotiable for Your Website
Failing to compress your images has real, measurable consequences. Here’s what you gain when you make it a priority.
Blazing-Fast Page Speed
Your visitors are impatient. Research consistently shows that as page load time increases, the probability of a visitor leaving (or “bouncing”) skyrockets.
- As load time goes from 1 to 3 seconds, the bounce rate probability increases by 32%.
- As it goes from 1 to 5 seconds, that probability jumps by 90%.
Compressed images are one of the most effective ways to slash load times and keep users engaged.
Boosting Your SEO Rankings
Google has made it clear: page speed is a ranking factor. Their Core Web Vitals initiative measures user experience, with metrics like Largest Contentful Paint (LCP) directly tied to how quickly your main content appears. Faster-loading sites provide a better user experience, and Google rewards them with better visibility in search results. Properly optimized images are low-hanging fruit for improving your scores.
Saving on Storage and Bandwidth
The math is simple. If you’re running a blog or an e-commerce store with thousands of images, the storage savings are enormous.
- Example: 1,000 photos at an original size of 4MB each equals 4GB of storage.
- After compressing them to an average of 250KB, that total drops to just 250MB.
That’s a 93% reduction in required storage space and bandwidth, which can lead to real cost savings on your hosting plan.
A Practical Guide to Using an Image Compressor
Let’s get down to business. Here’s a step-by-step workflow for optimizing your images effectively.
Step 1: Resize Before You Compress
This is the single biggest mistake I see people make. They upload a massive 5000px-wide photo straight from their camera for a space that’s only 800px wide on the screen. The browser has to load the full, giant image and then shrink it, wasting massive amounts of bandwidth.
Always resize your images to the maximum dimensions they will be displayed at before you upload them. When building a site with a visual tool like Elementor, you can easily inspect the column or container size to know your exact target dimensions.
Handy Sizing Guide:
- Full-width hero images: 1920px wide
- Images in main content: 800px to 1200px wide
- Thumbnail images: 300px to 400px wide
Step 2: Choose Your Tool and Find the “Sweet Spot”
Once resized, it’s time to compress. You don’t need to be a Photoshop guru. There are fantastic tools available for every workflow.
- Online Image Compressors: Tools like TinyPNG, Squoosh, and Compressor.io are perfect for quickly optimizing a few images. You just drag, drop, and download the compressed version.
- Desktop Software: Programs like Adobe Photoshop (“Save for Web” dialog), Affinity Photo, or the free tool ImageOptim give you granular control over compression settings.
- WordPress Plugins: For those of us on WordPress, automation is key. Plugins like ShortPixel, Imagify, or Smush can automatically compress every image you upload, and even bulk-optimize your existing media library. This is the most efficient way to manage compression on a large site.
When you compress, you’ll often see a “Quality” slider (usually from 0 to 100). The trick is to find the sweet spot where the file size is low but the quality is still high.
General Guidelines:
- High-detail photos (e.g., product shots): Aim for 75-85% quality.
- Photos with people: The human eye is sensitive to faces. Stay in the 70-80% range.
- Background images: You can often be more aggressive here, going as low as 60-70%, especially if there’s a color overlay.
Step 3: Strip Unnecessary Metadata
Digital photos contain hidden information called EXIF data—camera model, lens type, GPS location, etc. While useful for photographers, it’s dead weight on a website. Most image compressor tools have an option to “strip metadata,” which can shave off an extra 10-20KB per file.
Troubleshooting Common Compression Problems
Sometimes compression can go too far. If you see these issues, you’ll know you need to dial back your settings.
- Blockiness: Smooth areas, like a clear blue sky, start to look like they’re made of 8×8 pixel blocks.
- The Fix: Increase the quality setting or use a less aggressive compression algorithm.
- Color Banding: Smooth gradients of color show distinct, ugly bands instead of a seamless transition.
- The Fix: This is a classic sign of over-compression. Bump up the quality. Using a 24-bit color depth (for PNGs) can also help.
- Halos: You see weird, light outlines around sharp edges or text.
- The Fix: Reduce any “sharpening” filters you’ve applied before compression and slightly lower the compression ratio.
Final Thoughts: Smart Compression is Smart Business
Image compression isn’t just a technical task for developers; it’s a fundamental business practice. It directly impacts your site’s performance, your customers’ experience, and your bottom line.
By following a consistent workflow—resize first, choose the right format, and then compress to the sweet spot—you can ensure your website is both beautiful and fast. Your users might not consciously notice your perfectly compressed images, but they’ll absolutely feel the benefit of a site that loads in the blink of an eye. And in the end, that’s what builds trust and drives results.