An SRV DNS record specifies the location, including the hostname and port number, of servers that provide specific services like VoIP or instant messaging for a domain.
- Use the Type dropdown menu to select SRV.
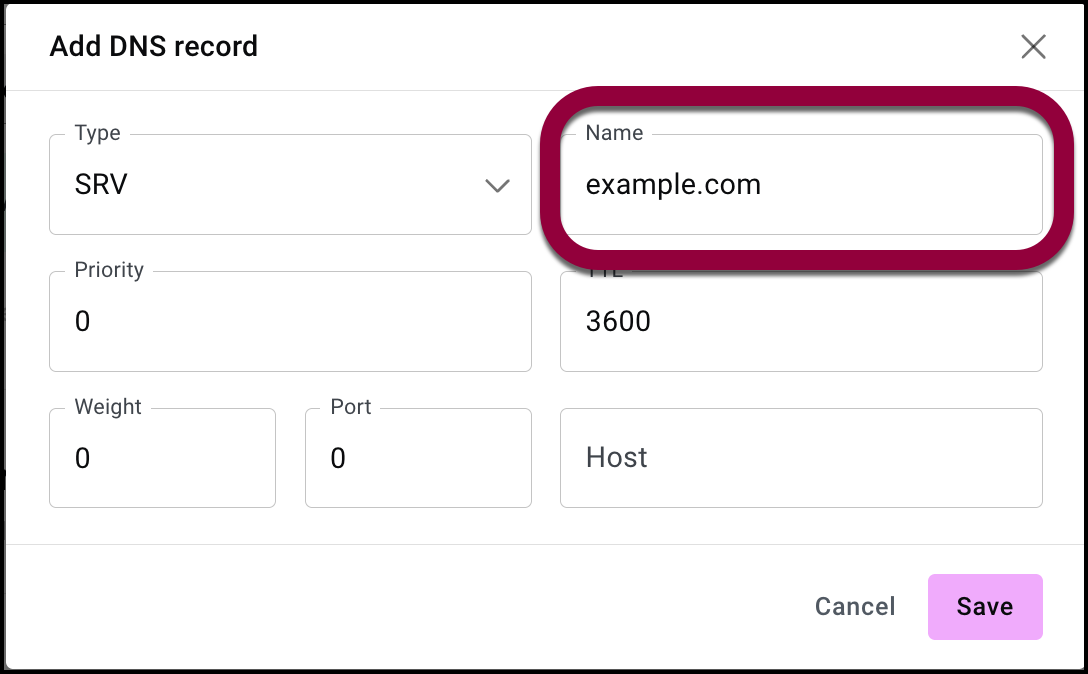
- In the Name field fill in your domain name. For example, example.com.
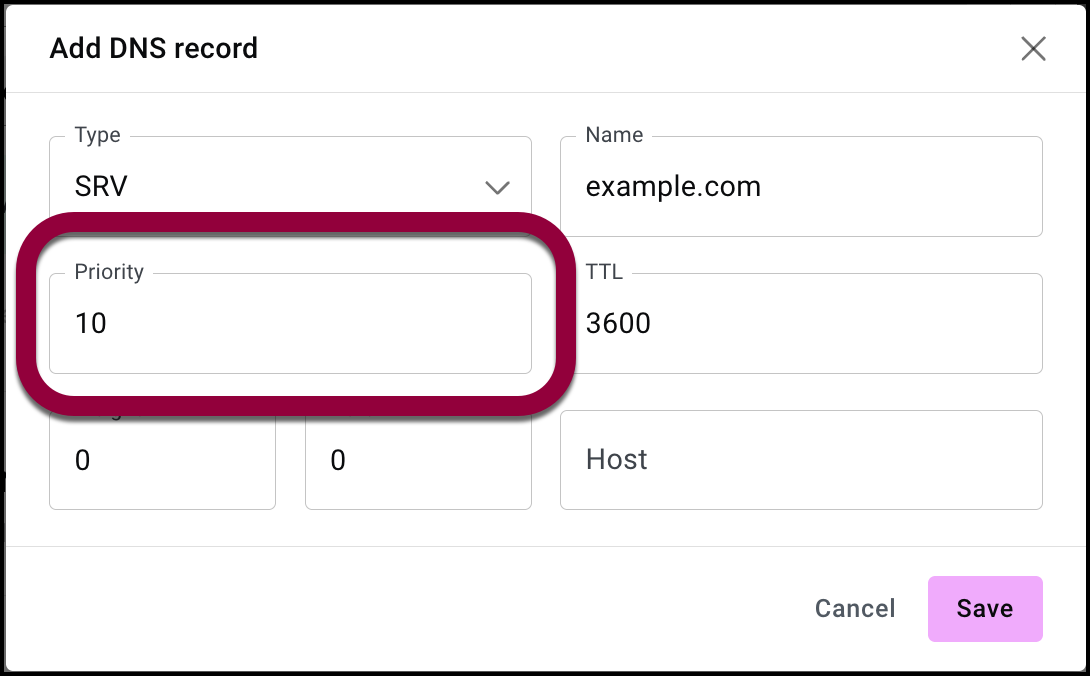
- (Optional) Use the Priority text box to enter a priority number. The Priority field is used when you have more than one server providing the same service. For instance, you may have two servers providing VOIP. When visitors access the service, they will be directed to the lower priority server first and if that server is unavailable, will be directed to the next lowest priority server.
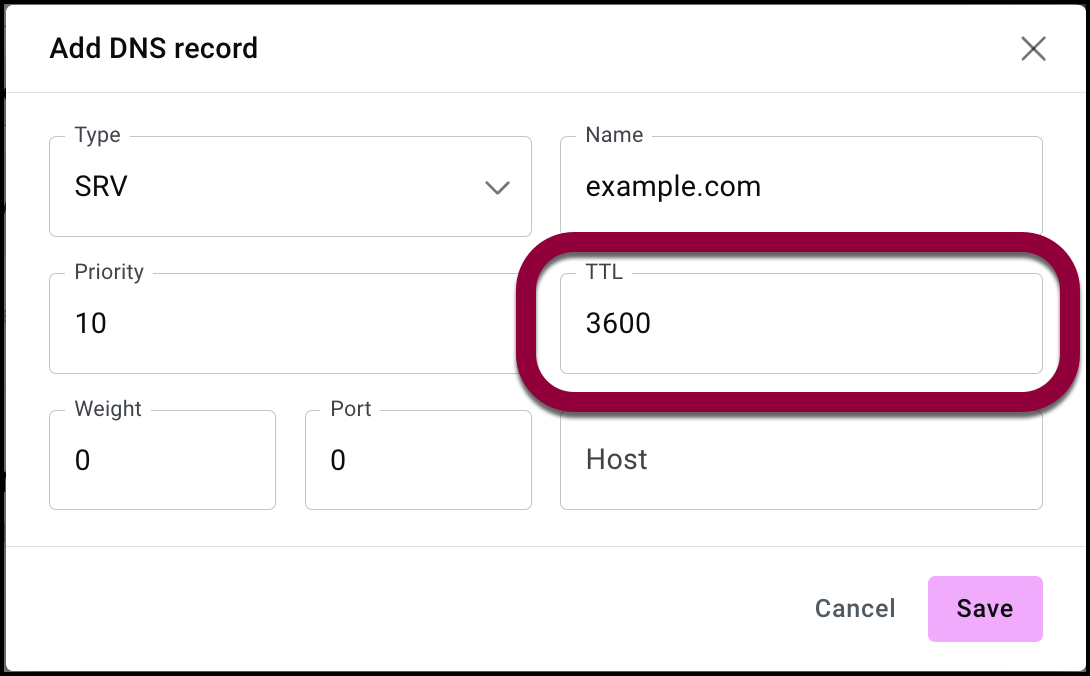
- (Optional) In the TTL field, you can fill in a Time-To-Live (TTL) value to replace the default value. TTL is the value (in seconds) that tells DNS resolvers how long they should cache (store) the record before checking the authoritative server for a new update.
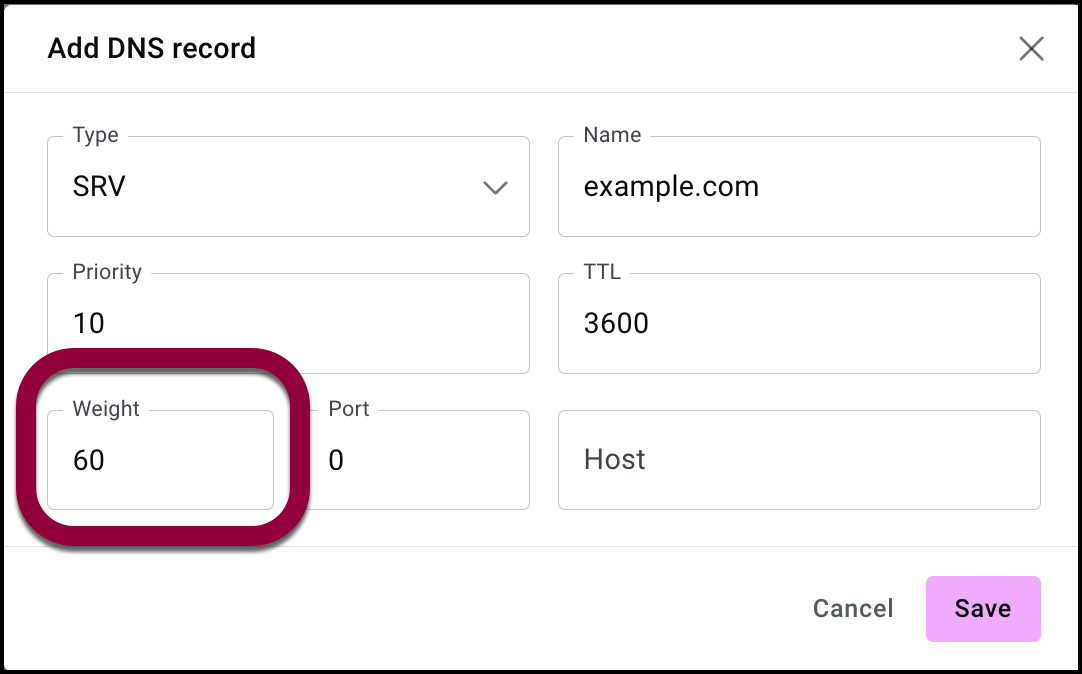
- (Optional) Enter a weight for the record. Weight is used when you have more than one server providing the same service. For instance, you may have two servers providing VOIP. When visitors access the service, if two, or more, servers have the same priority, the load will be distributed according to the weight. Weight is based on a ratio – a higher weight value gets more connections). For example, a server with a weight of 60 will take 60% of the load.
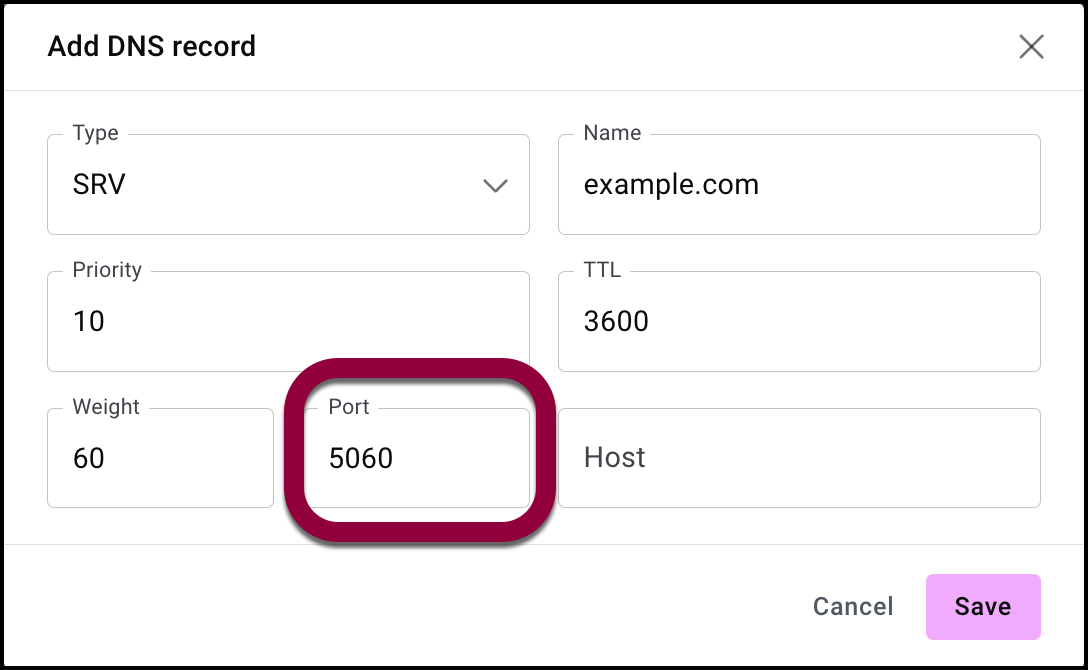
- Use the Port text box to enter the port number that will be used to establish the connection.
- Use the Host textbox to enter the target host’s name. For example, voip-cluster-1.example.com
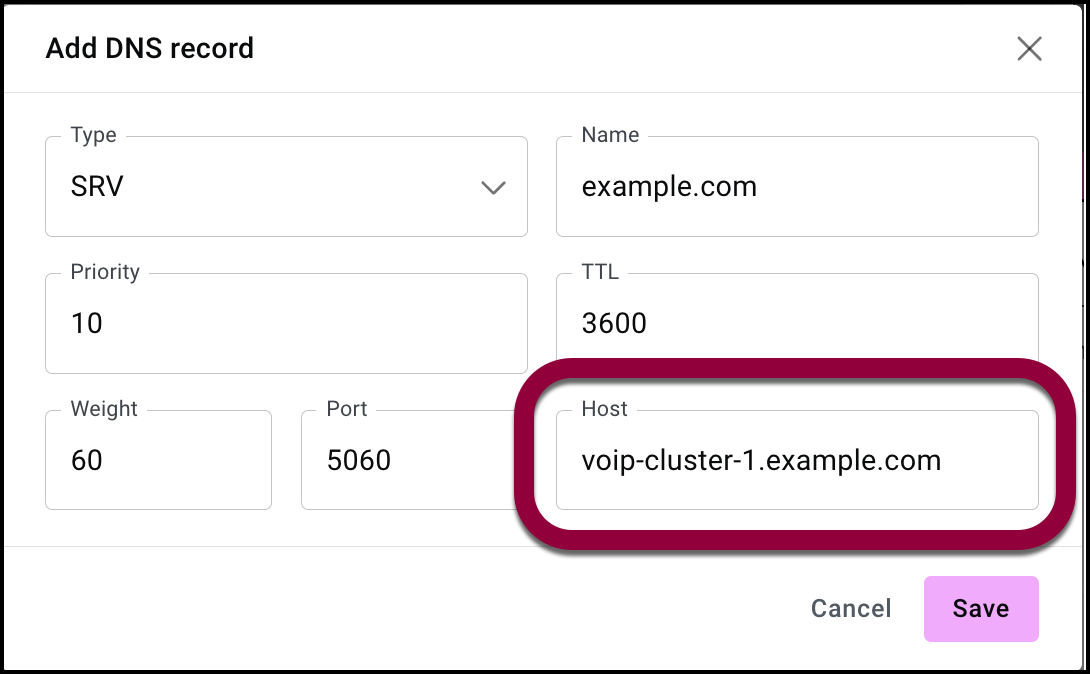
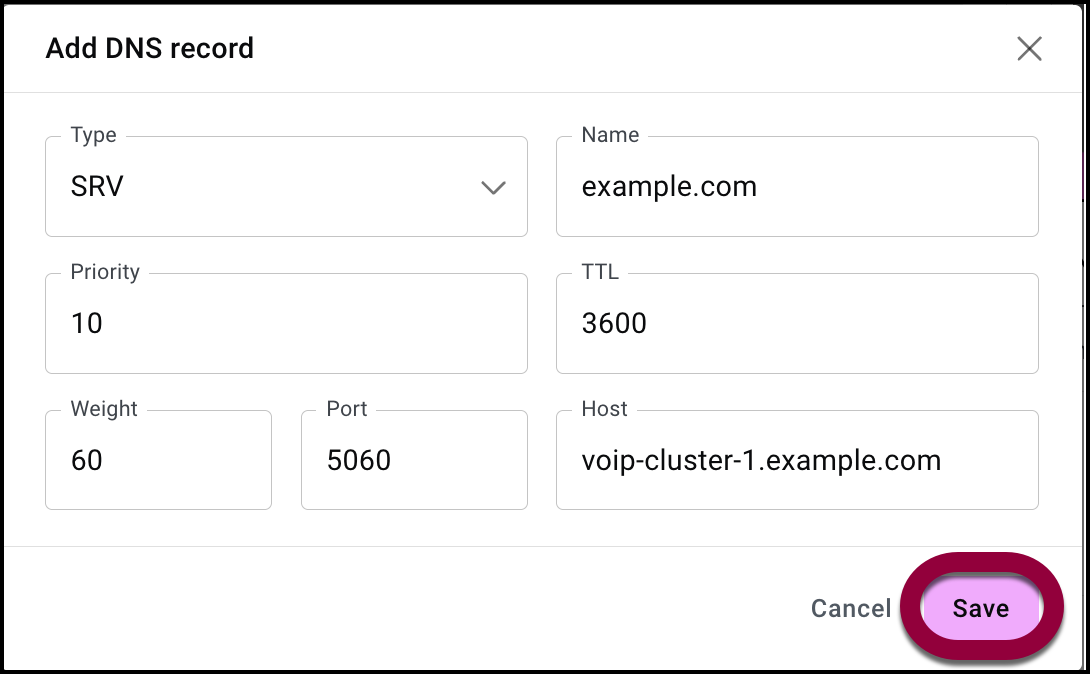
- Click Save.