Adding custom CSS to an element gives web creators almost unlimited flexibility in designing their web pages.
Add custom CSS
To add custom CSS to an element:
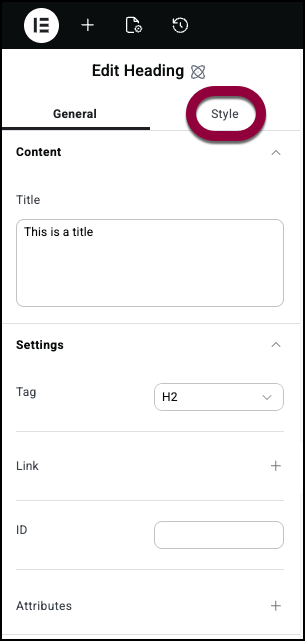
- Click the Style tab.
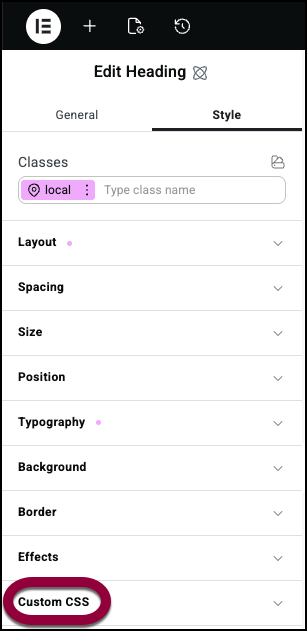
- Open the Custom CSS field.
- The CSS editor opens.
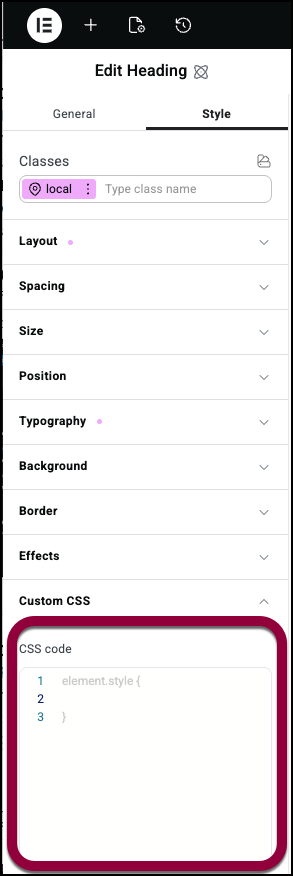
- Add the CSS code.

CSS code is added to the selected class, so you can have separate CSS code for different classes and states. In the example below, we’ll use custom CSS to change the default text color and the hover text color.
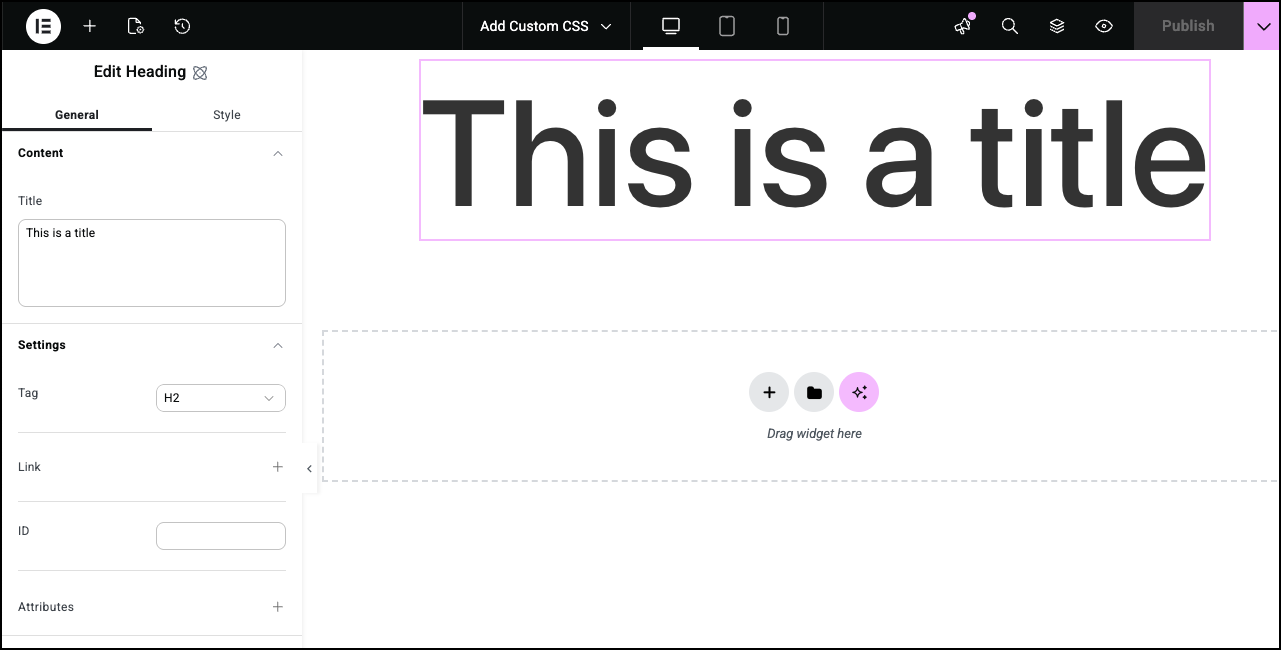
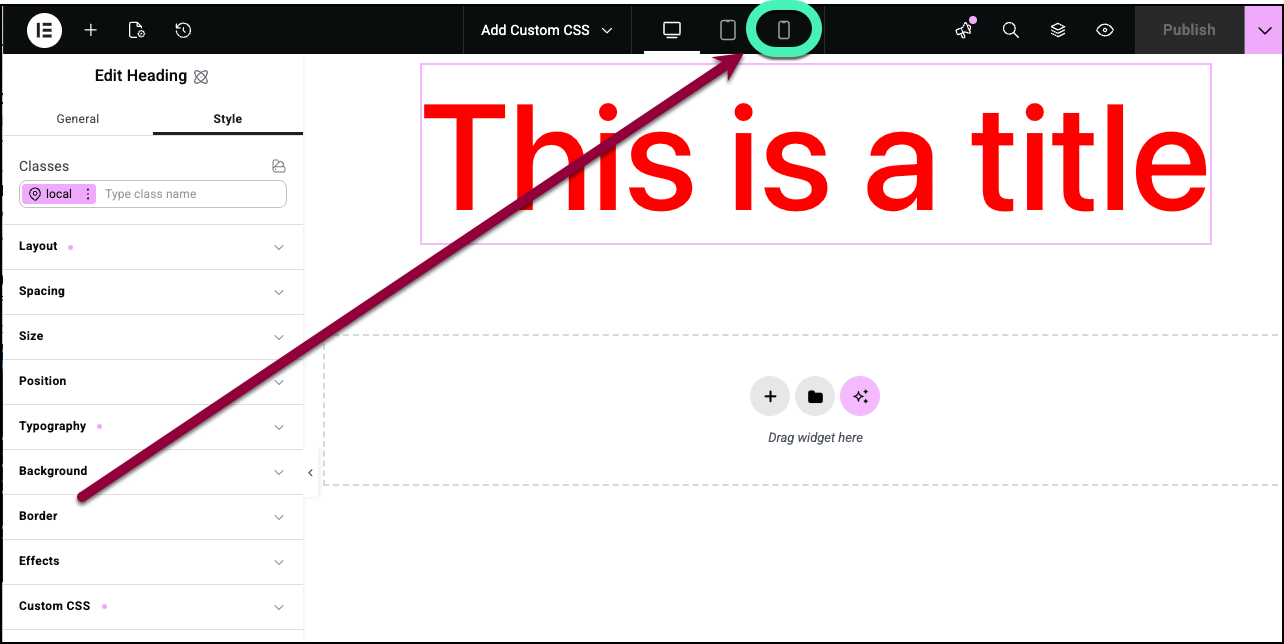
- Add a Heading widget to the canvas.
- Click the Style tab.
- Open the Custom CSS field.
- In the CSS editor enter the following:
color:red;
The heading text turns red.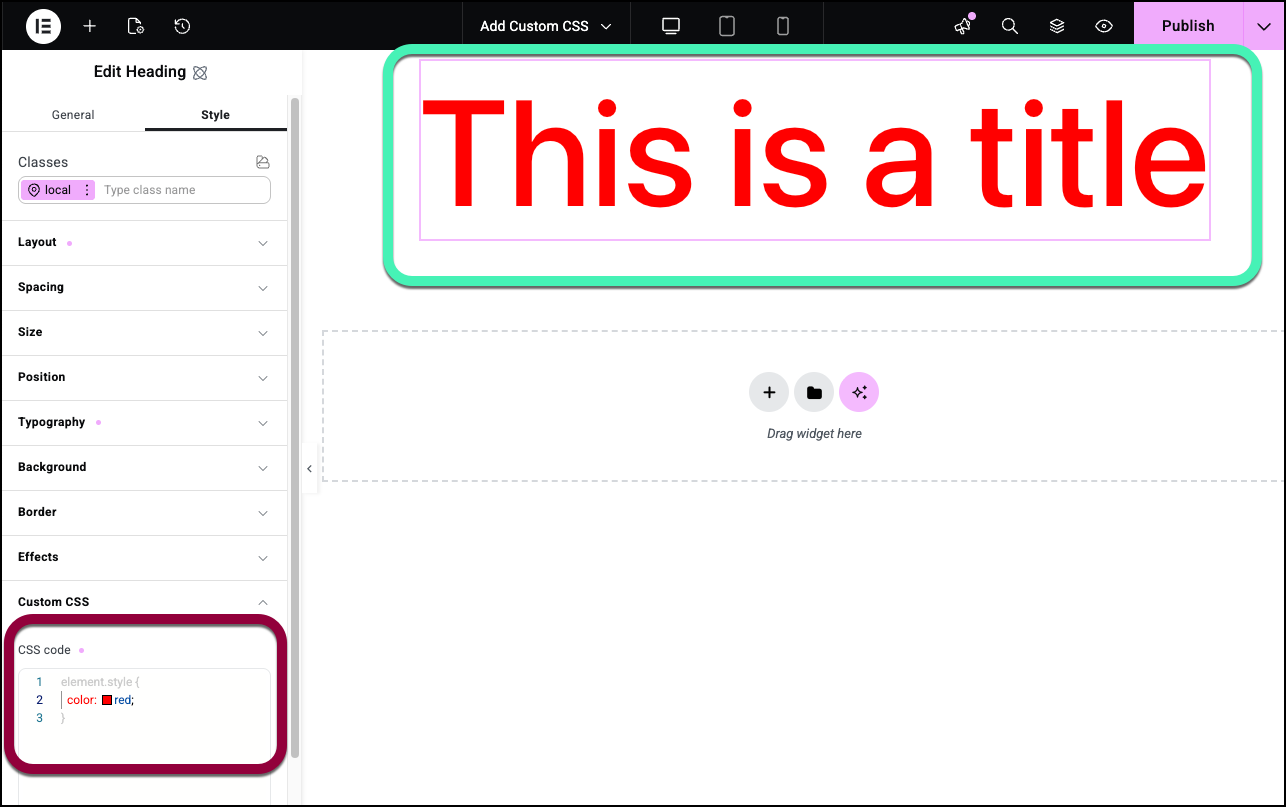
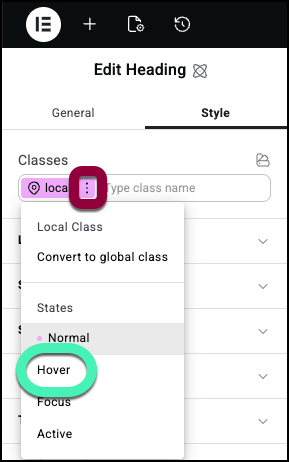
- In the Classes text box click the ellipses and select hover.
- Open the Custom CSS field.
- In the CSS editor enter the following:
color:blue
Now the text is red, but when you hover over it, it turns blue.
Since Custom CSS applies to device sizes as well as states, you can change the text color according to device size. - Click the Local class.
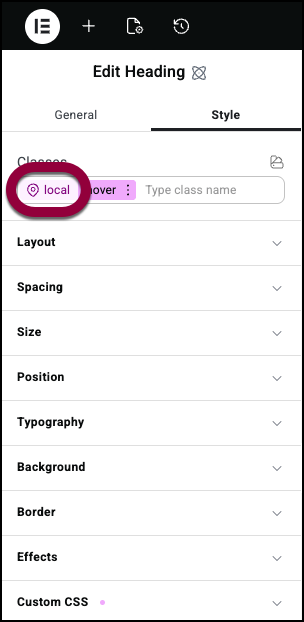
- Click the mobile icon.
- Open the Custom CSS field.
- In the CSS editor enter the following:
color:green
The heading text turns green for mobile devices.
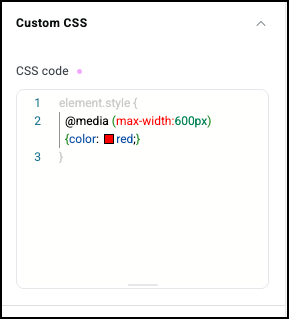
Using a CSS media query
A media query allows you to apply styles based on the characteristics of the user’s device, such as its screen width, height, resolution, or orientation.
Although custom CSS generally applies to a specific screen size, you can use media queries to add responsively. For example, the CSS below can be added to the desktop CSS code and will turn the font red for any device under 600px: